Project Overview
Hoonicorn was the largest automotive cinematic project in this portfolio and combined live-action miniature photography, Unreal Engine 5 environment production, automotive rigging, cinematography, compositing, VFX, DI, editorial, and sound design within a single production pipeline. The project was developed around the Hoonicorn Mustang and took visual inspiration from Mad Max: Fury Road, Furiosa: A Mad Max Saga, Dune, and Fallout. The visual direction was intentionally post-apocalyptic but grounded in believable vehicle behaviour, physical environments, and motivated lighting. The production was planned around approximately one month of pre-production, one miniature shoot day, and three months of post-production, with an overall production budget of approximately ₹10,000. The primary production challenge was maintaining a consistent visual language between the photographed miniature canyon and the full CG environments created in Unreal Engine.
Look Development & Visual Treatment
The visual development established a hybrid post-apocalyptic automotive-commercial treatment rather than reproducing a conventional dystopian grade. The palette was designed around warm desert earth, saturated skies, metallic vehicle surfaces, industrial rust, and controlled atmospheric contrast. Reference development was driven by Mad Max, Dune, and Fallout, while the vehicle treatment was grounded in research of Ken Block's driving and Gymkhana footage. This research informed the intended suspension response, body movement, tyre behaviour, drift attitude, and perceived vehicle mass during animation.
Story Development & Script
The narrative follows a rogue female driver operating the Hoonicorn through a sequence of escalating environments. She plants a timed explosive on an oil container inside an industrial rig, escapes during the resulting explosion, navigates through the wreckage of a crashed aircraft, enters a large-scale desert sandstorm, loses control after a rock impact, and ultimately survives the sequence before returning to the vehicle and continuing the journey. The story was deliberately structured around visual action beats so that each environment could support a distinct production and compositing requirement.
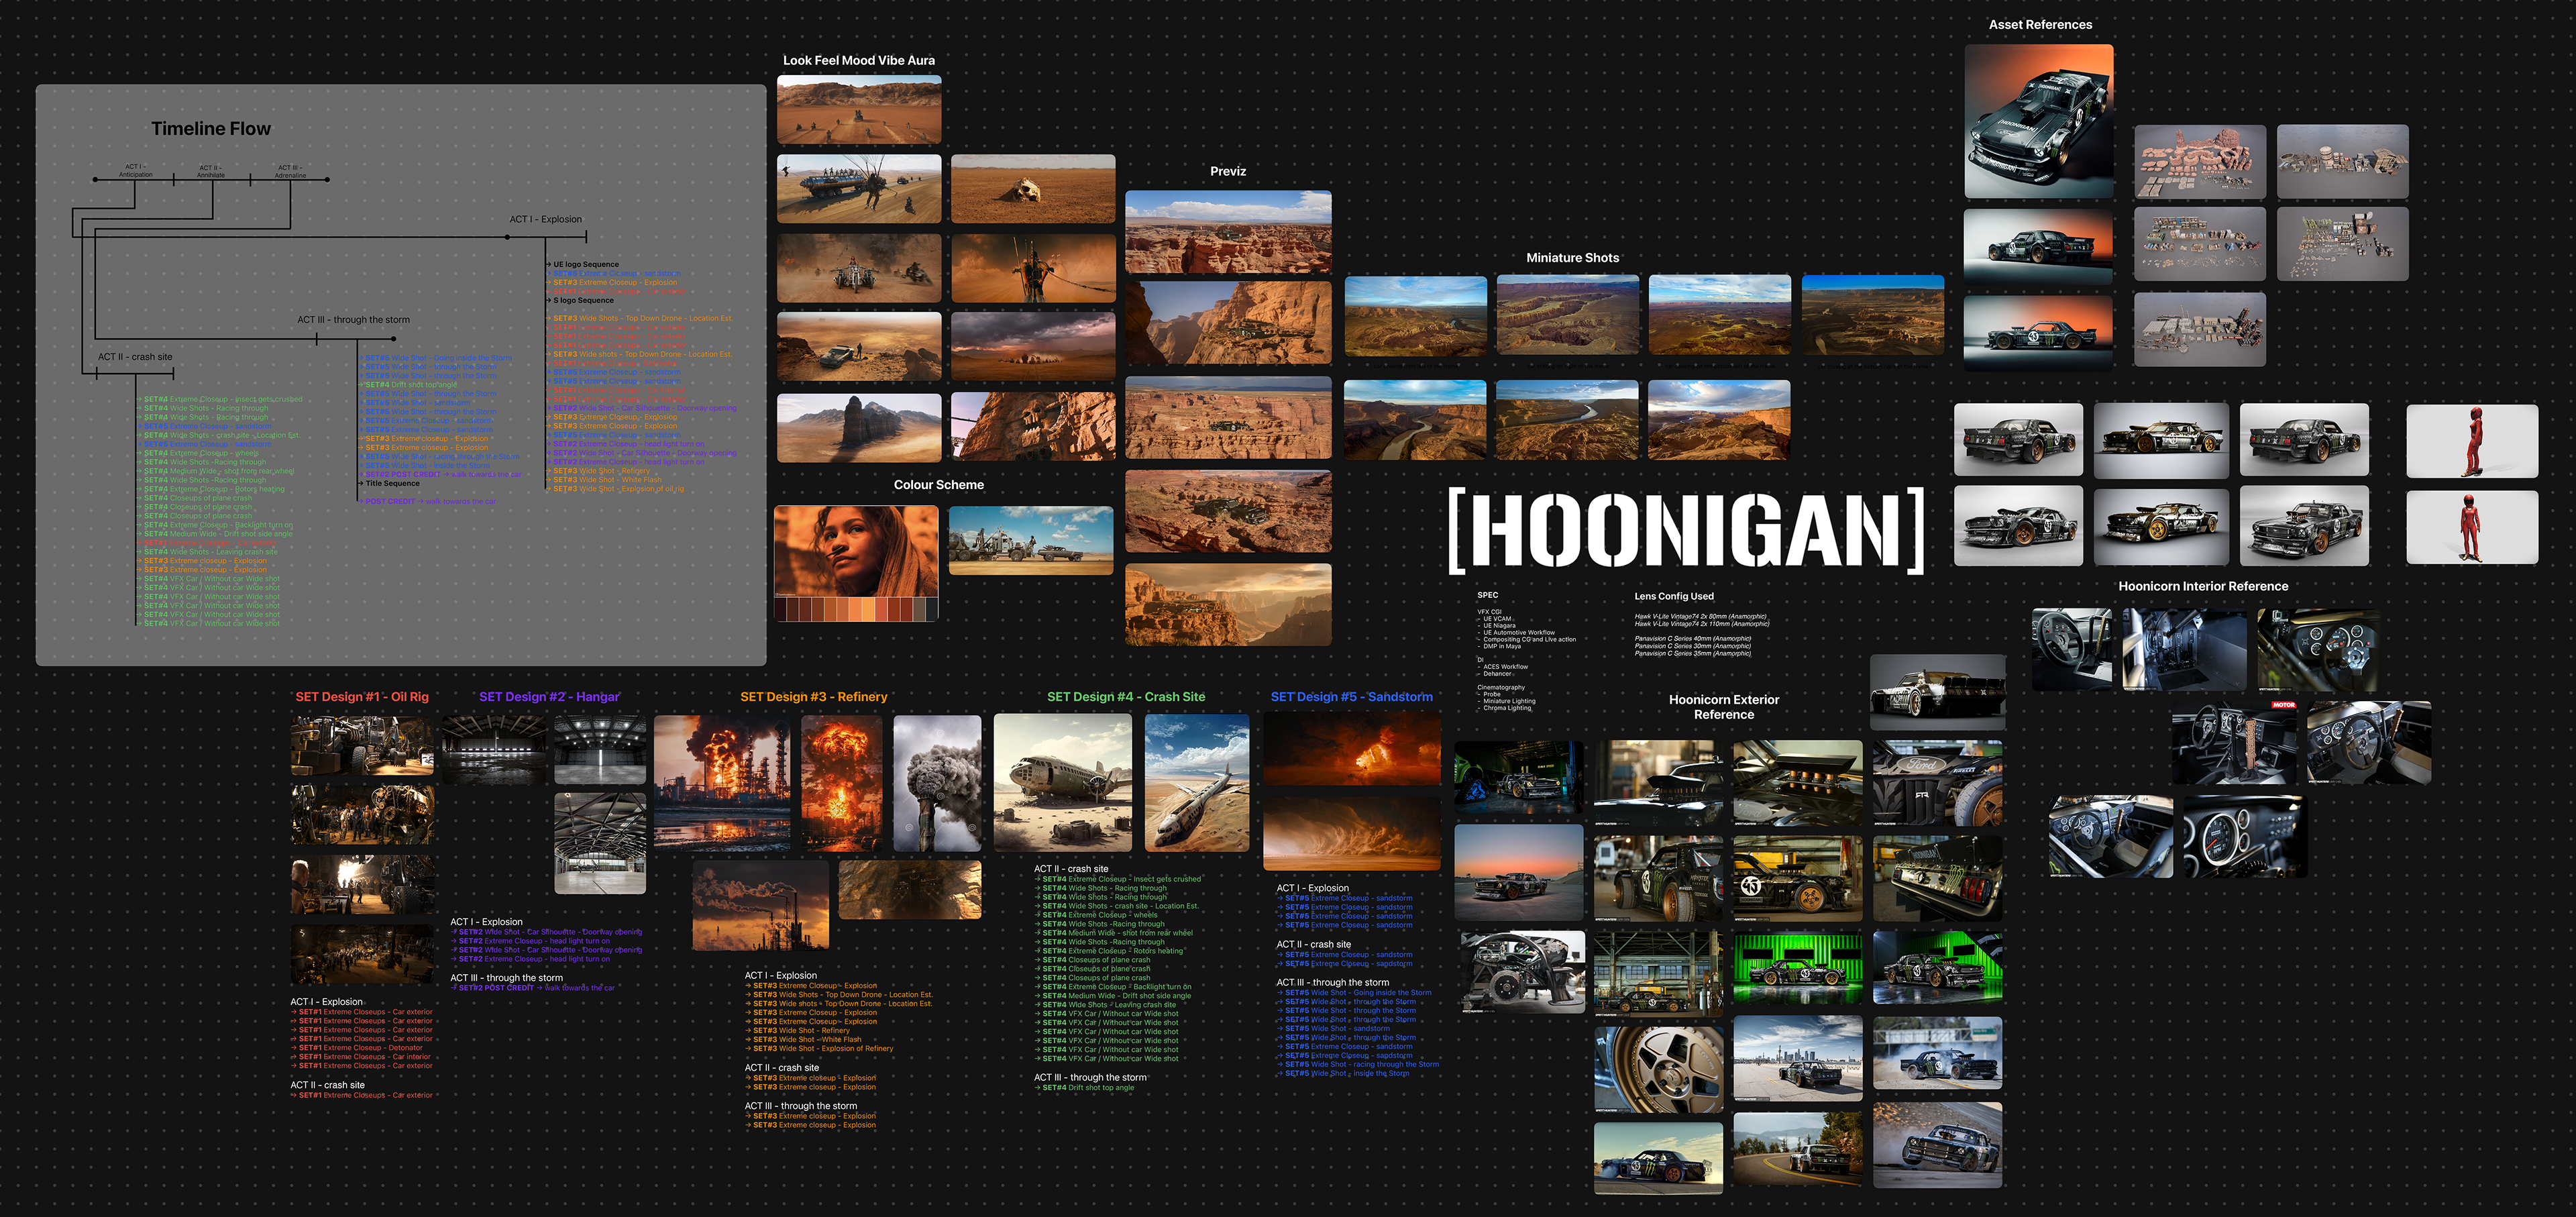
Pre-Production Concept & Technical Pitch Deck: Comprehensive production board detailing the timeline flow, film references, Unreal Engine set designs, miniature previz, lens configurations, and Hoonicorn vehicle asset references.
Pre-Production & Shot Design
The project began with scripting, visual development, storyboard sketches, shot planning, and environment breakdown. The initial visual planning targeted six miniature shots, while ten were prepared as the broader target; the final miniature shoot produced eight usable shots. The live-action miniature unit was designed around the physical constraints of the model, chroma stage, probe lens, lighting access, and available shooting time. The production was divided into five principal virtual environments: Oil Rig, Hangar, Refinery, Crash Site, and Sandstorm, with the final sequence reusing the crash-site biome as the concluding environment.
Miniature Set Design
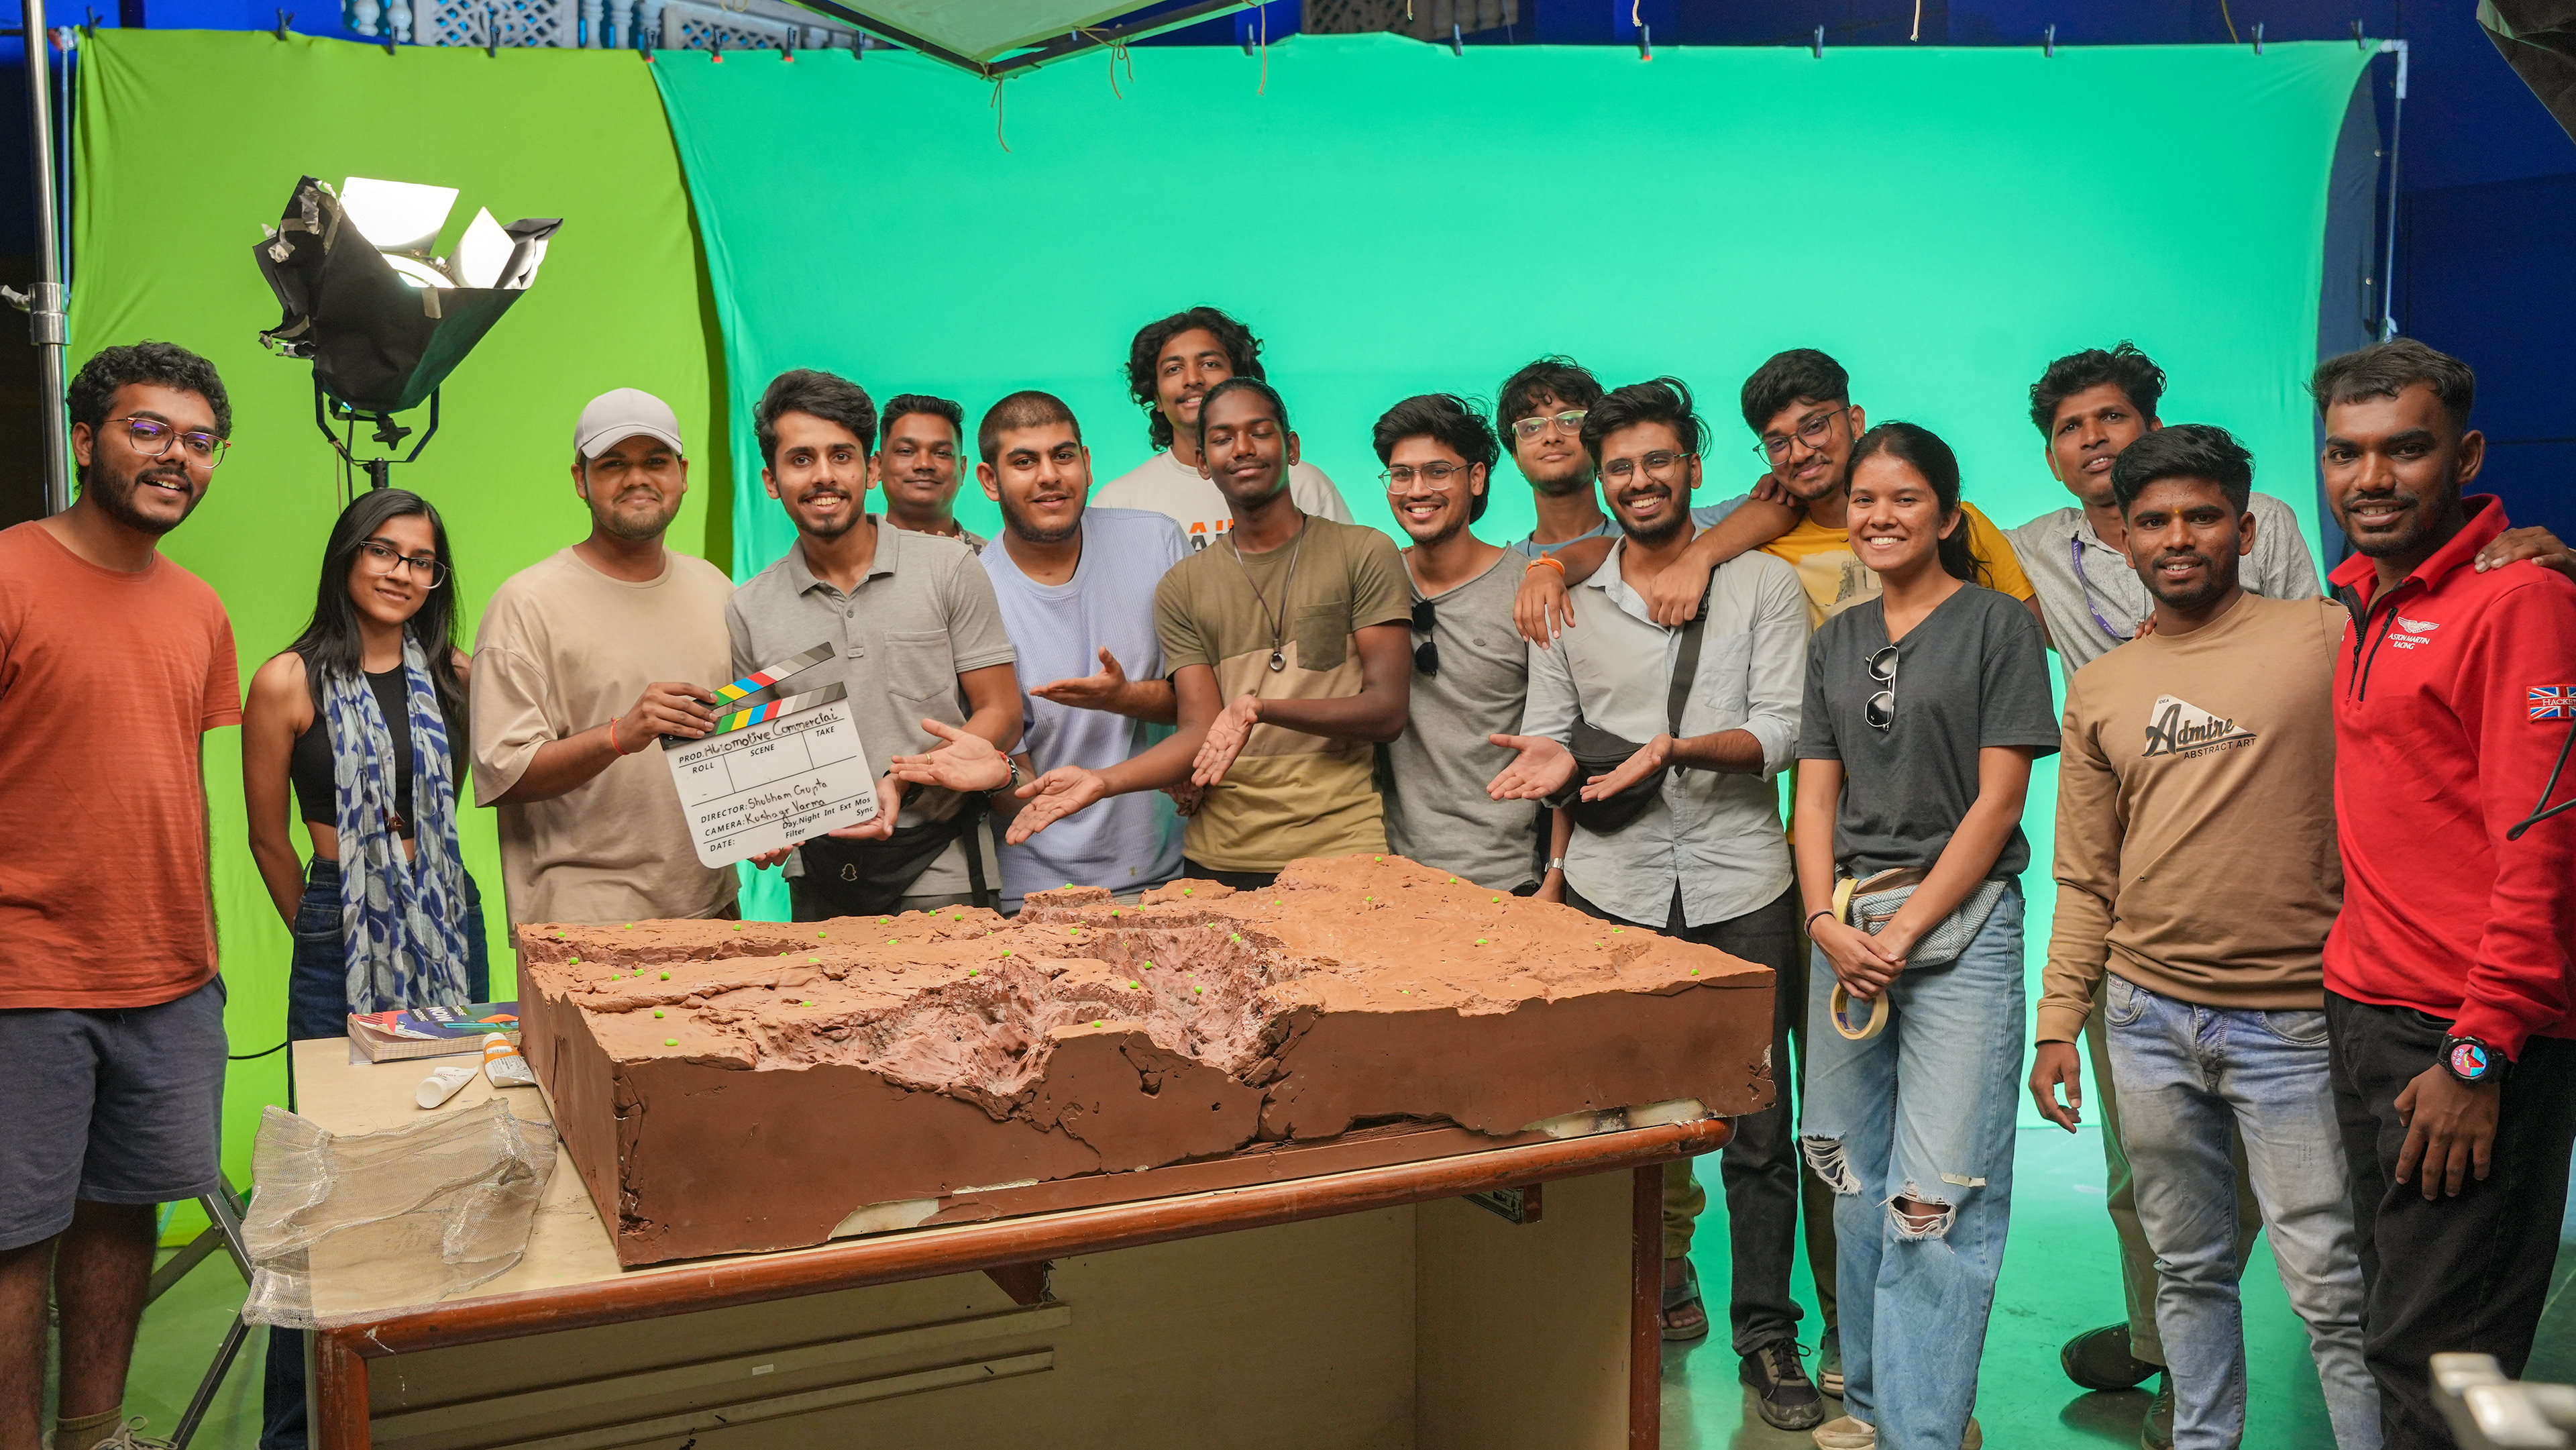
A physical canyon miniature was selected as the foundation for the photographed environment. The model was developed from a dedicated 3D reference package containing orthographic views, labelled measurements, elevation information, and surface layout for the art department. The finalized miniature footprint was approximately 50 cm in length, 45 cm in width/depth, and 8 cm in overall thickness. Construction requirements included a metal frame, mountboard, plaster of Paris, Fevicol, sandpaper, stains, matte lacquer, and poster colours.
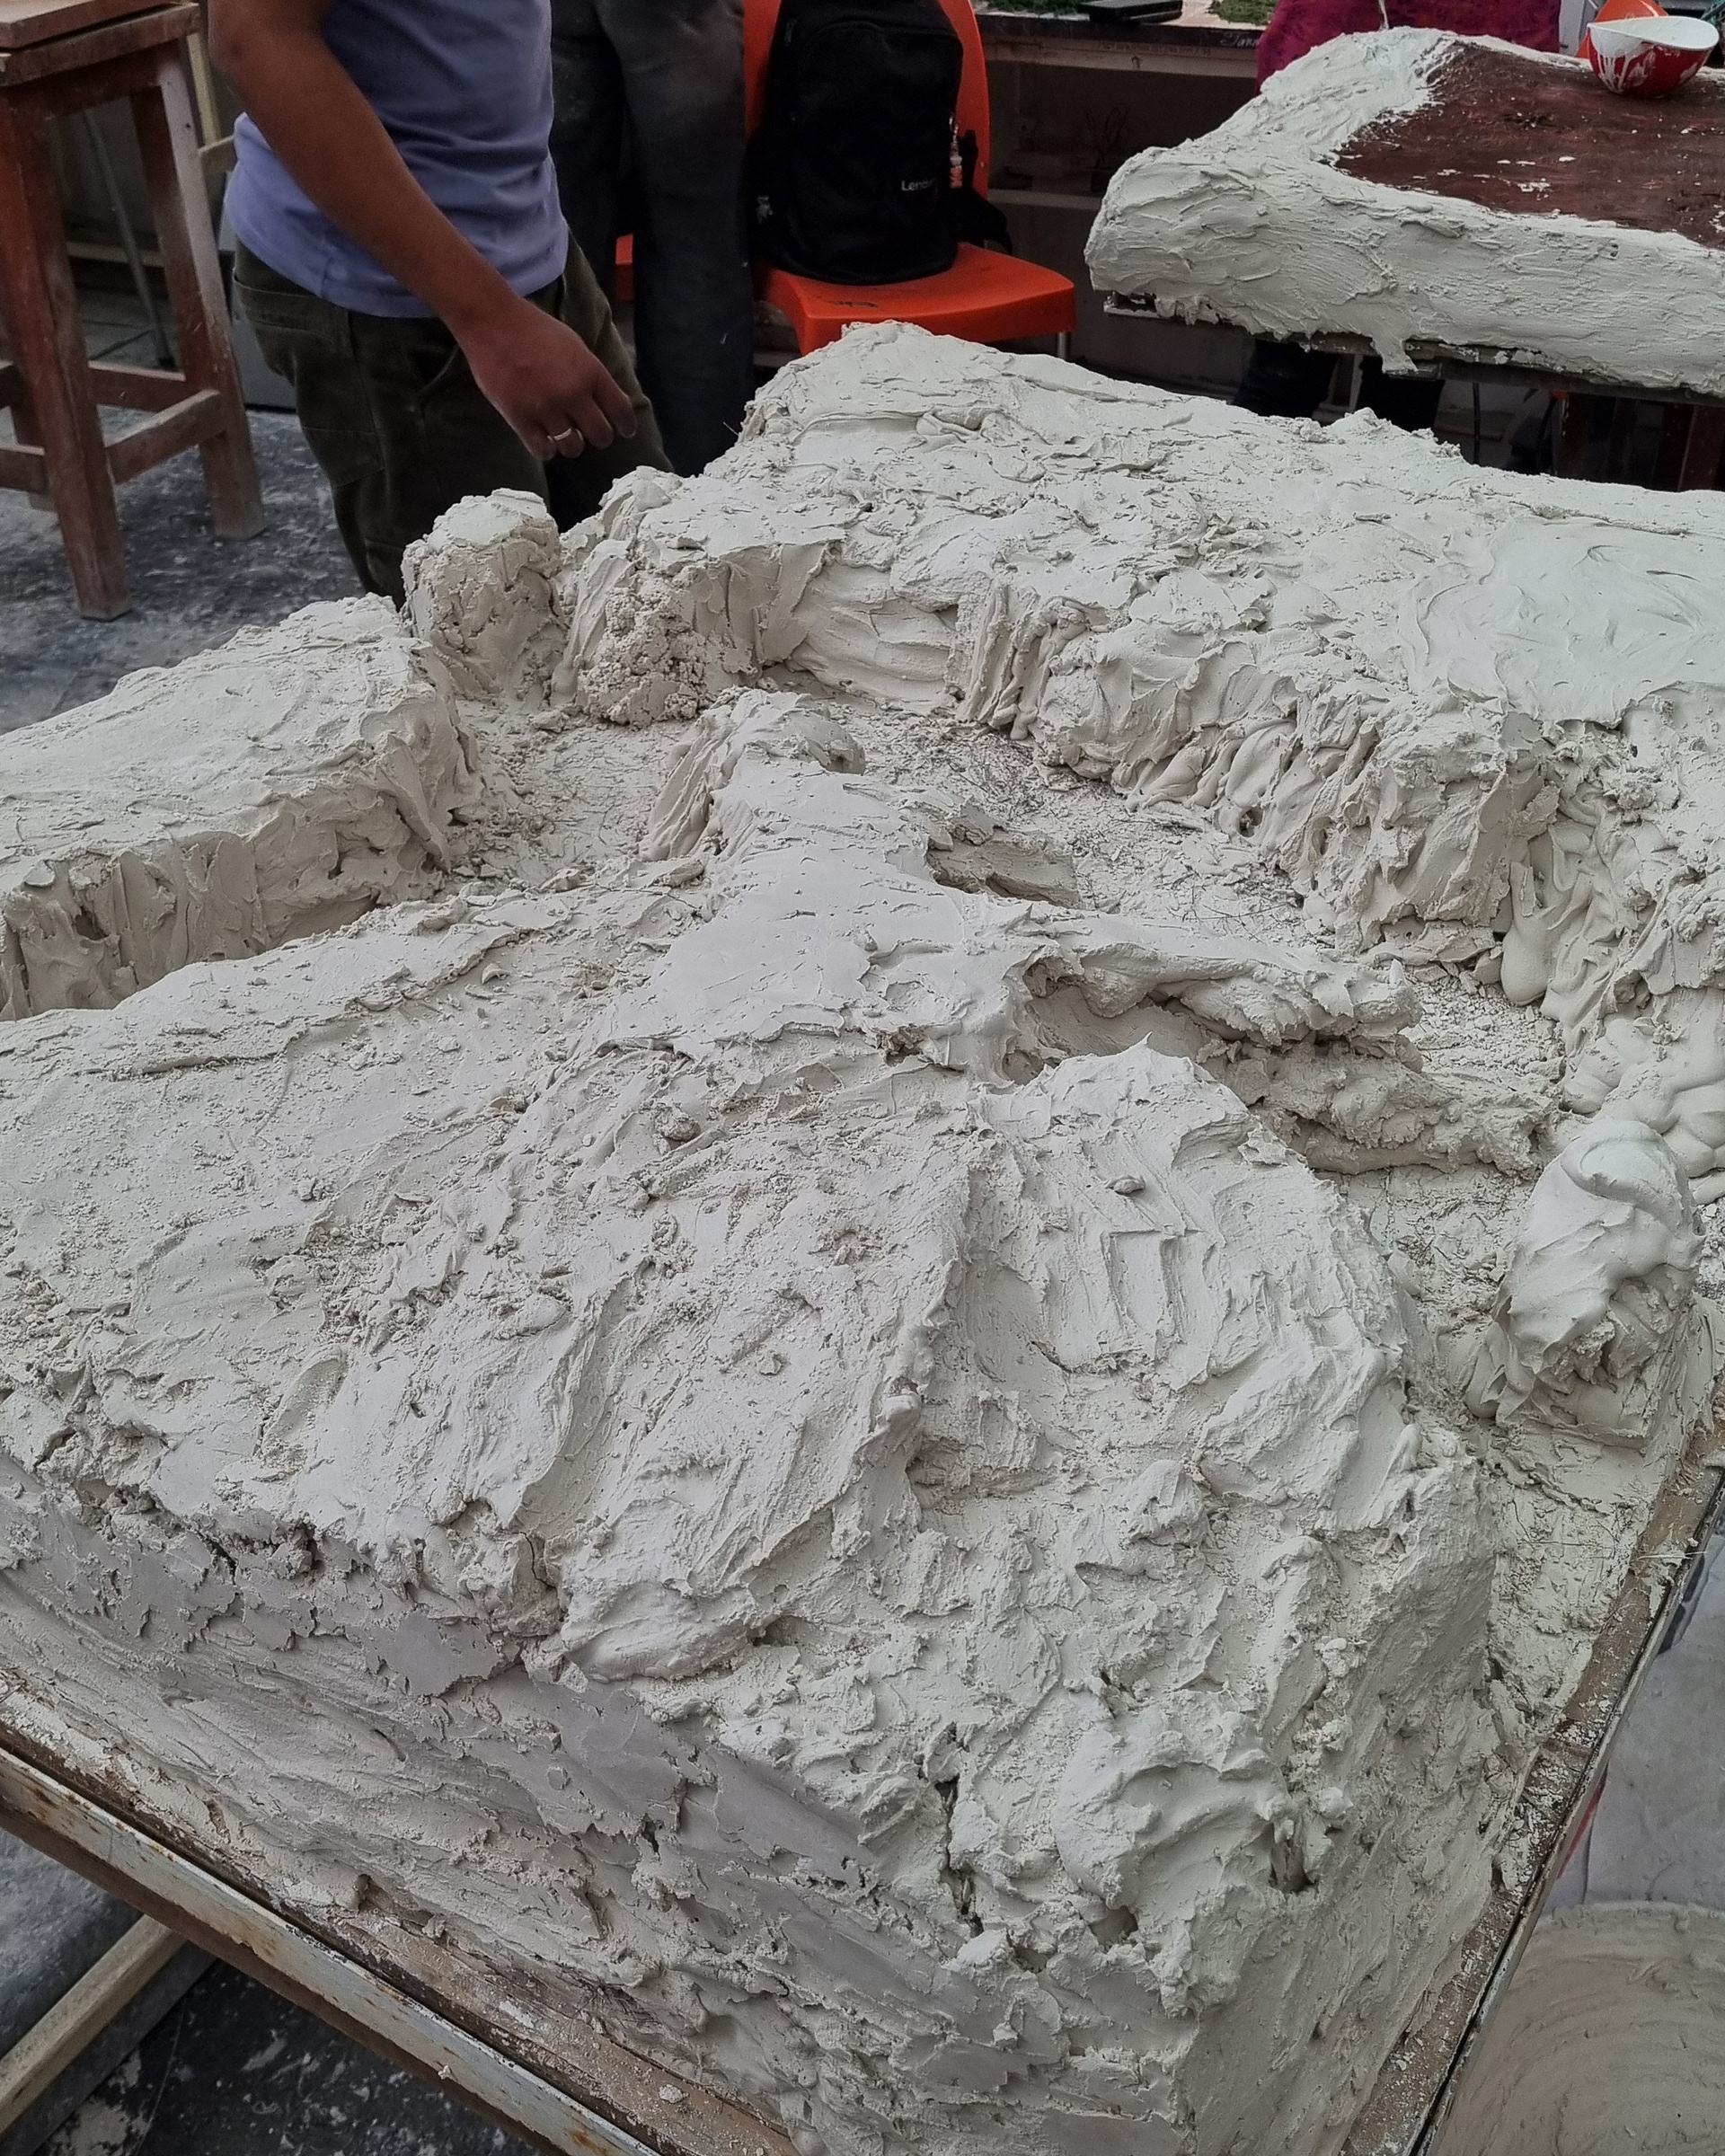
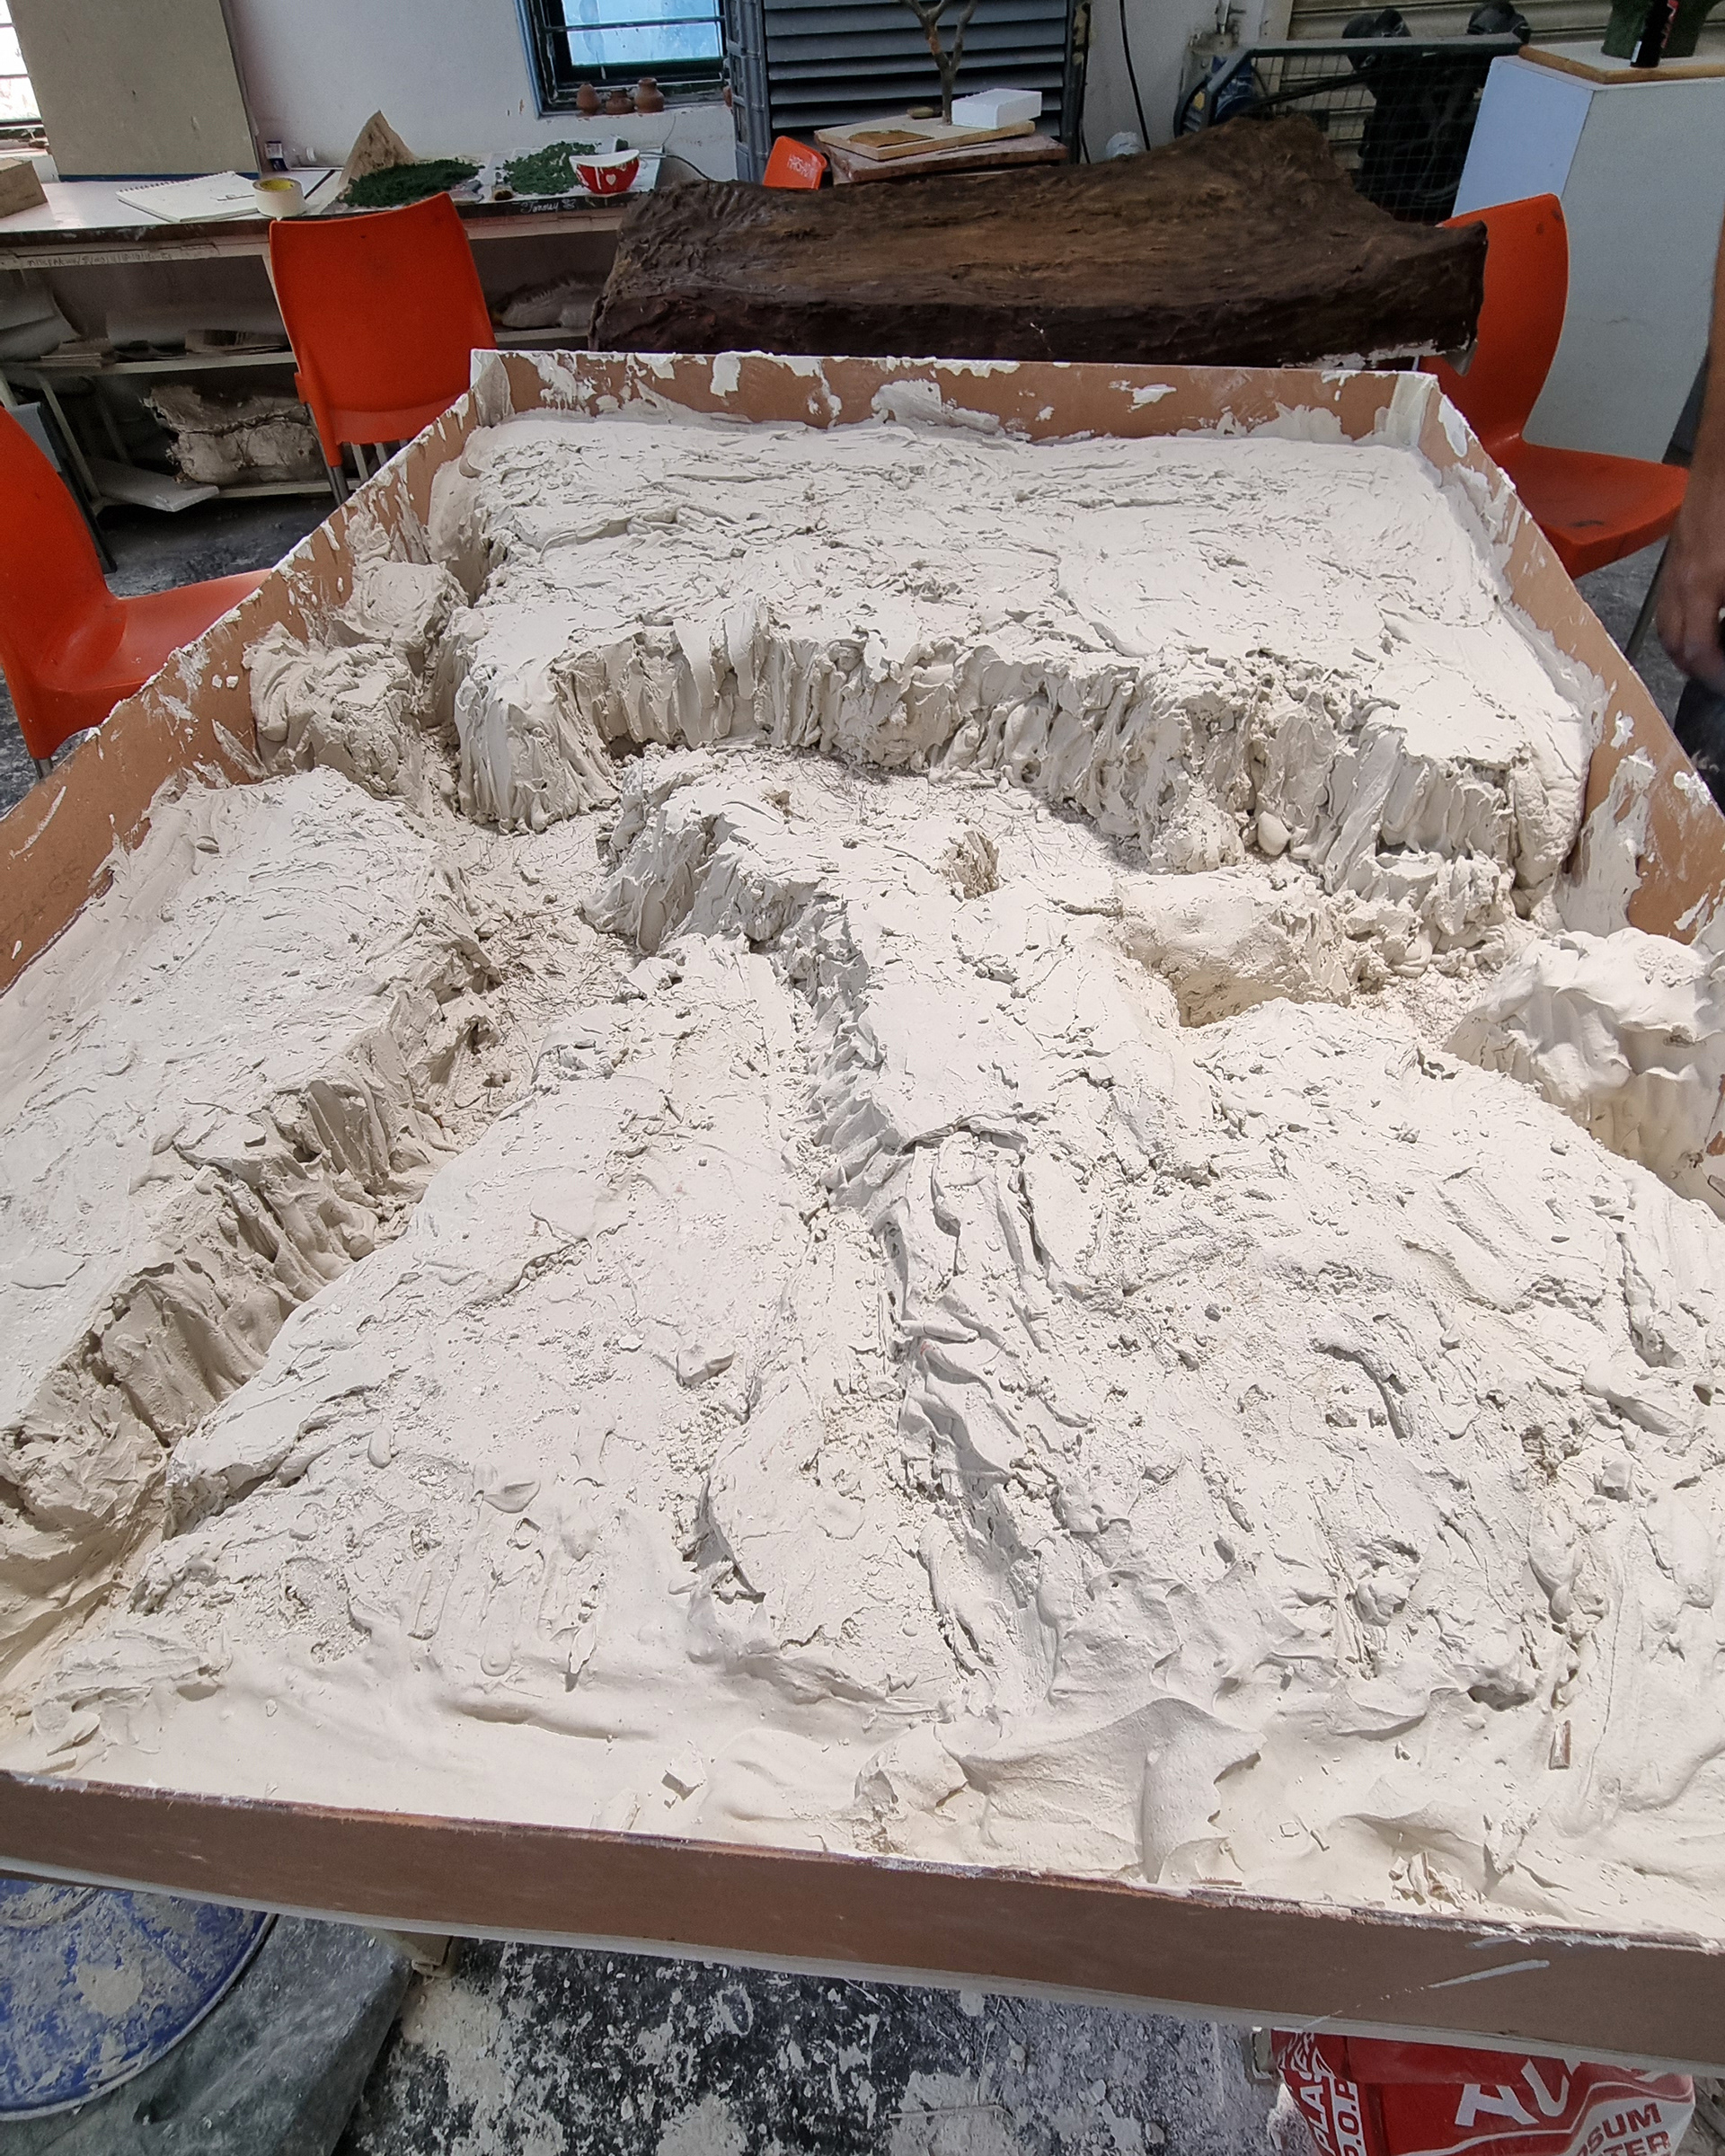
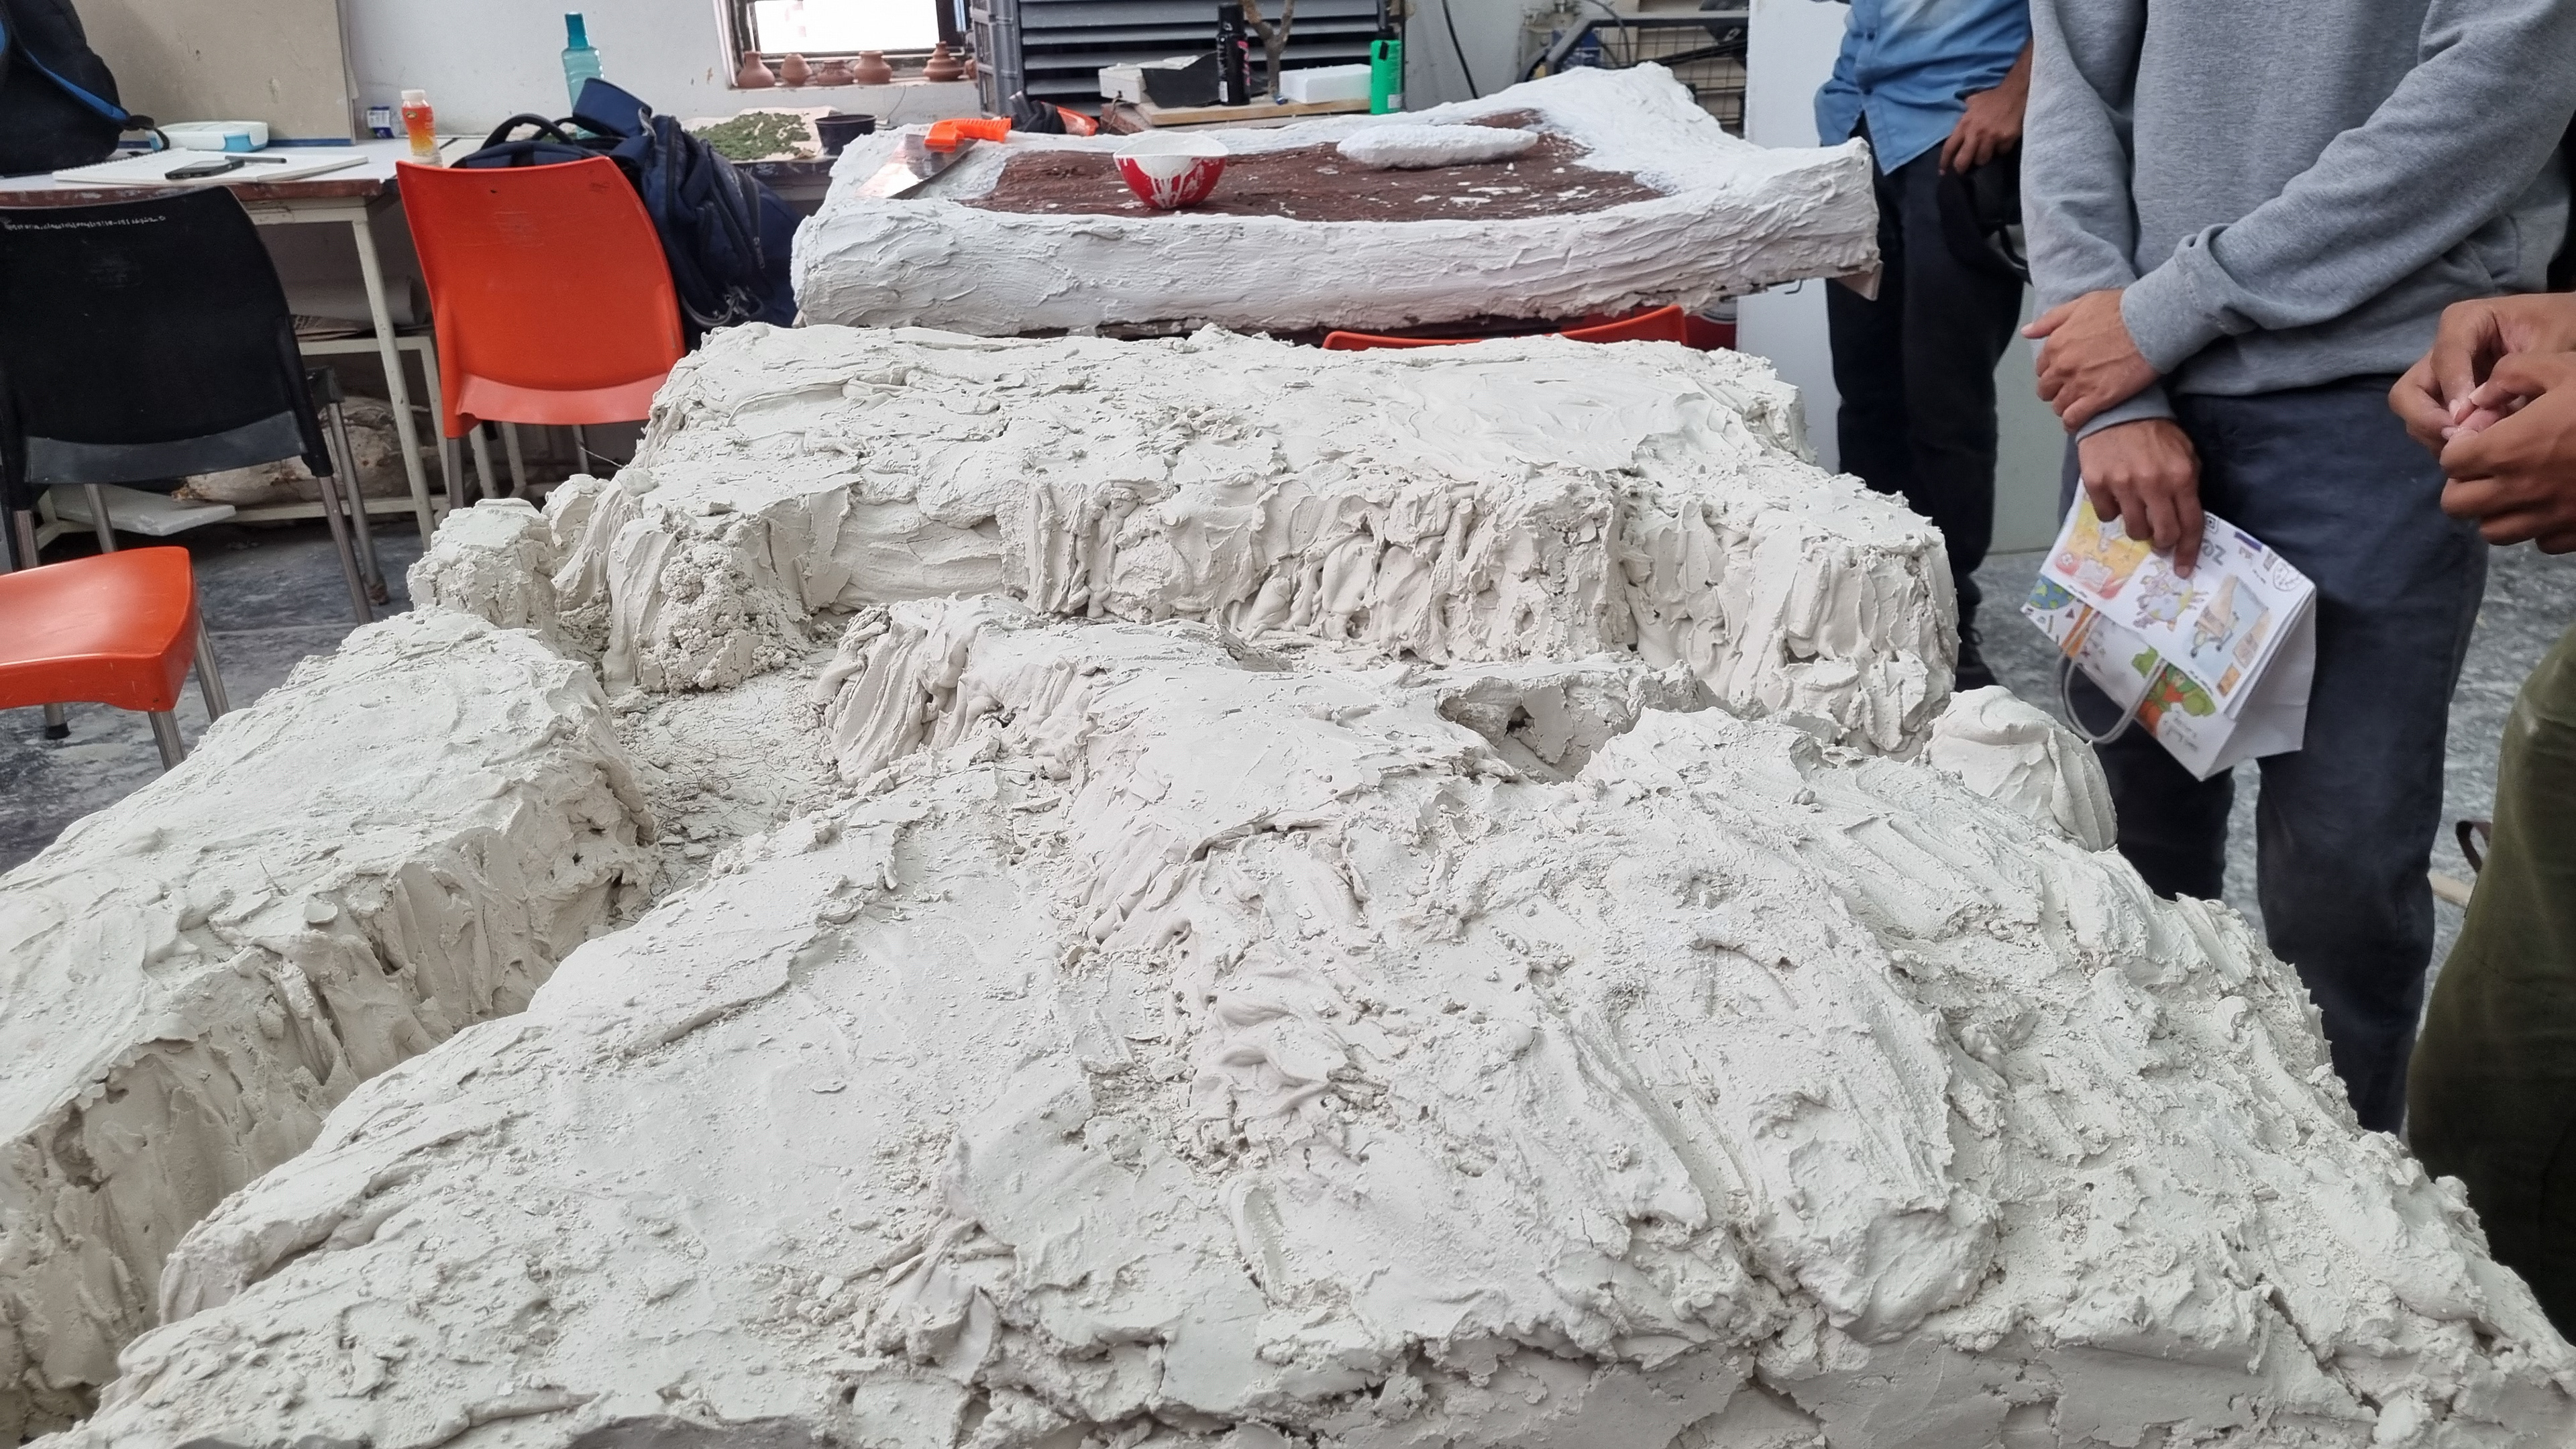
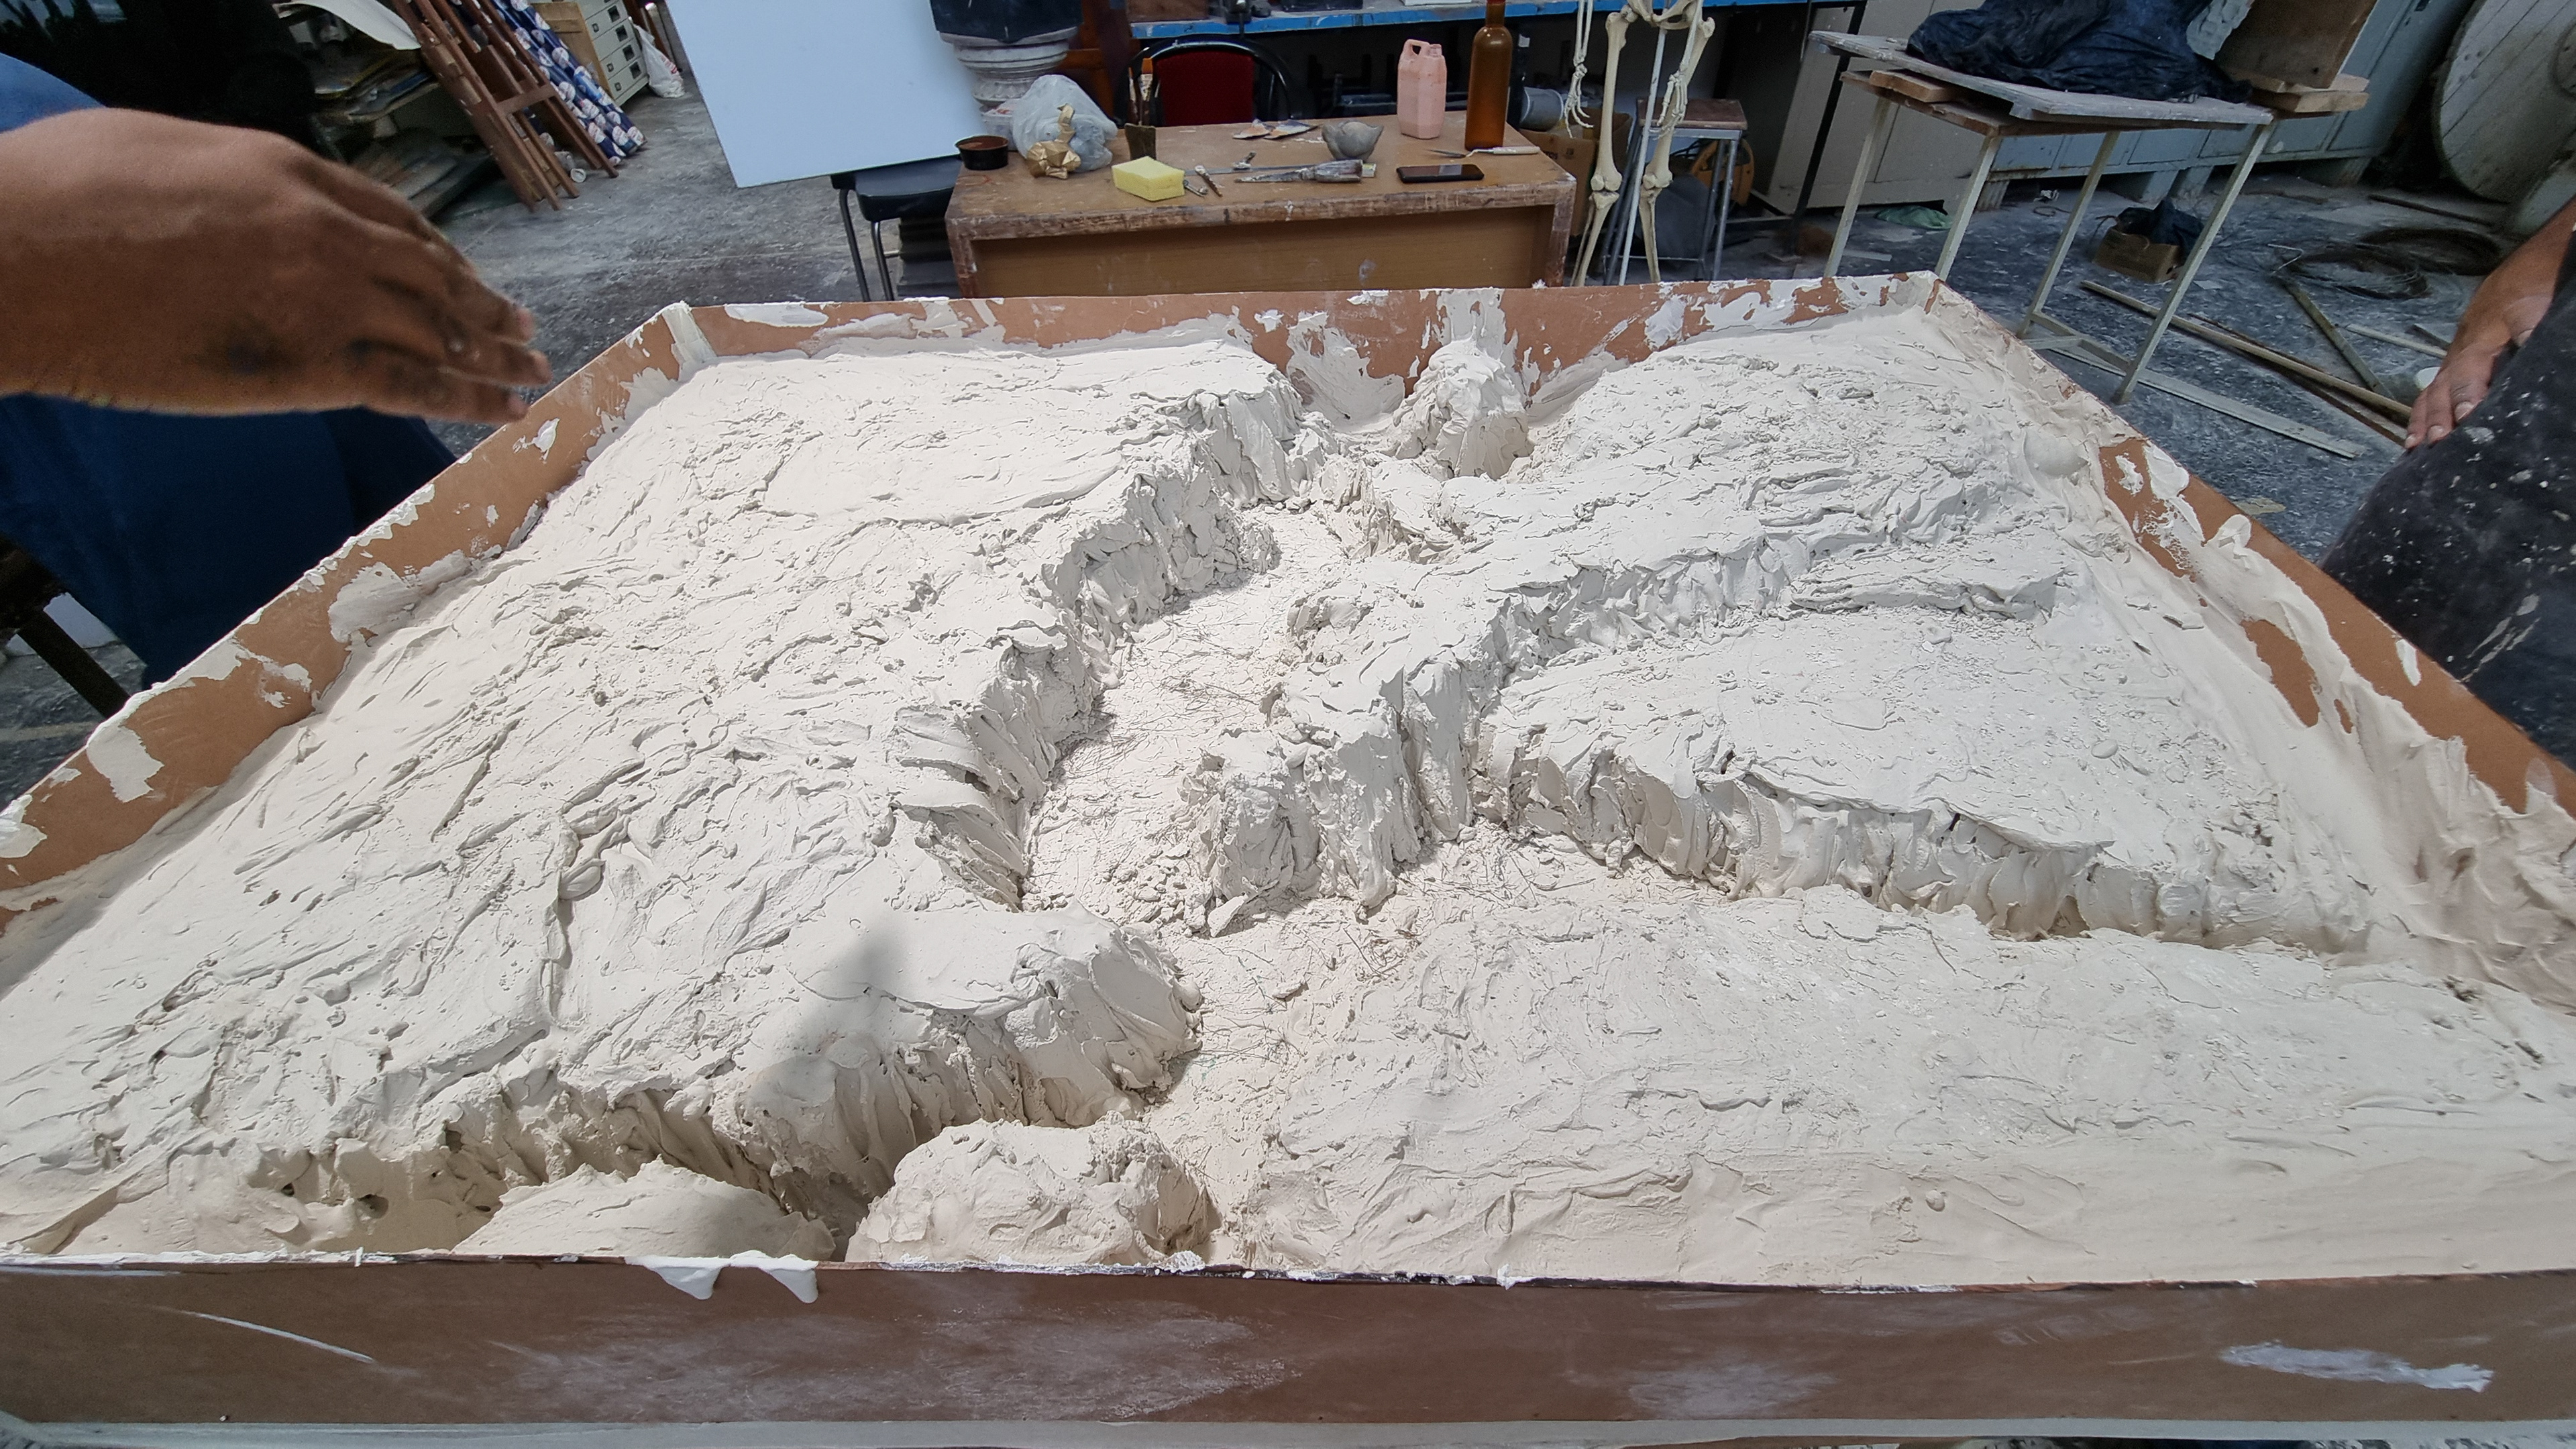
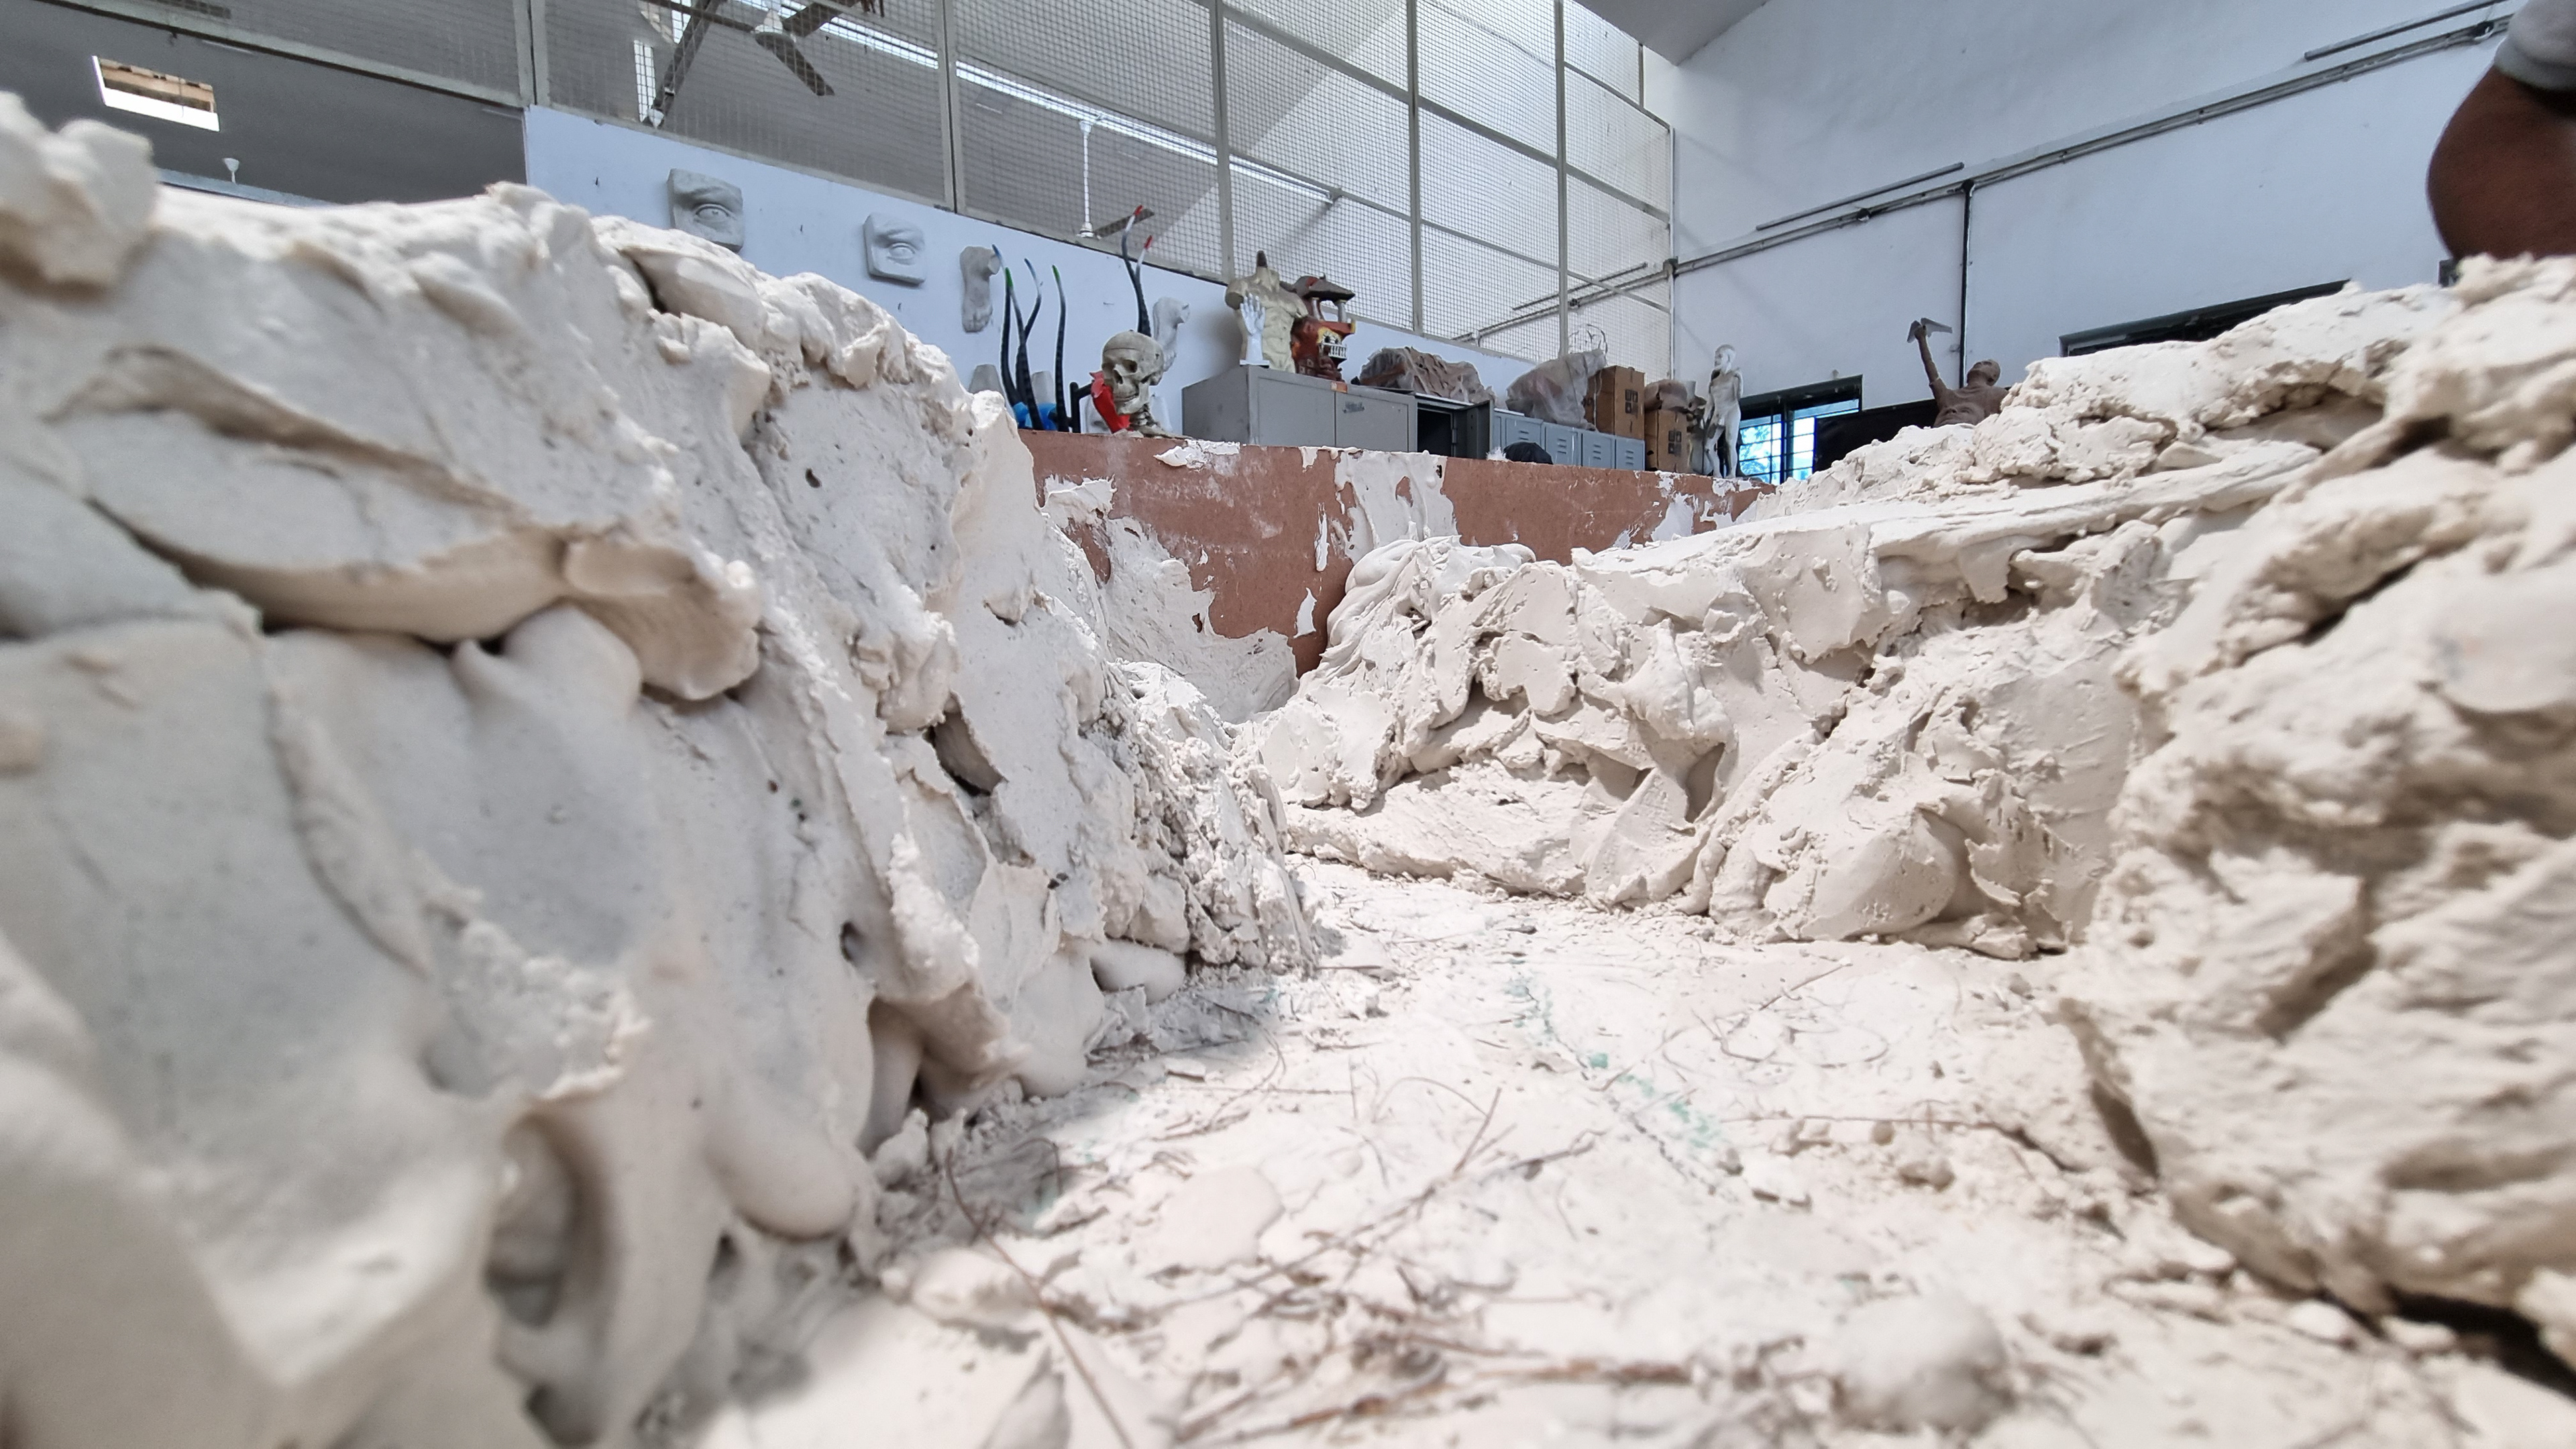
Miniature Sculpting & Construction Process: Behind-the-scenes documentation showing the art department using Plaster of Paris, metal framing, and mountboard to sculpt the 300kg canyon terrain and deep valley floor.
Art Direction & Miniature Construction
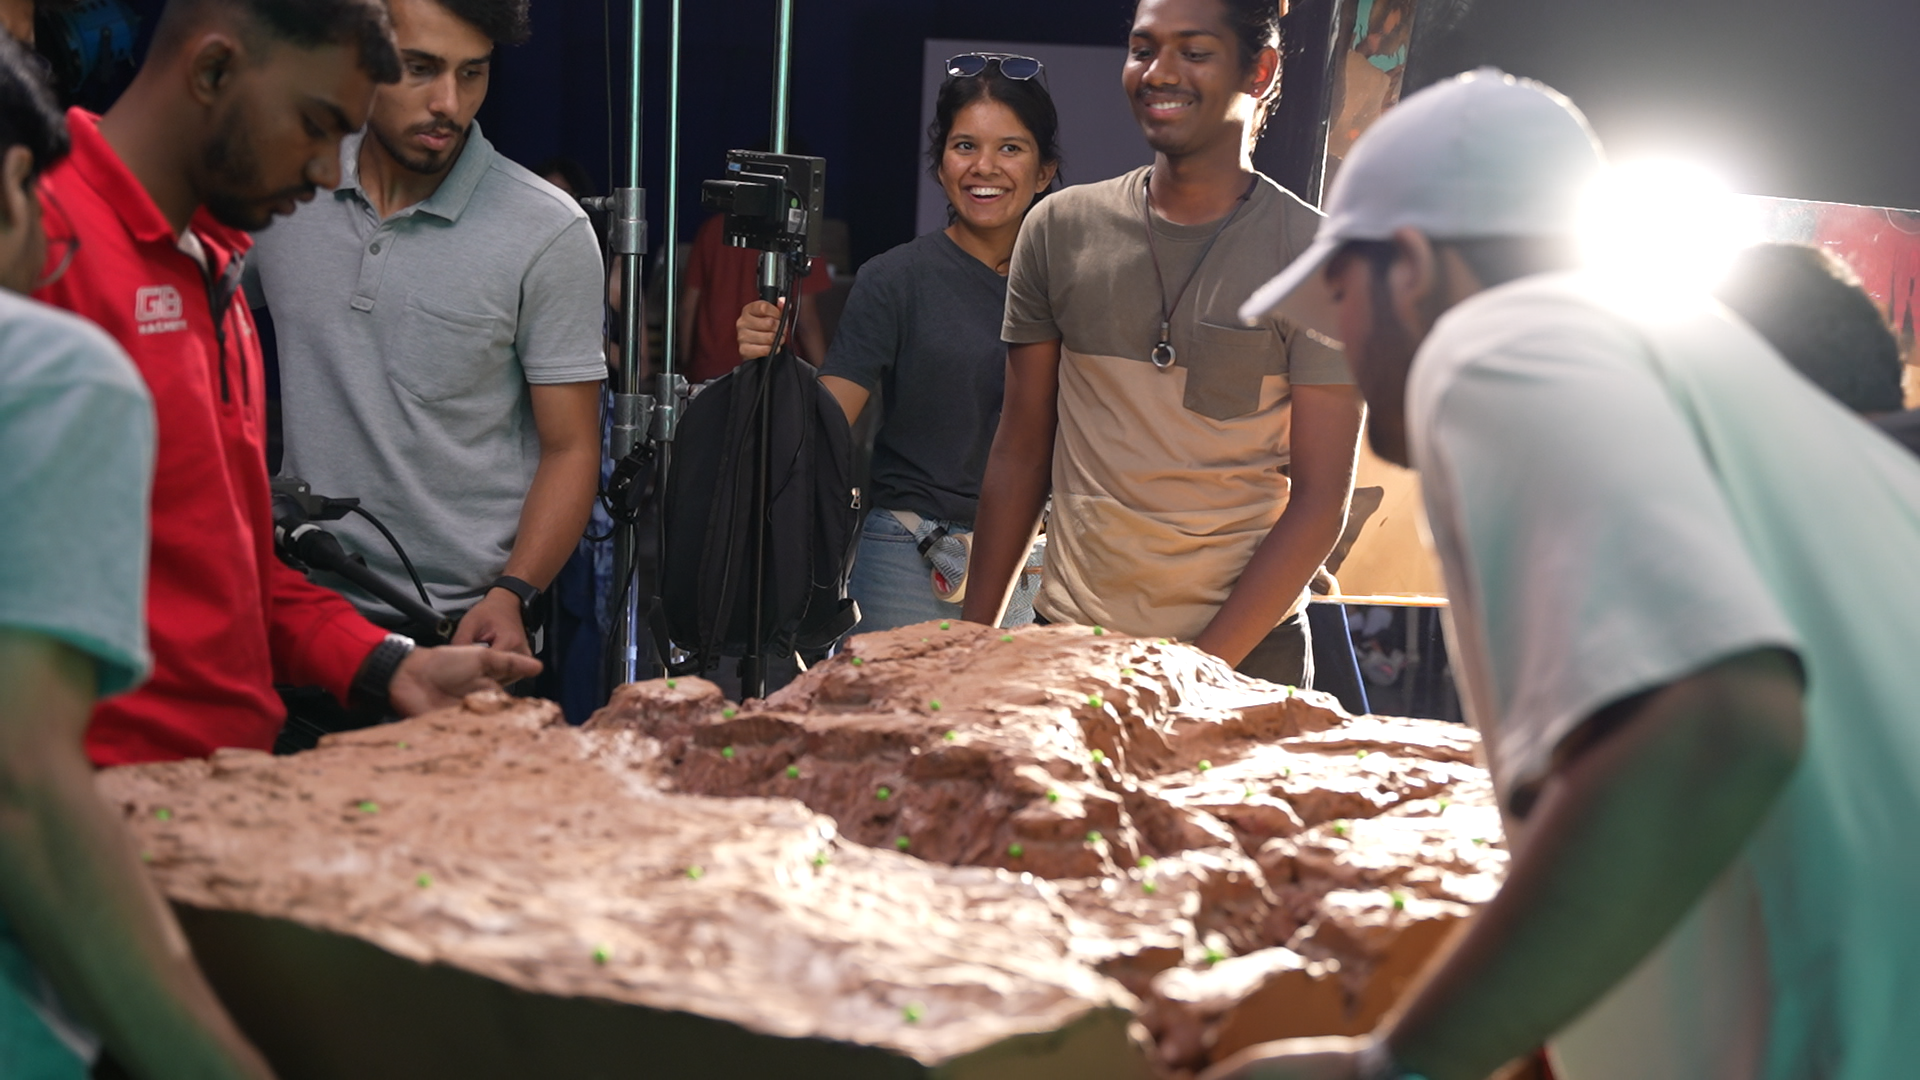
The canyon was physically sculpted with the objective of creating a believable tabletop interpretation of a rocky desert valley rather than an obviously miniature diorama. Major terrain masses, valley depth, plateau structures, and surface transitions were established before the painting stage. The miniature was ultimately constructed as a heavy plaster-and-metal assembly. Its final weight reached approximately 300 kg, which became one of the project's principal logistical constraints.
Miniature Paint Development
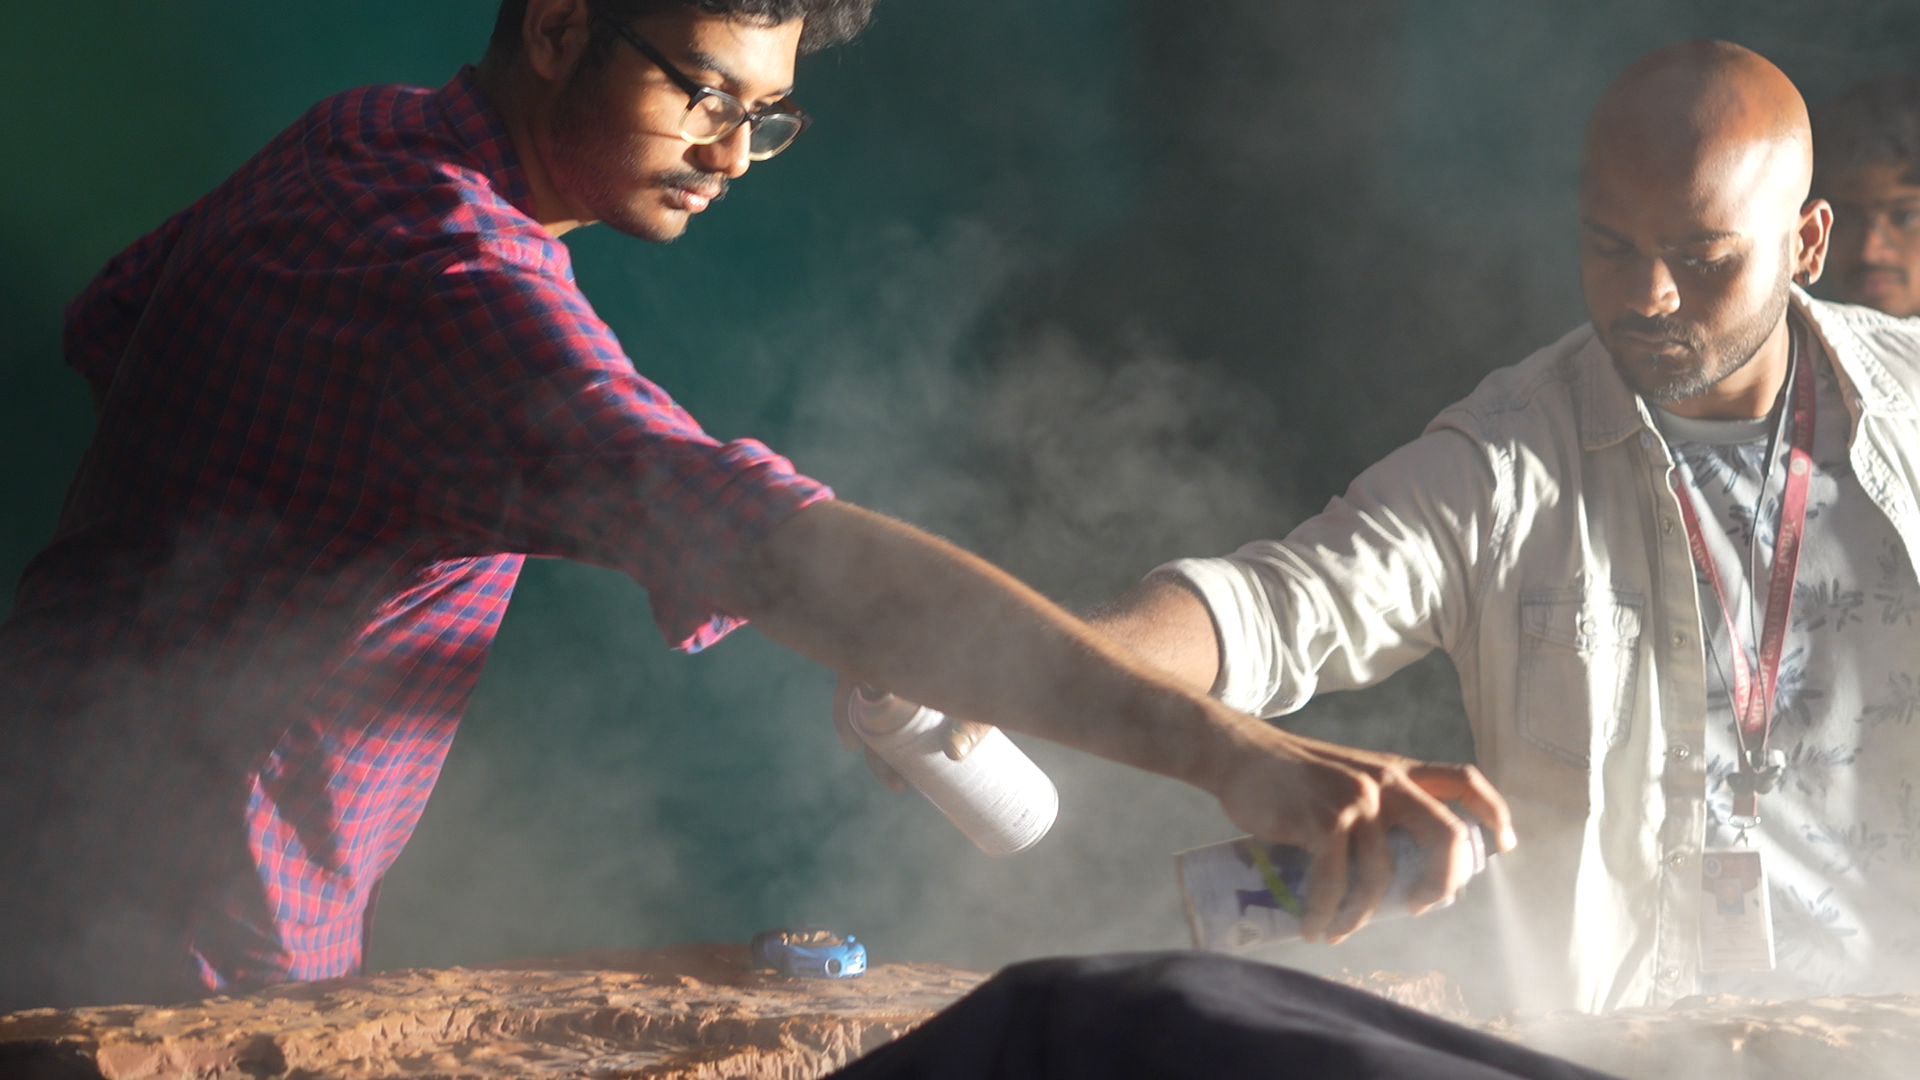
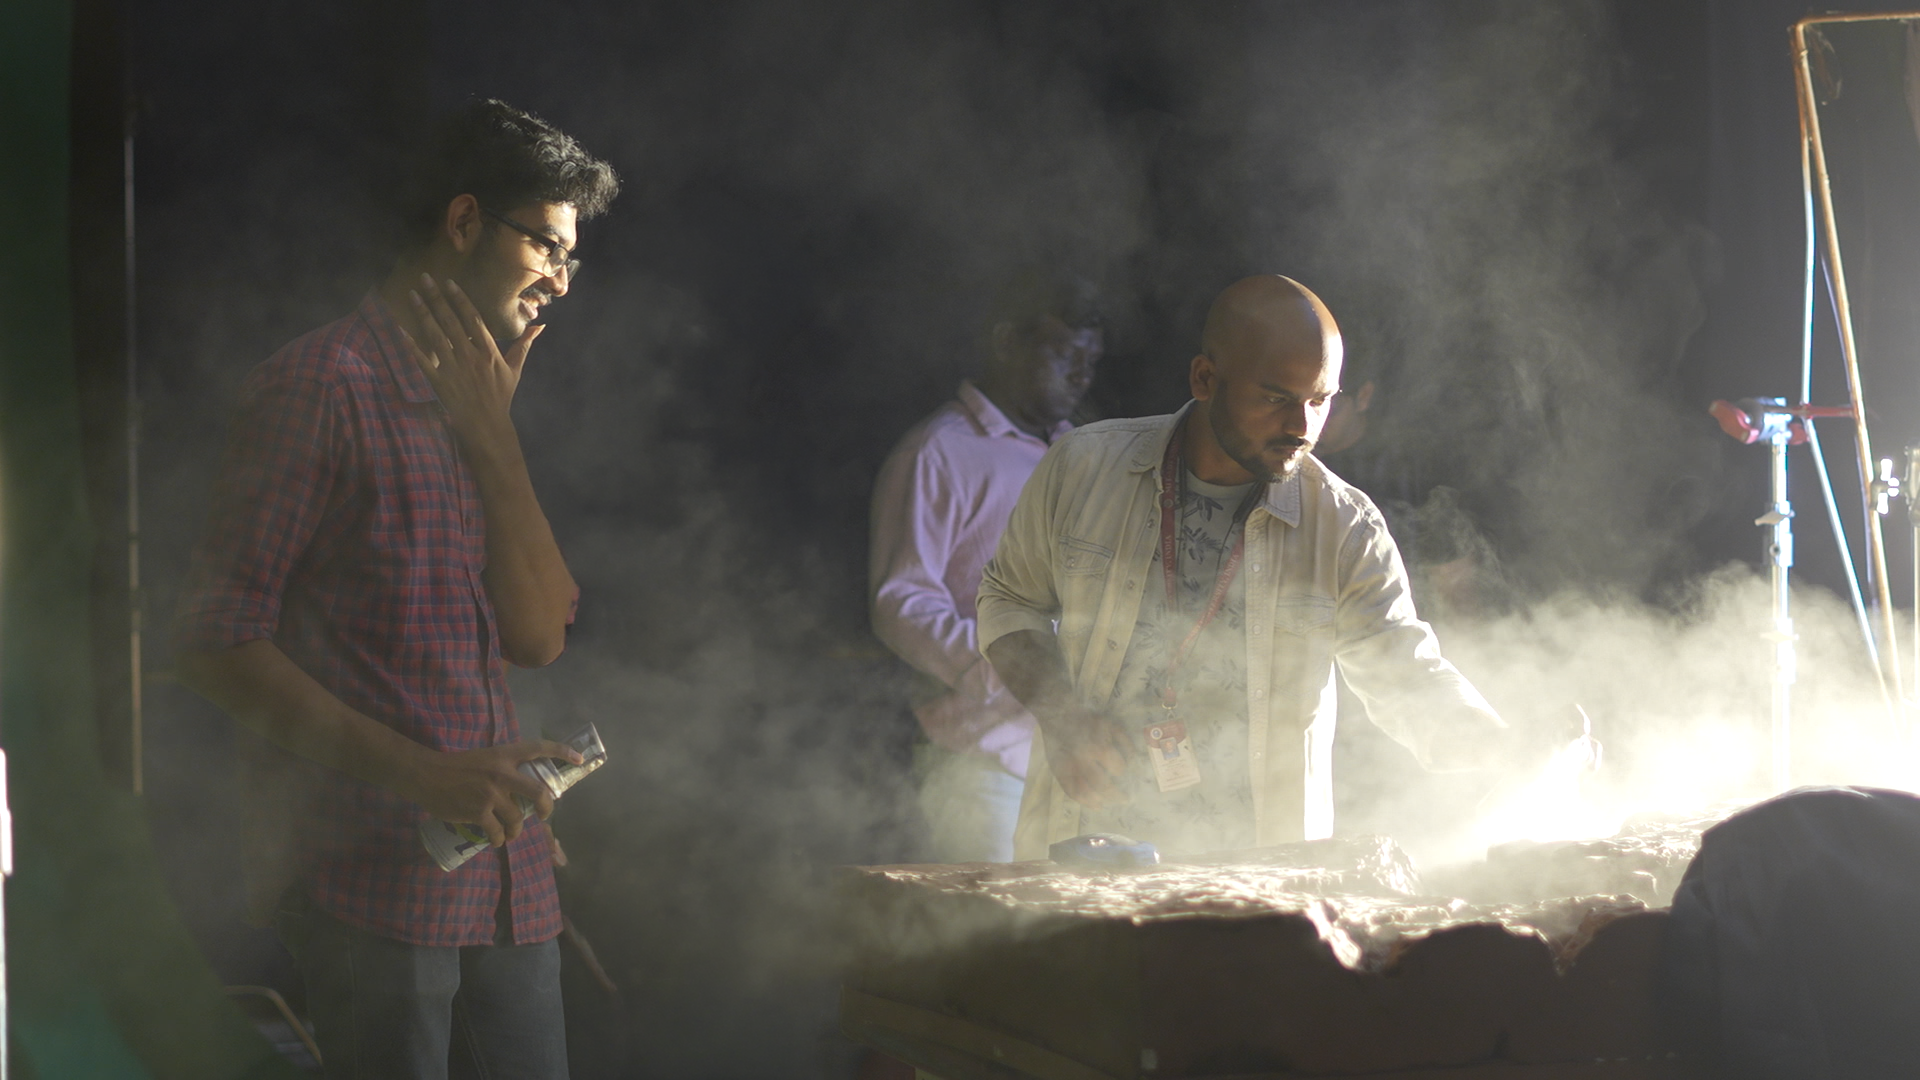
During the initial paint pass, the art department introduced painted highlights and shadows directly into the terrain. This created a conflict with the cinematographic lighting because the miniature would subsequently receive physical directional illumination, causing the painted values to behave like an additional, incorrect lighting layer. The paint treatment was therefore redirected toward base-colour and tonal texture development, removing unnecessary painted highlights and shadows. Darker variations were retained for valley regions and surface transitions so that actual production lighting could establish the final highlights and shadows.
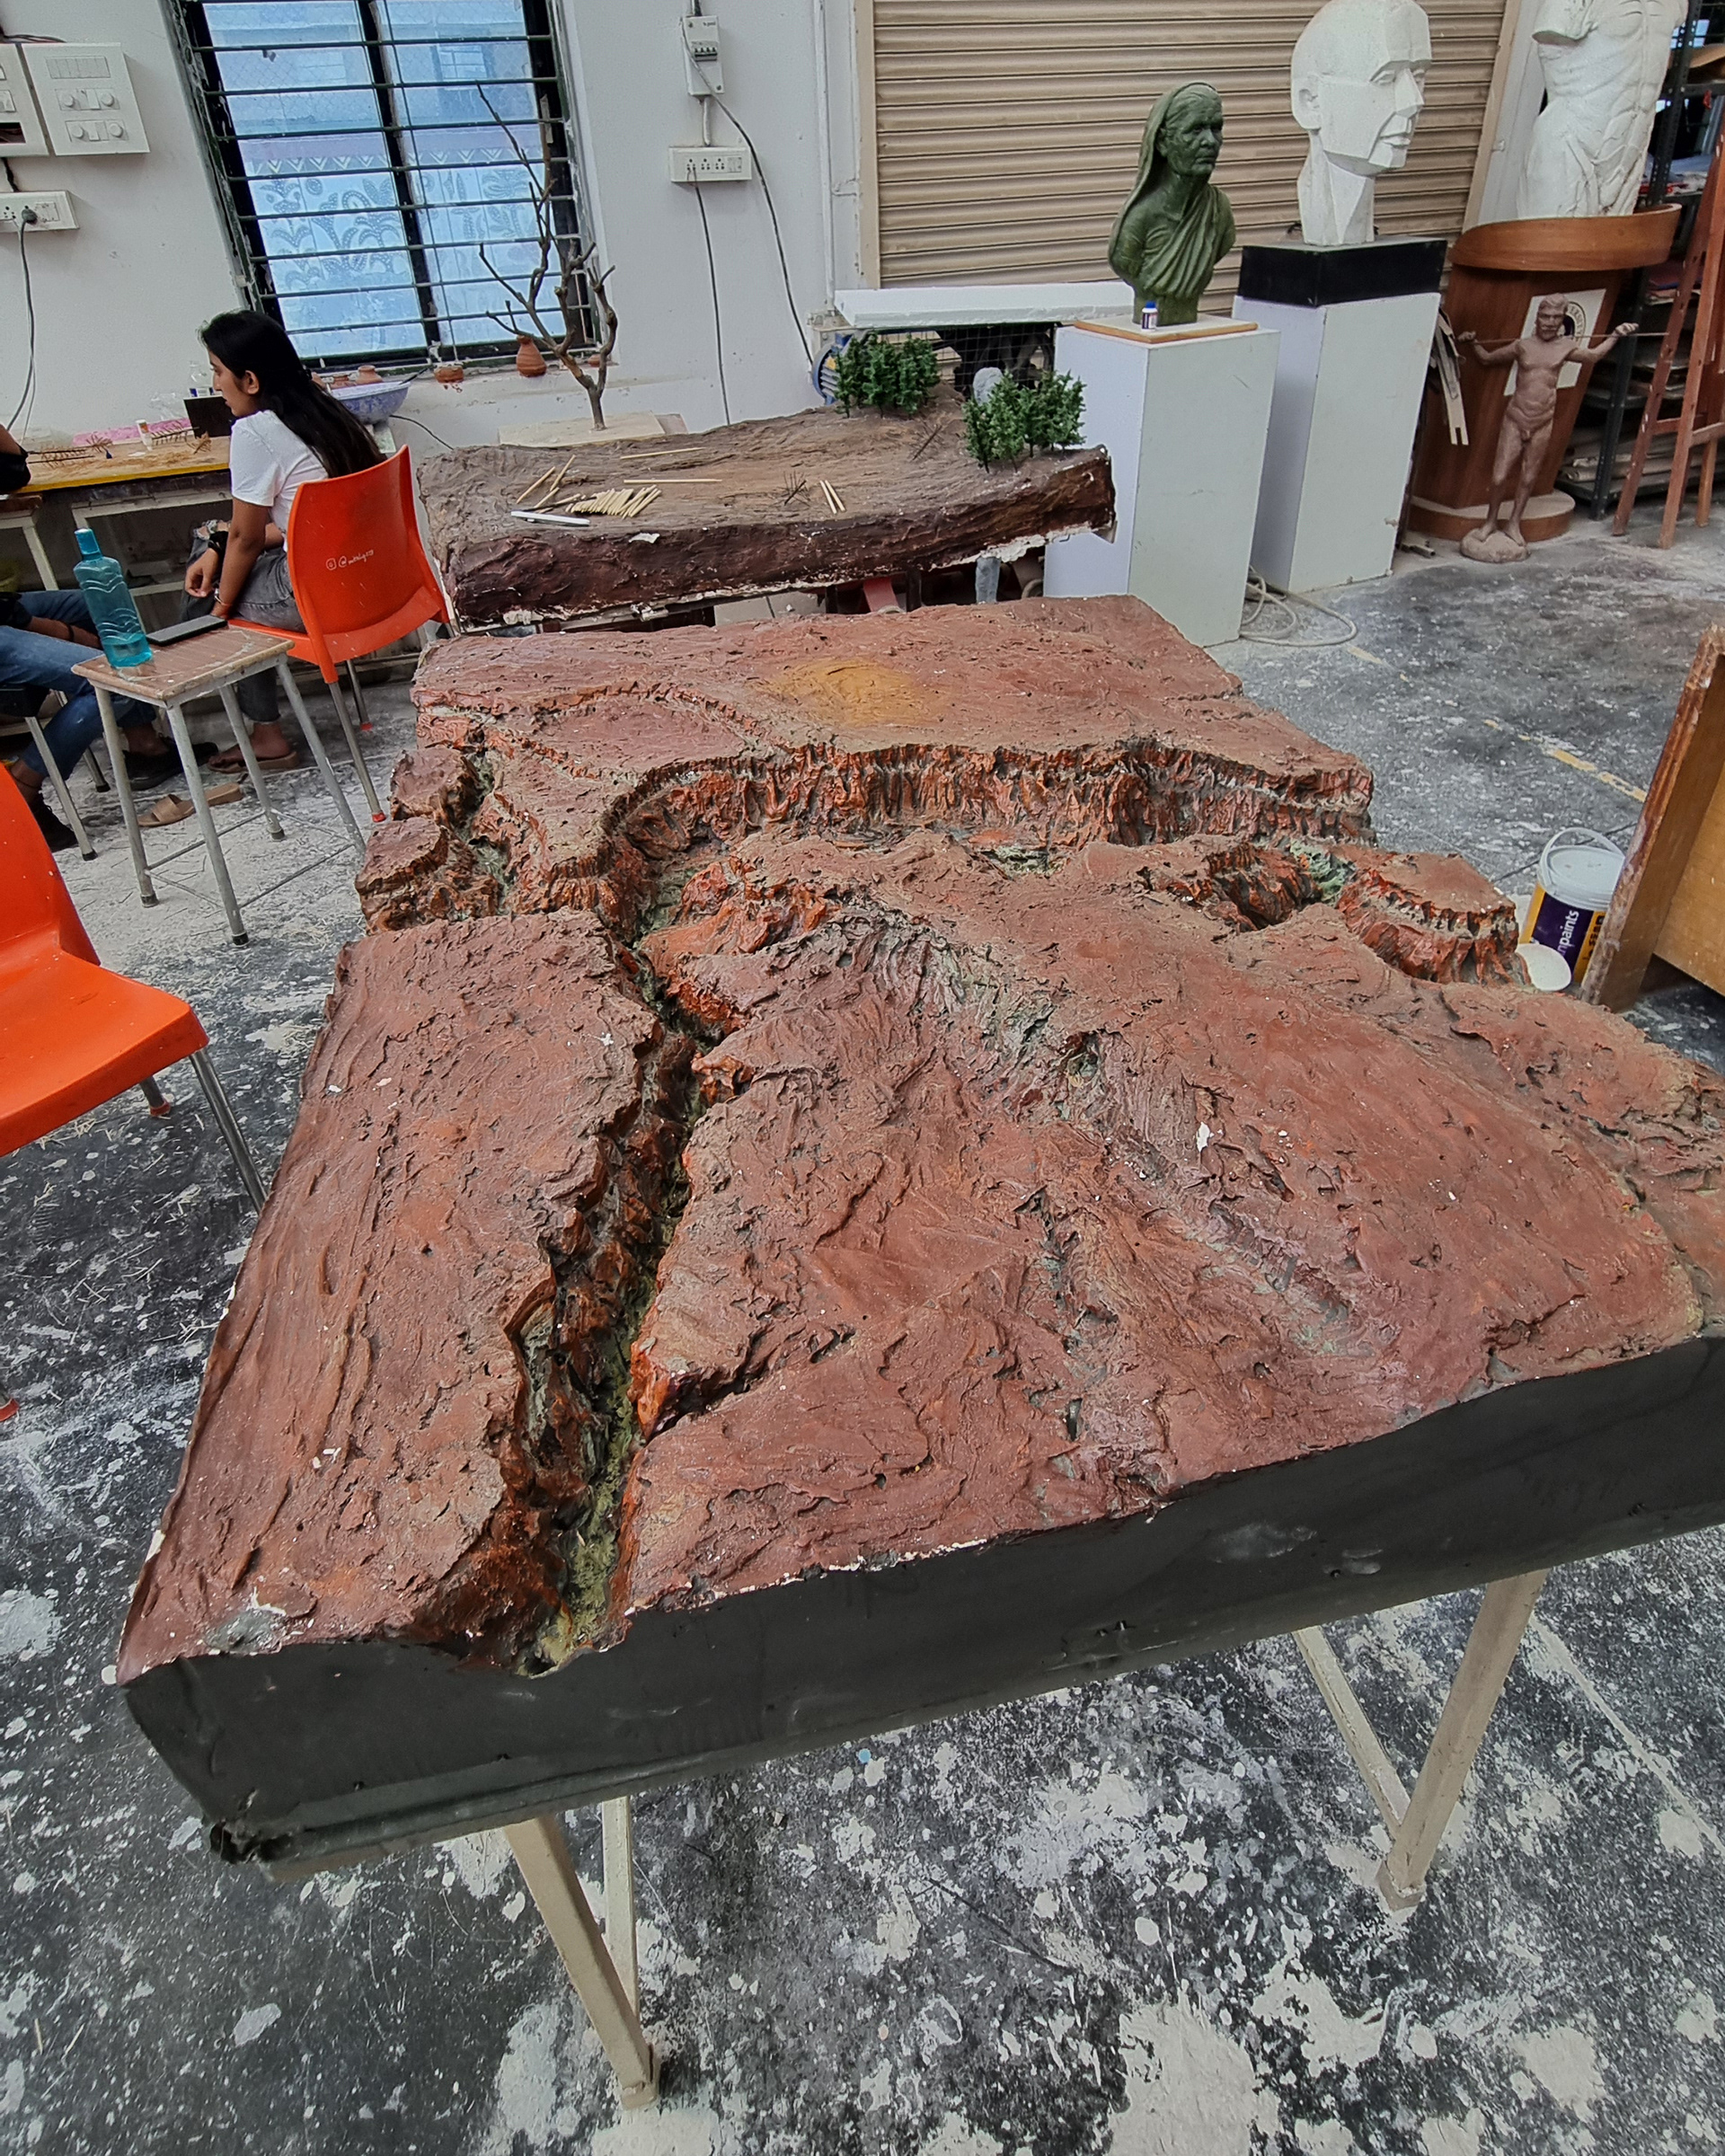
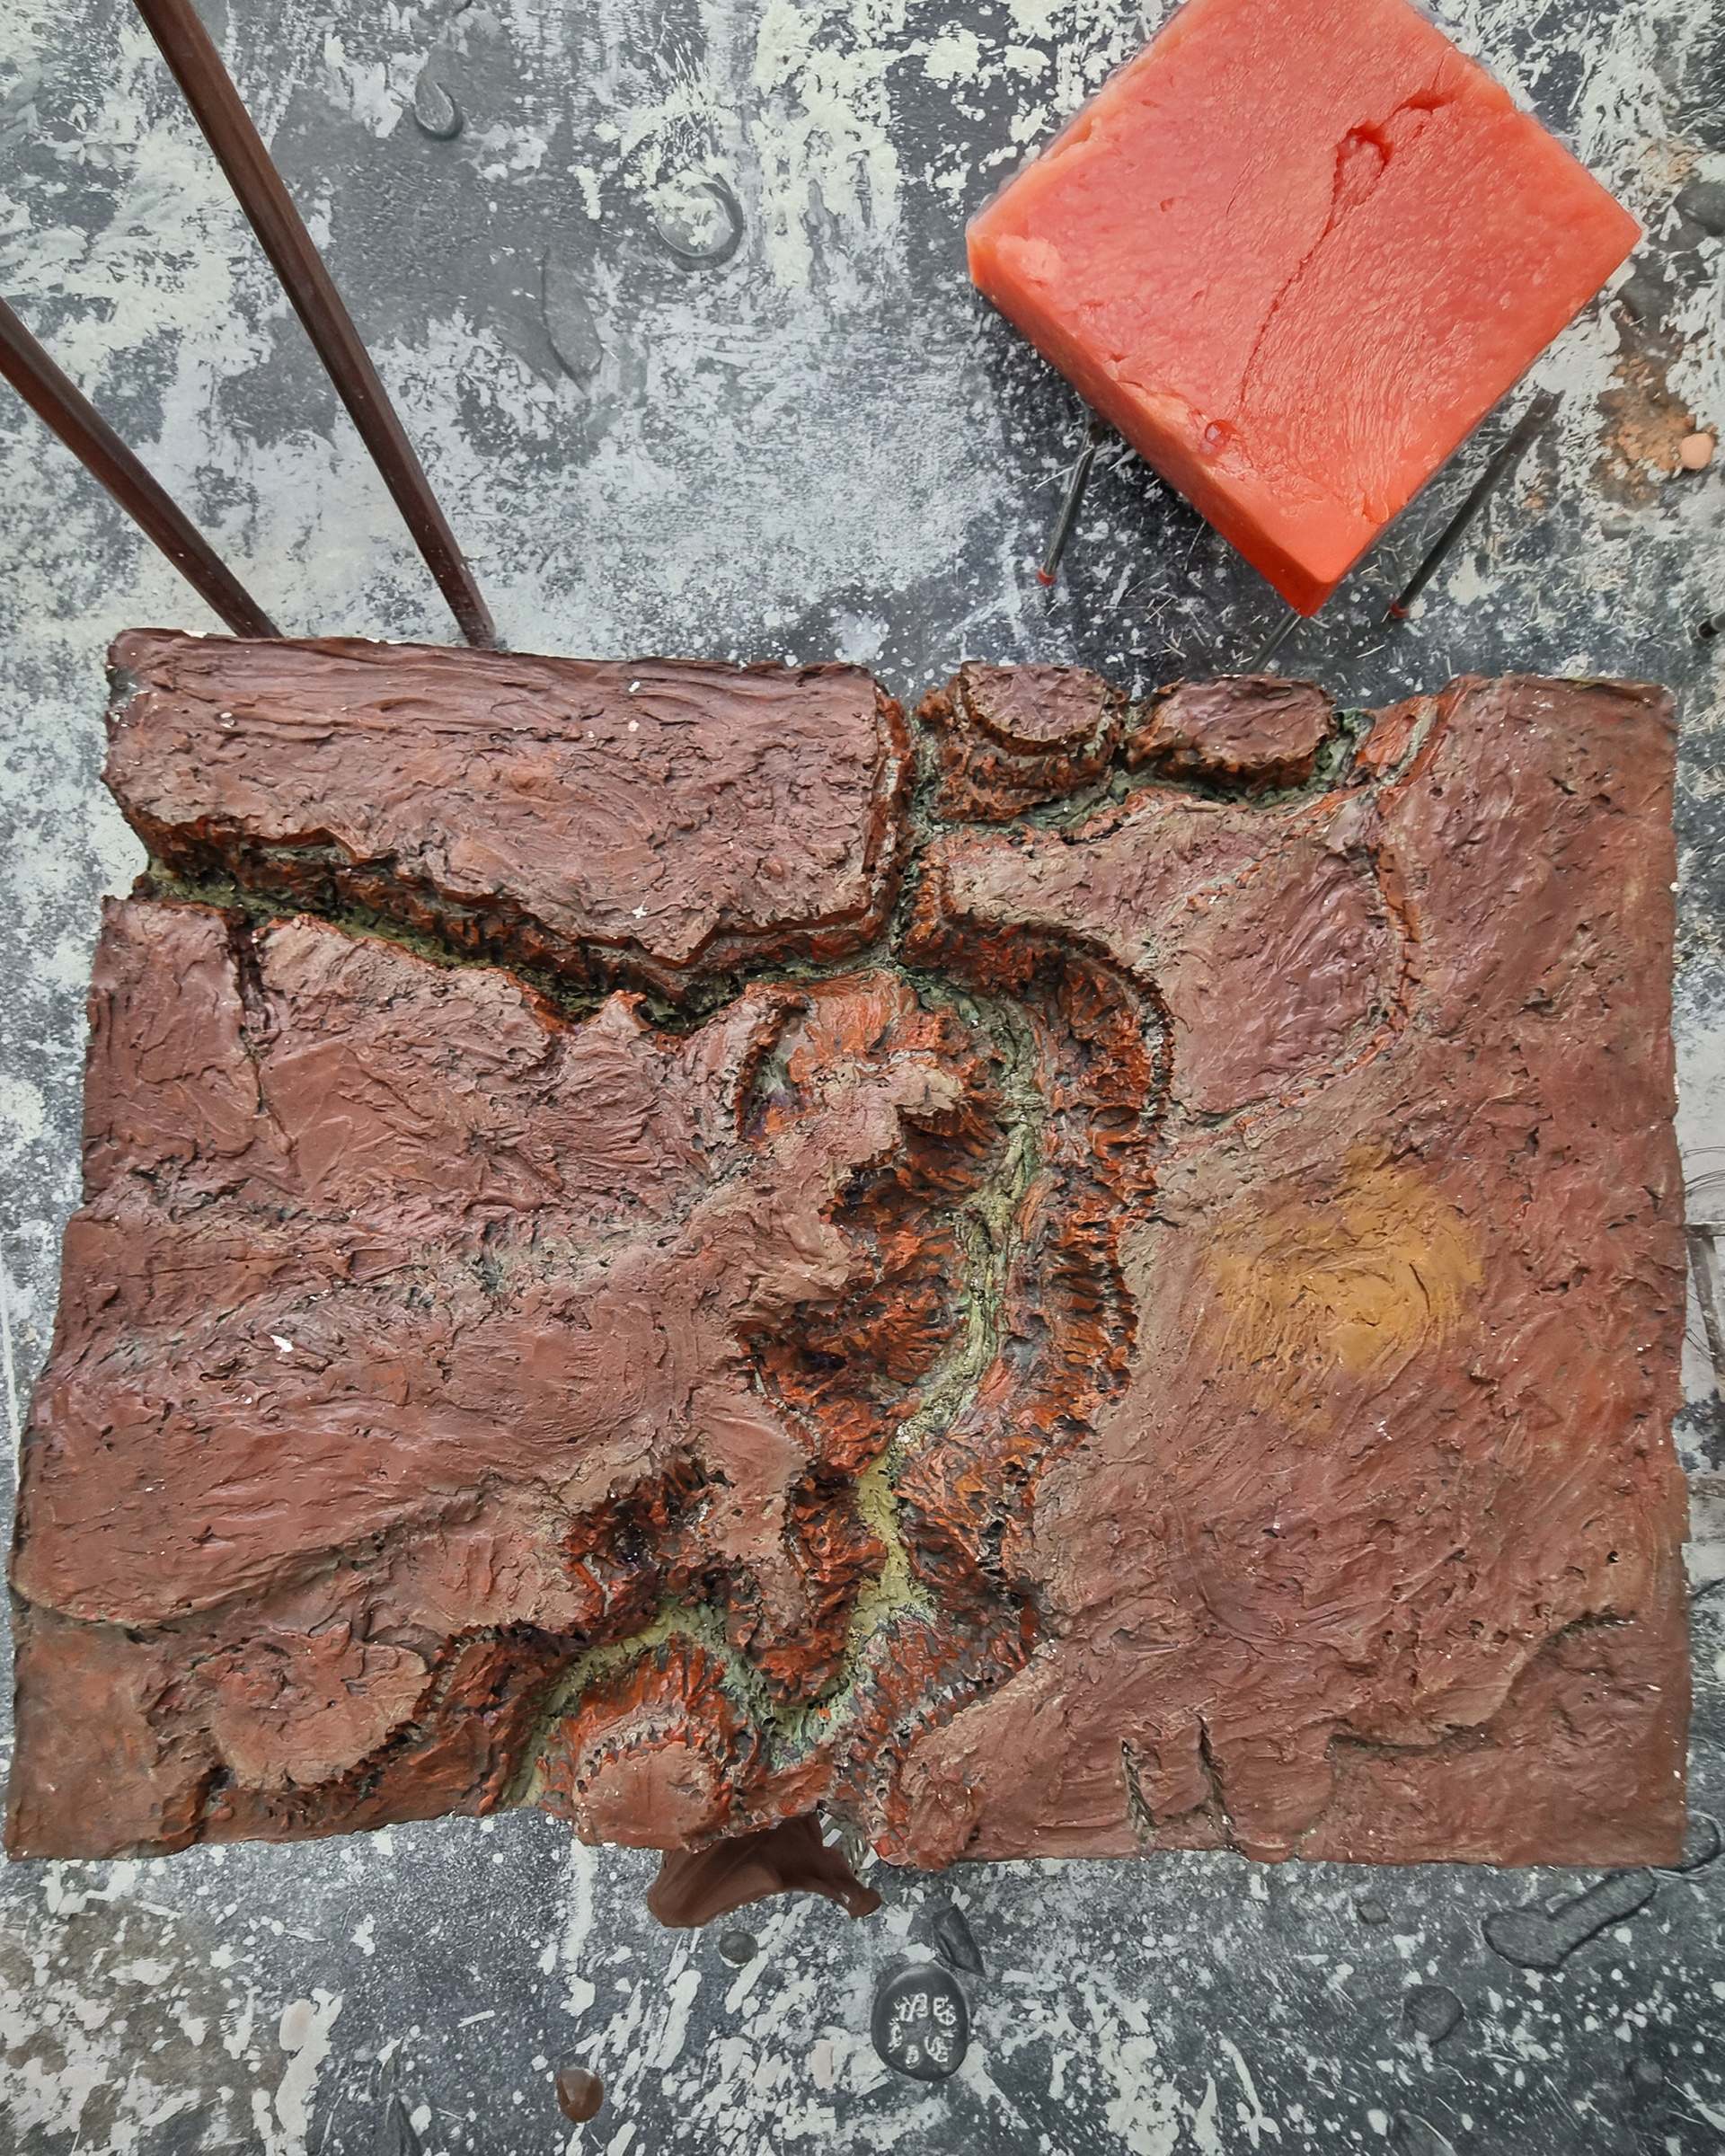
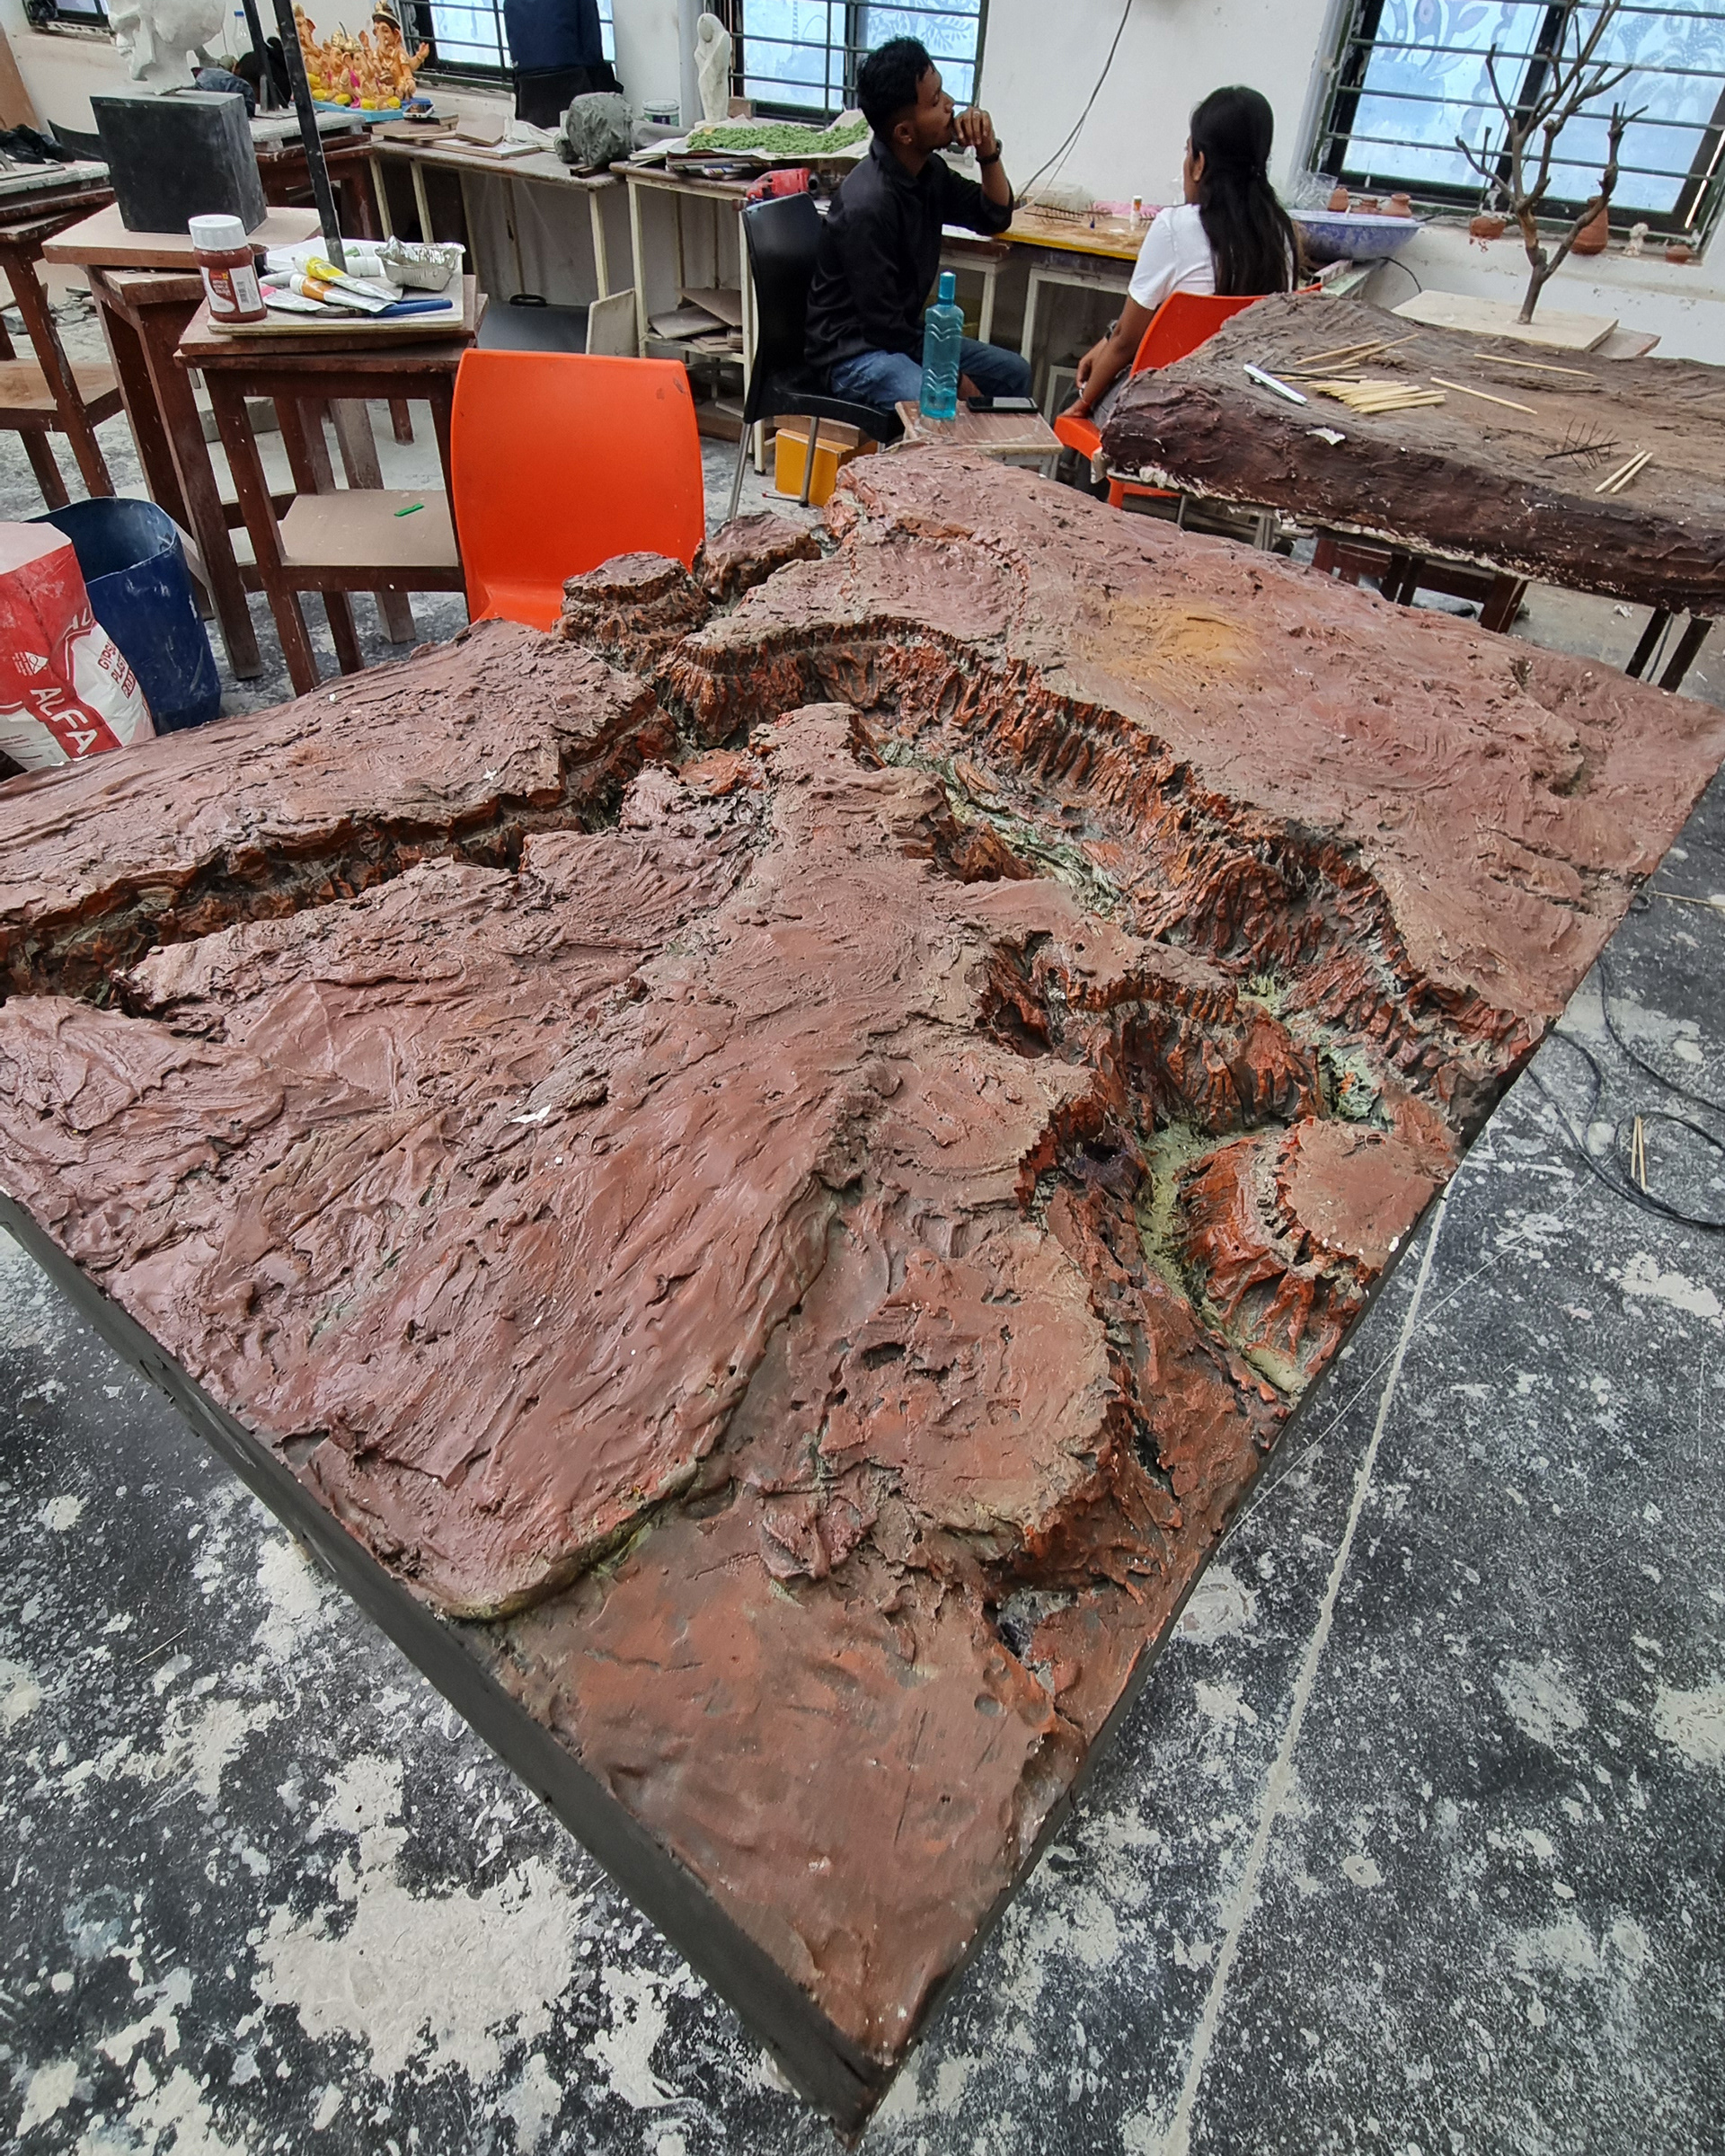
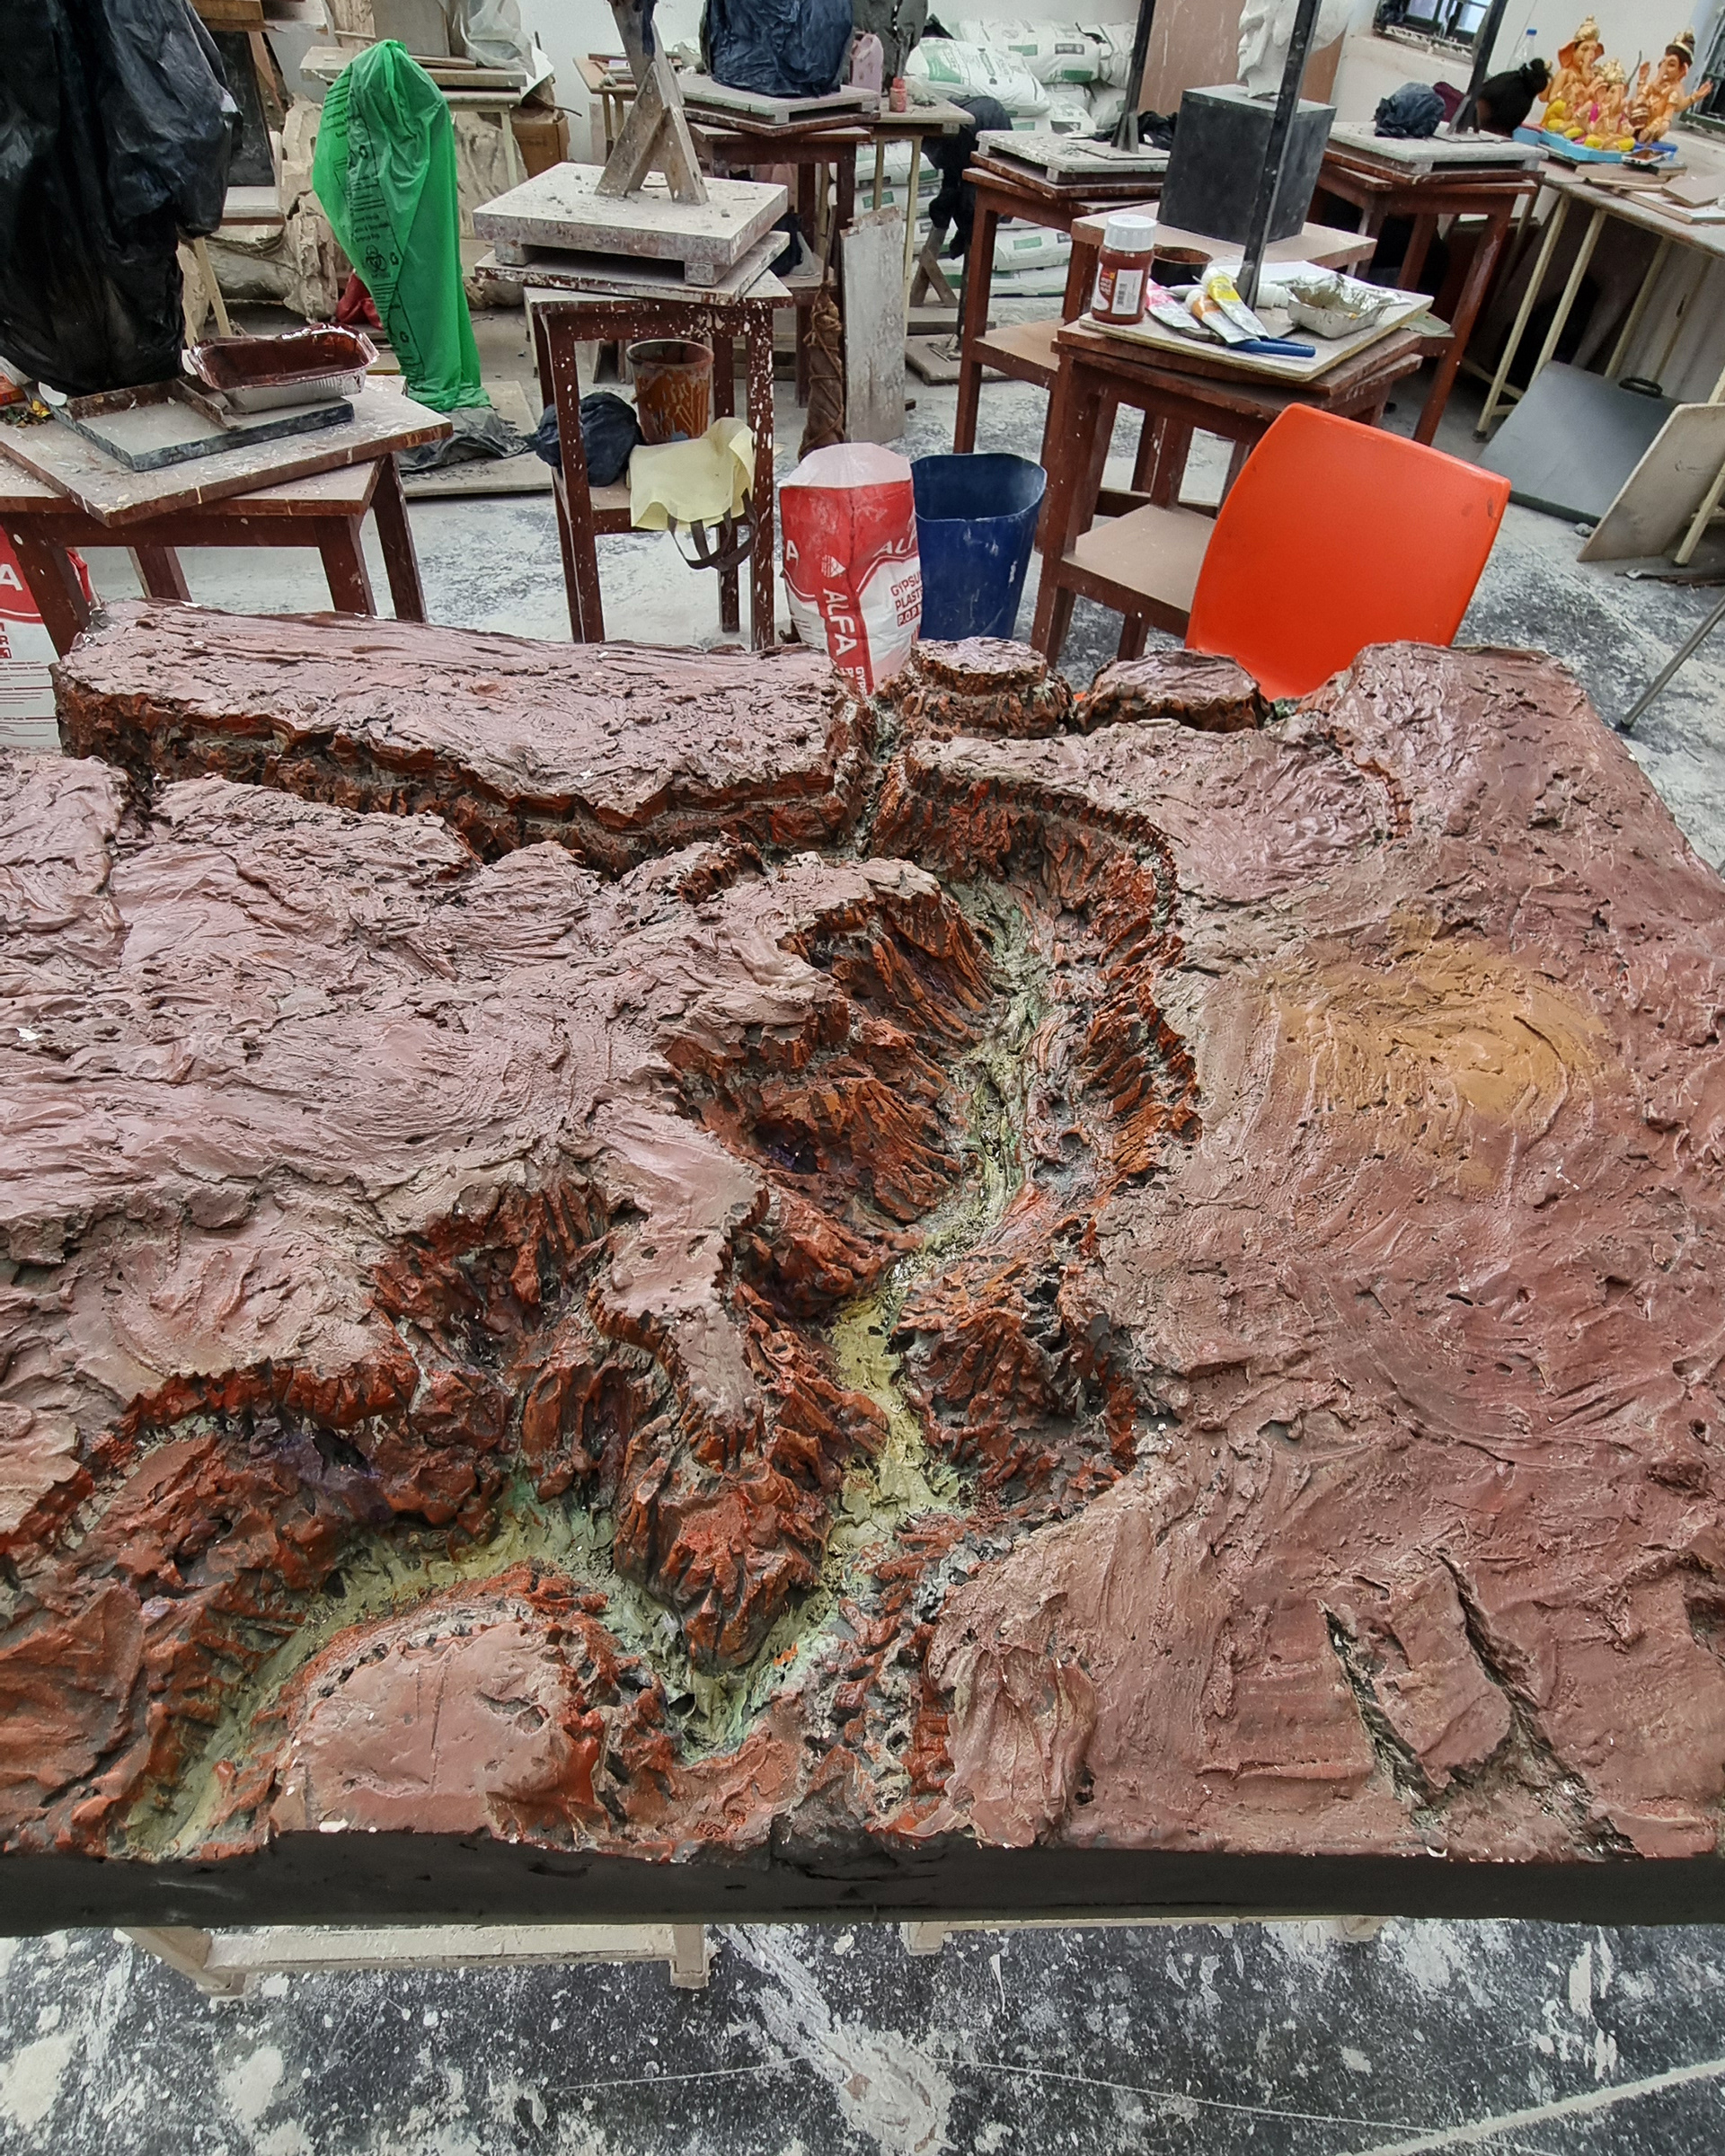
Miniature Surface Painting & Texturing Phase: Practical art department workflow detailing the application of base earth tones, rock stainers, and riverbed washes across the finished canyon slab before transport.
Miniature Production Logistics
The miniature's weight created a significant transport and handling problem. Moving the model to the chroma stage required a heavy-duty trolley, coordinated crew lifting, and manual transfer to the first floor because the miniature could not pass through the elevator.
The transport plan was incorporated into the shooting schedule because damage to the plaster surface would have produced highly visible cracks and required additional VFX clean-up. The model was successfully transported without structural damage and delivered to the stage for photography.
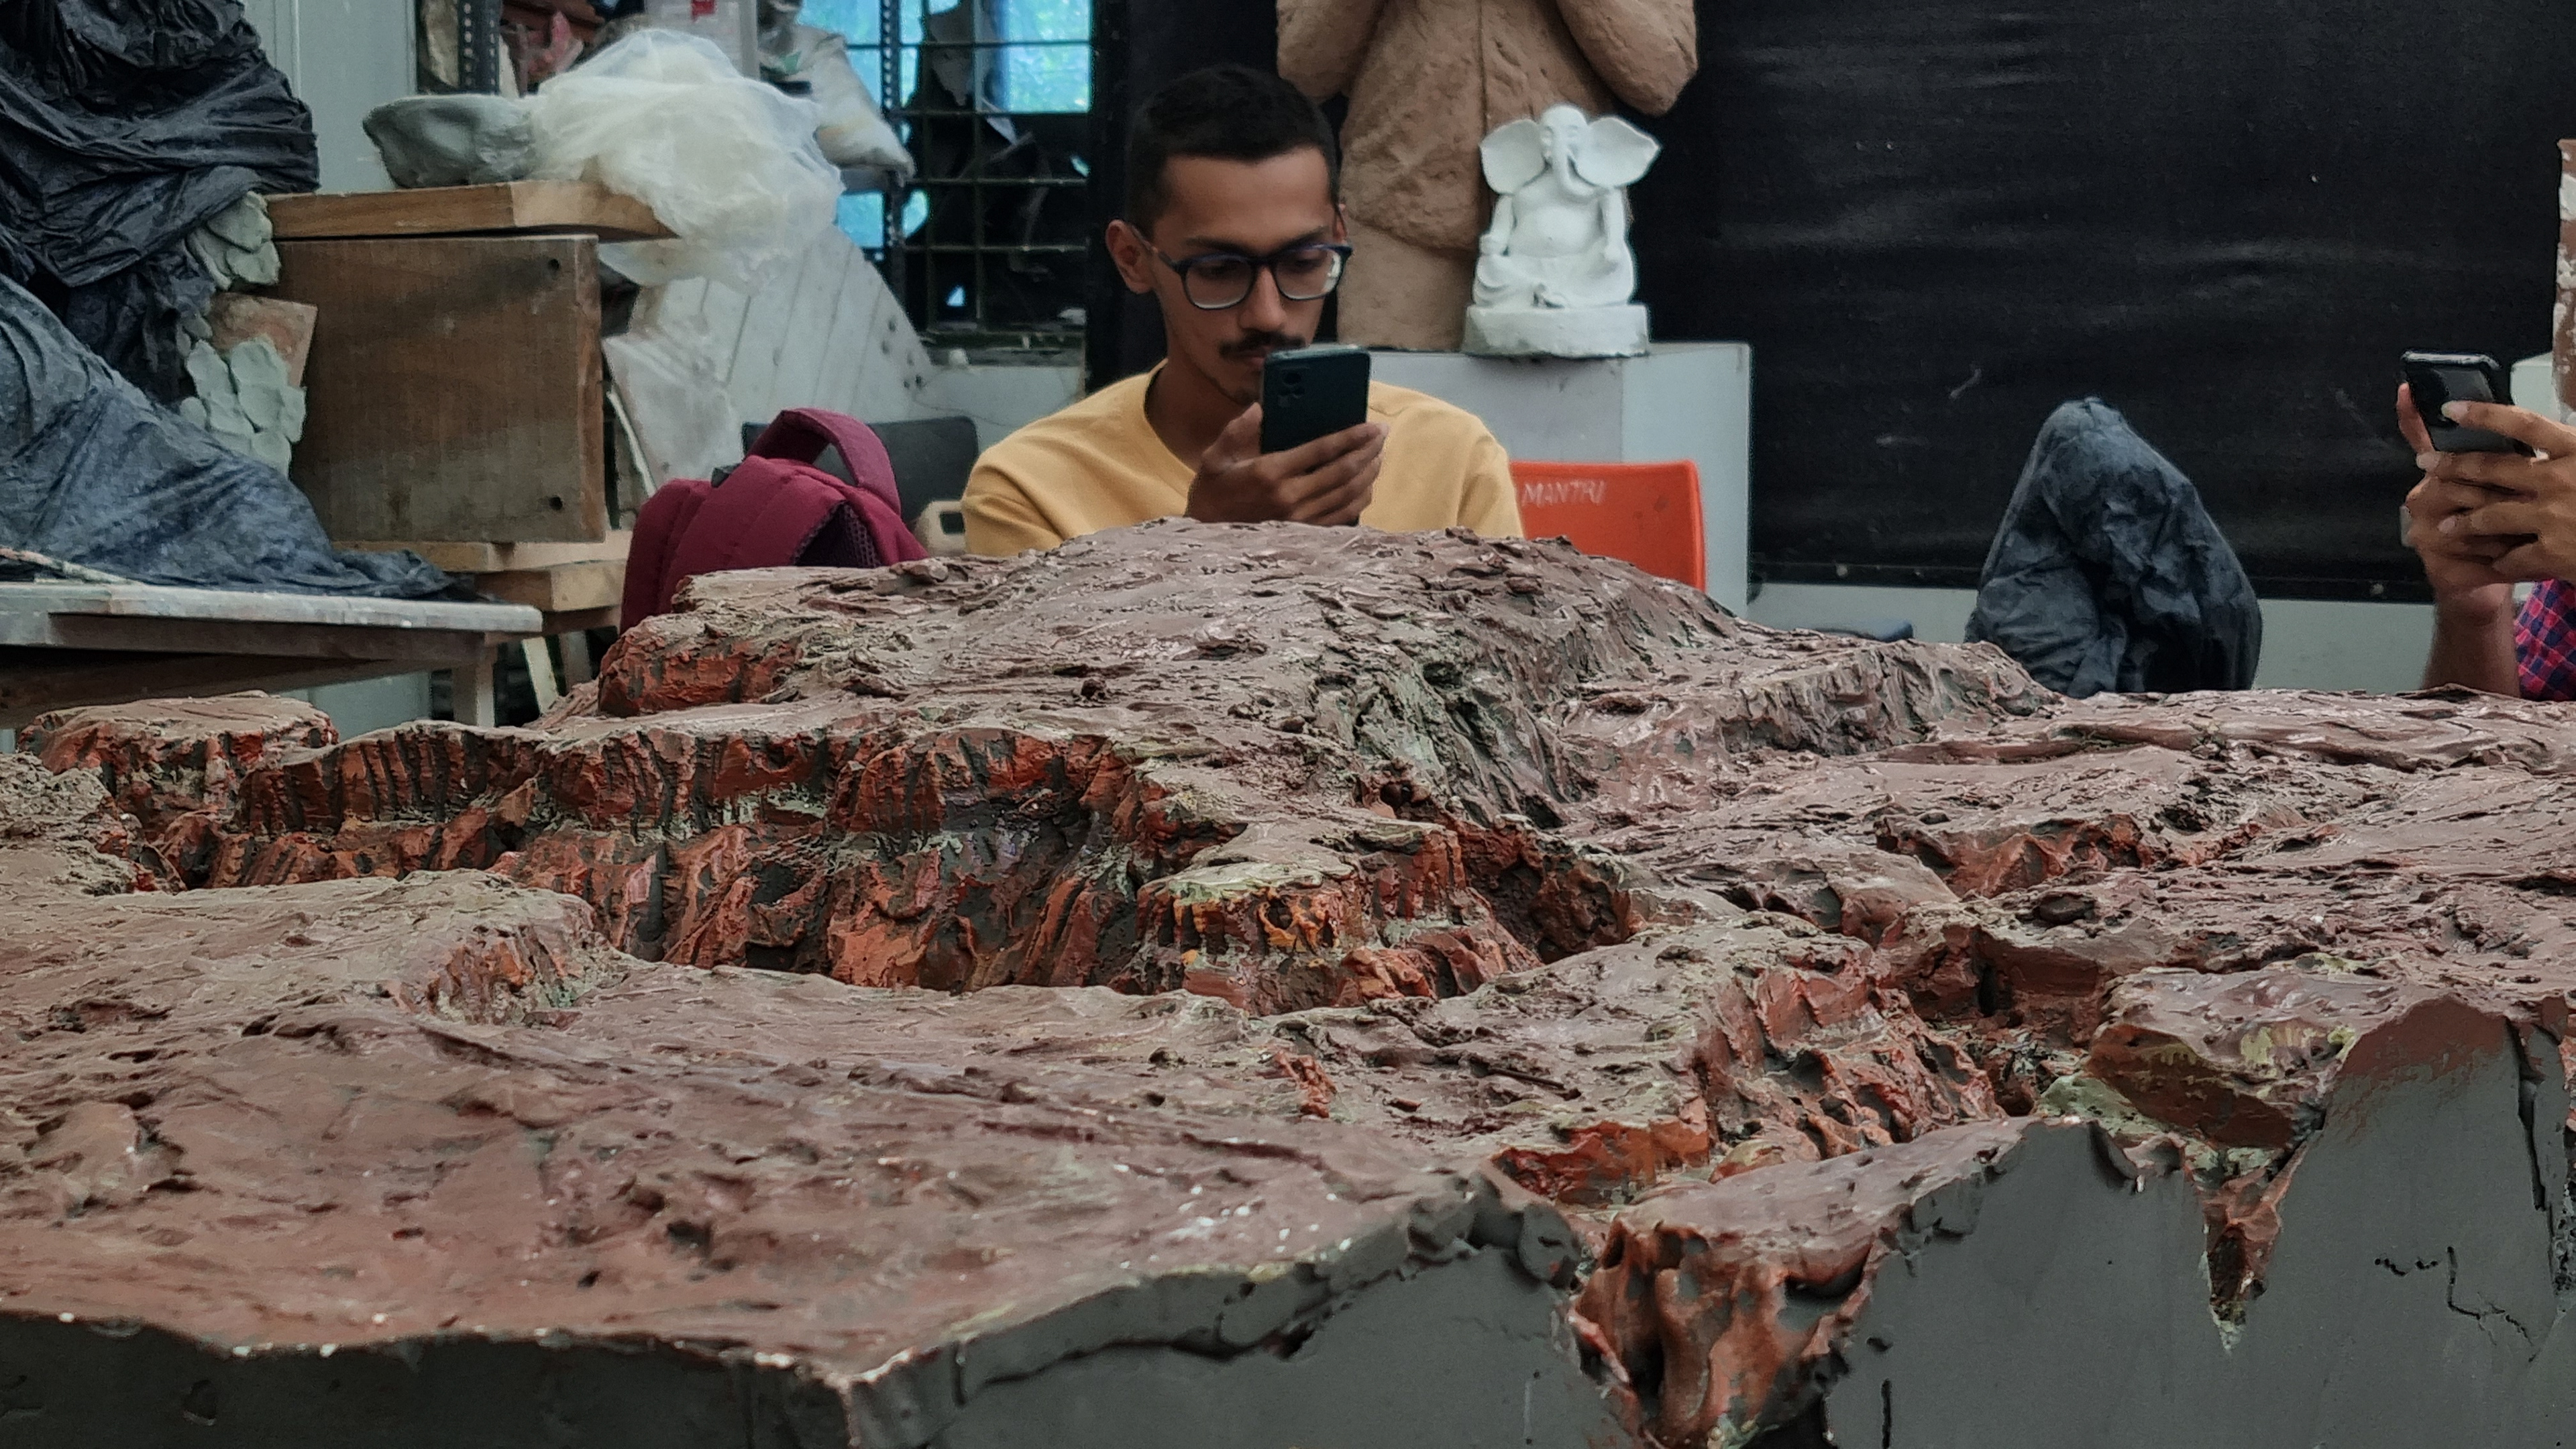
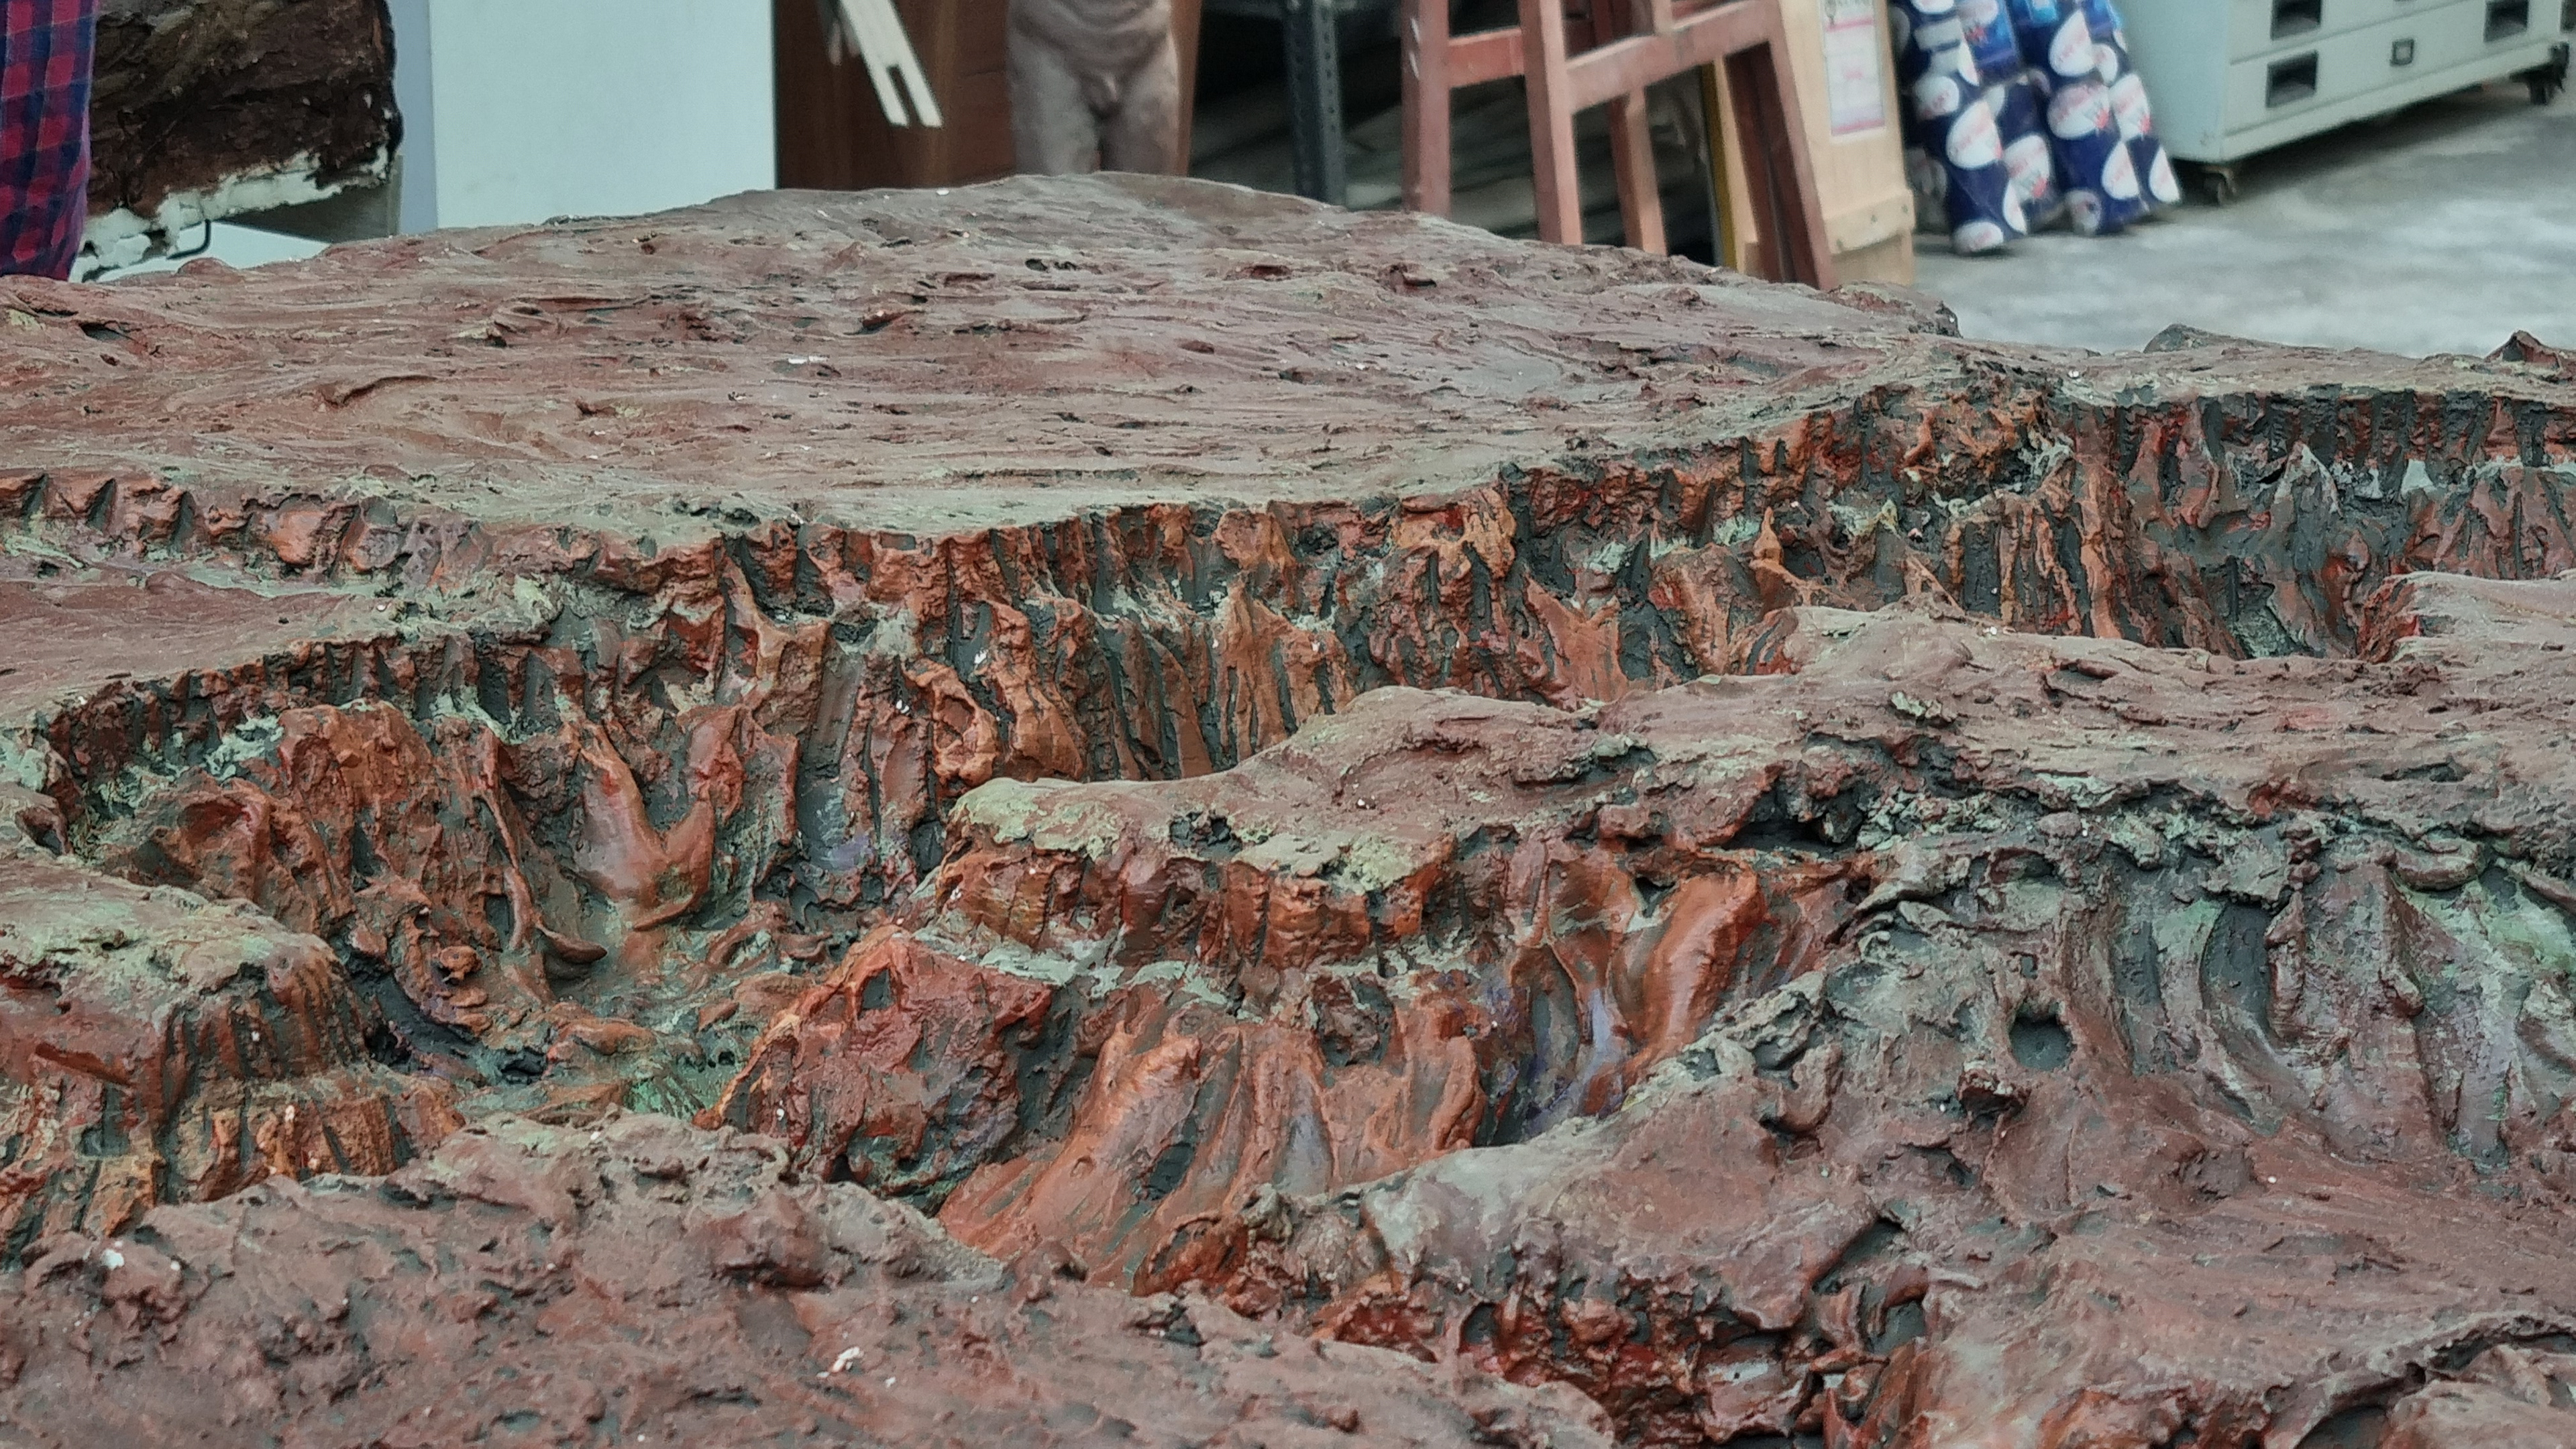
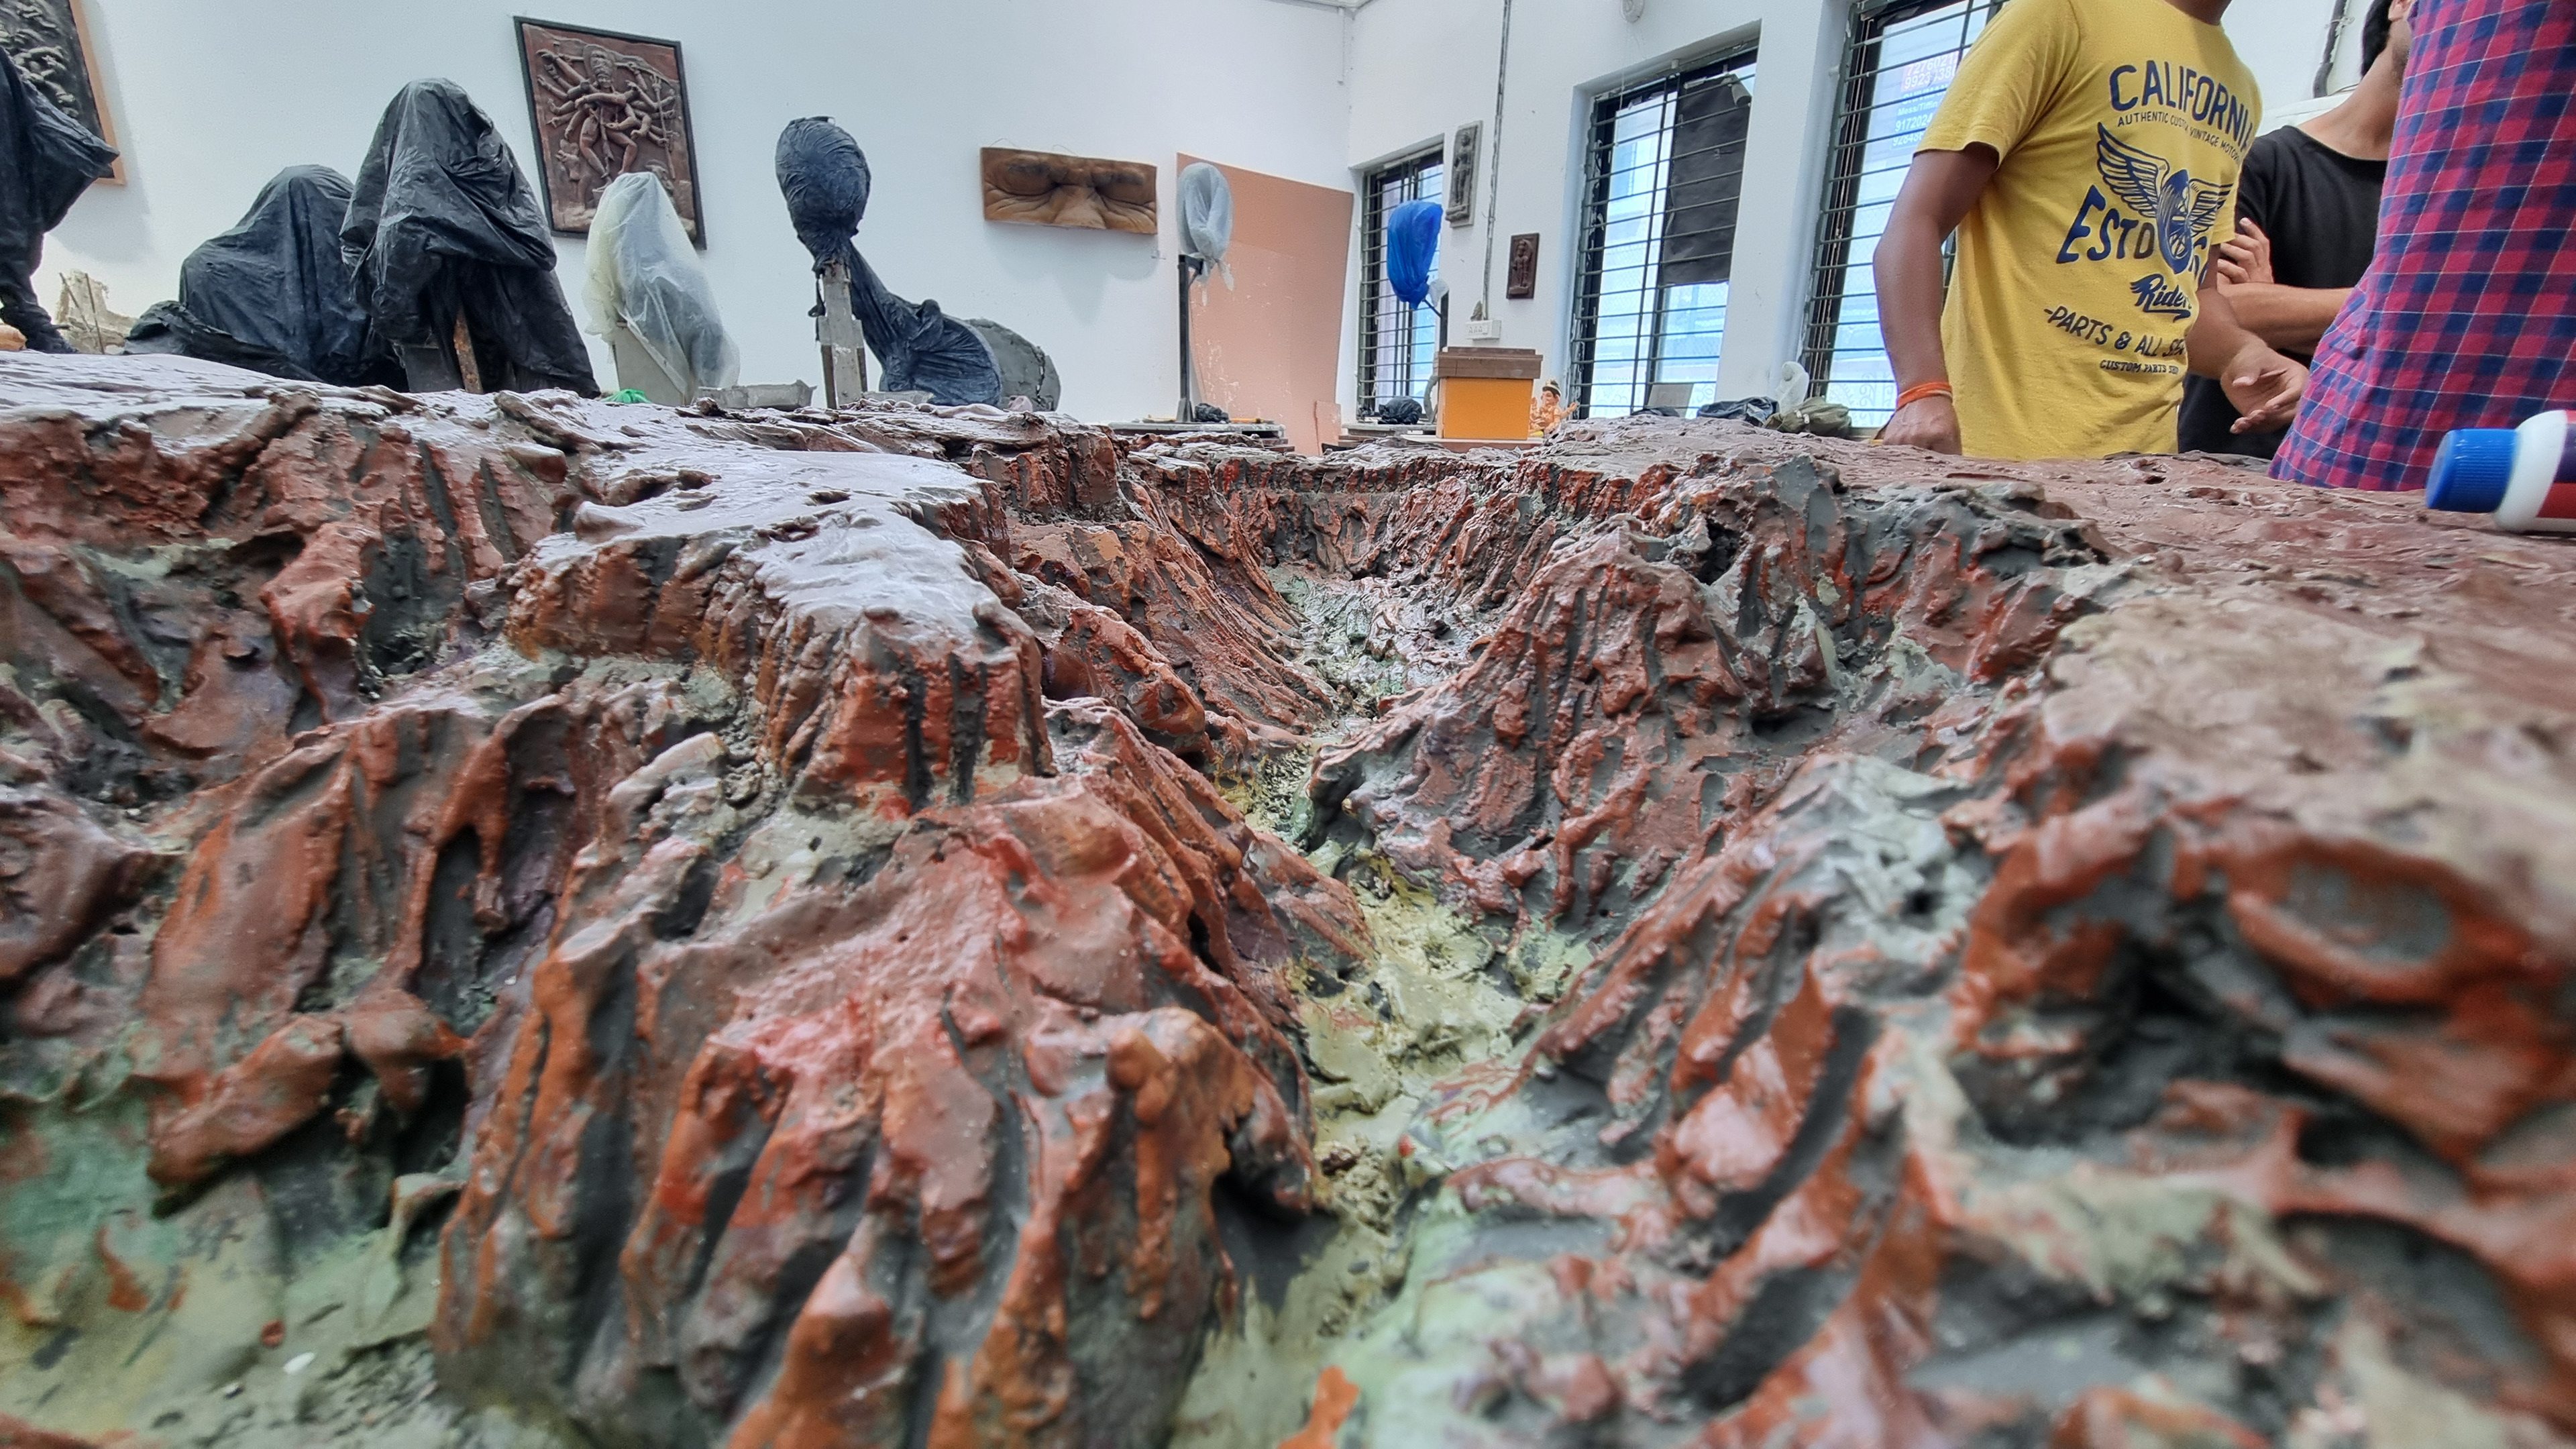
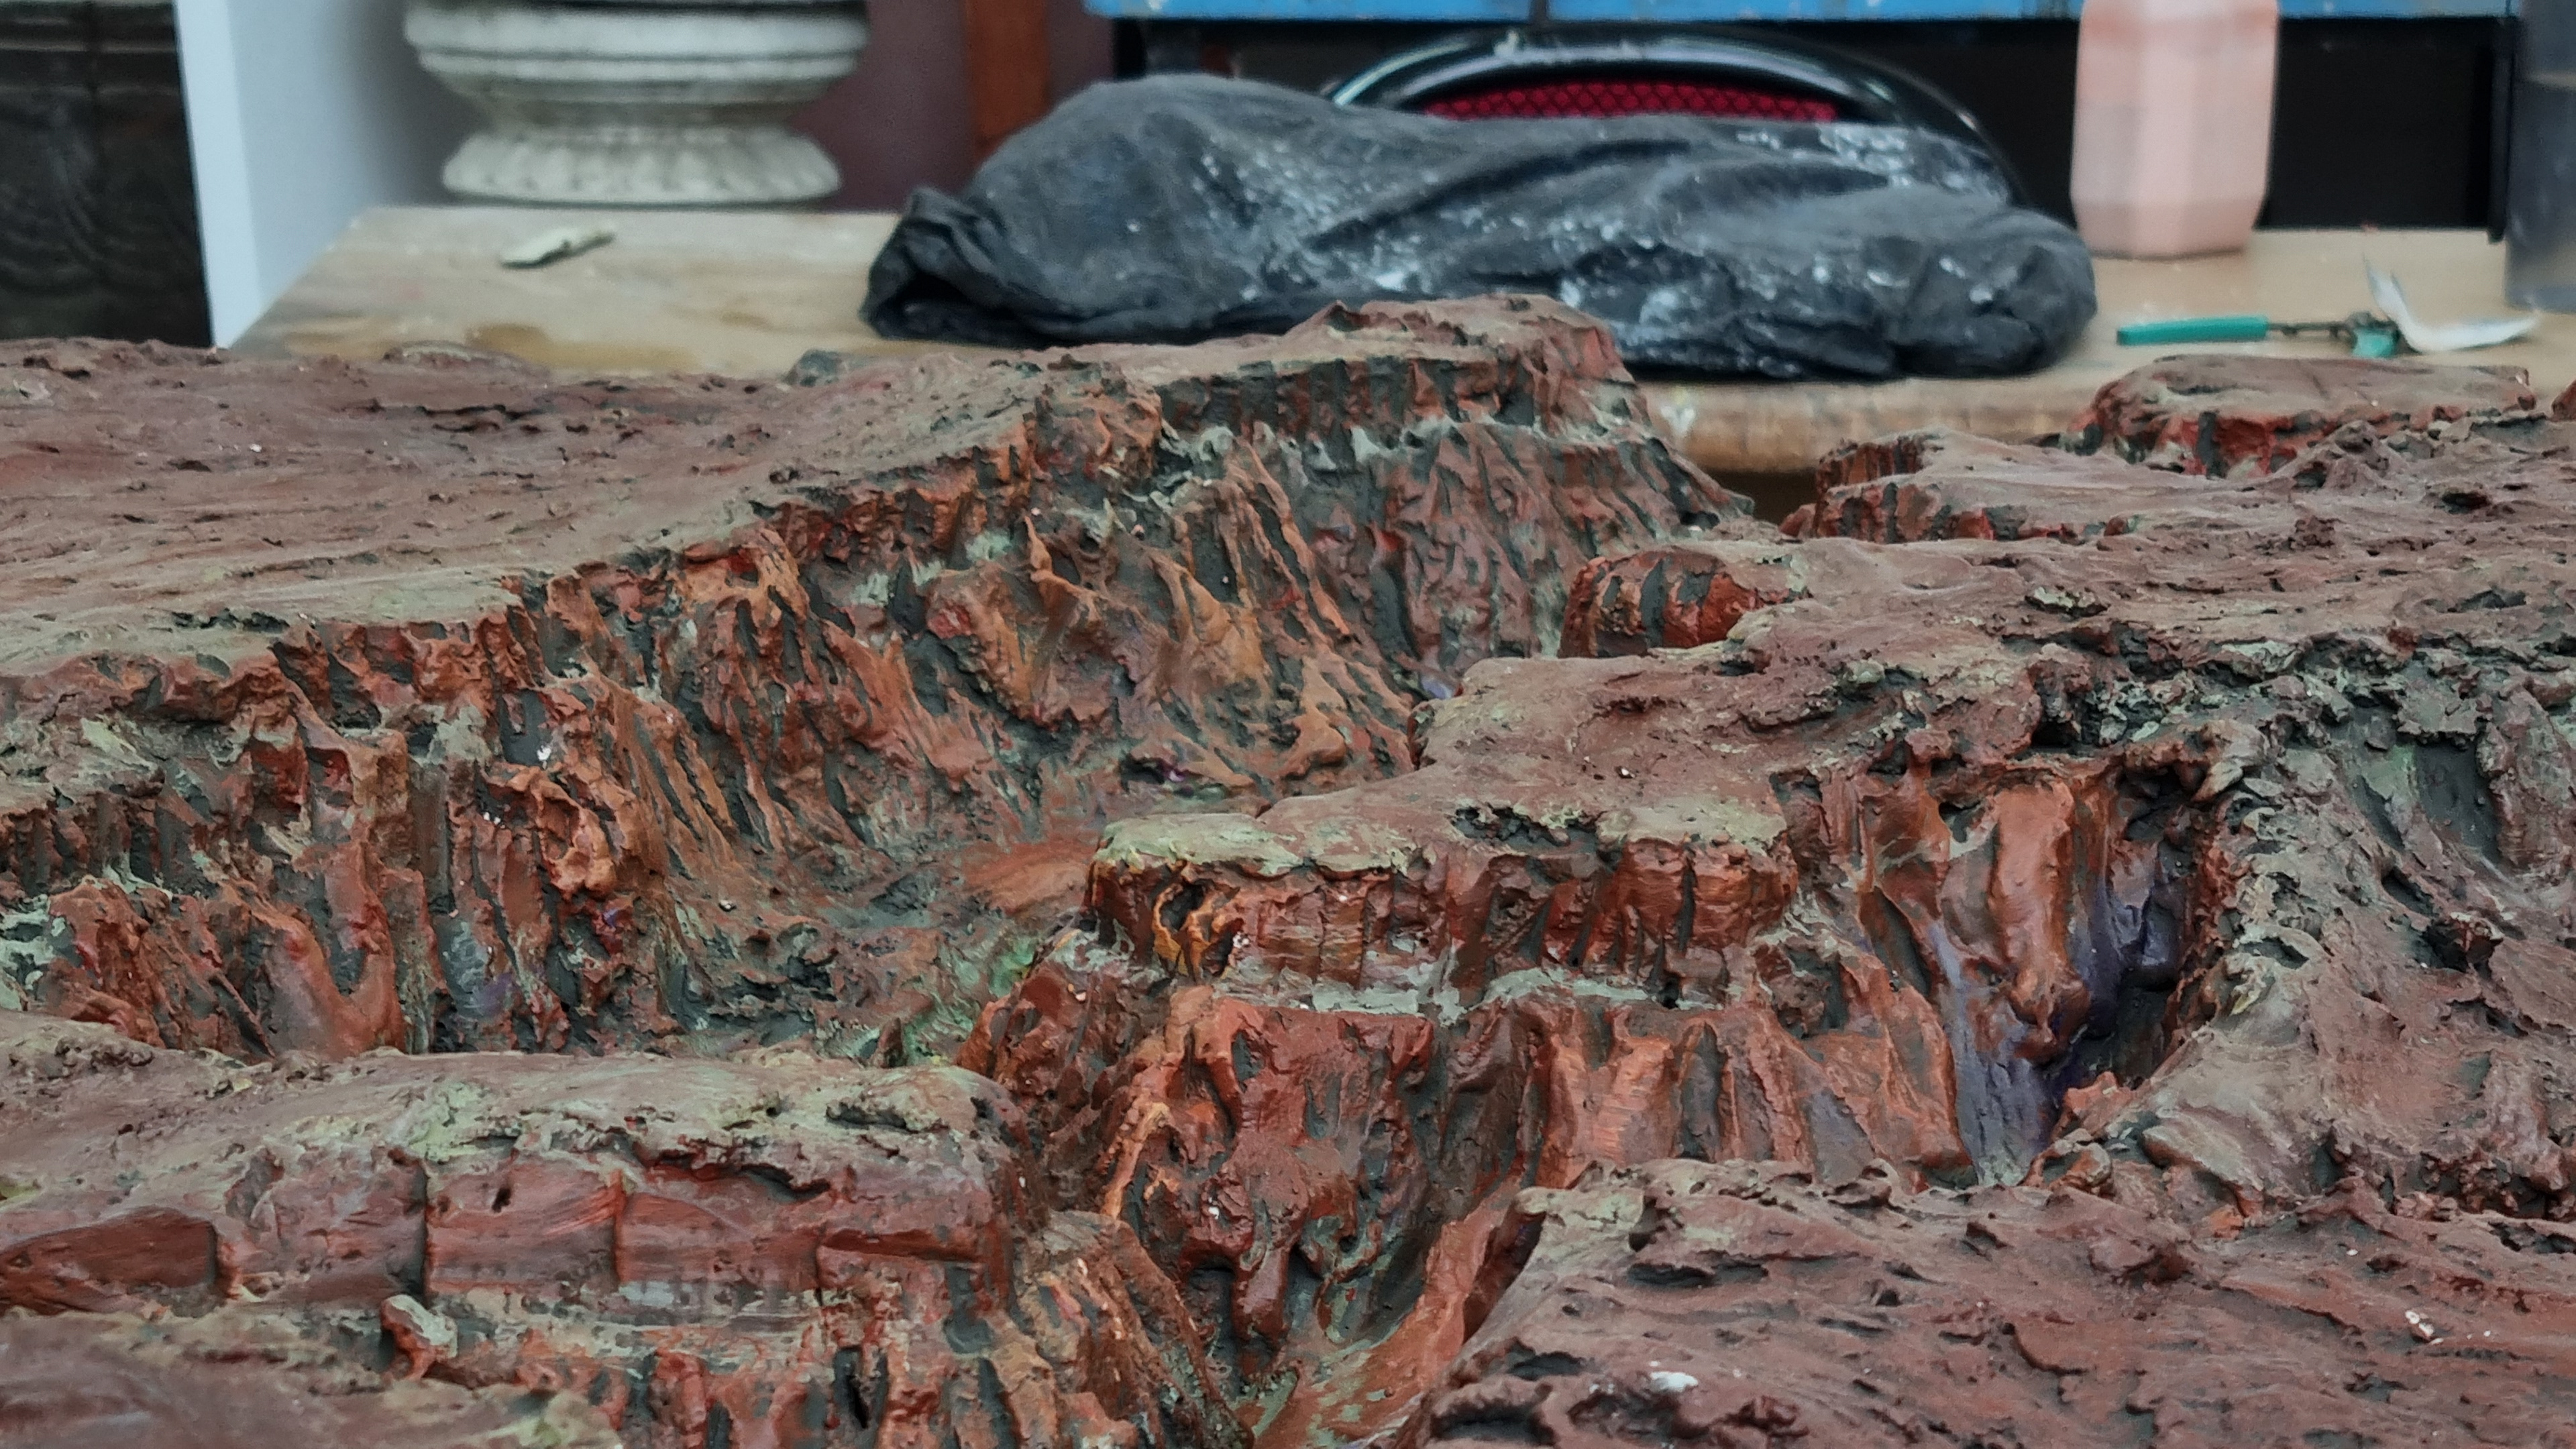
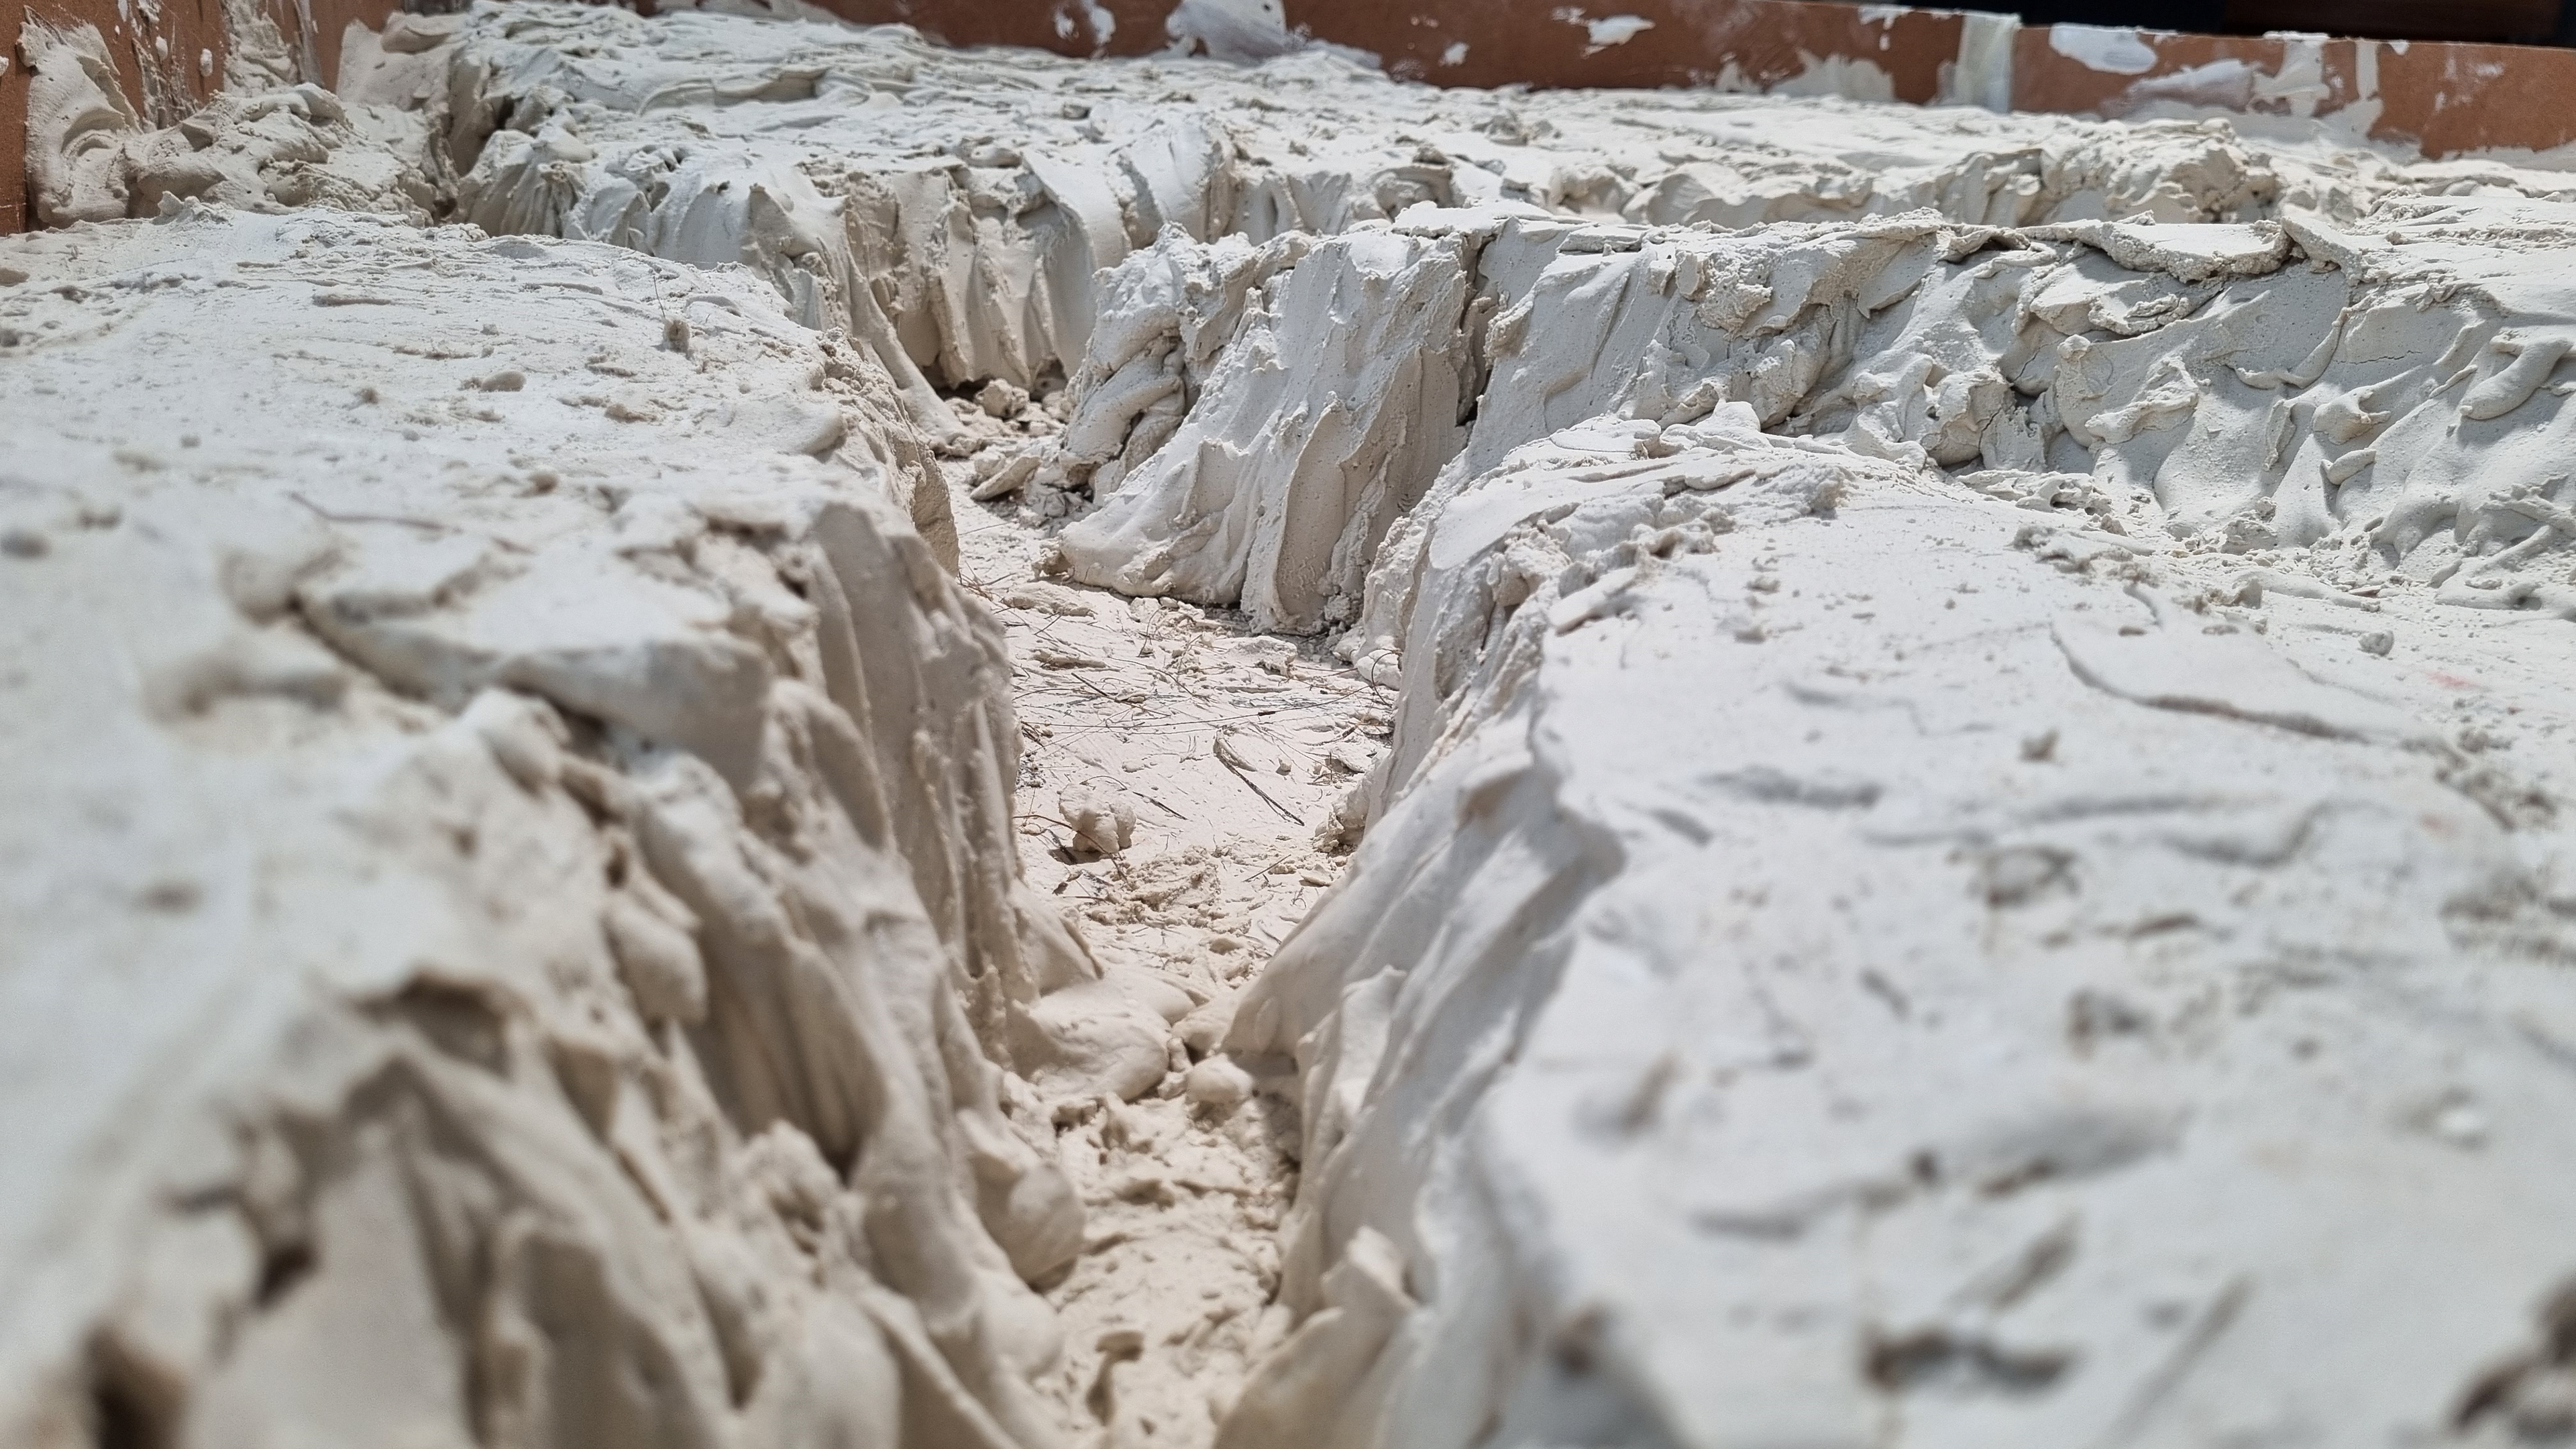
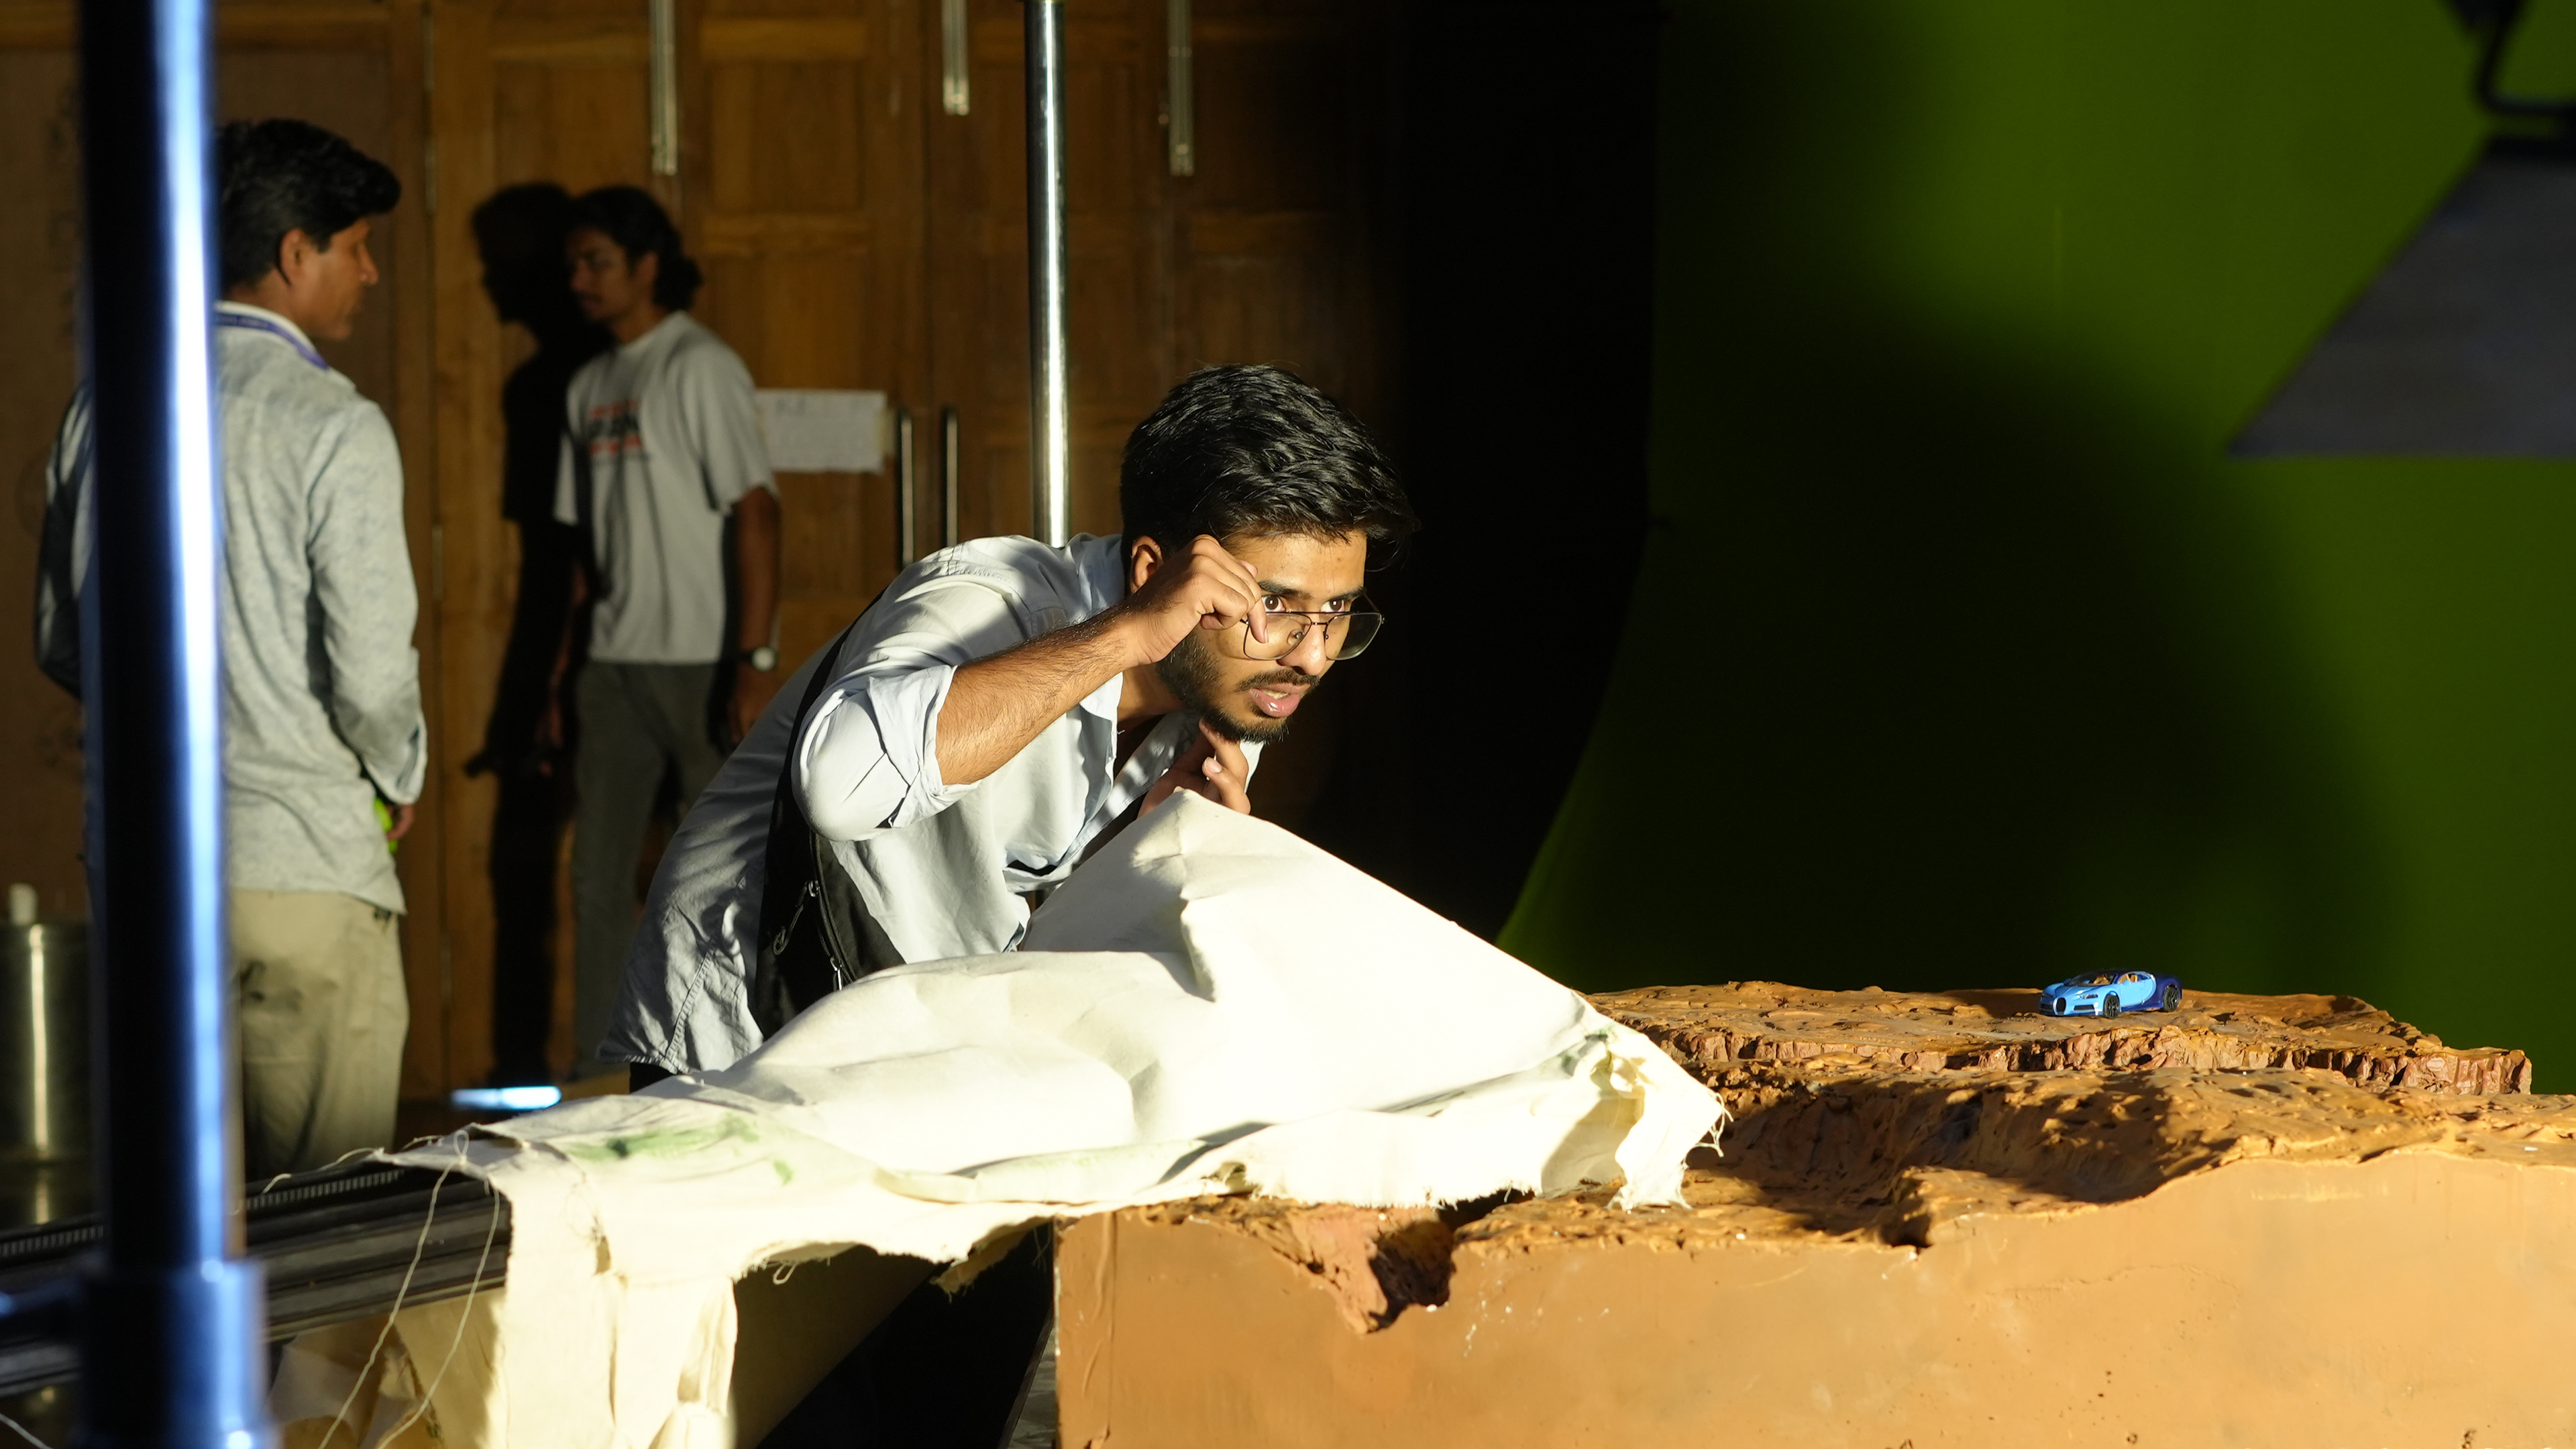
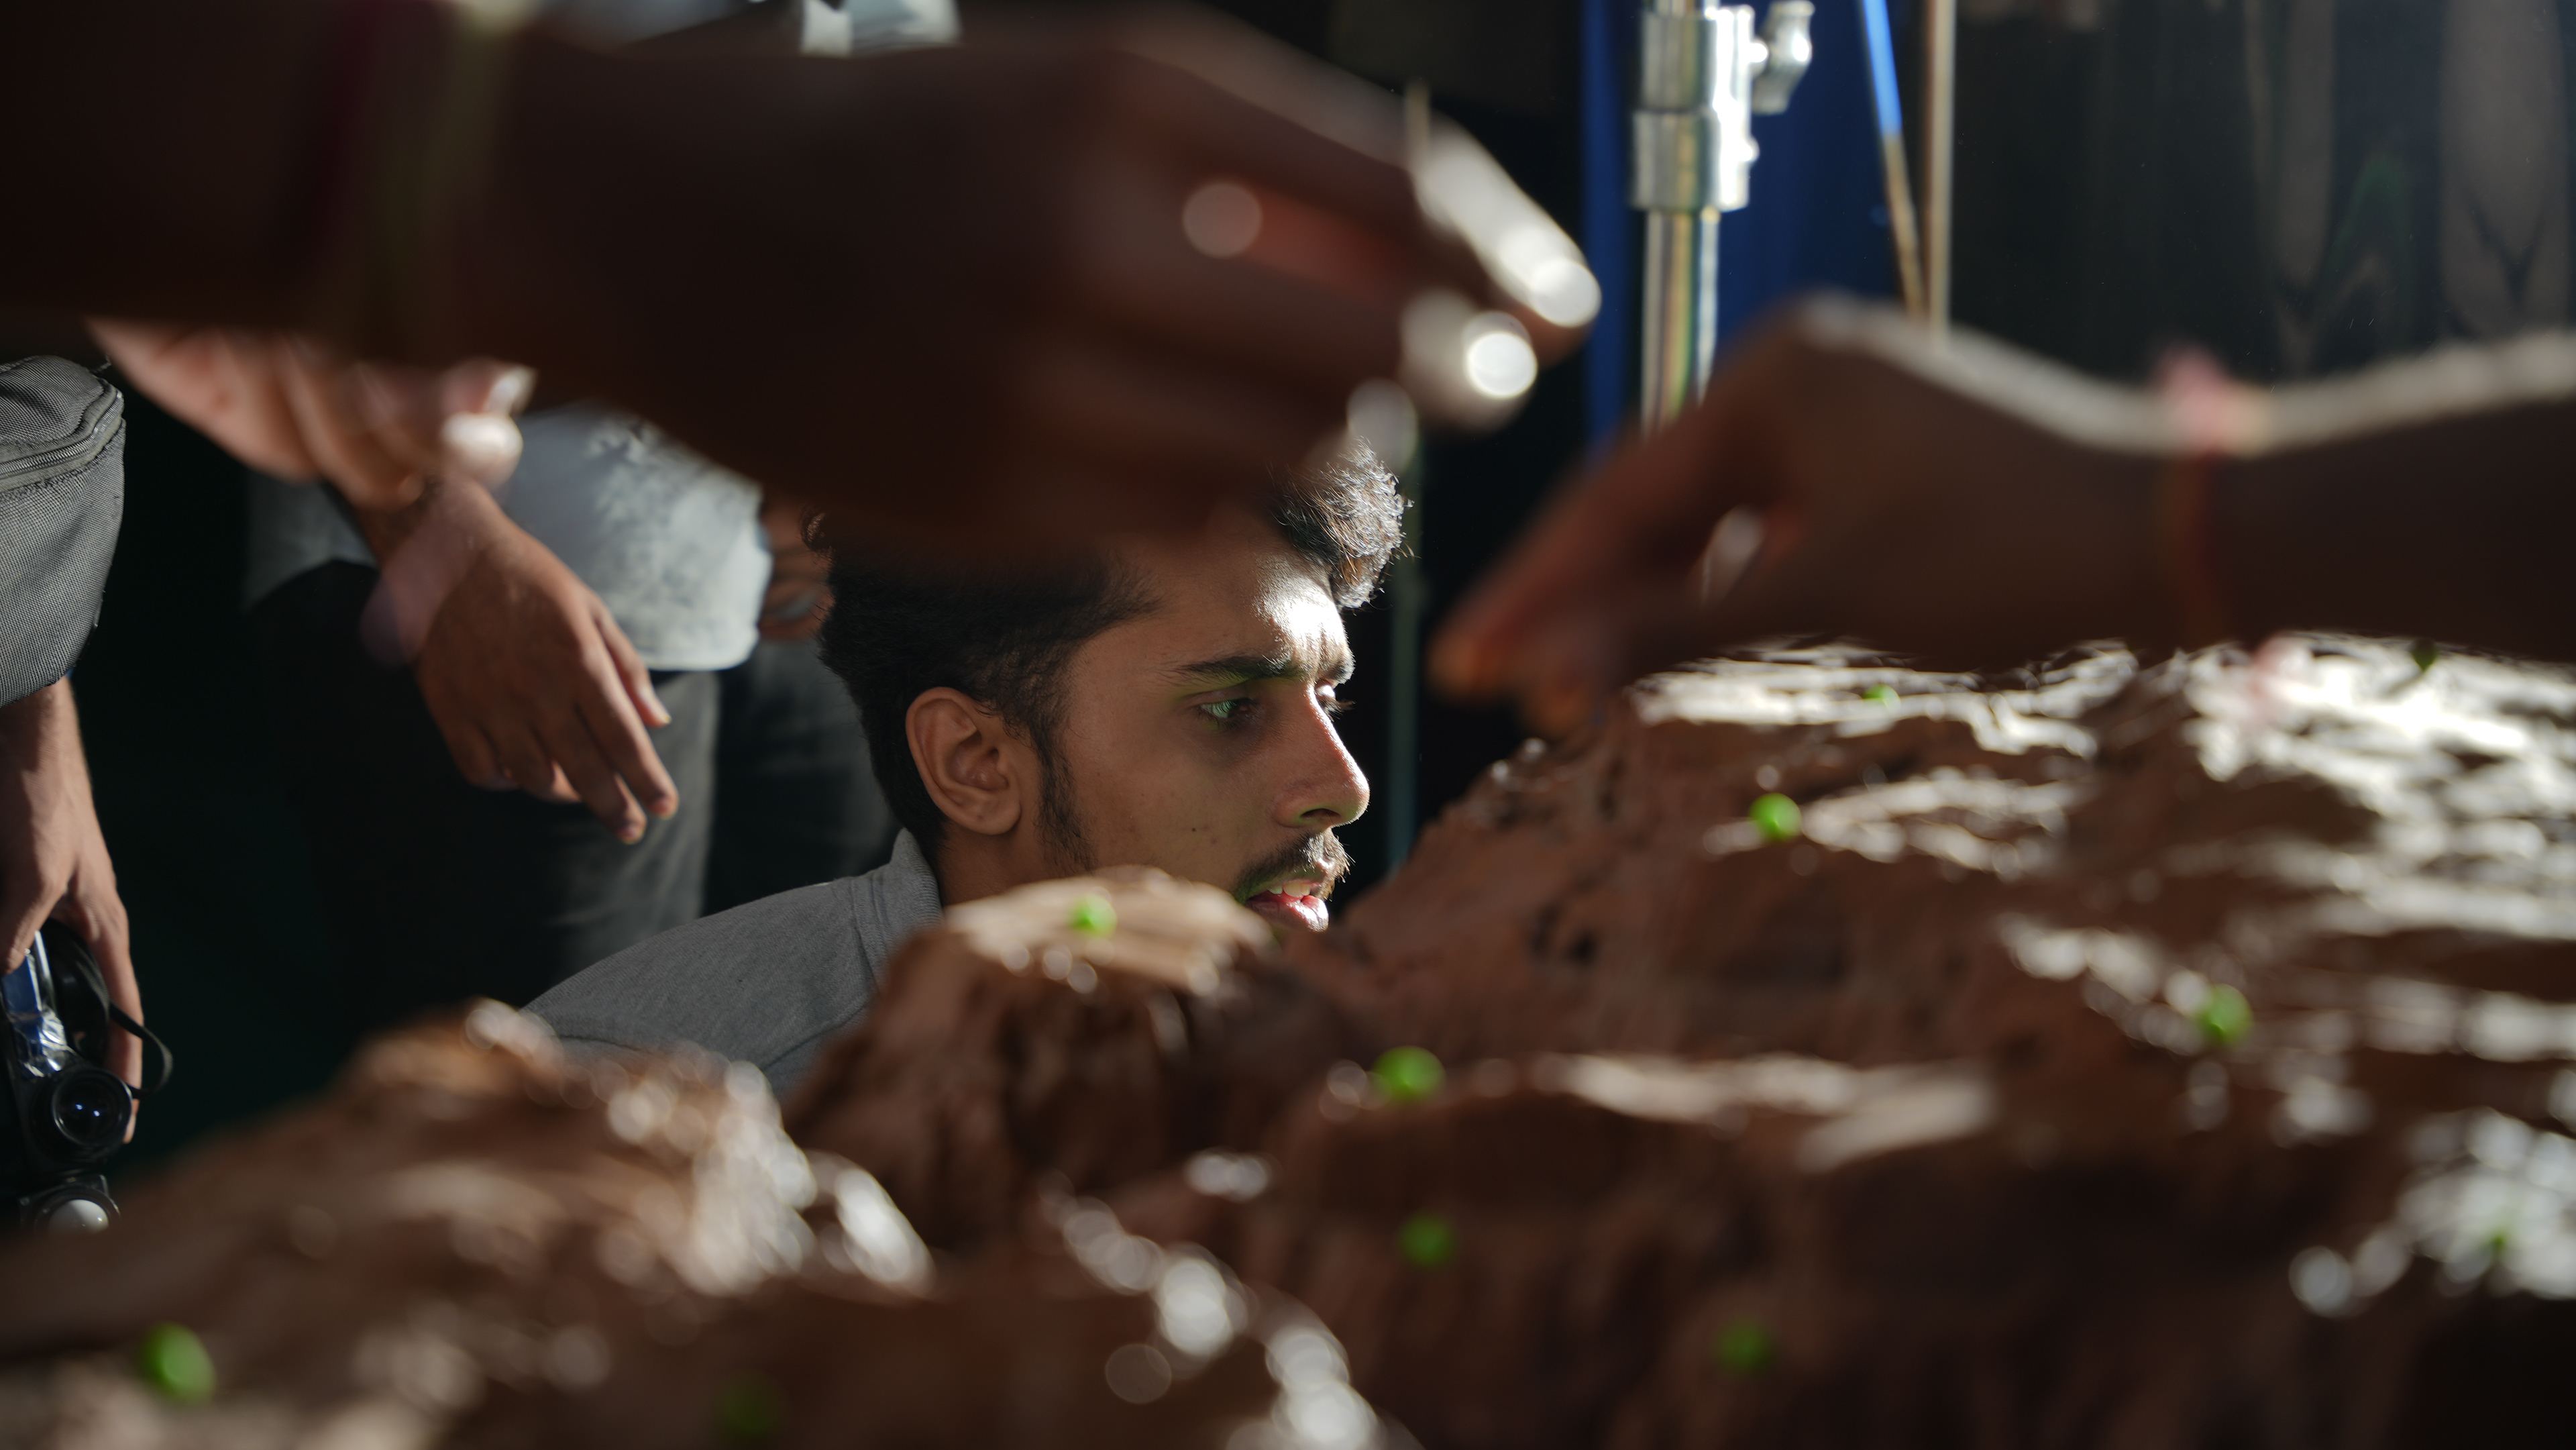
Miniature Ground-Level Depth Inspection: Low-angle close-up checks verifying the vertical scale, canyon wall textures, and deep valley floor contours to ensure seamless camera clearance for the probe lens.
Cinematography — Miniature Unit
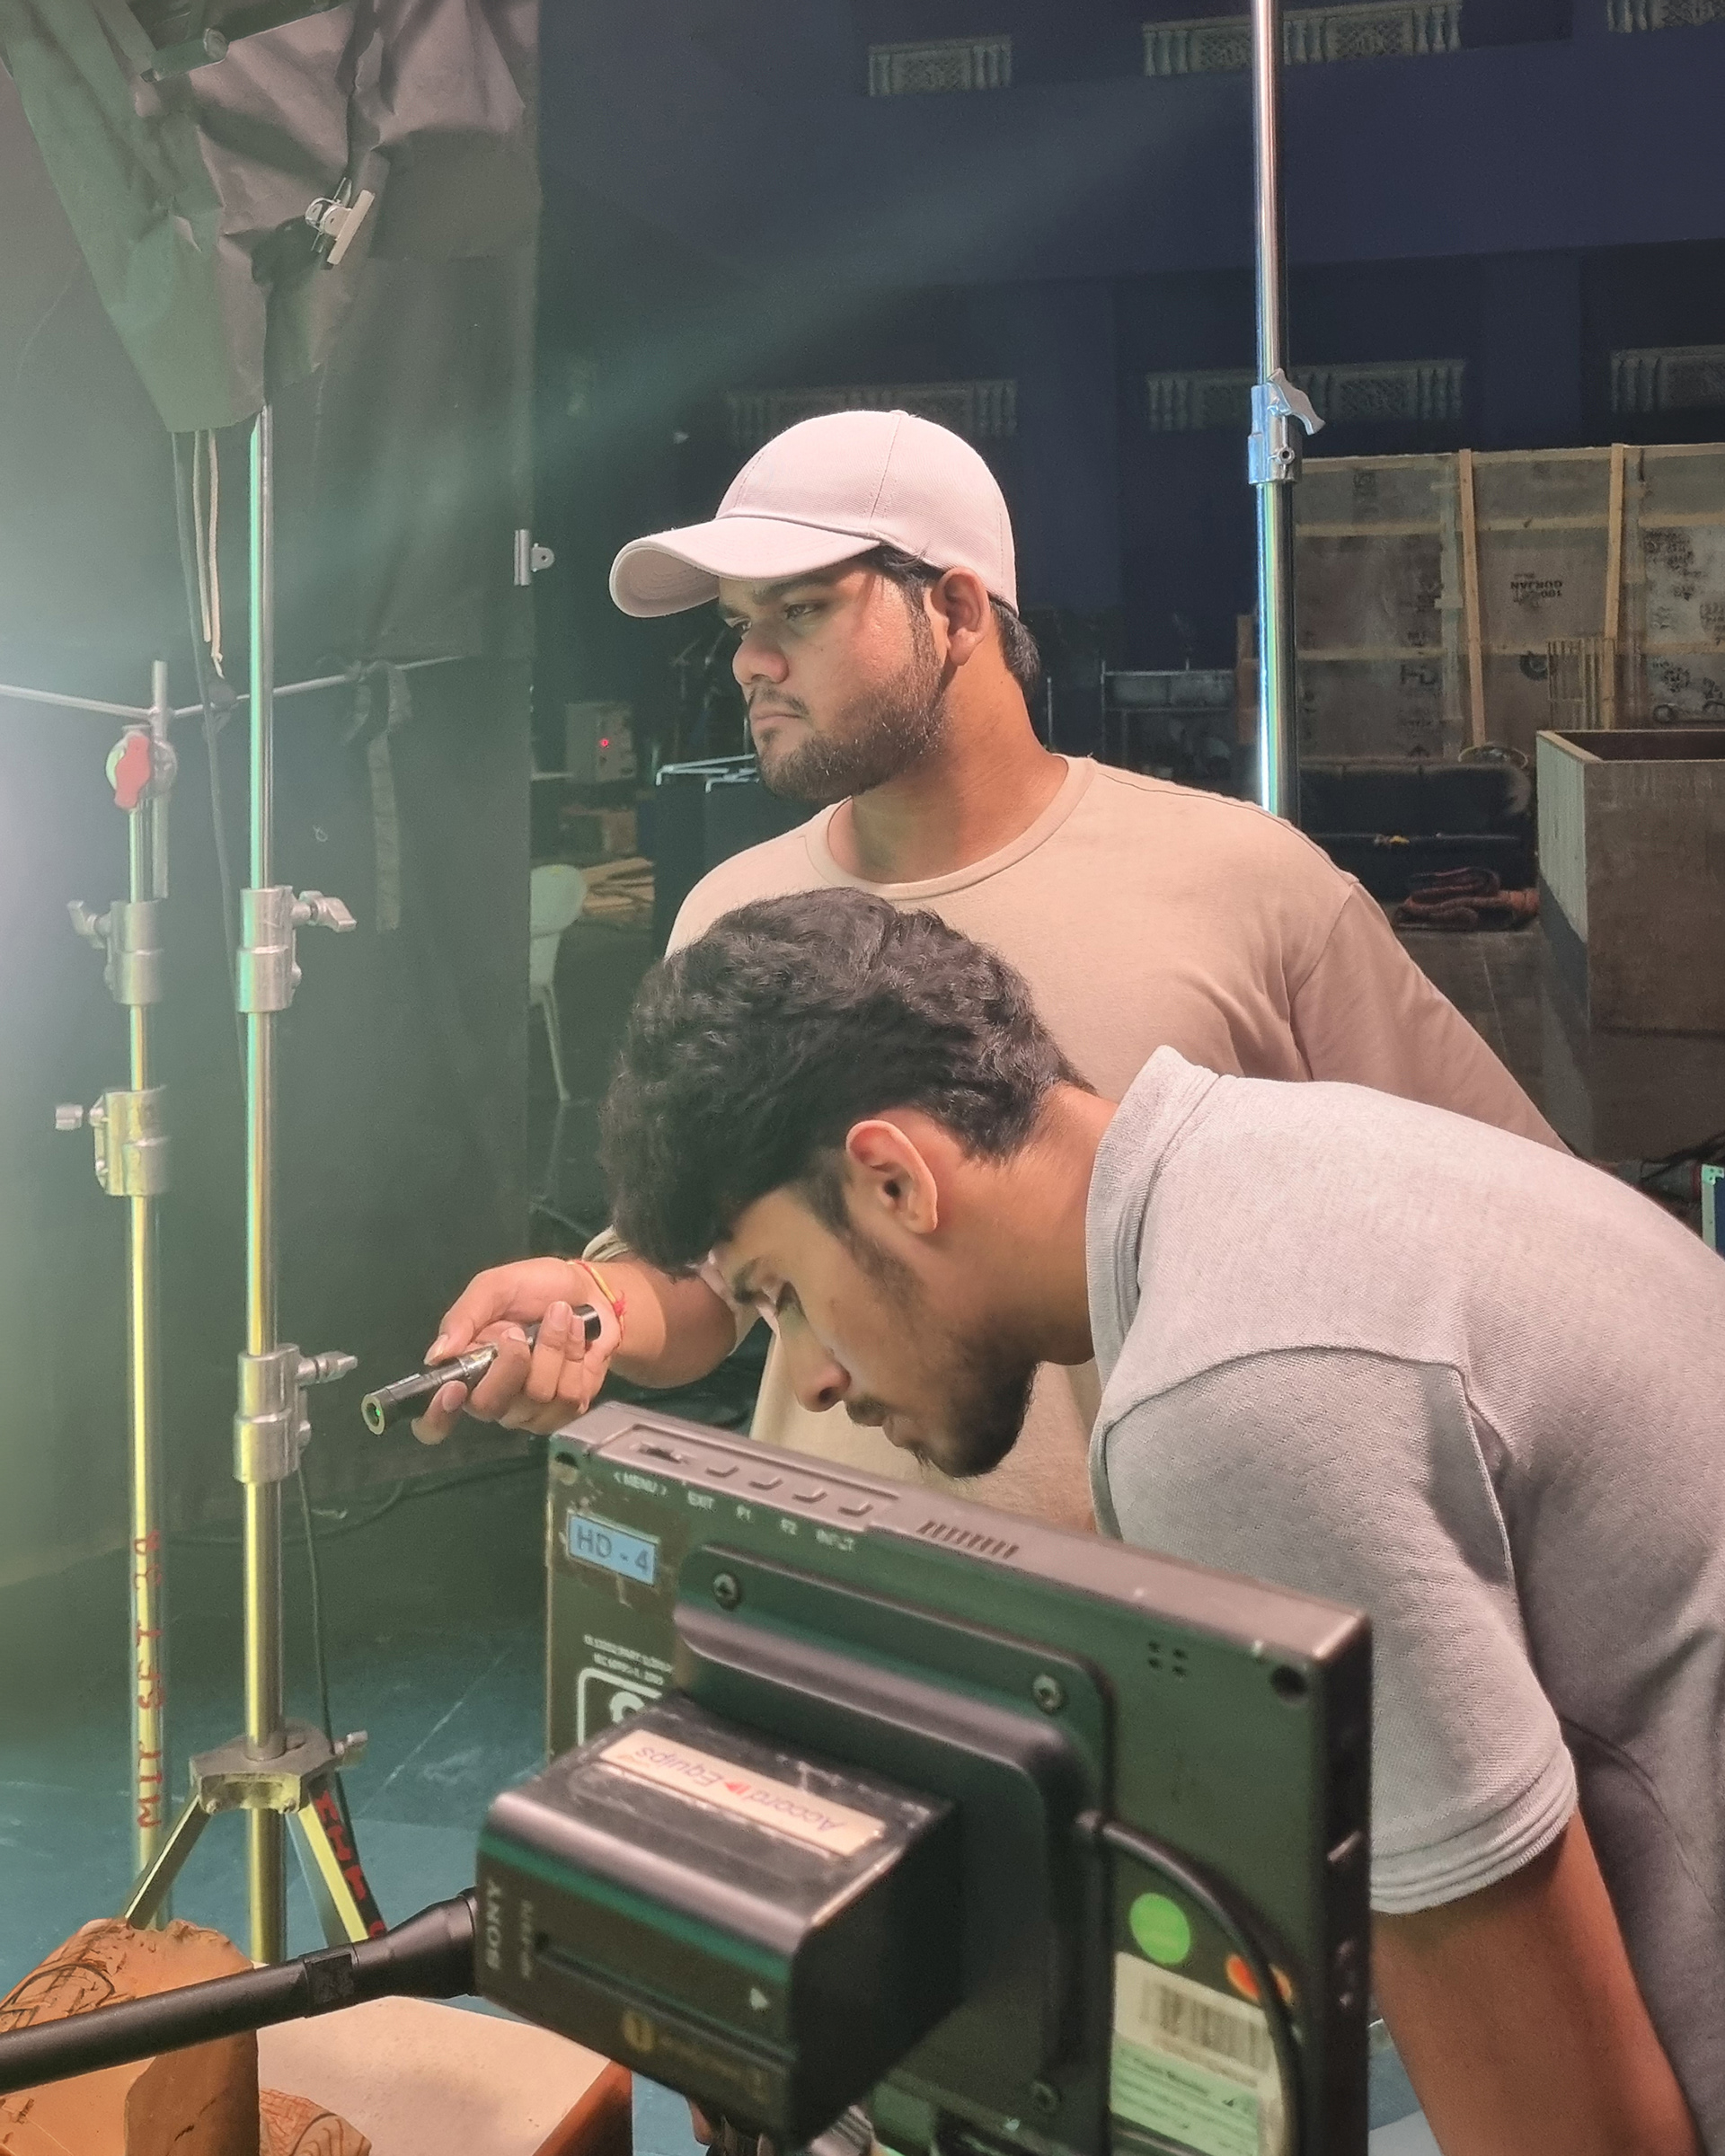
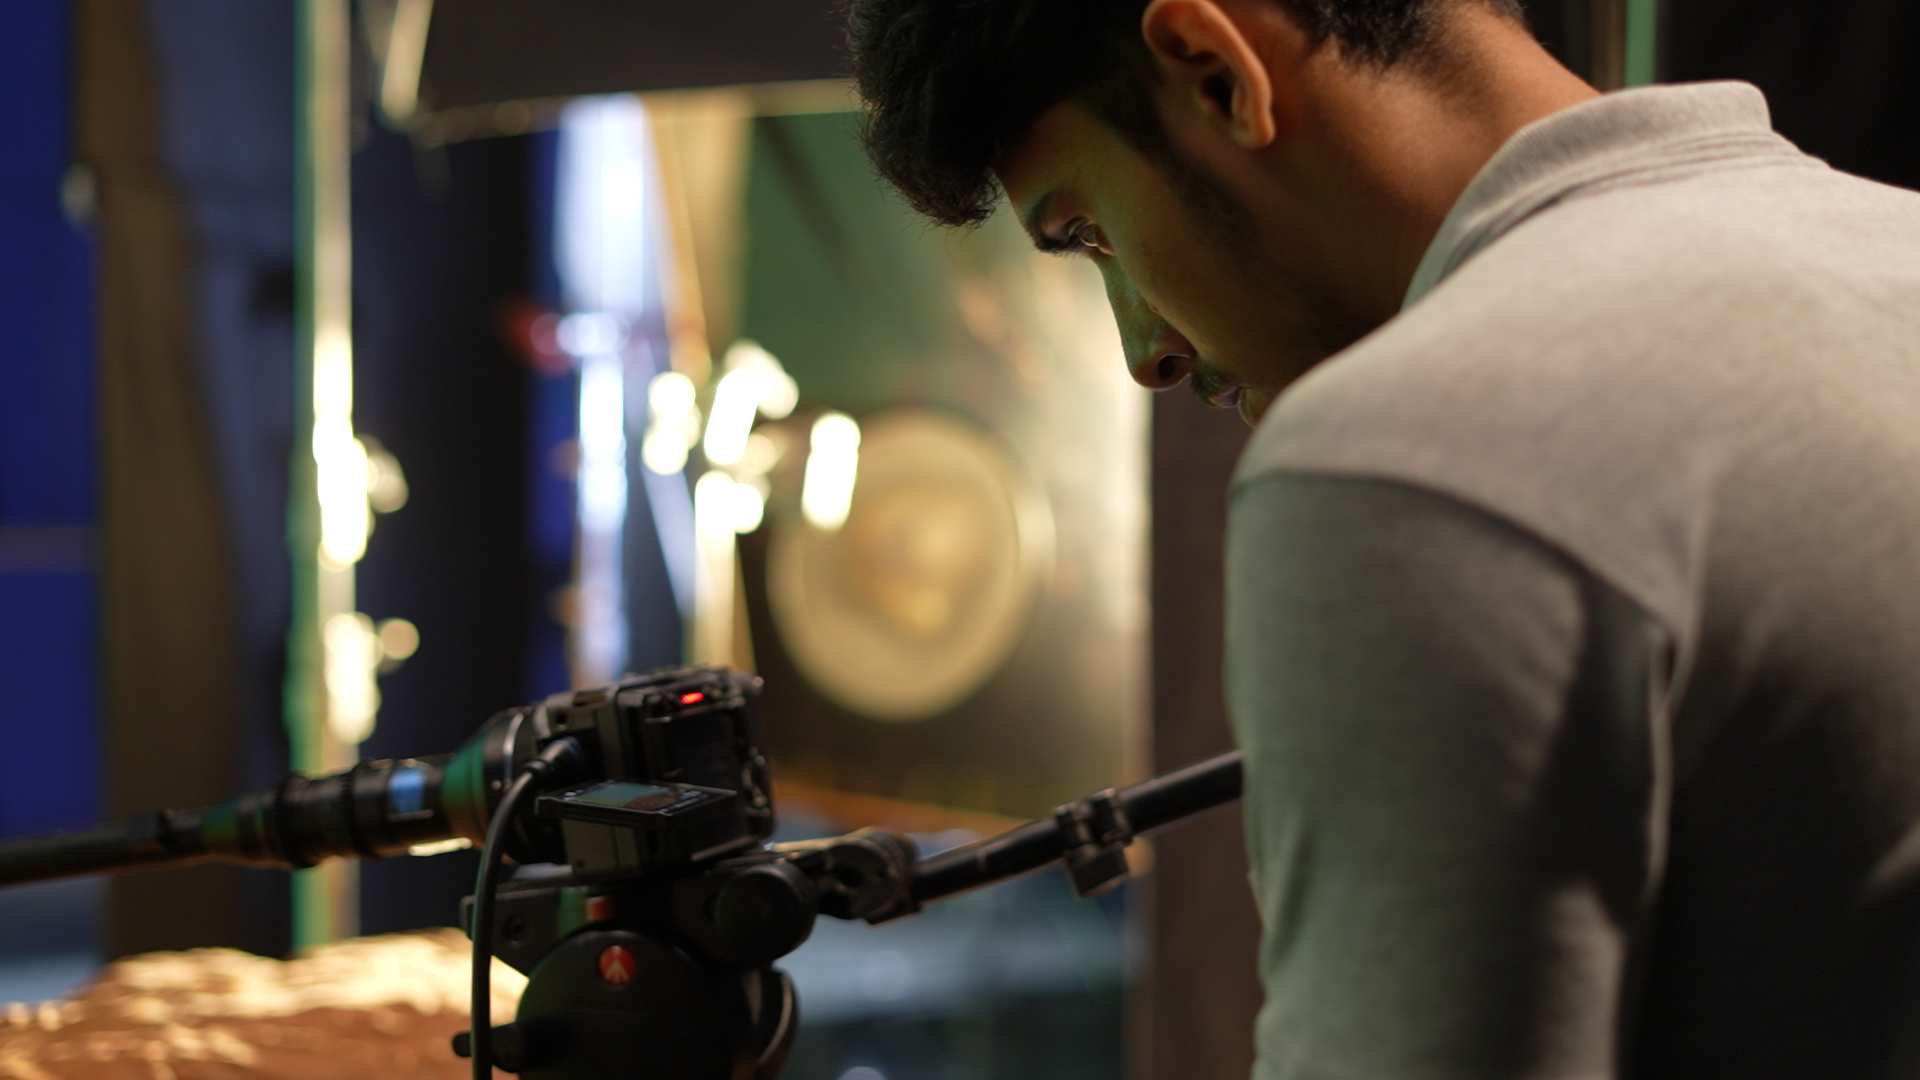
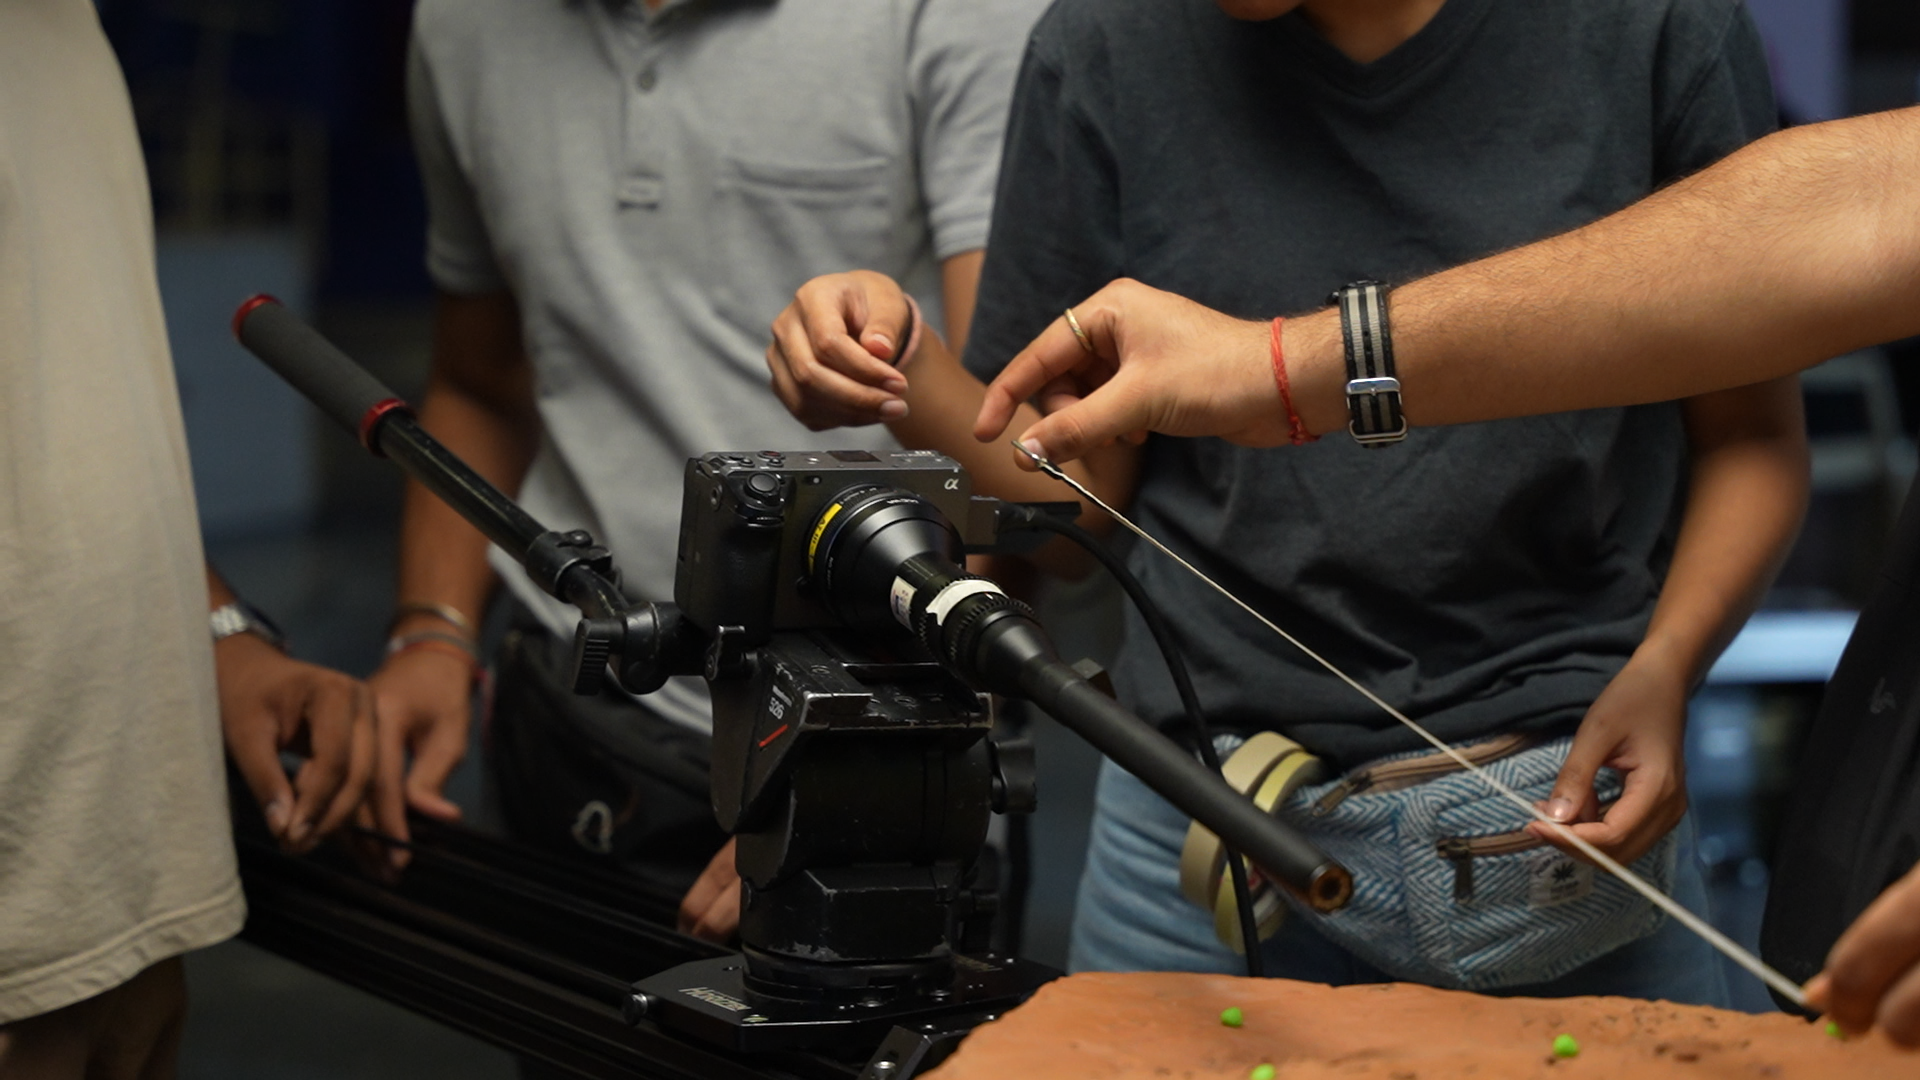
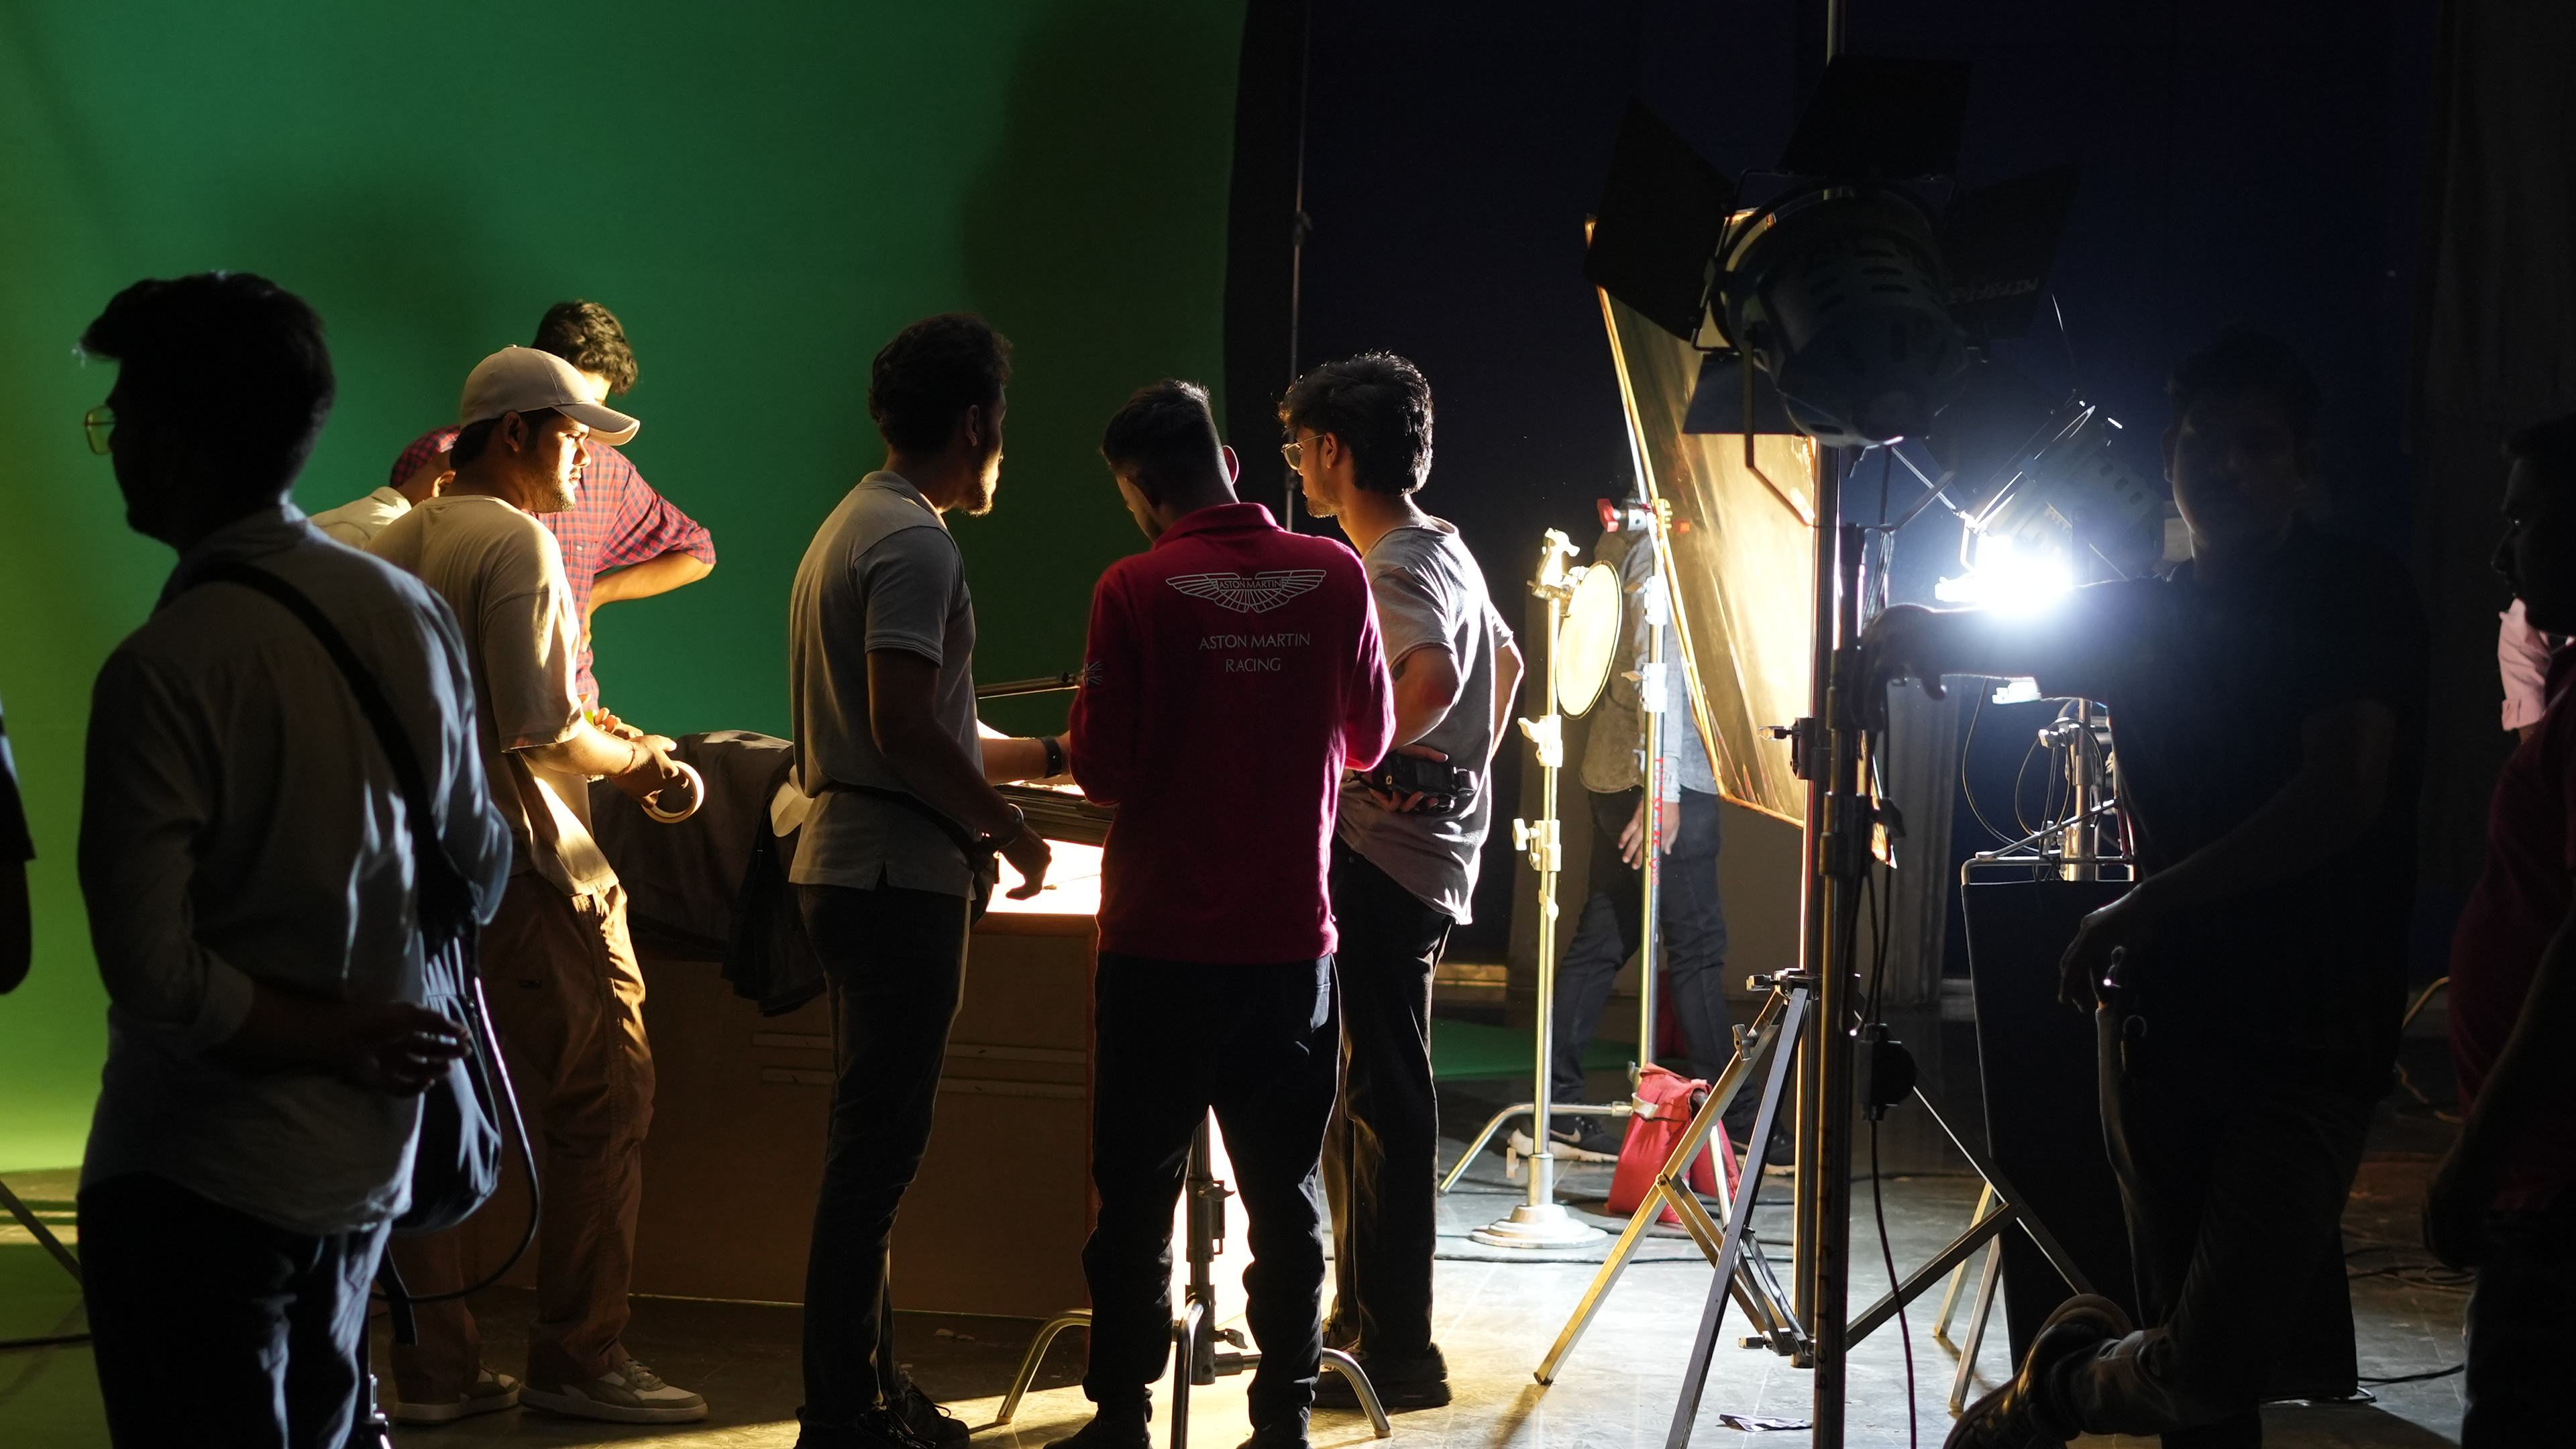
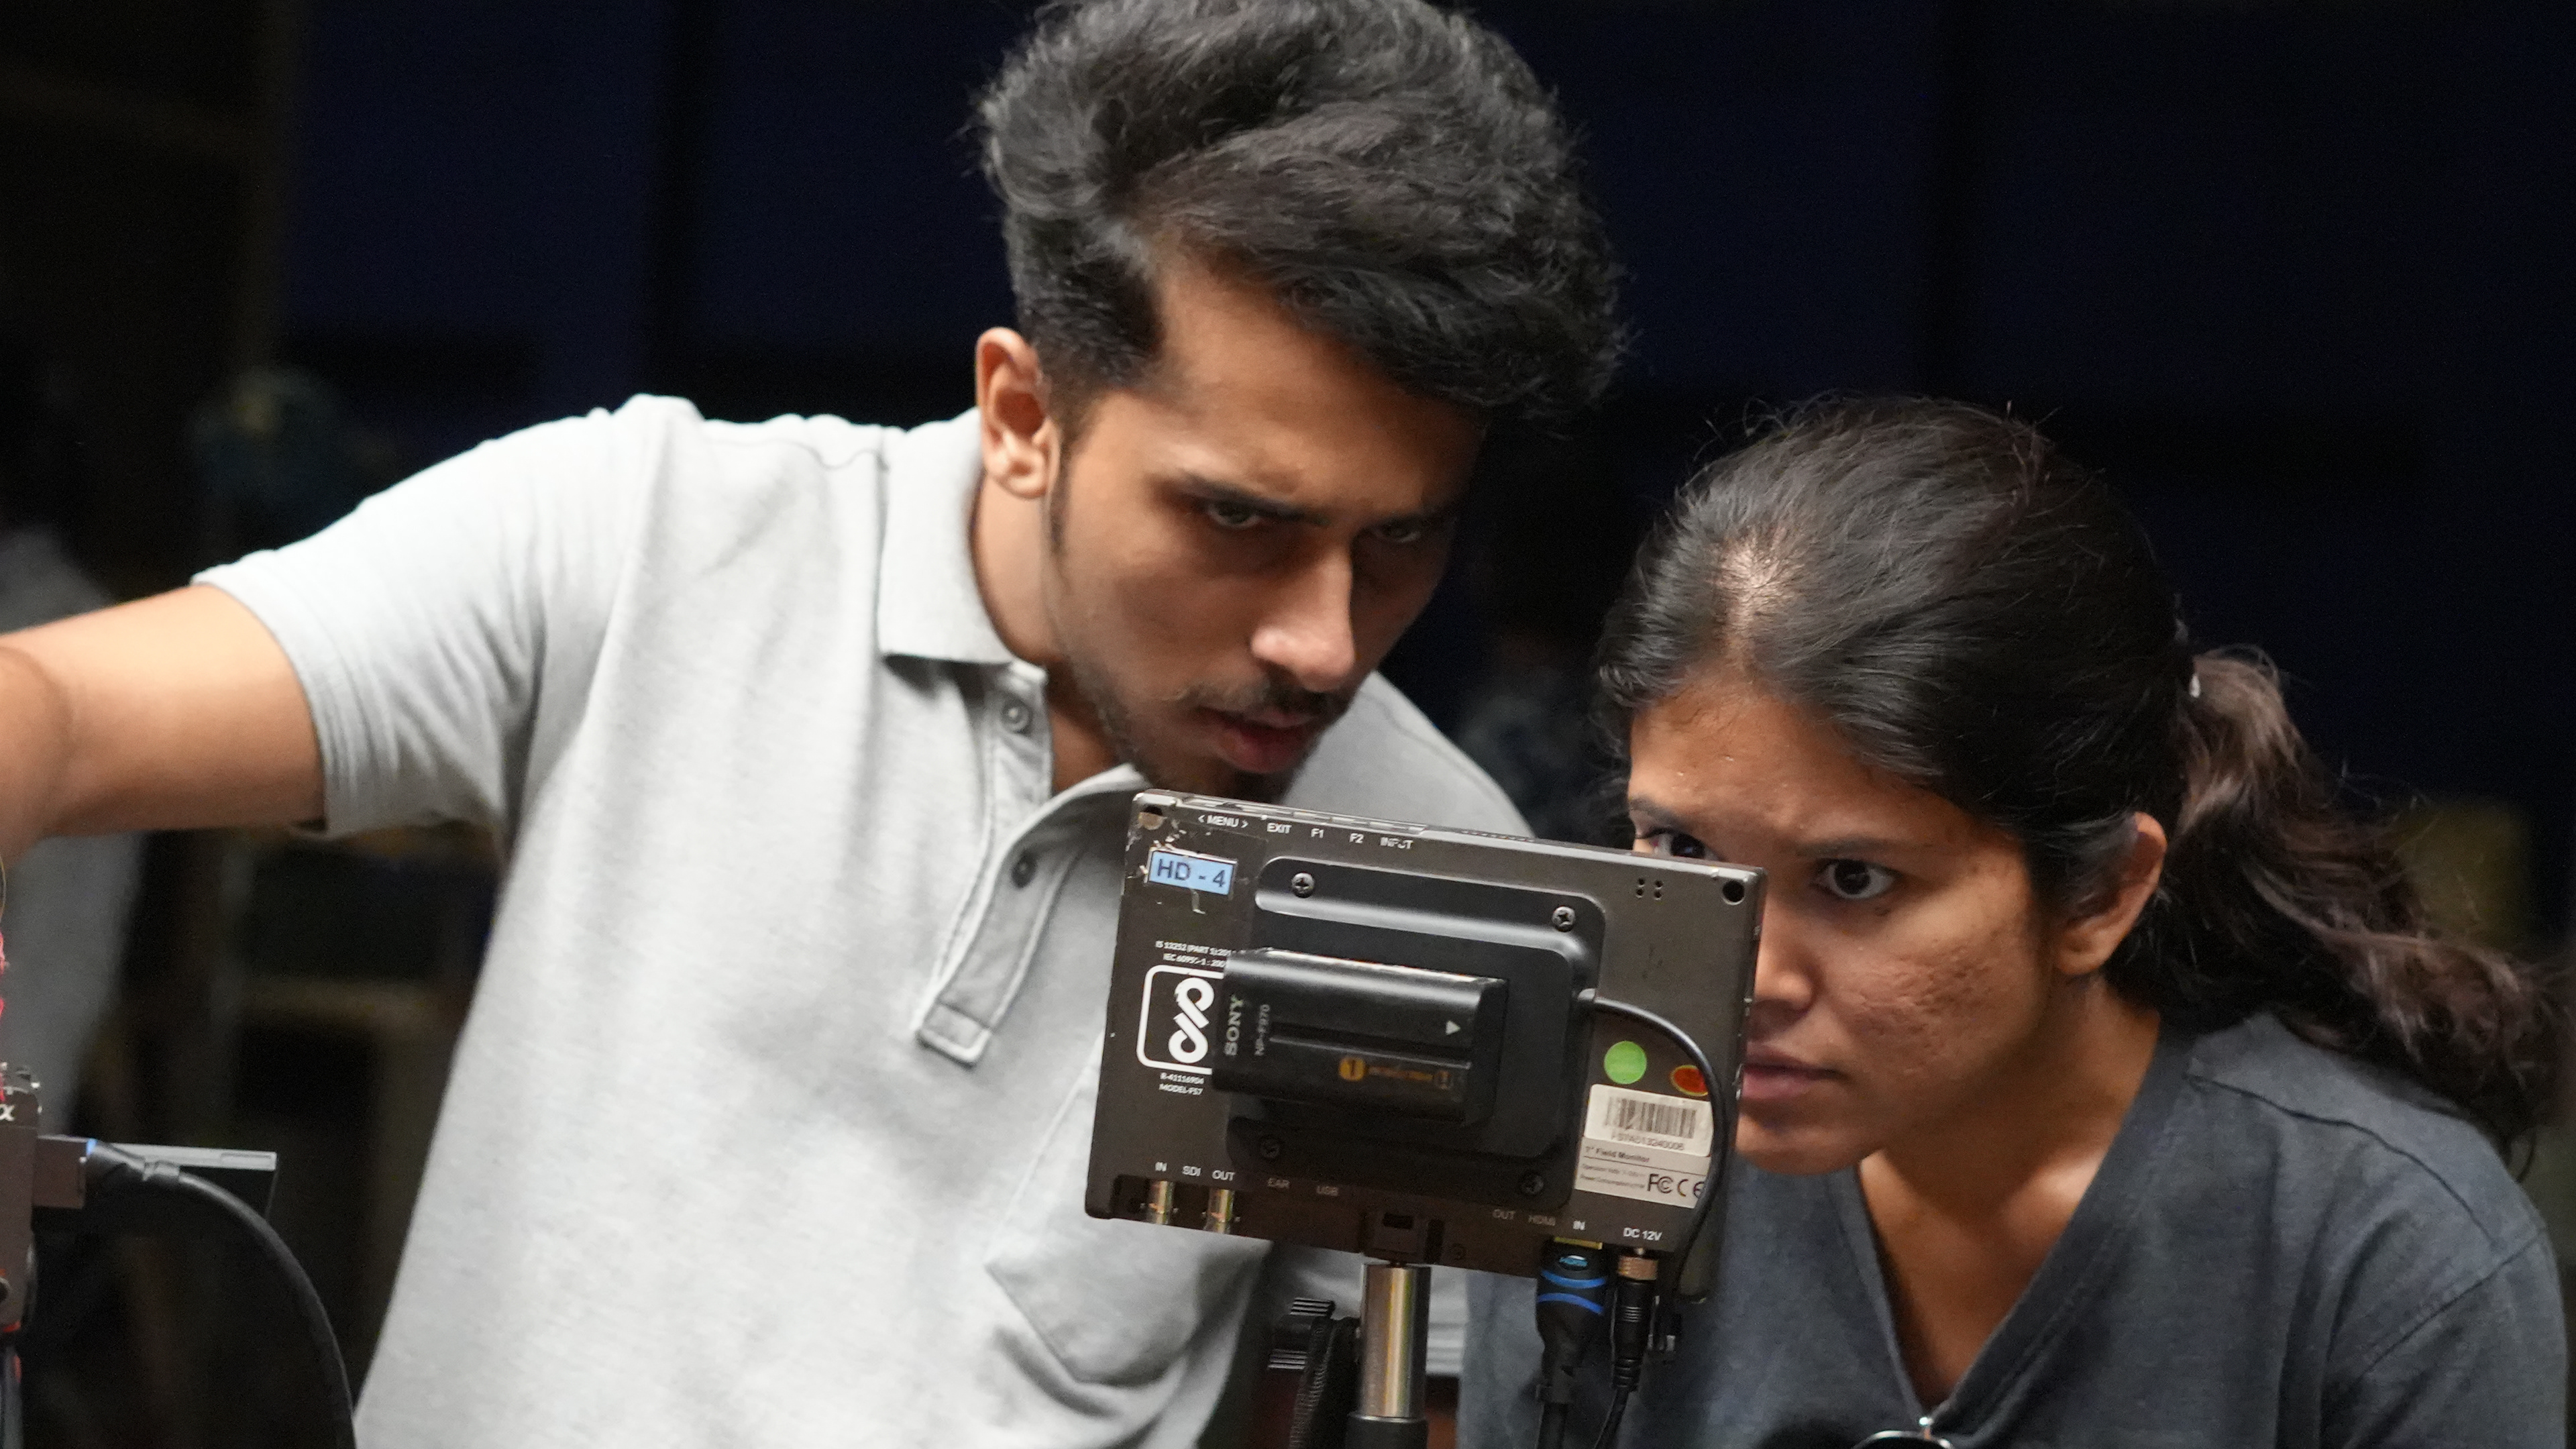
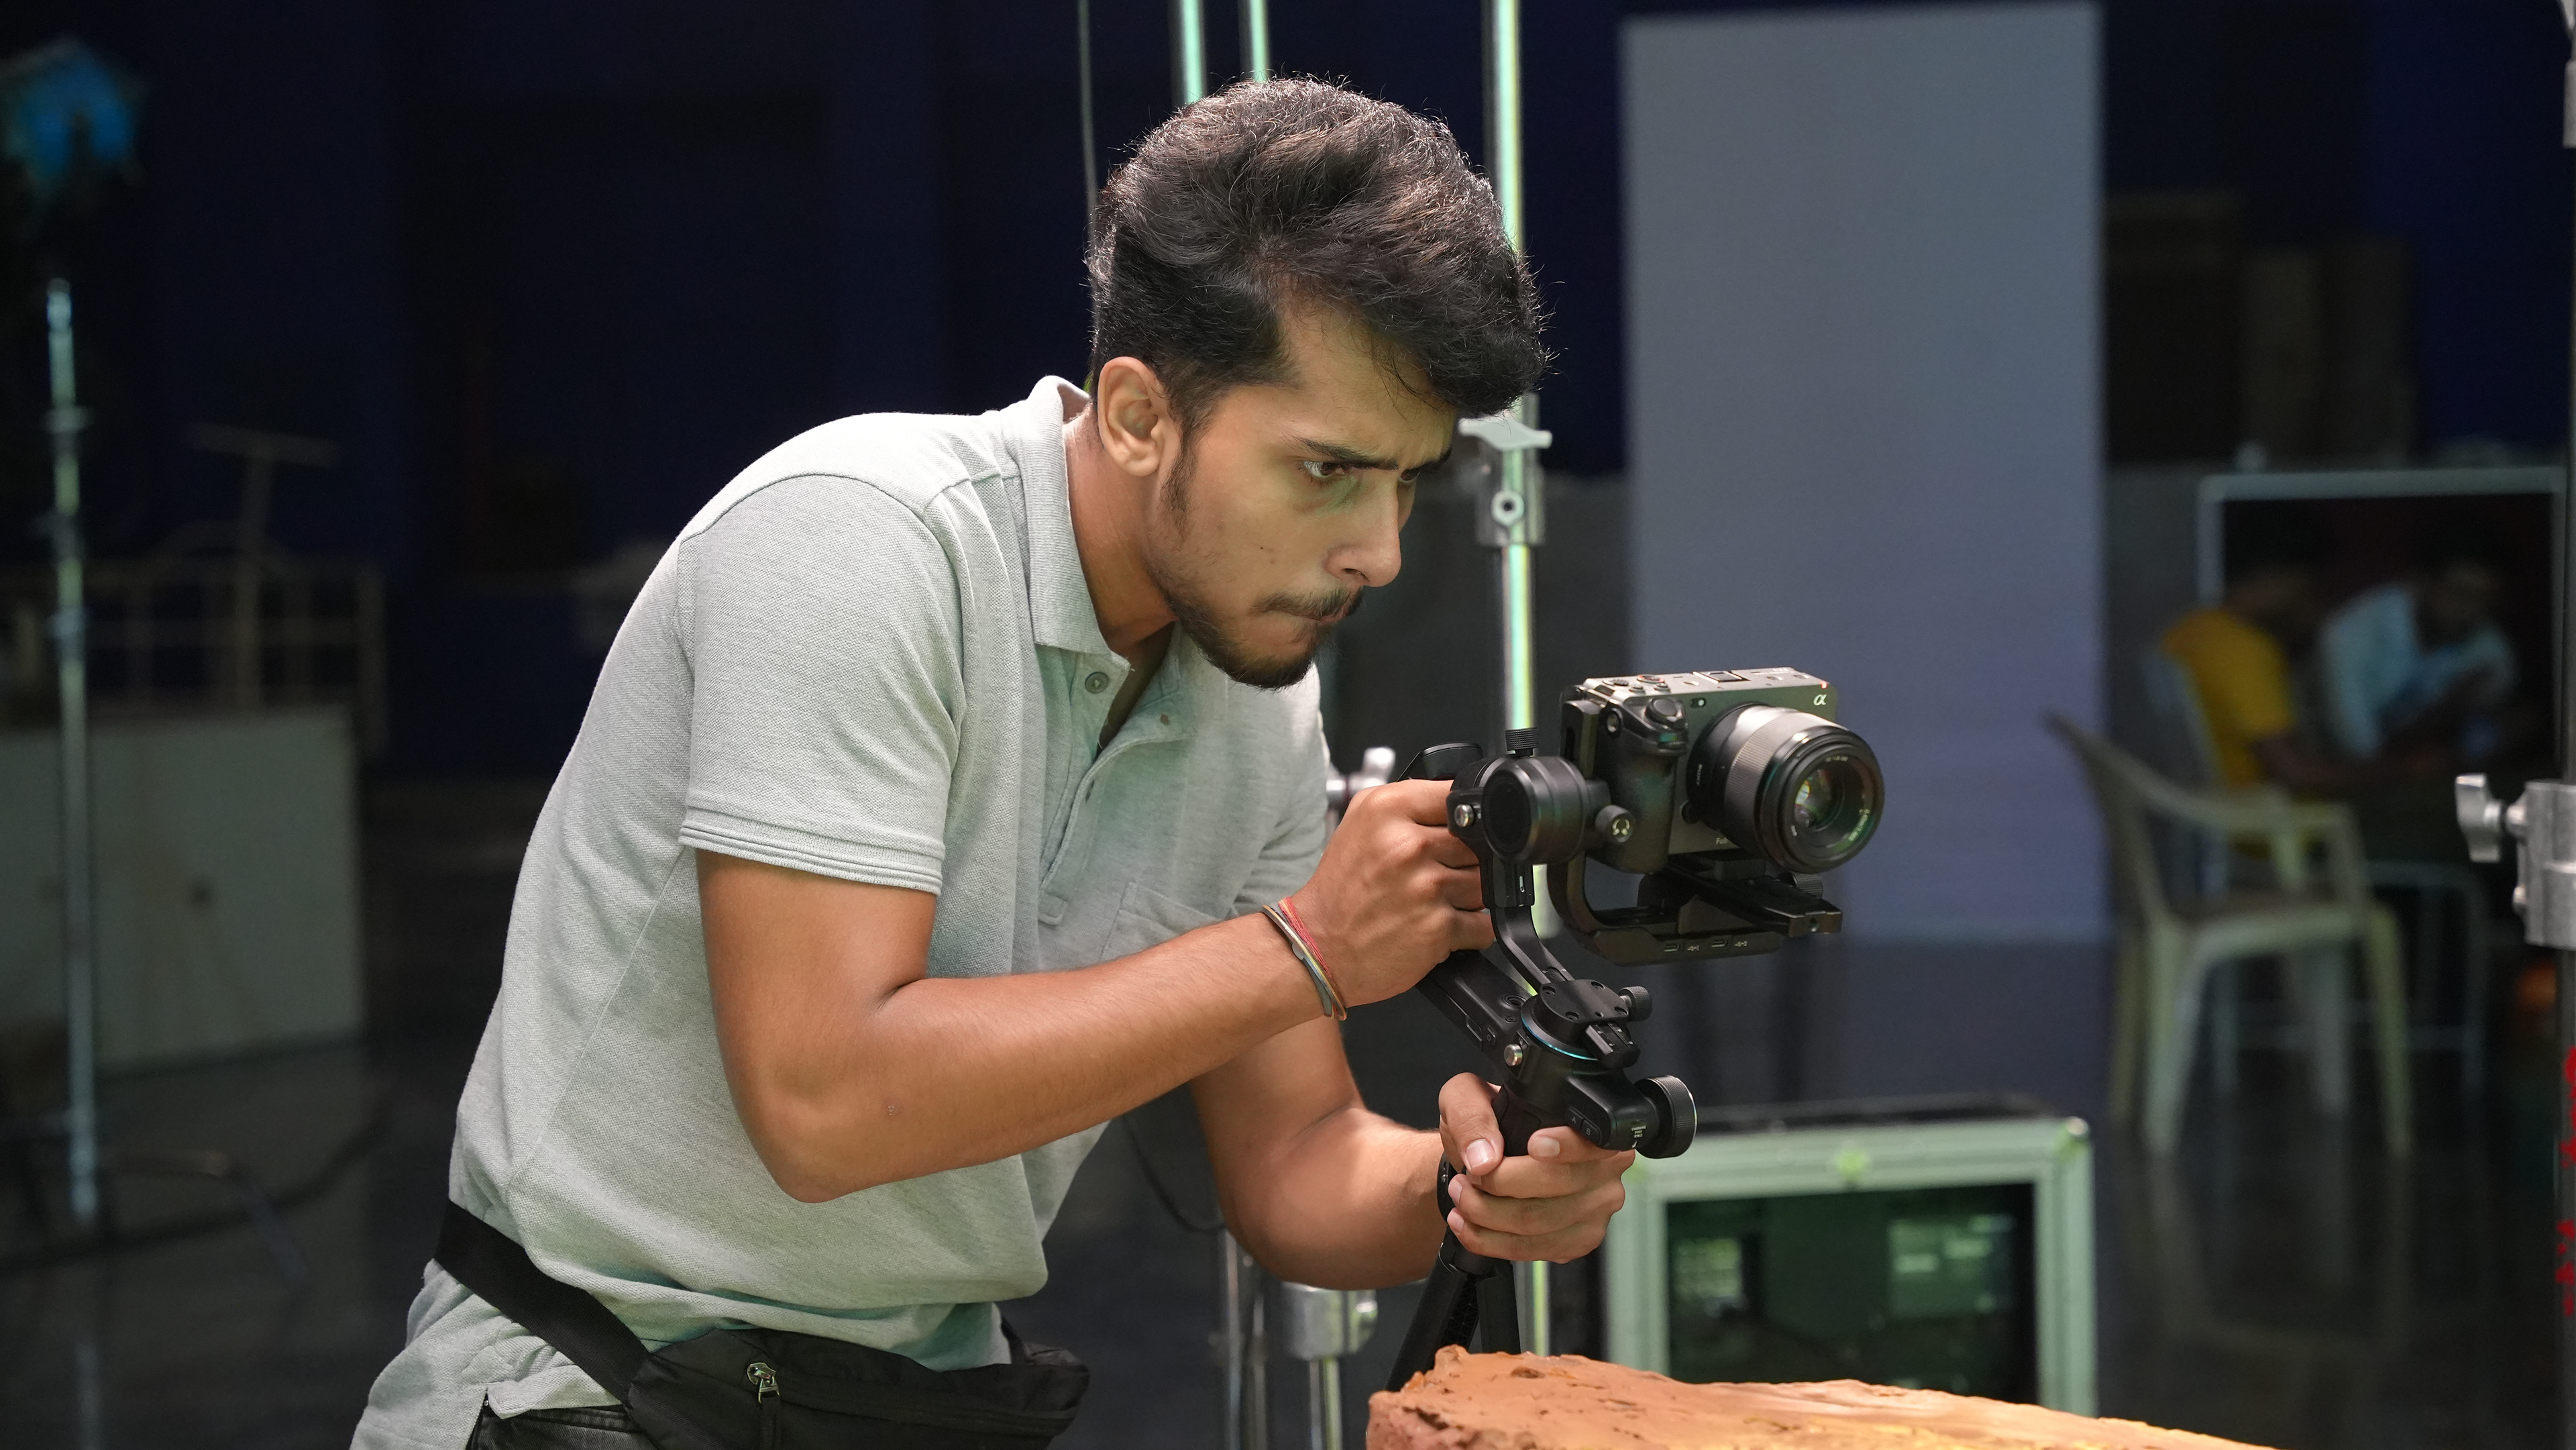
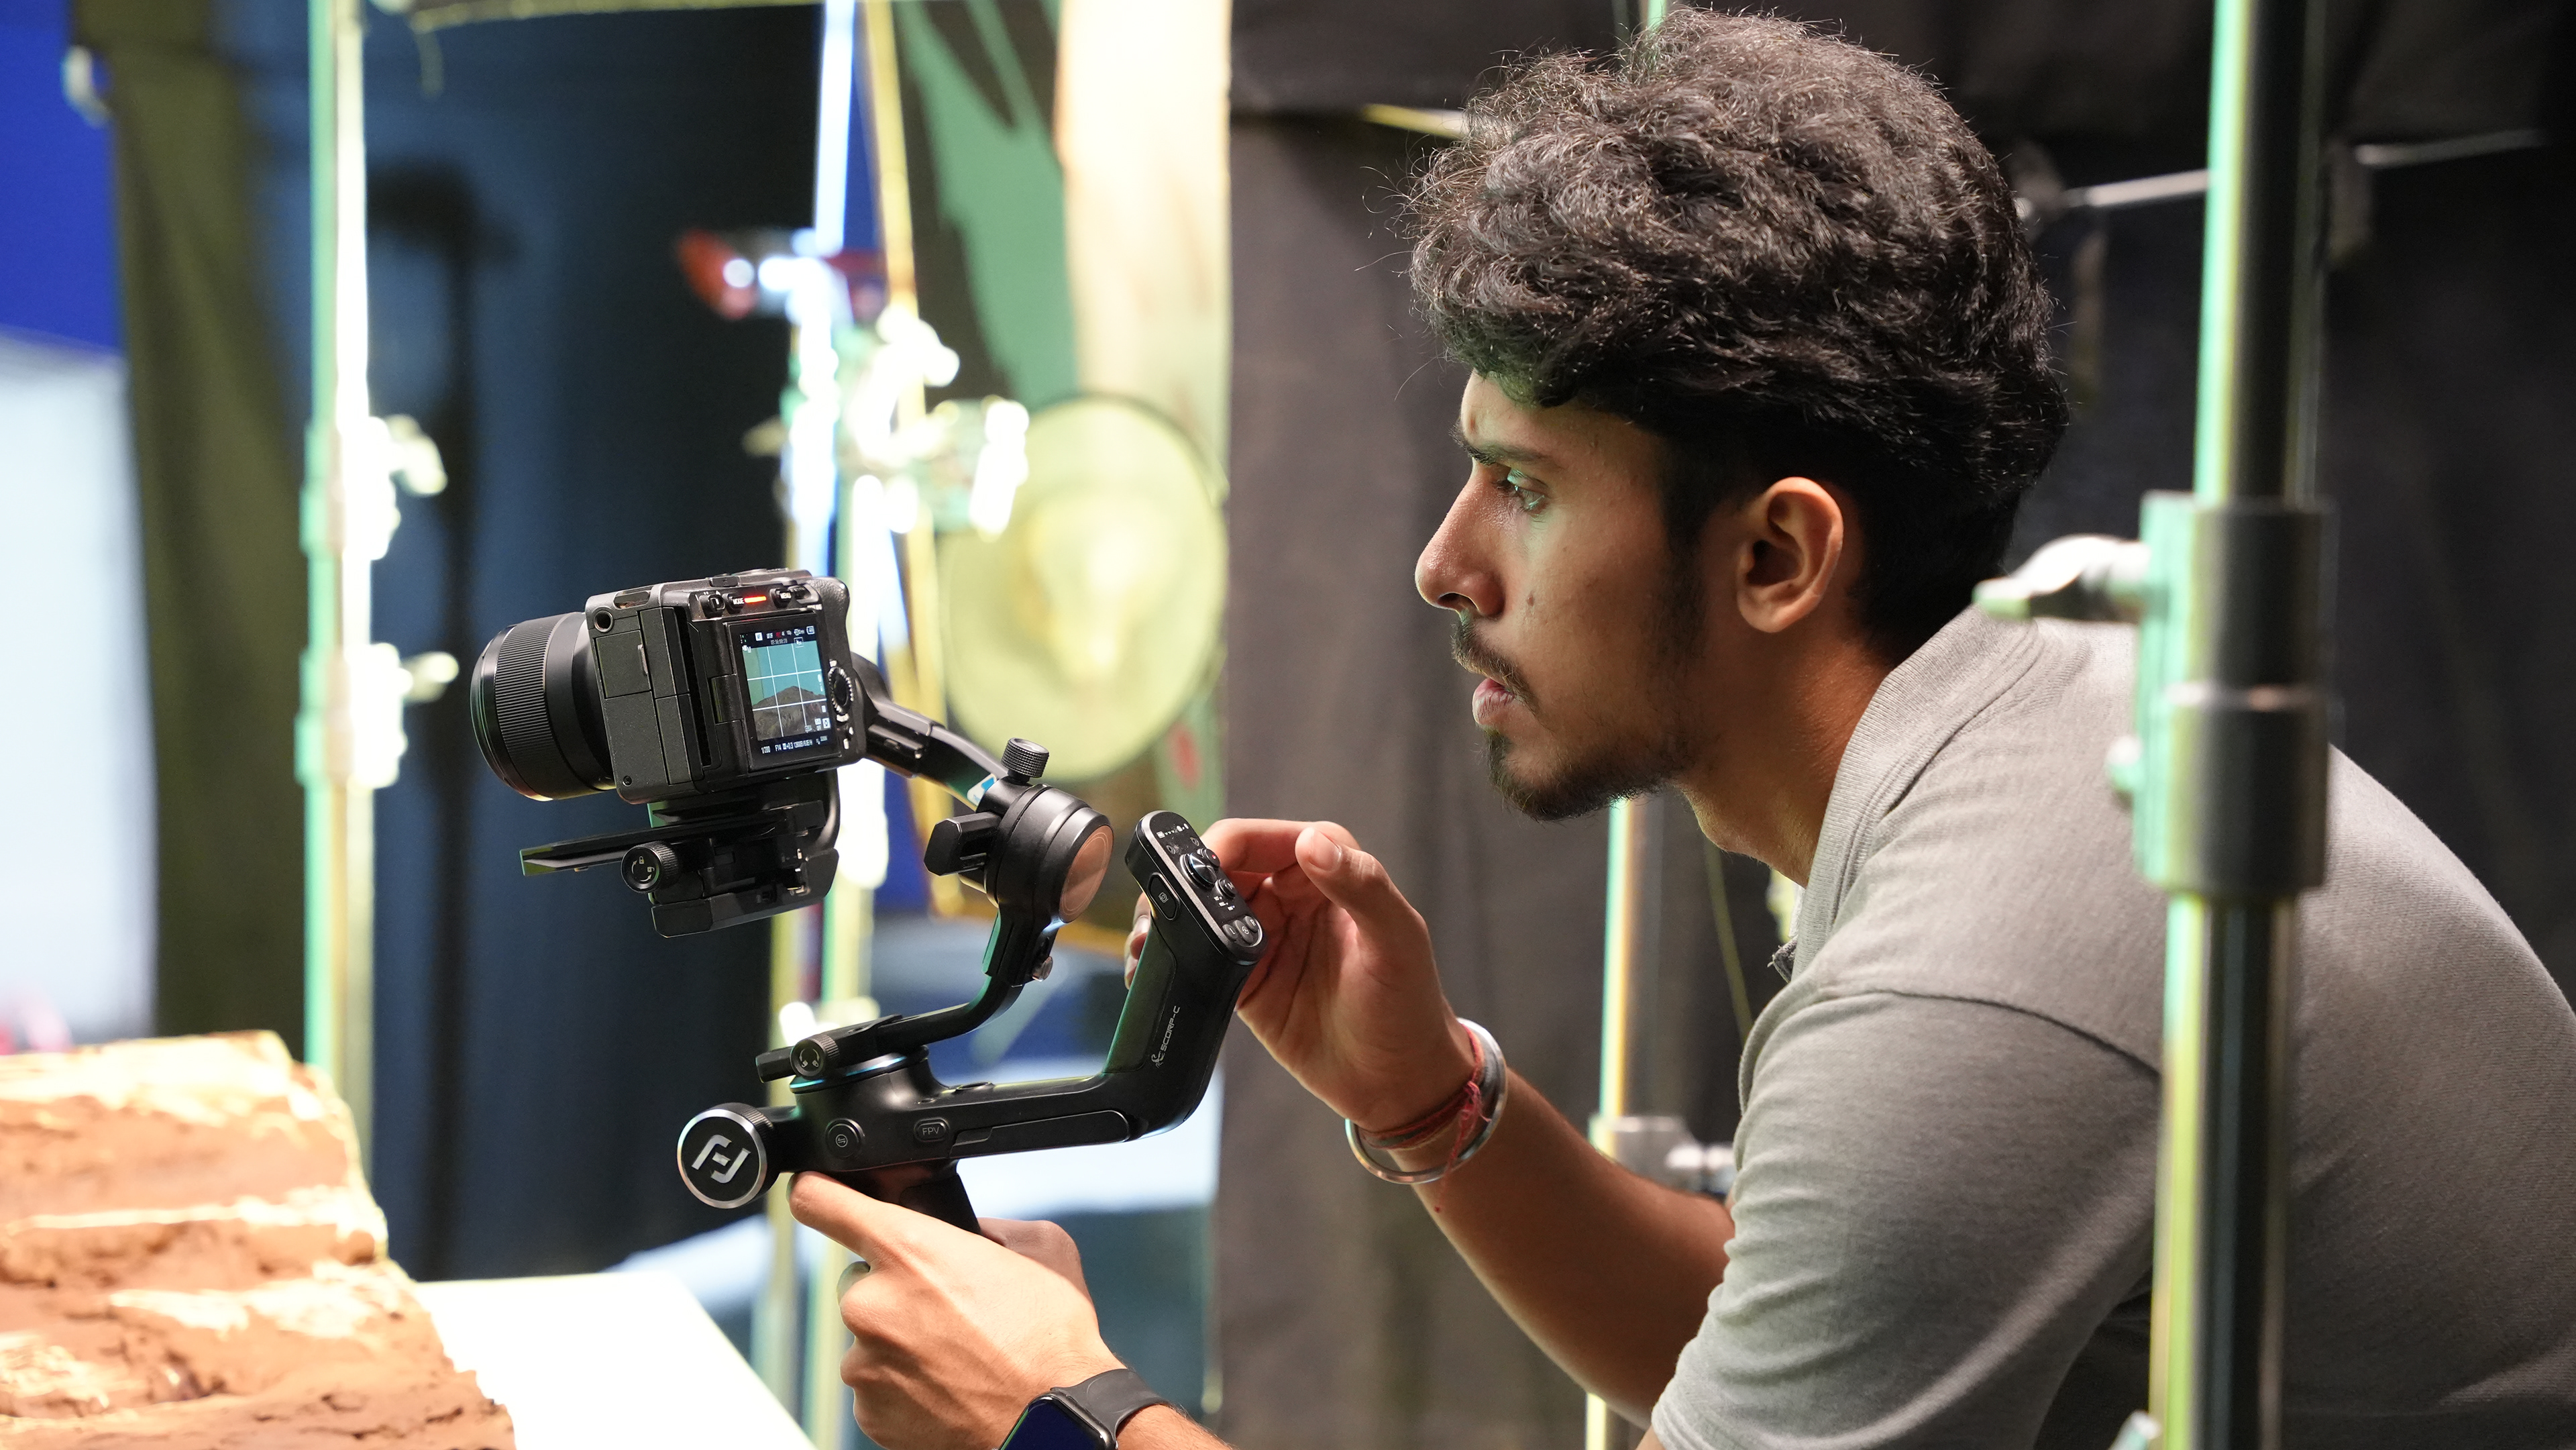
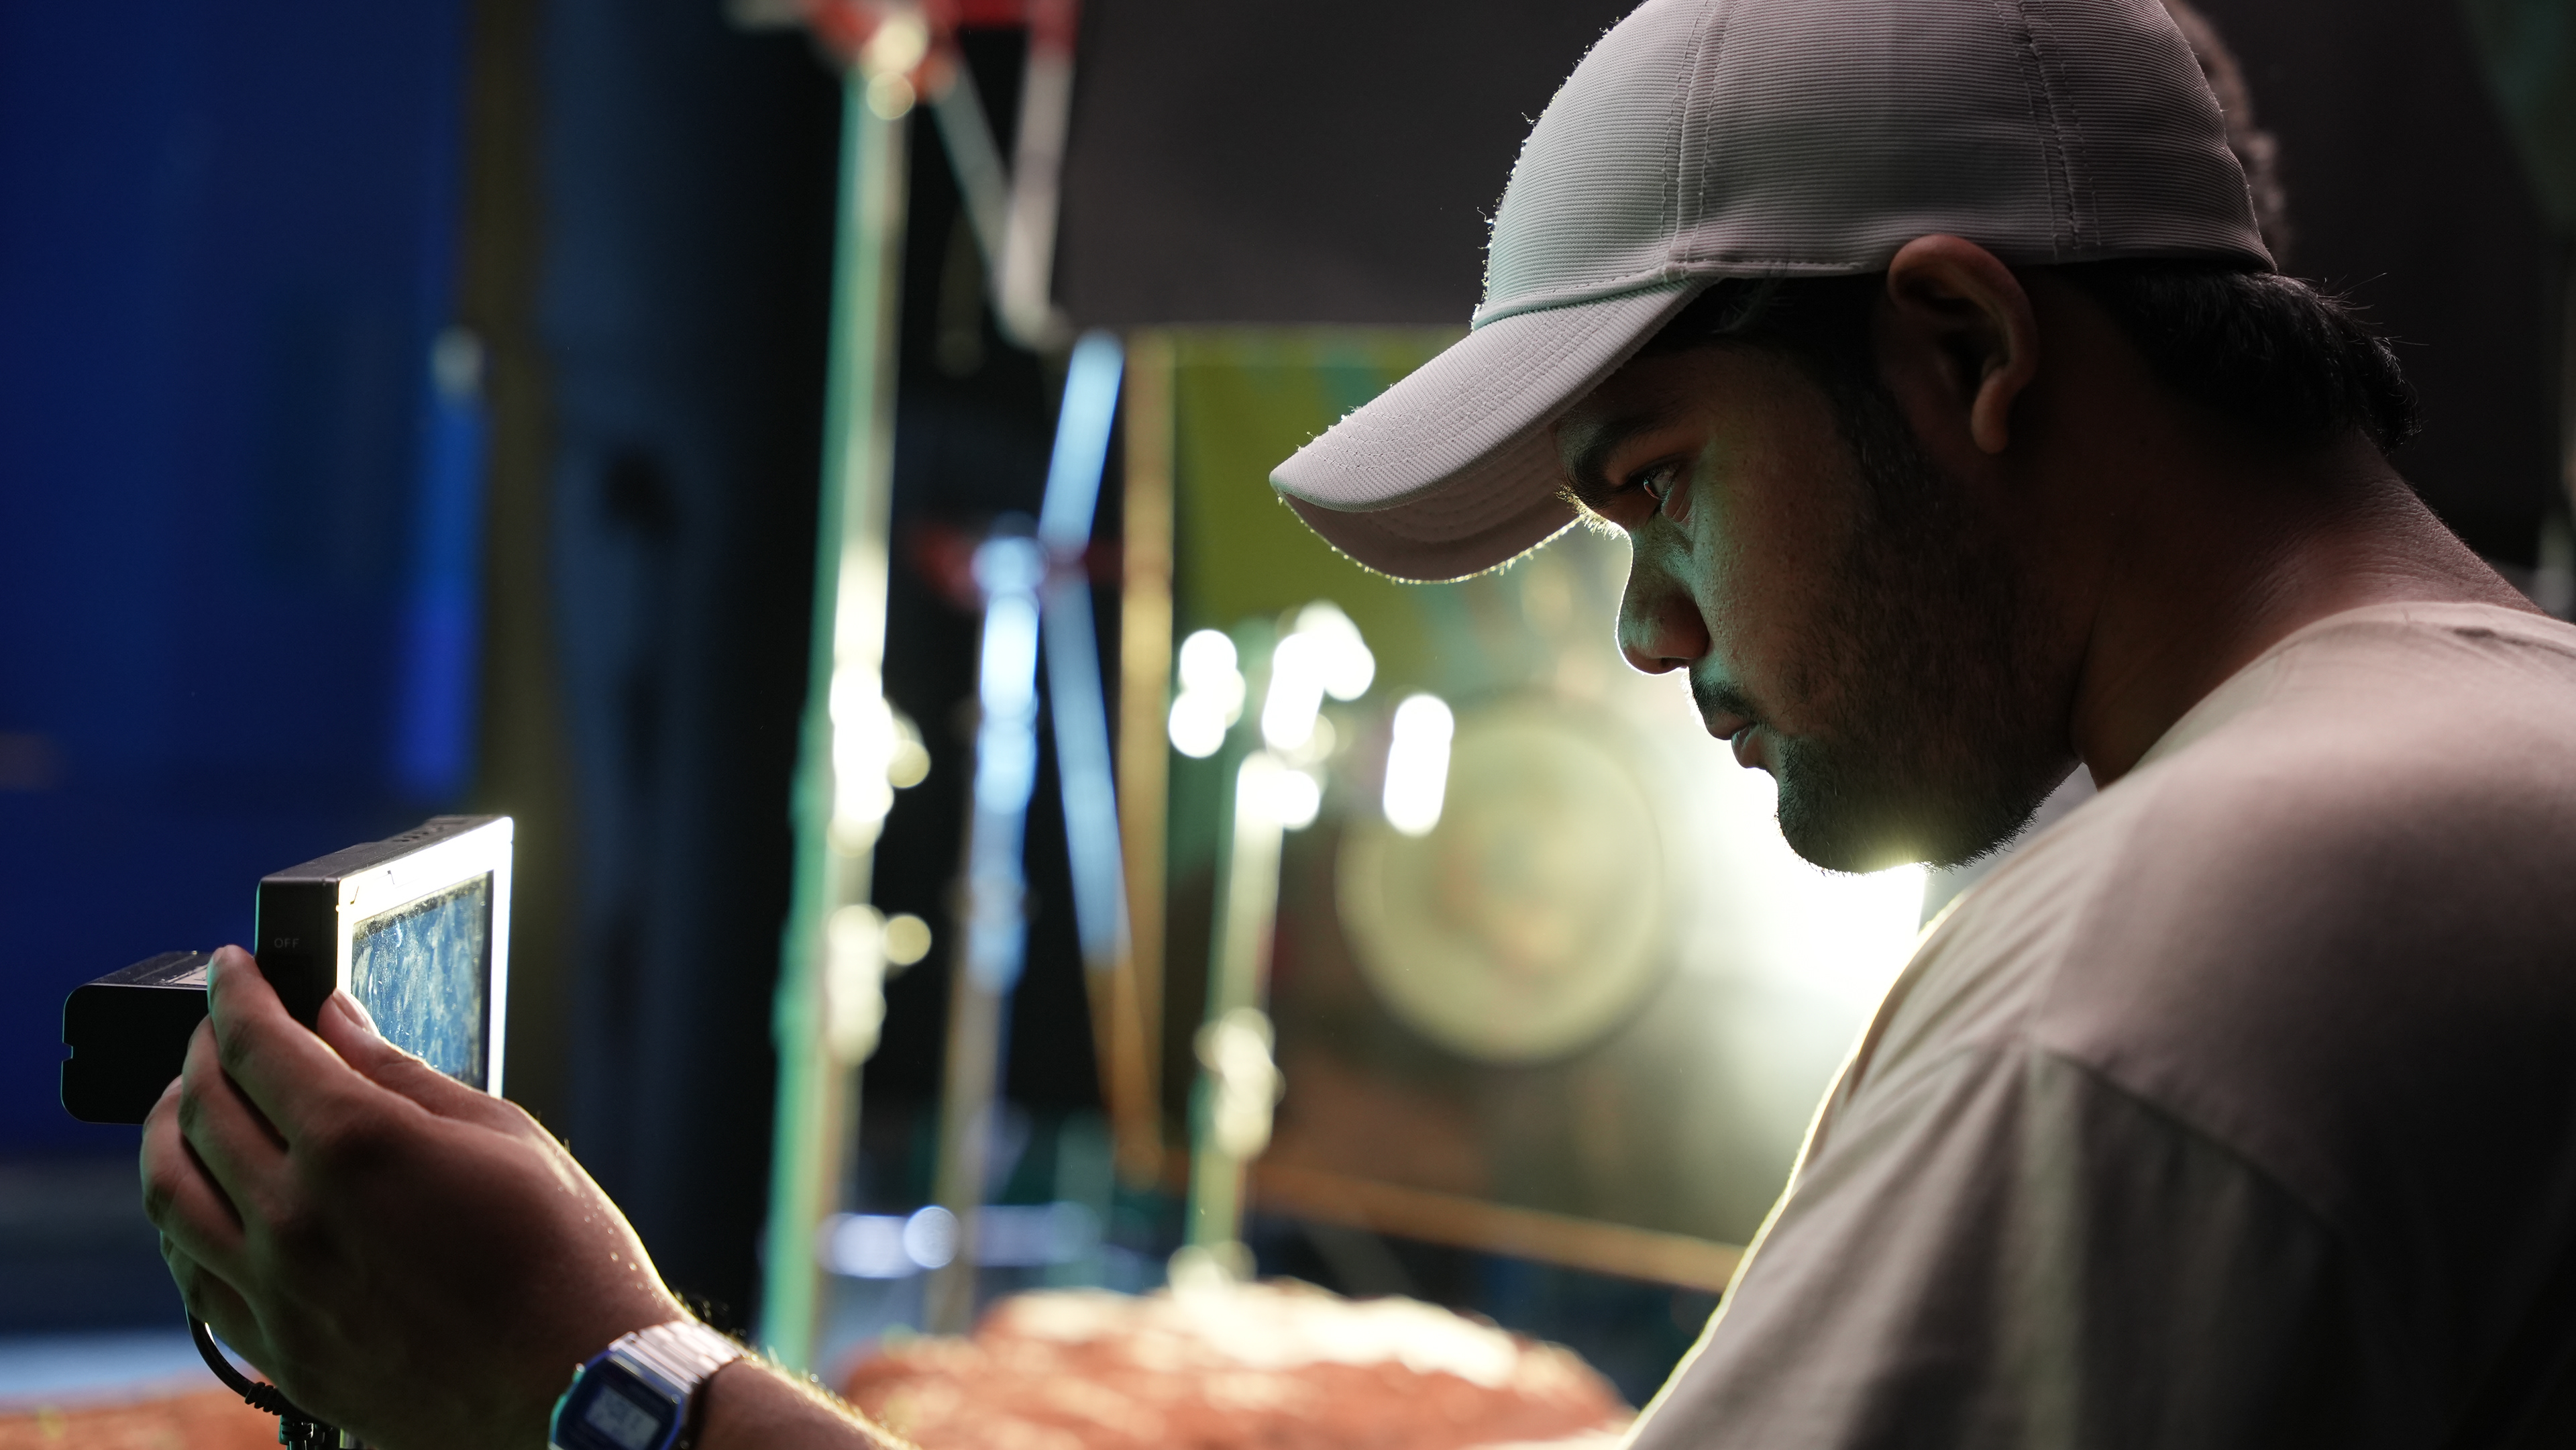
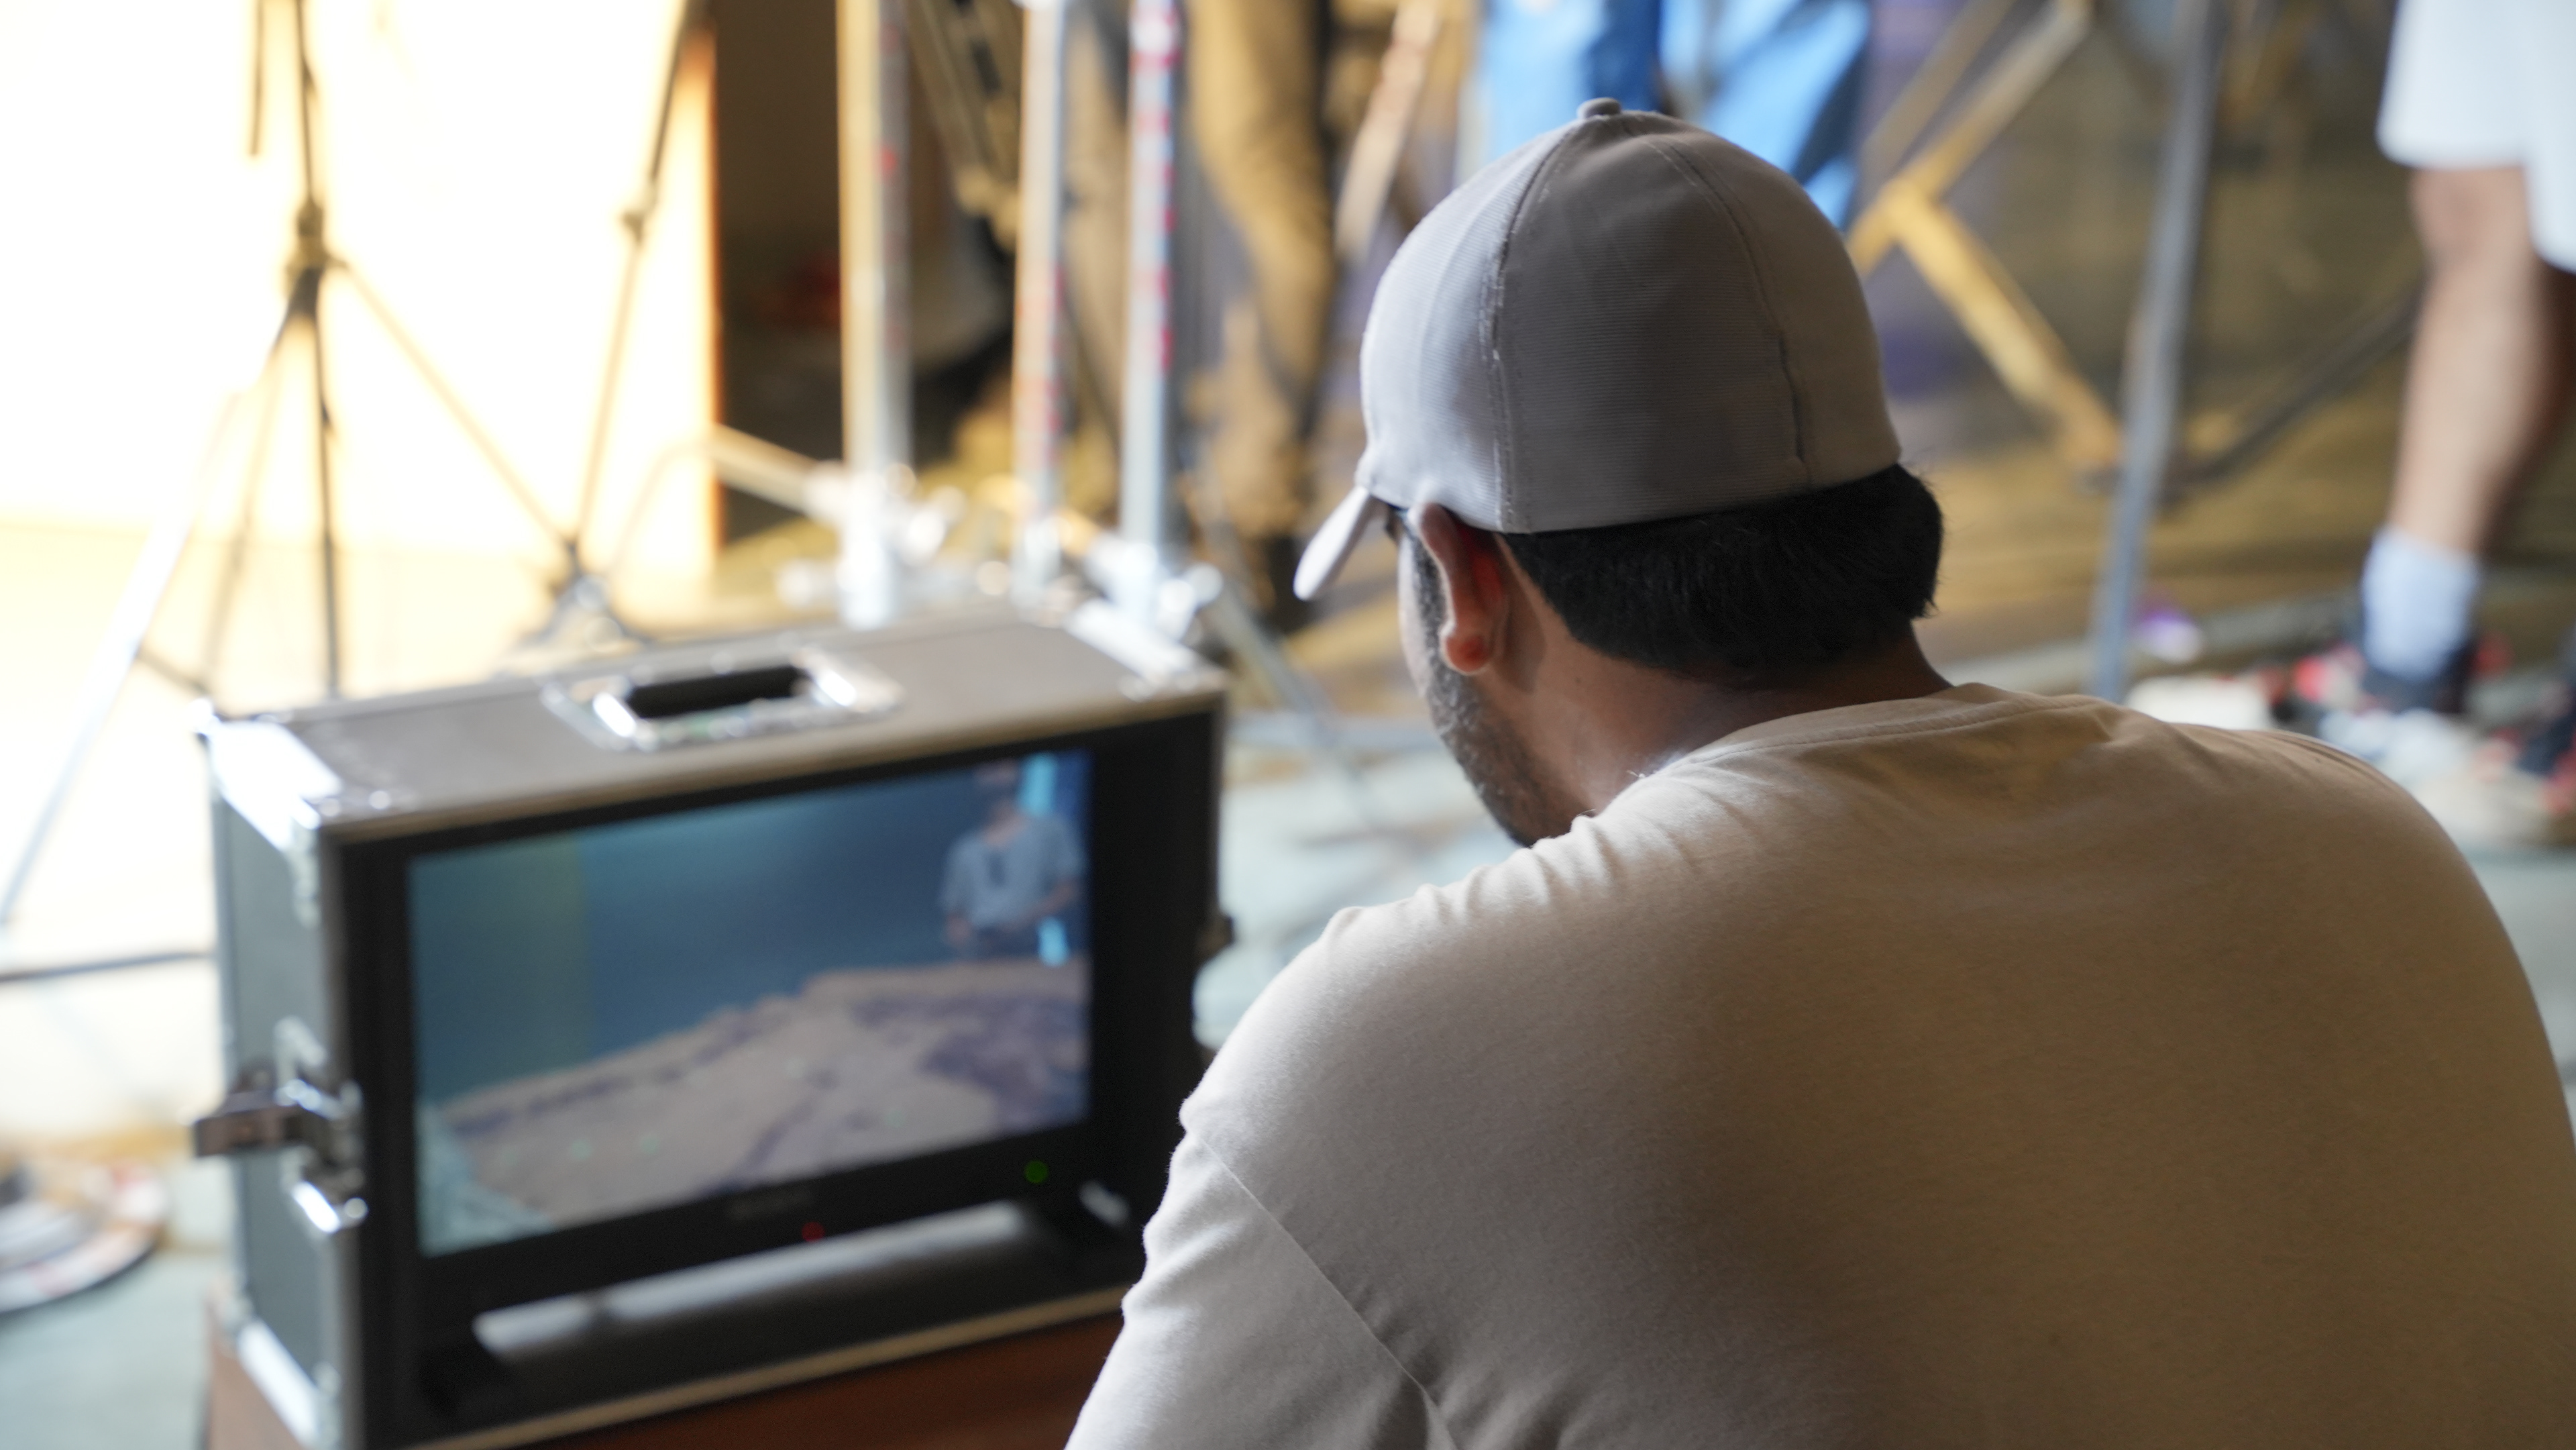
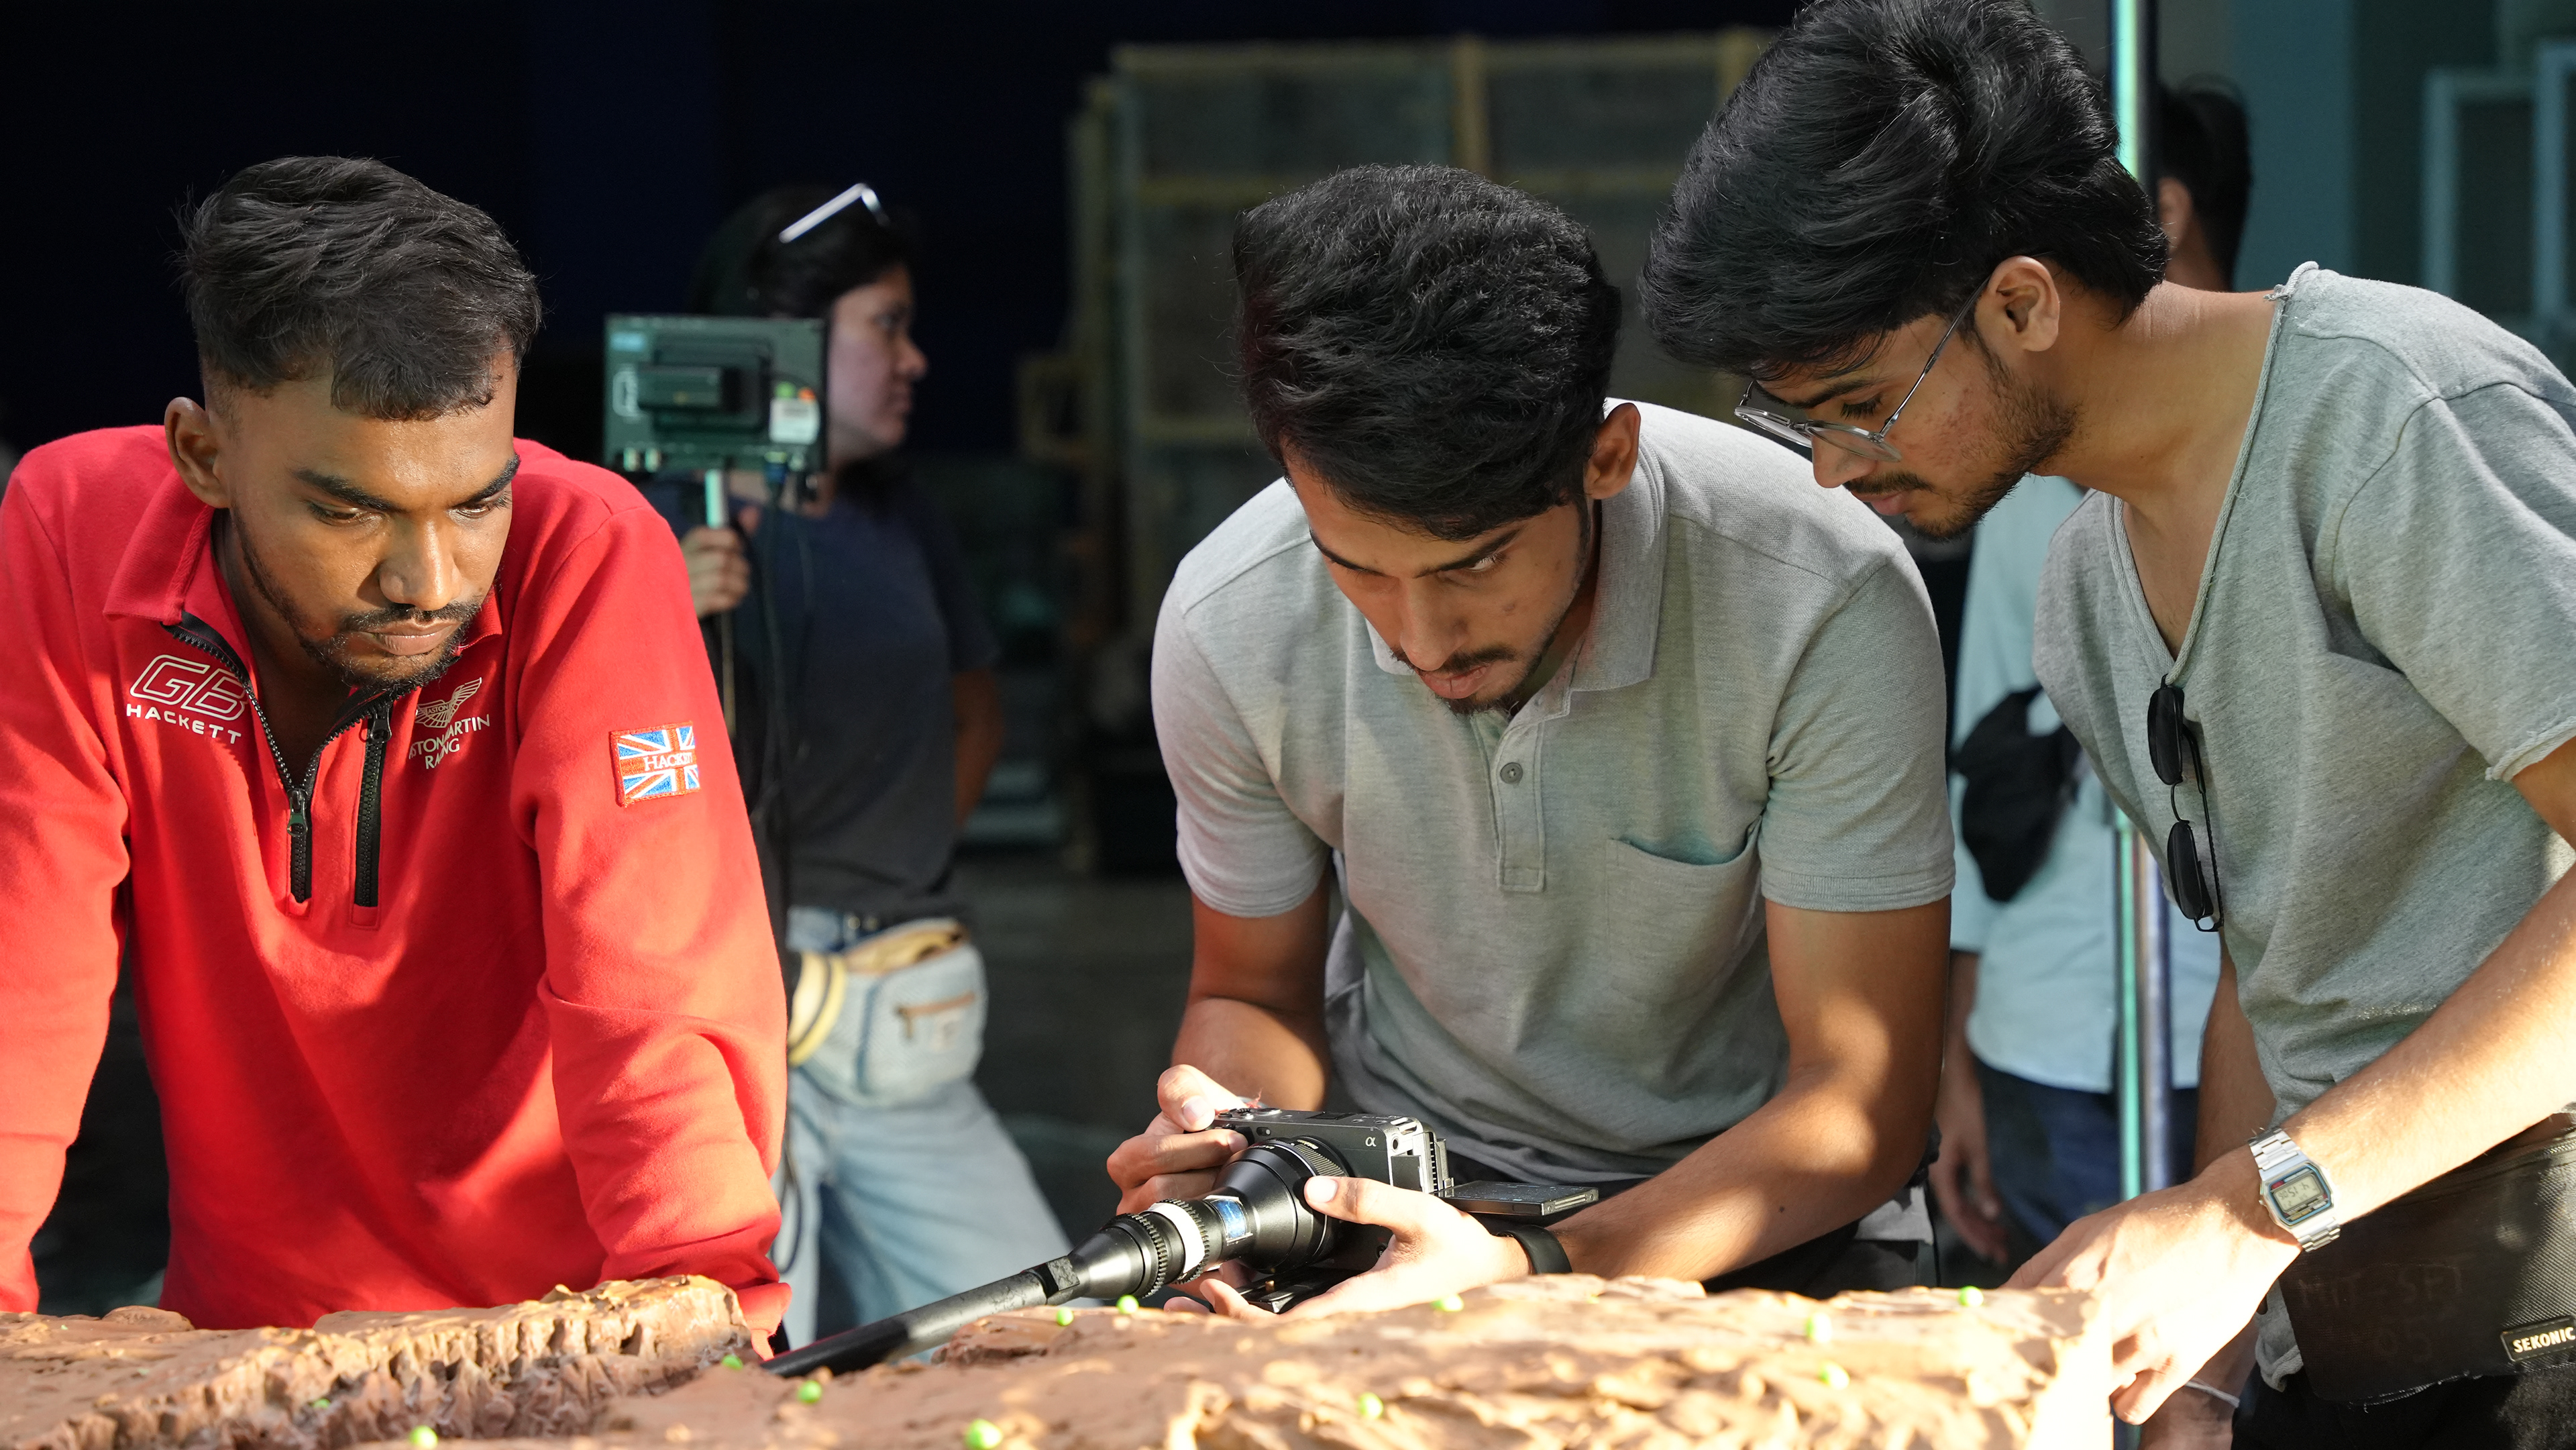
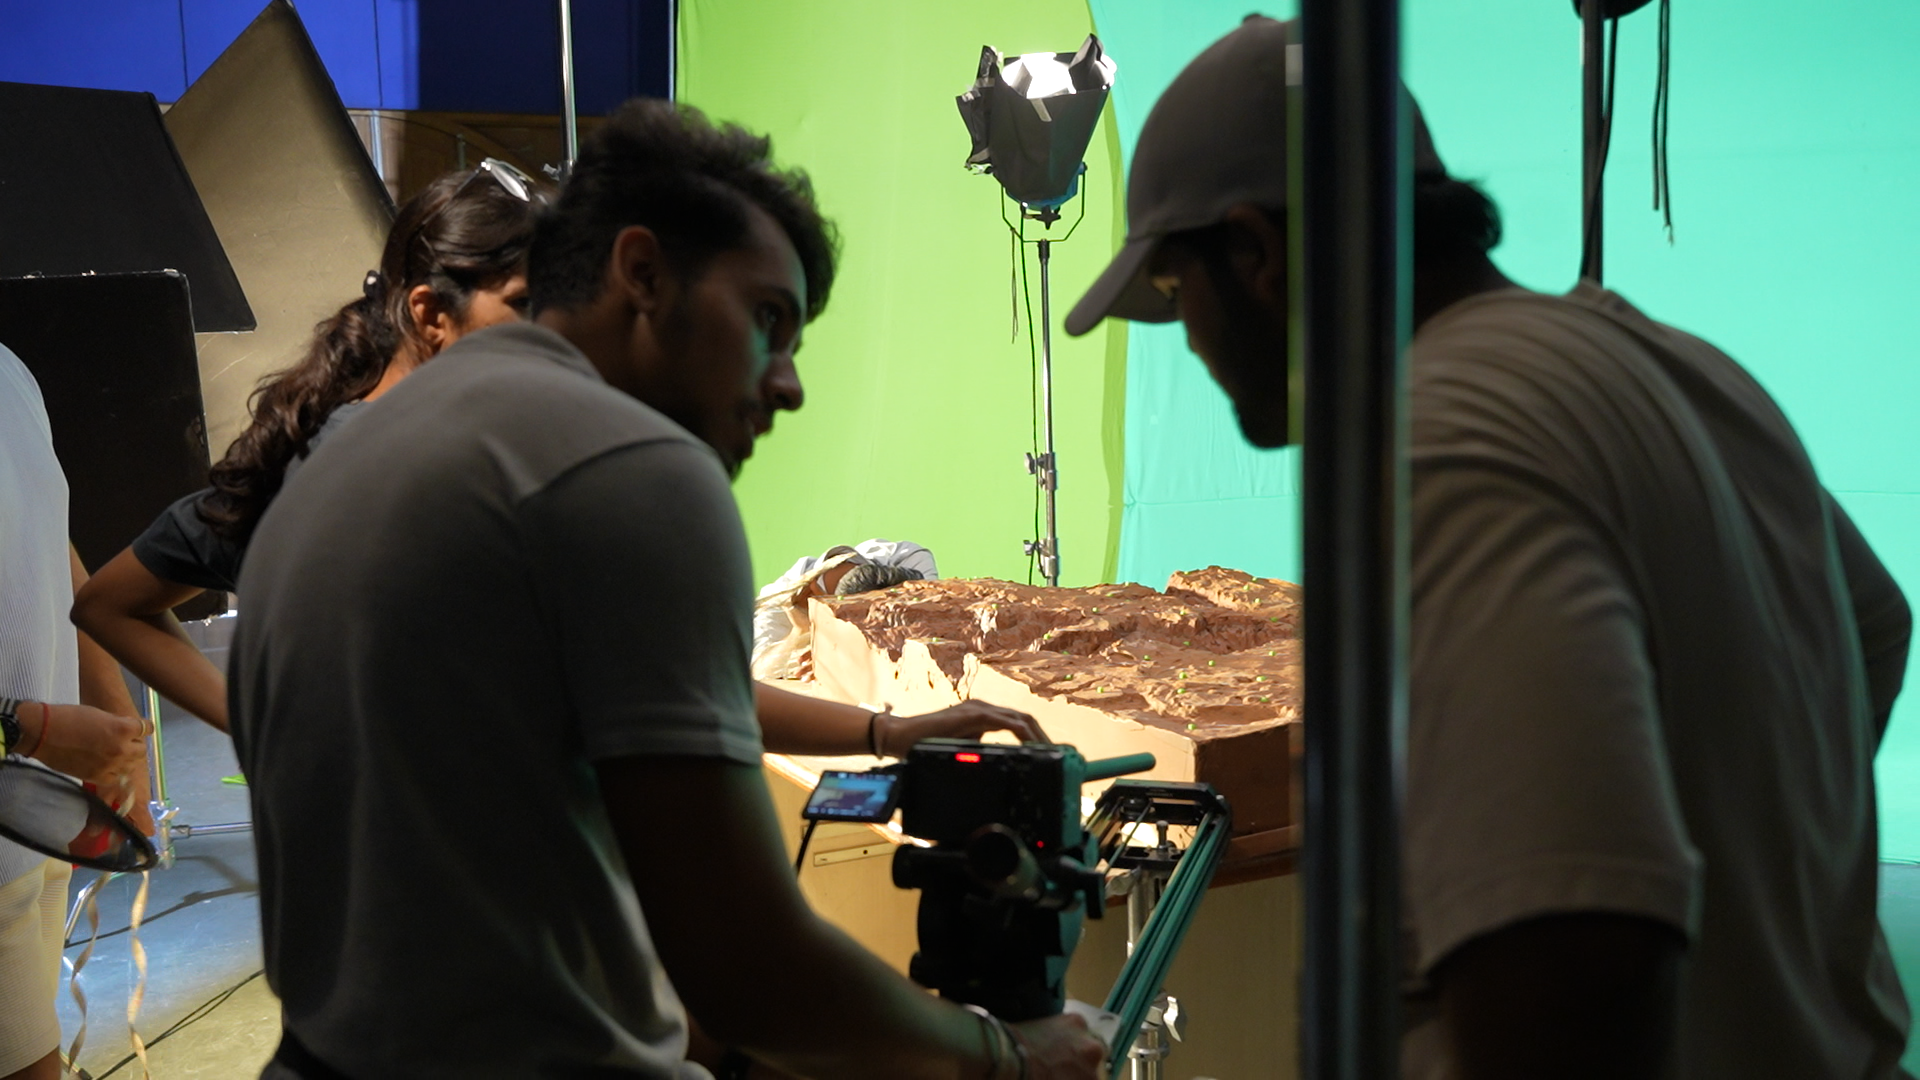
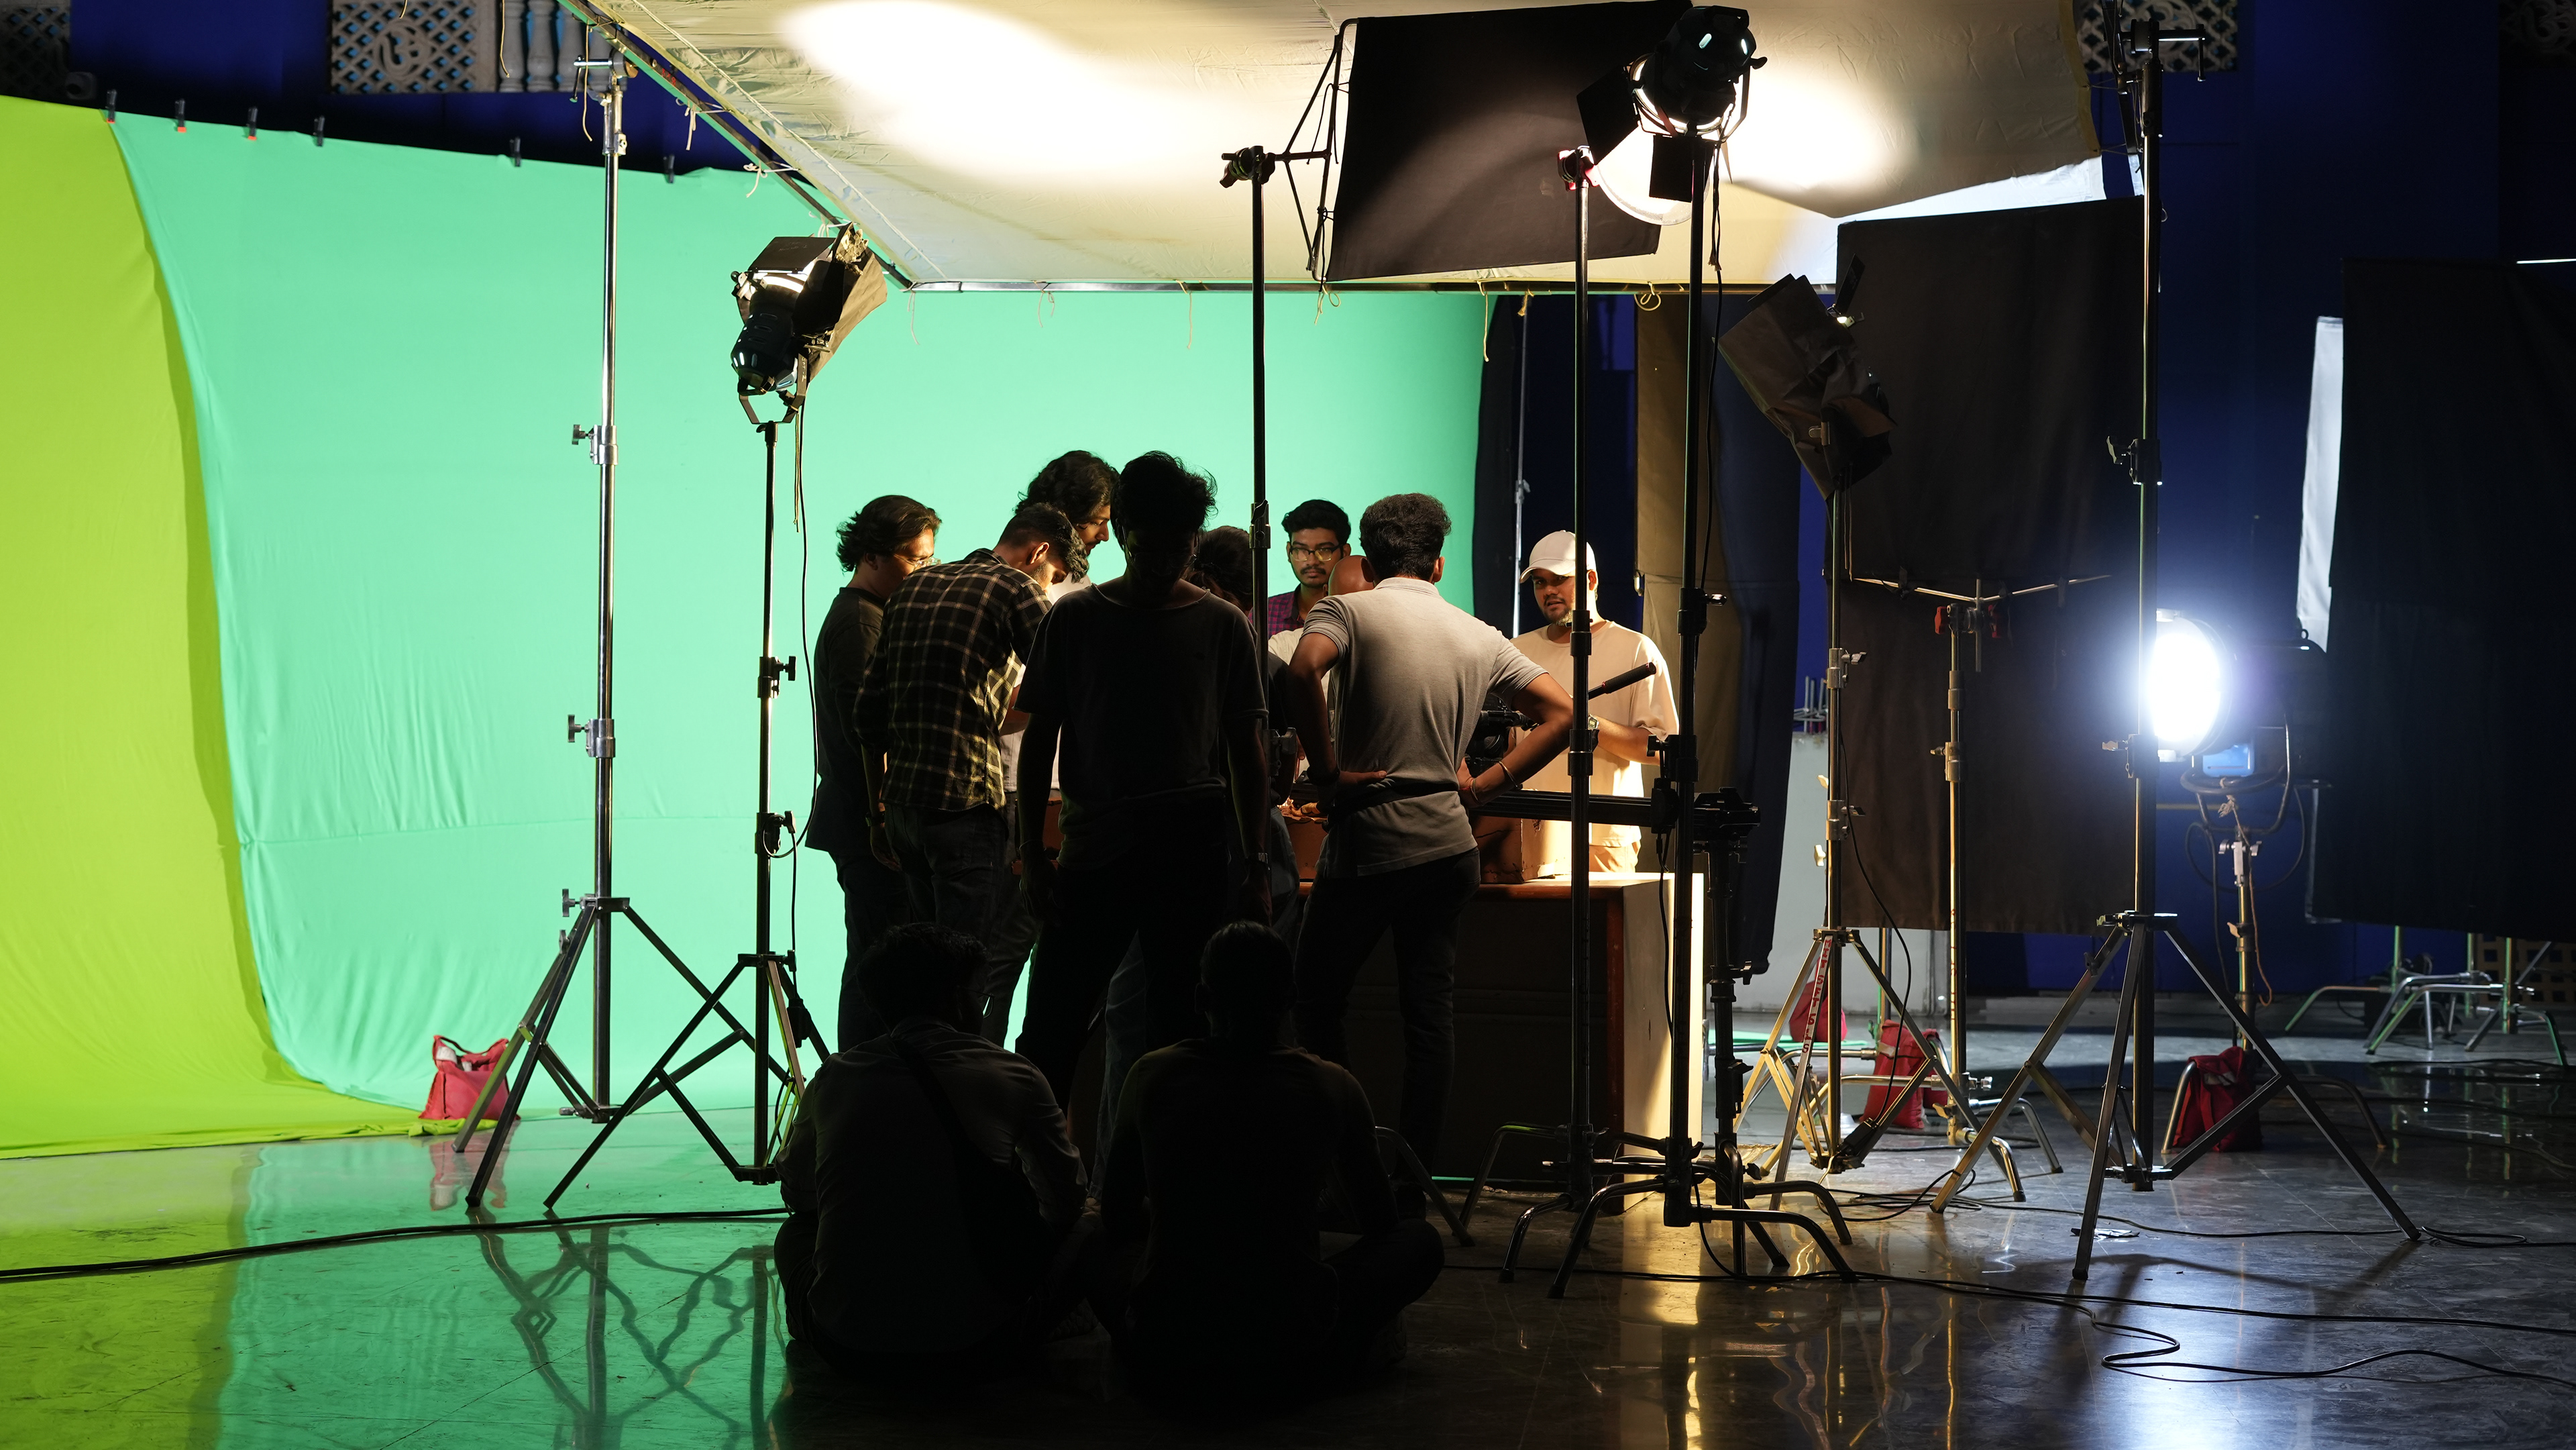
The miniature was photographed using a Sony FX3 in Cine Log, with a probe lens used to achieve extremely low-angle and spatially magnified compositions that reduced the visual scale of the physical model. Because of the miniature's limited physical dimensions, many compositions were designed as drone-style aerial and ultra-wide perspectives. The camera path, lens clearance, track space, miniature rotation, lighting access, and chroma coverage were validated before the shoot. The camera department also recorded shot-specific technical data including camera height, subject distance, focal configuration, aperture, ISO, and lighting relationships.
Production Lighting — Miniature
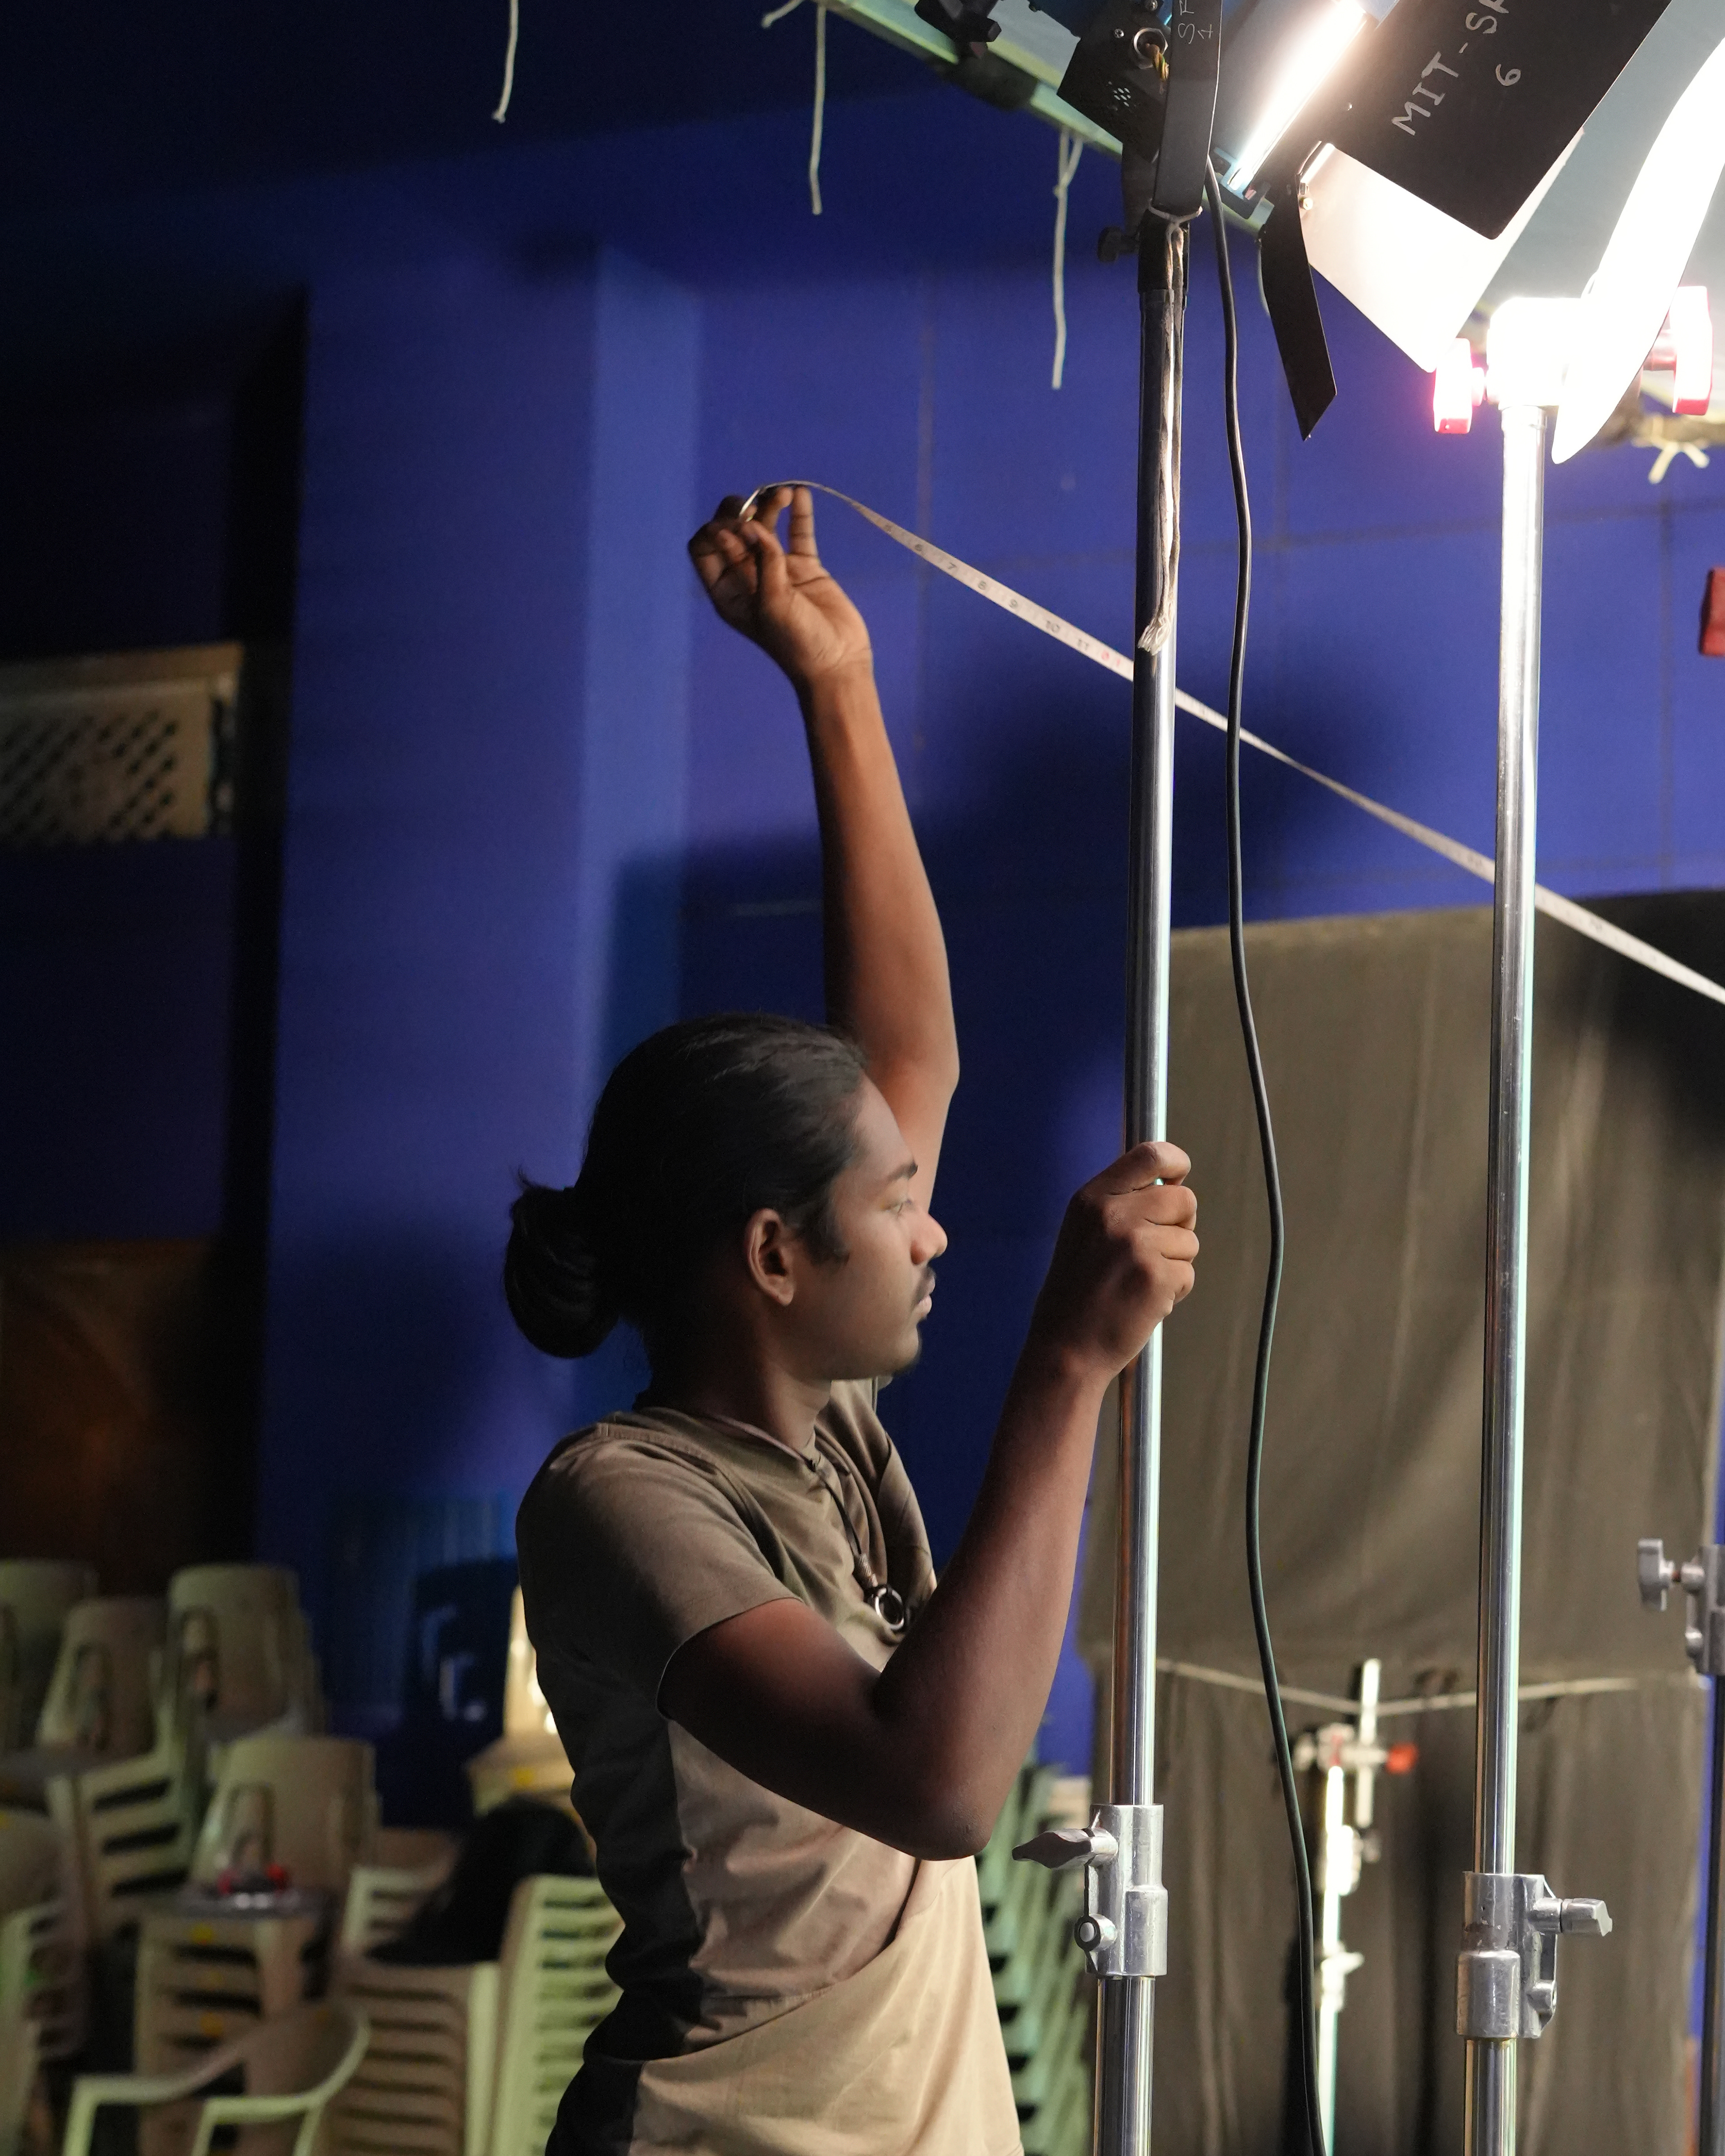
Lighting was designed around the intended digital environment so that the photographed miniature would integrate into the Unreal Engine environments later in post. The miniature and chroma background were independently considered to control spill and maintain clean keying. Because the physical model could not support unrestricted lighting movement, the miniature was rotated once during the production to provide access to alternative lighting directions rather than repeatedly repositioning the complete light package.
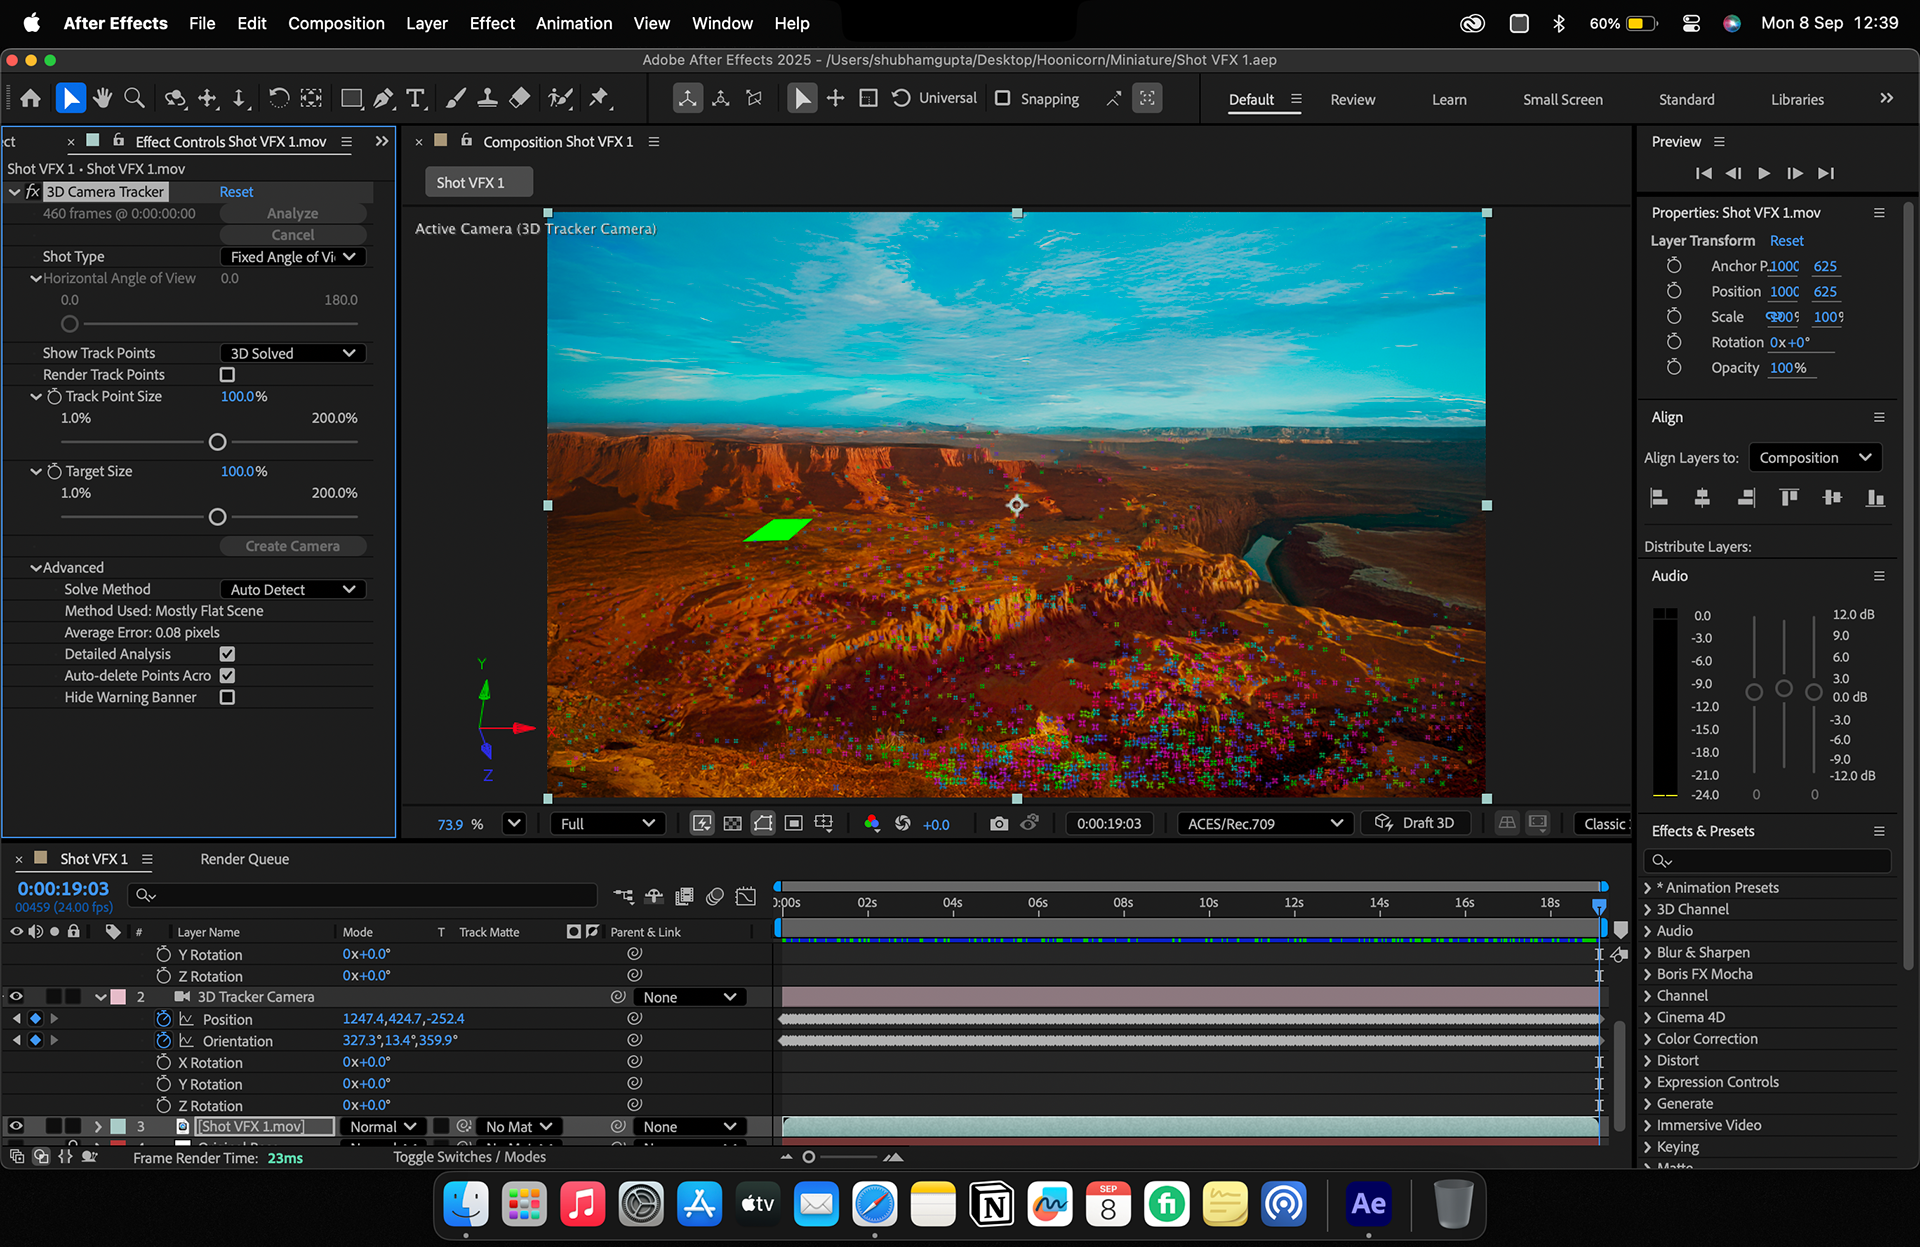
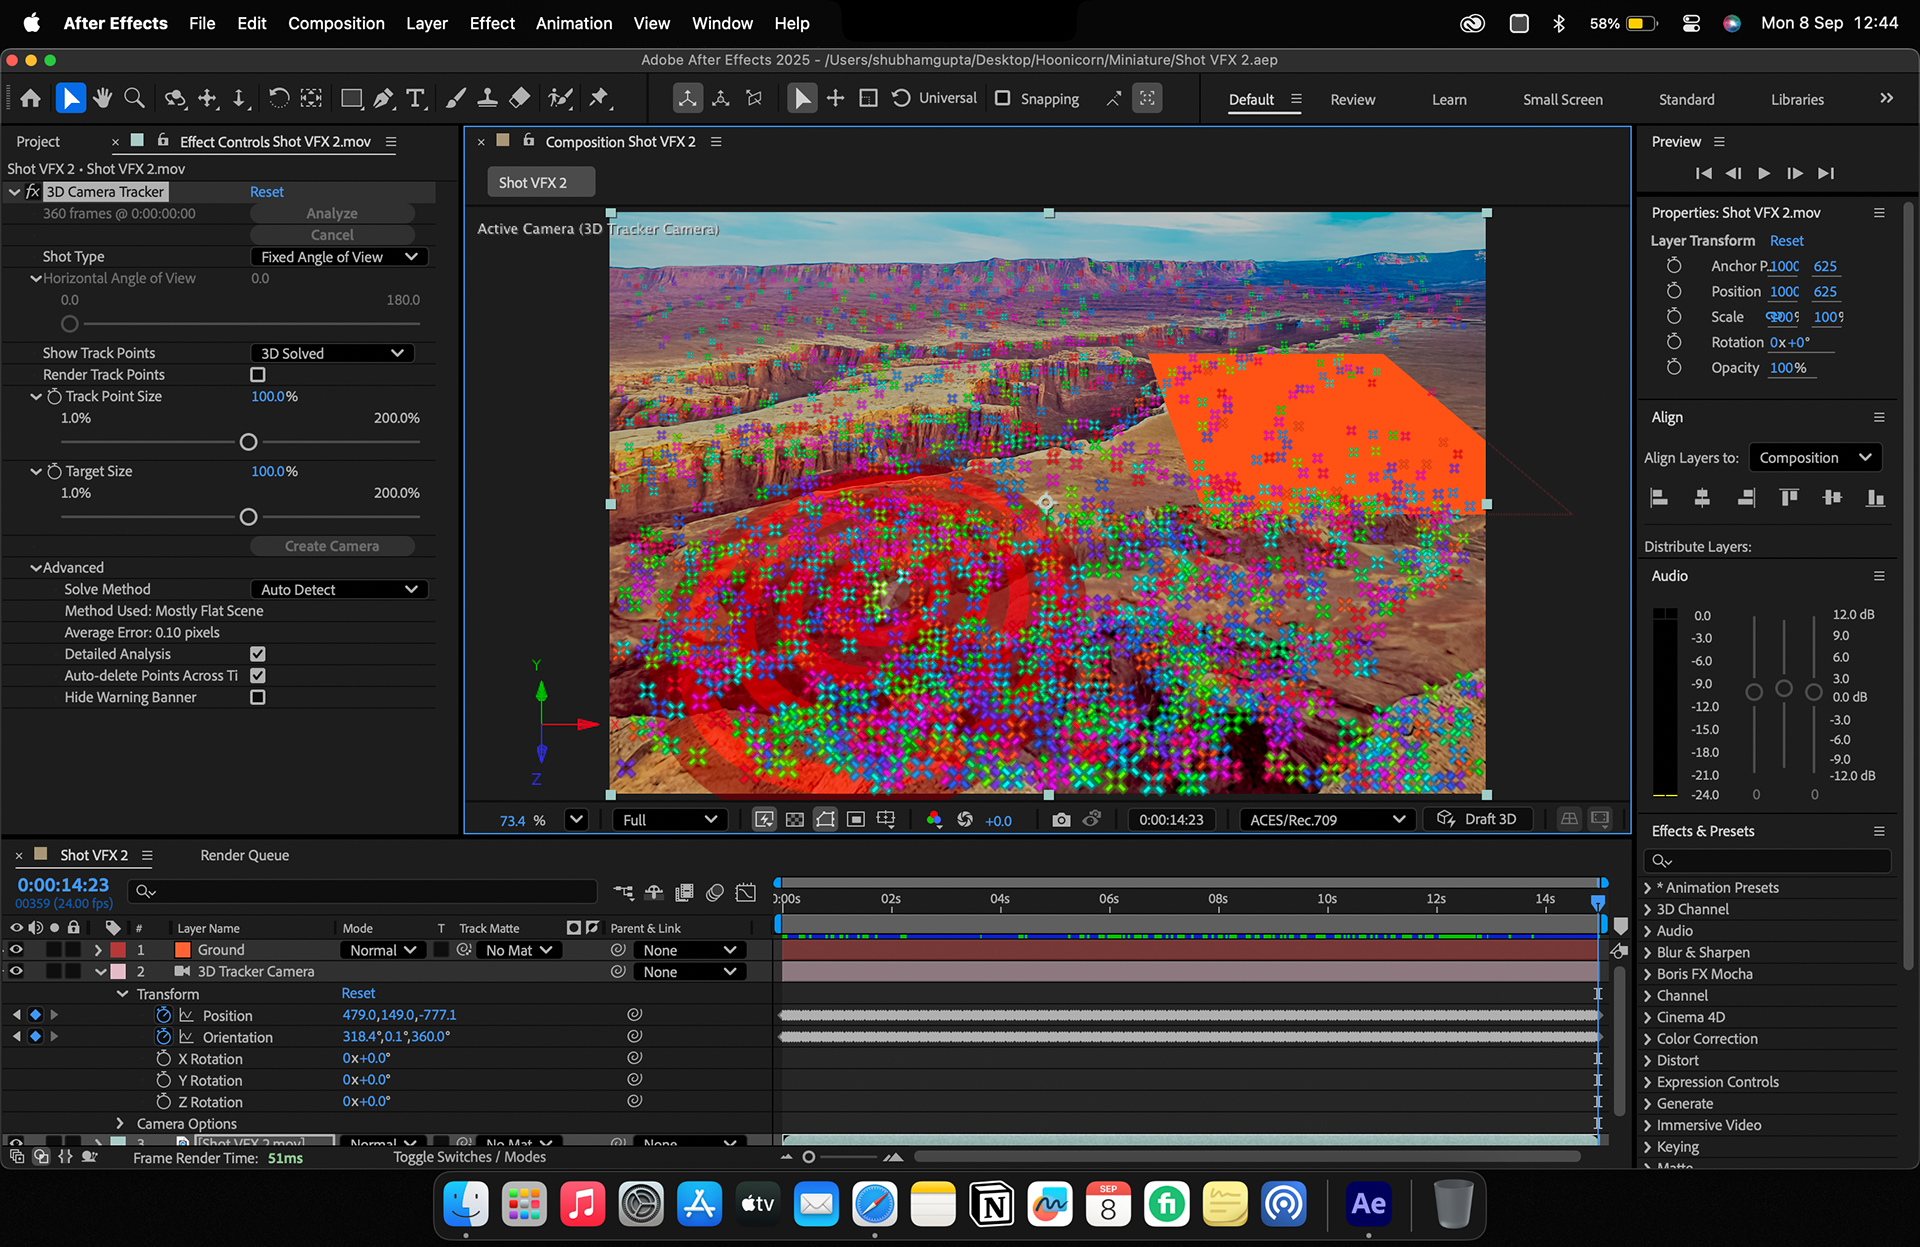
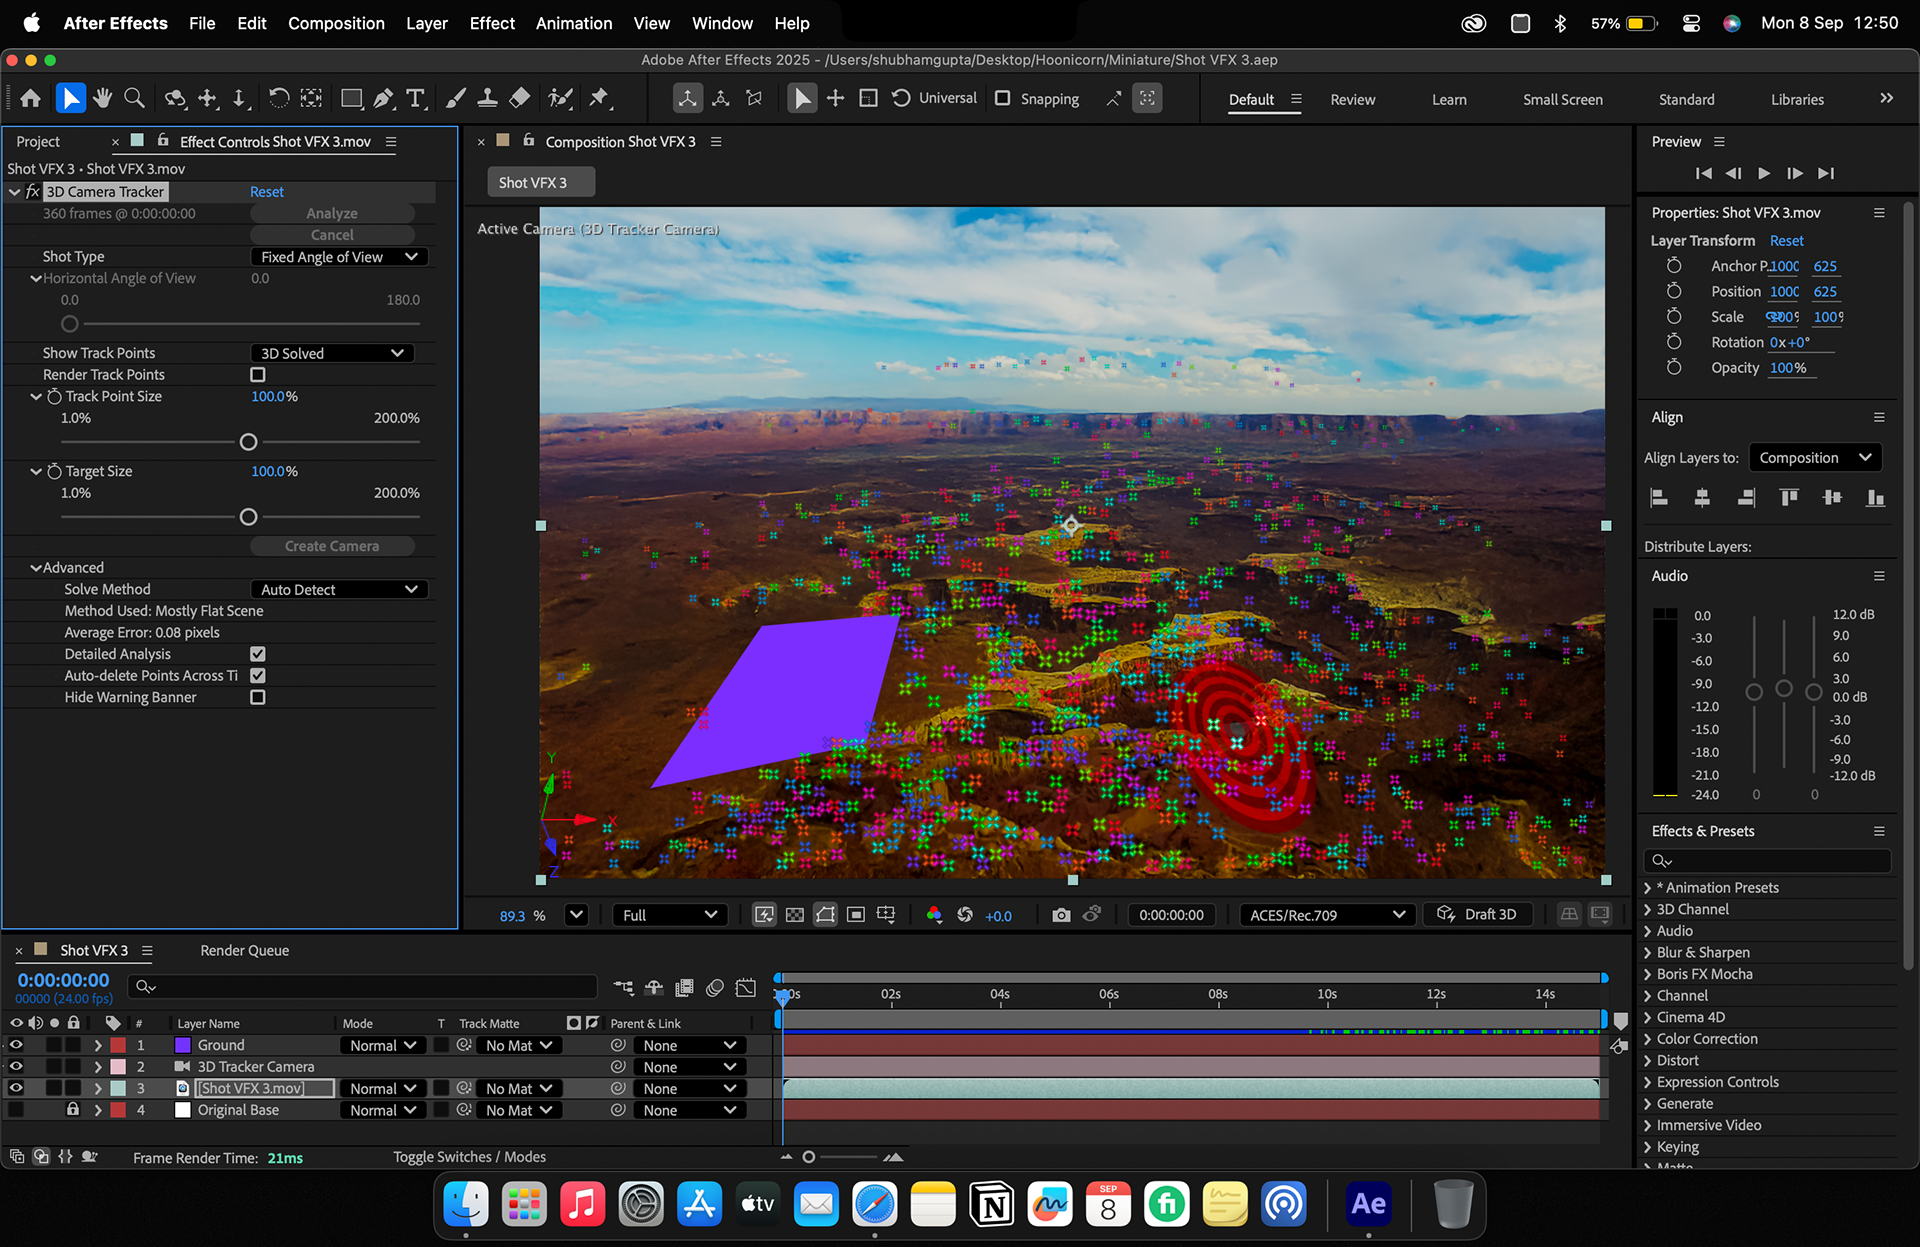
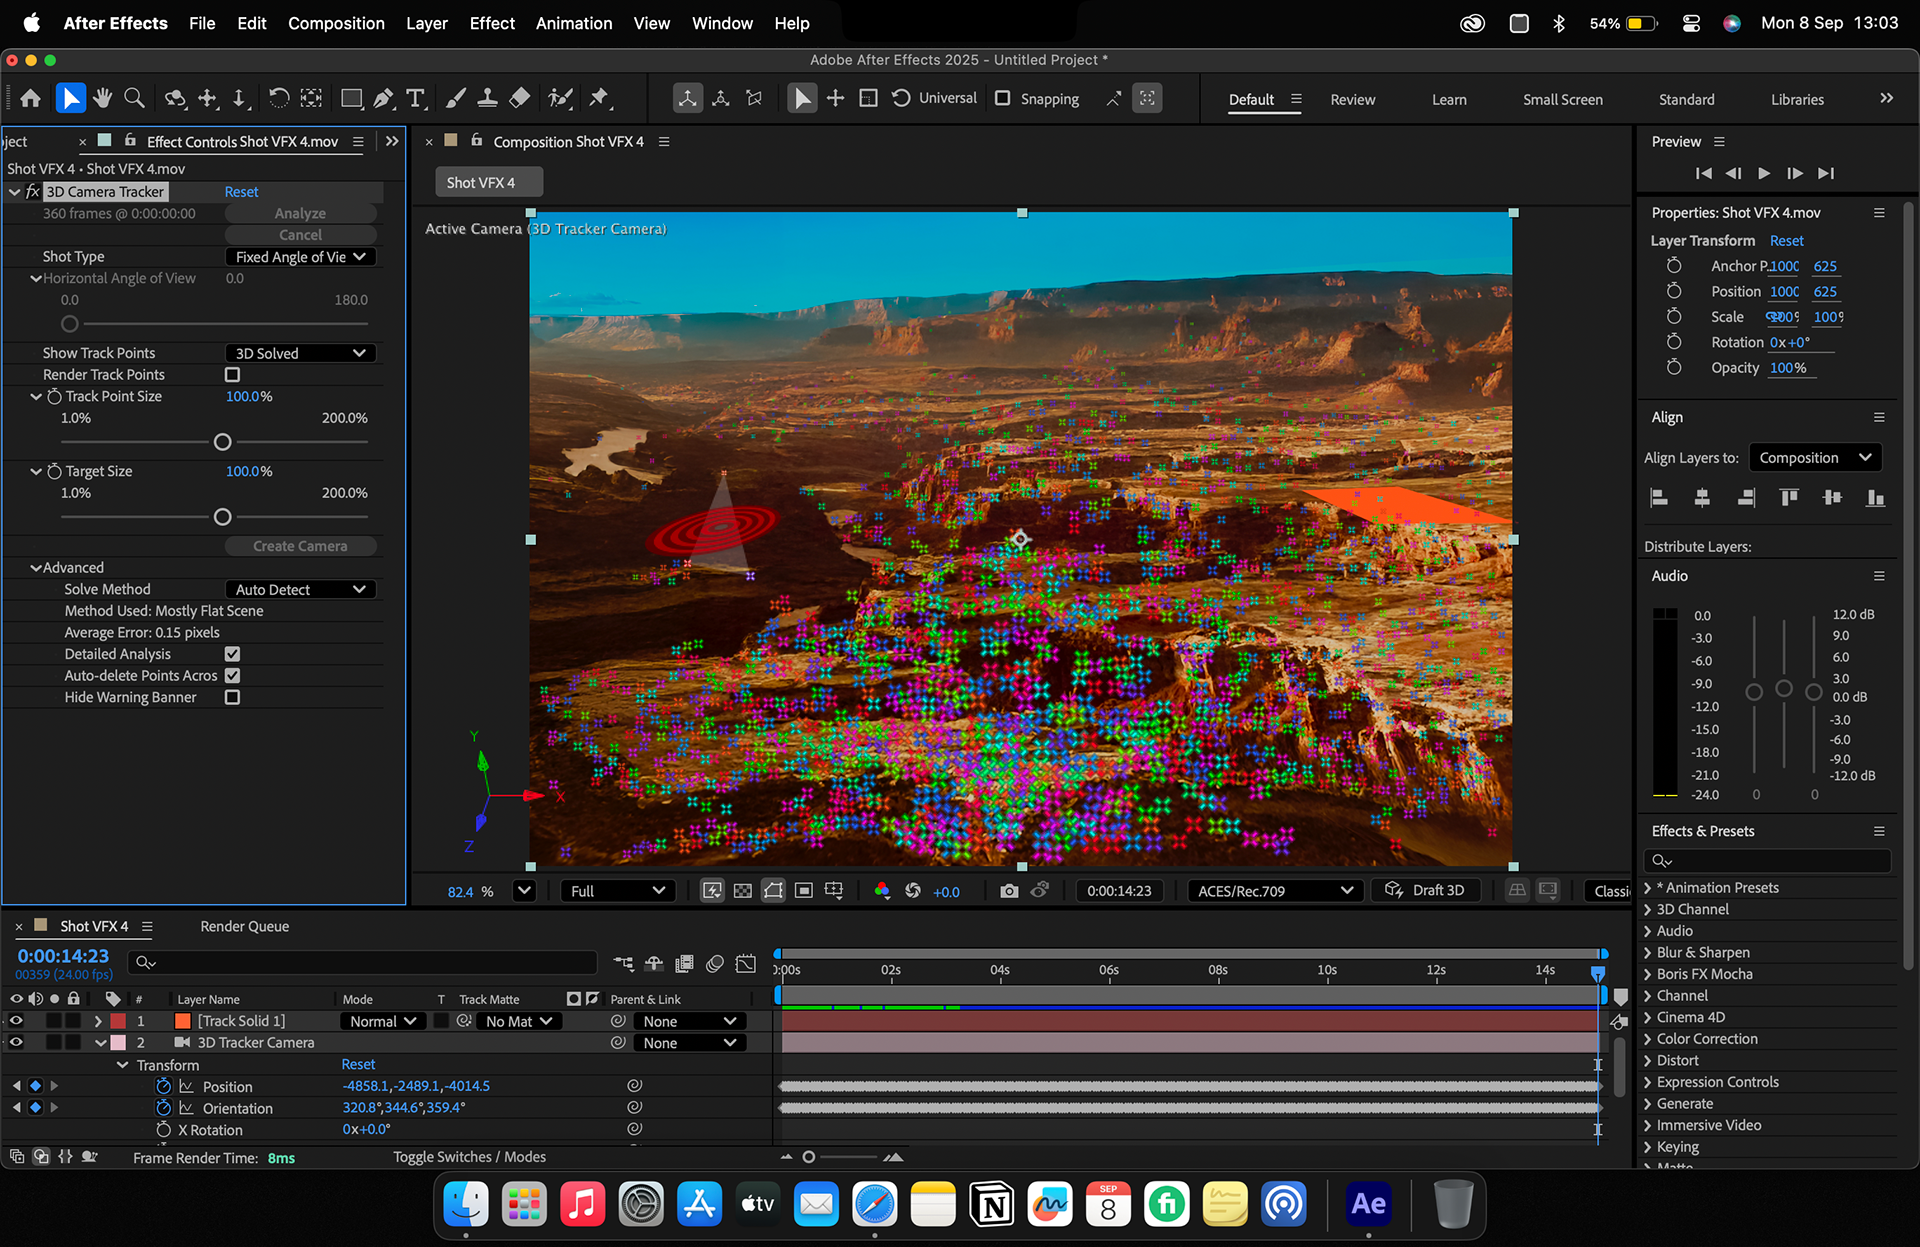
VFX 3D Camera Tracking & Keying: After Effects interface showing 3D point tracking on the miniature live-action plates using surface markers to export accurate camera motion data into Unreal Engine.
Compositing — Miniature Integration
The miniature footage was chroma-keyed in Adobe After Effects using Keylight. For camera tracking, the keying effect was temporarily disabled so the tracking markers on both the chroma background and physical miniature could be analysed without the keying operation interfering with the track. The resulting camera solve was exported from After Effects and transferred into Unreal Engine, where a matching Camera Actor and animation data were reconstructed.
Camera Tracking & CG Reconstruction
Once the tracked camera was transferred into Unreal Engine, the corresponding environment was rebuilt initially as a whiteboxed scene. The Hoonicorn animation was then reconstructed within the tracked camera environment so that the virtual vehicle motion matched the live-action camera movement captured from the miniature stage. This established a common spatial framework between the photographed miniature plate and the full CG environment.
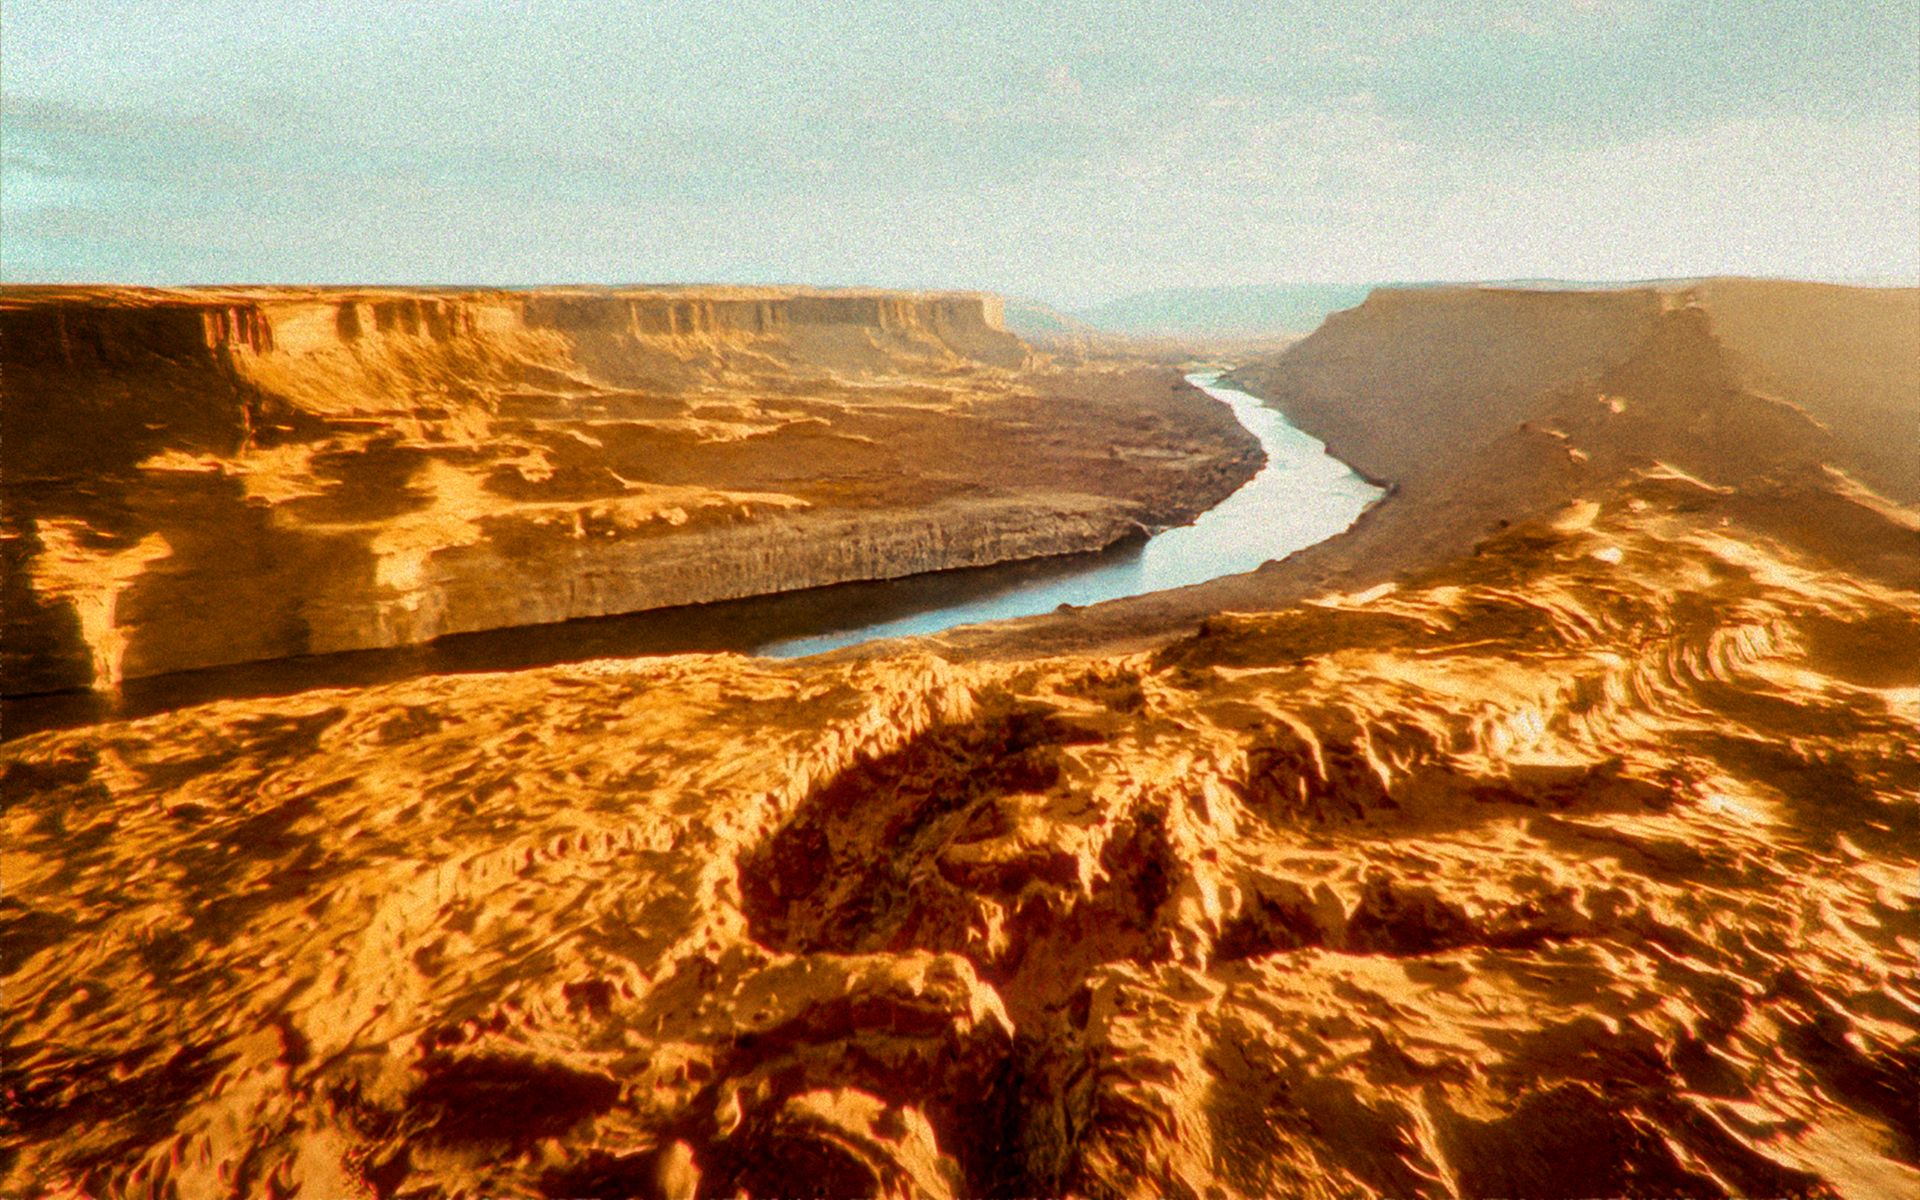
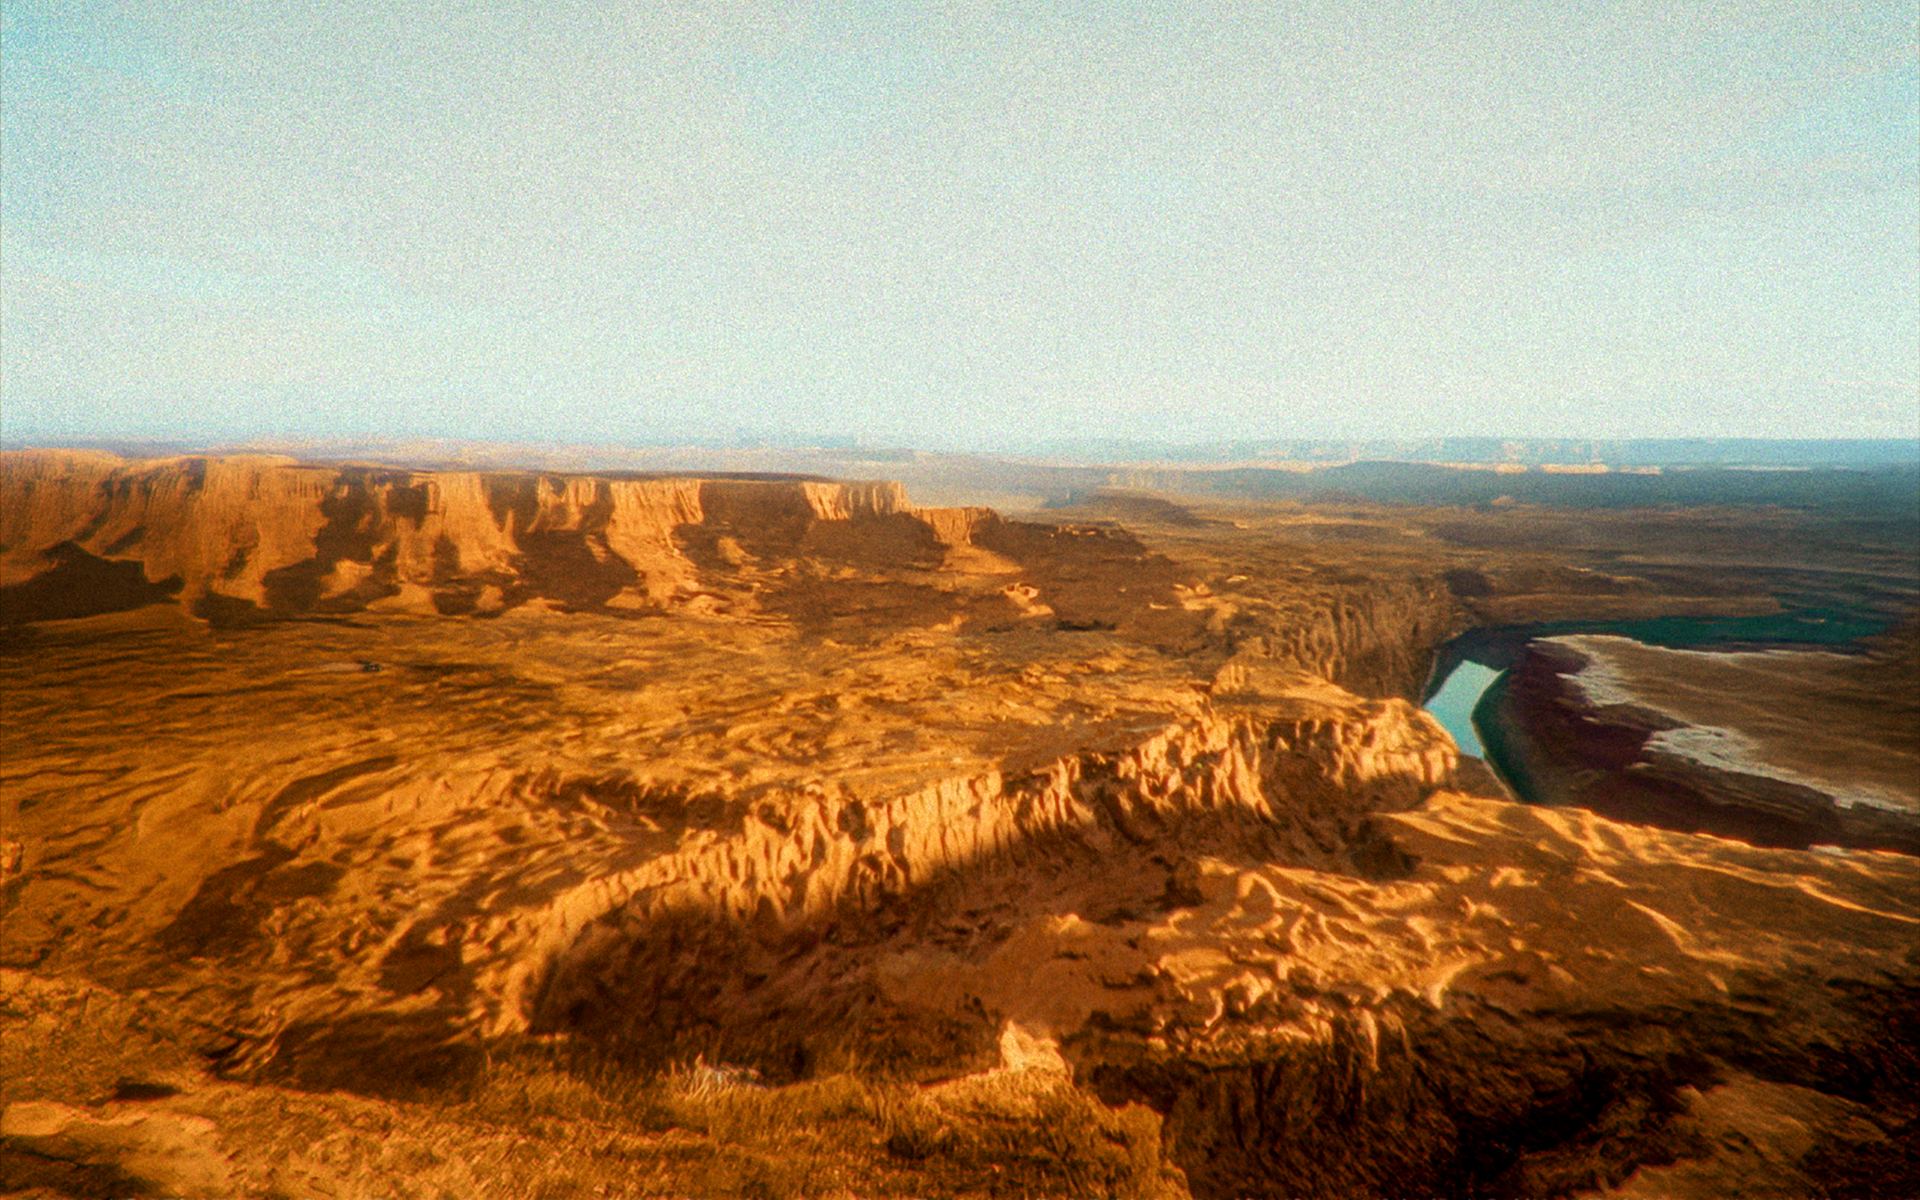
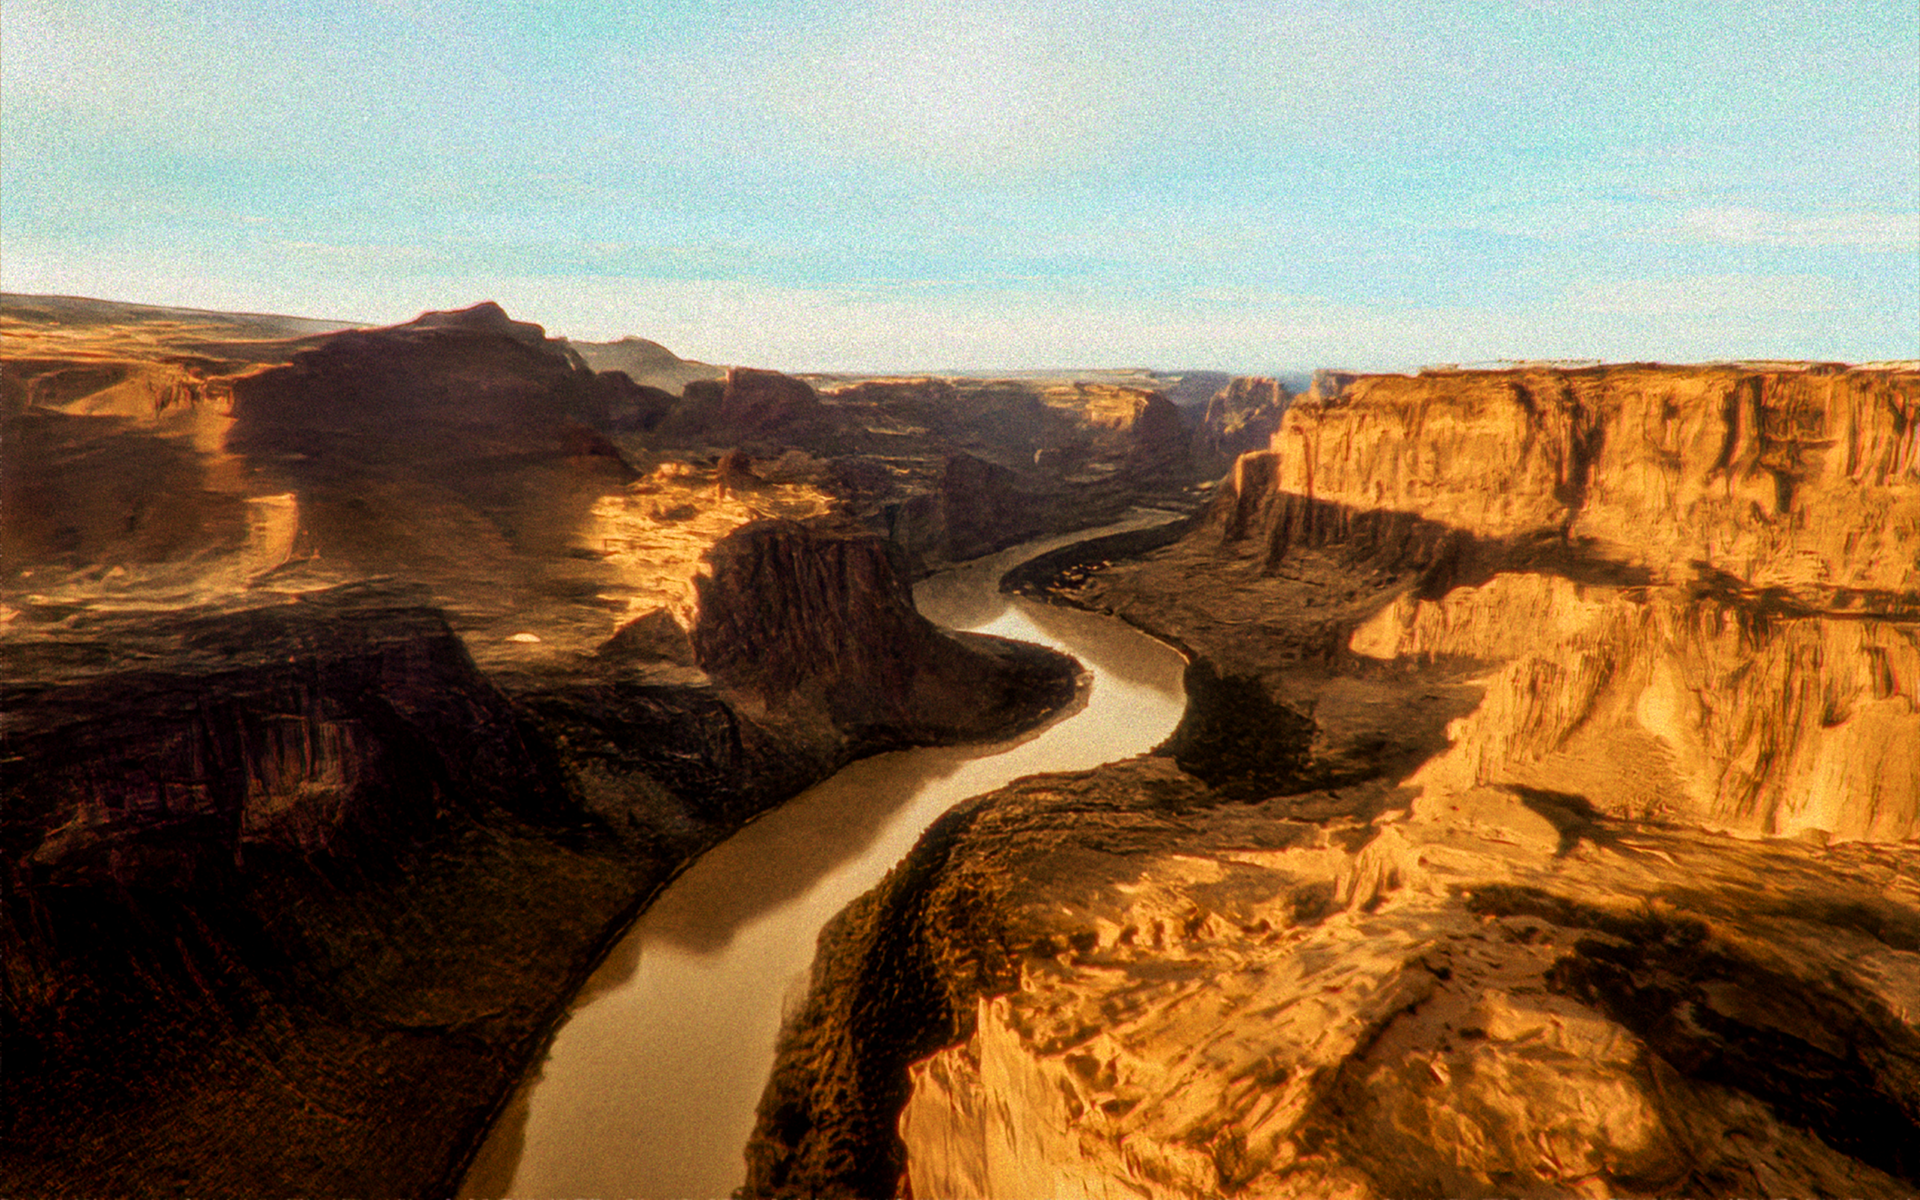
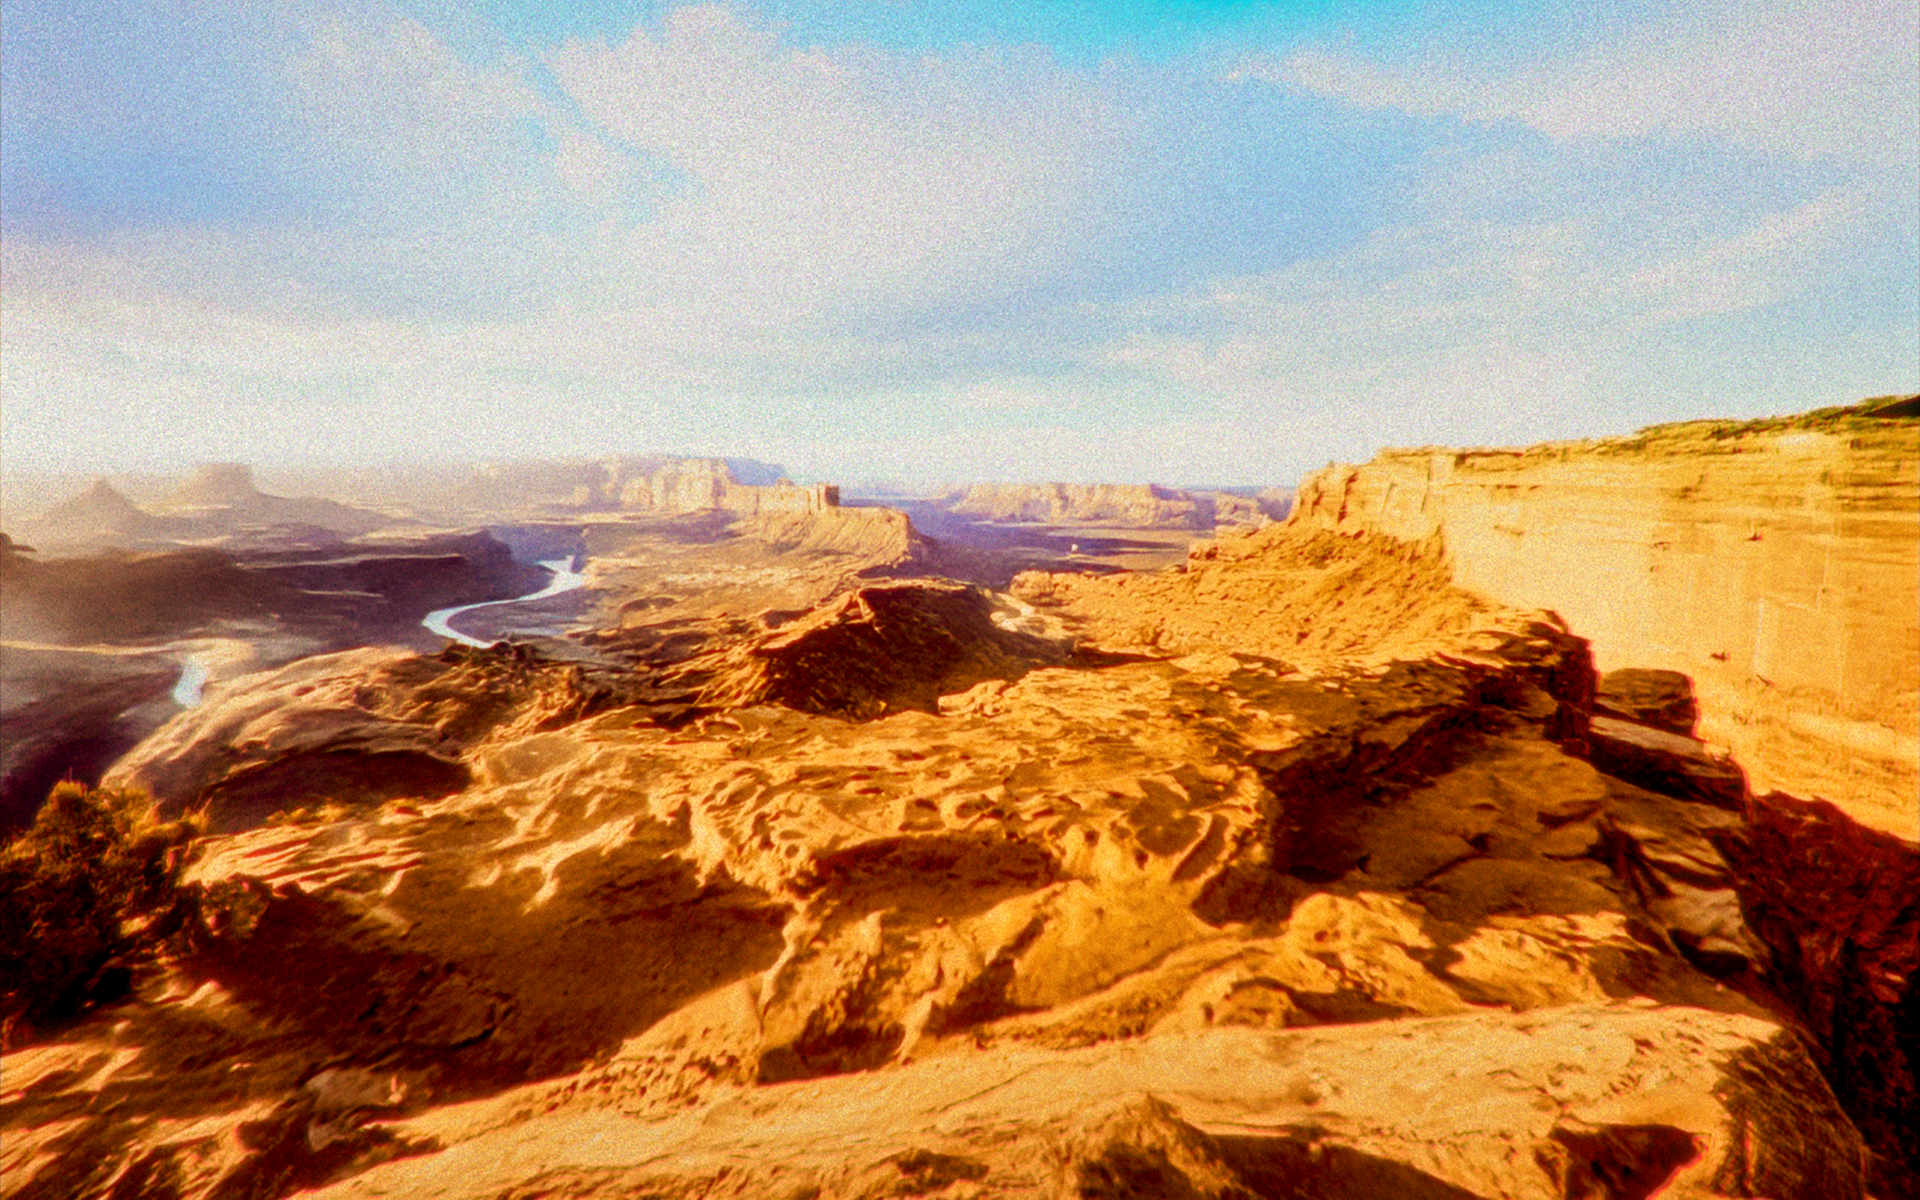
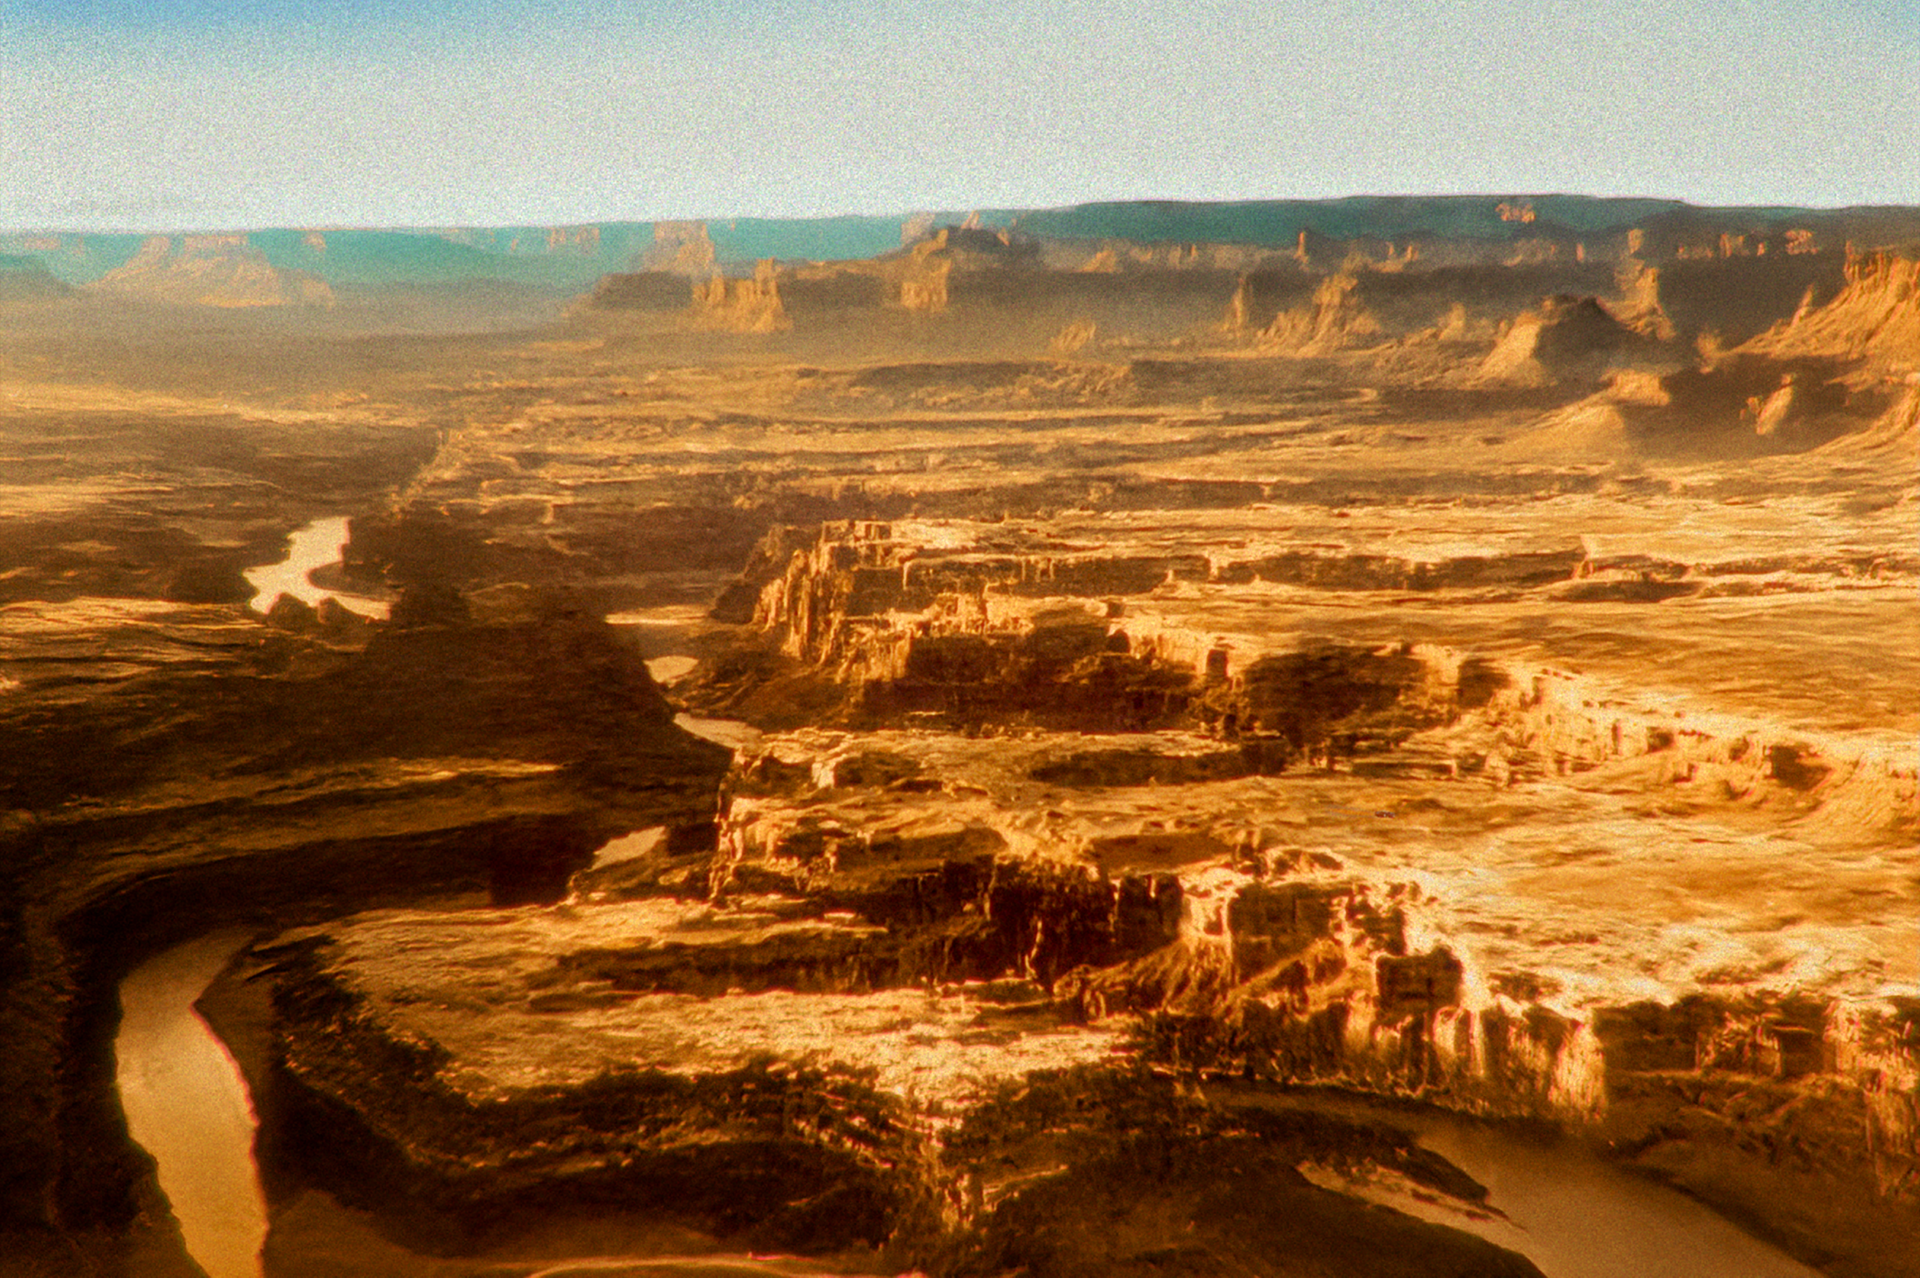
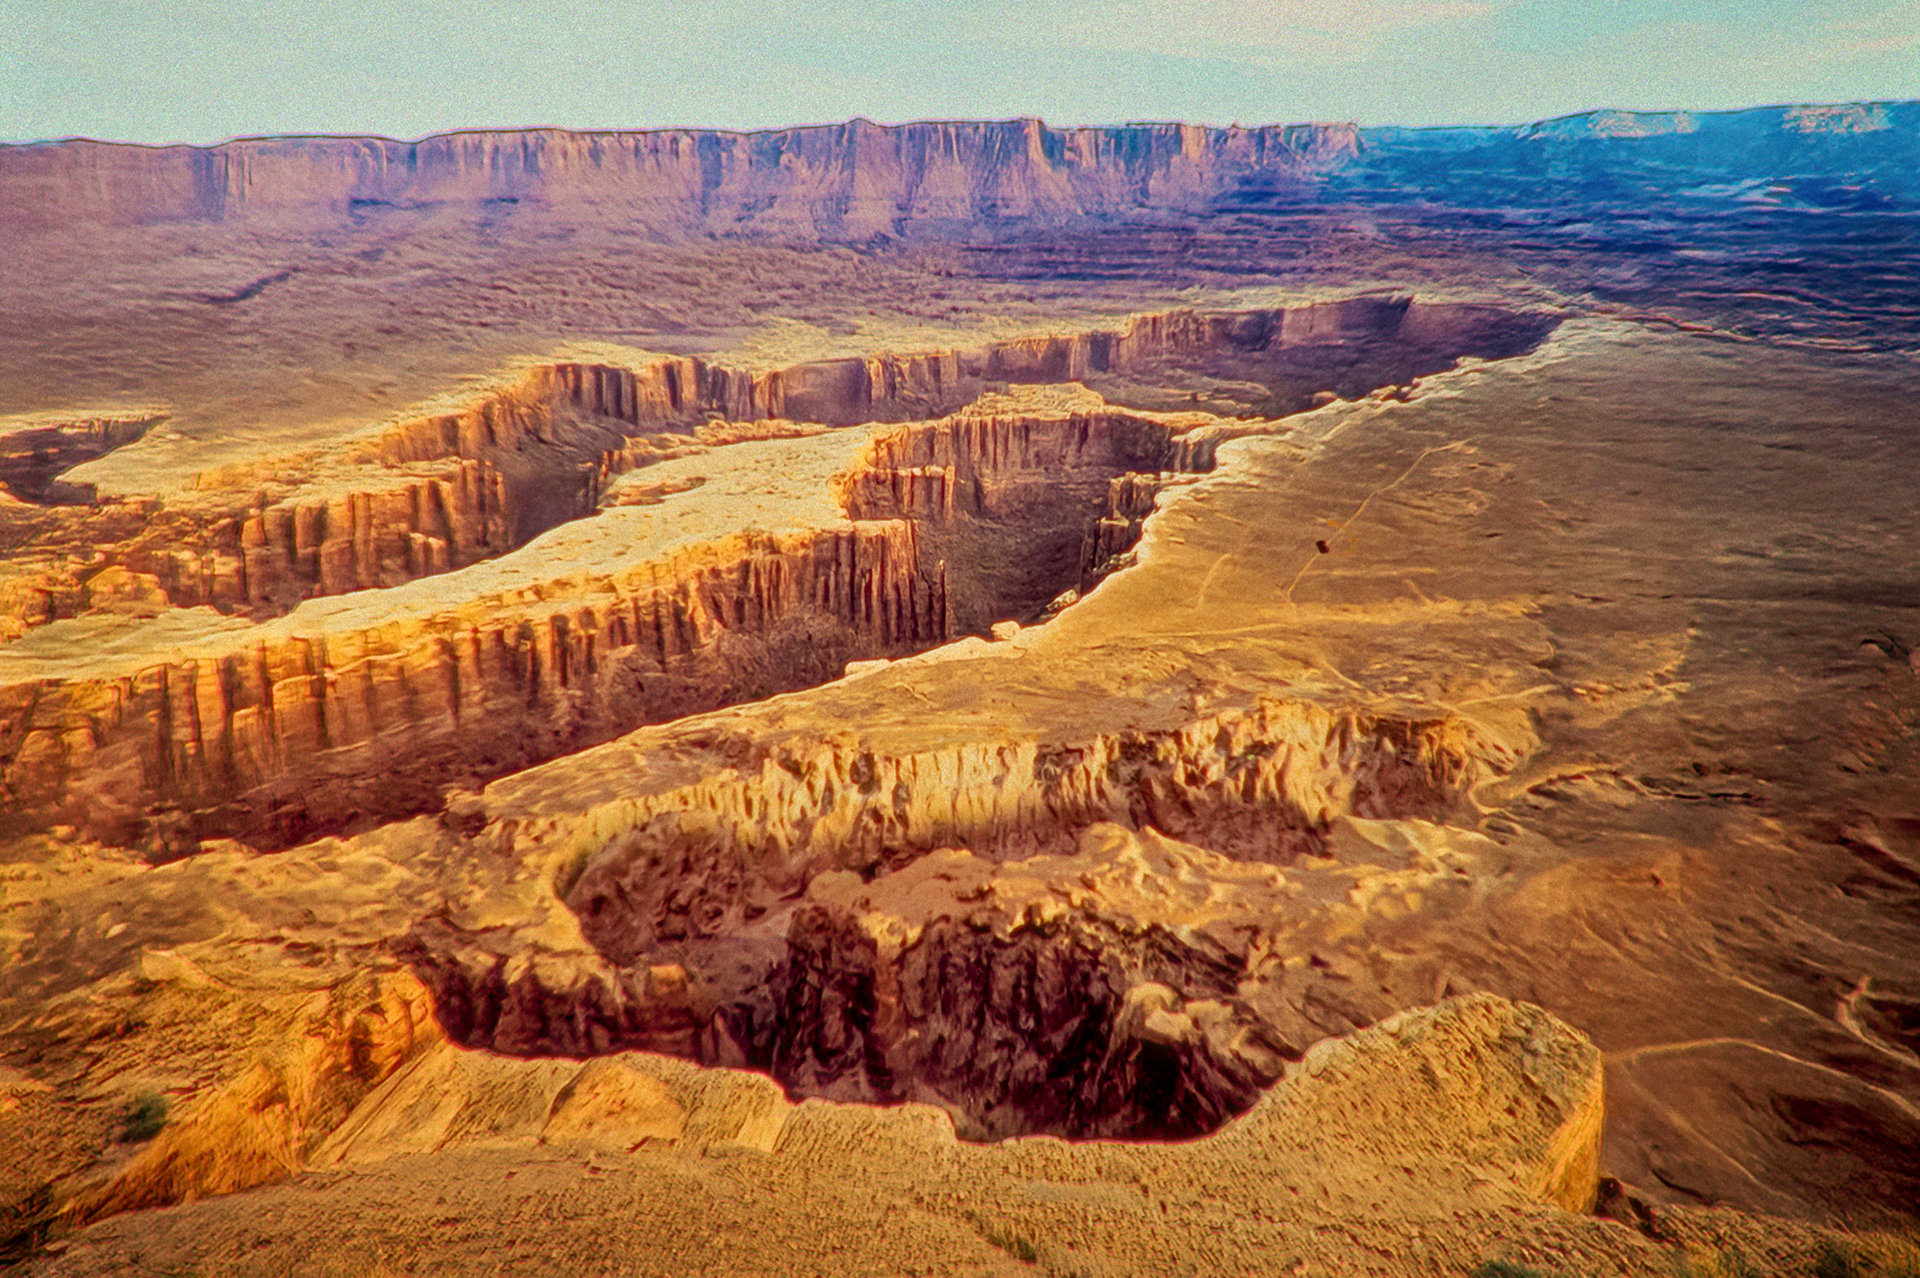
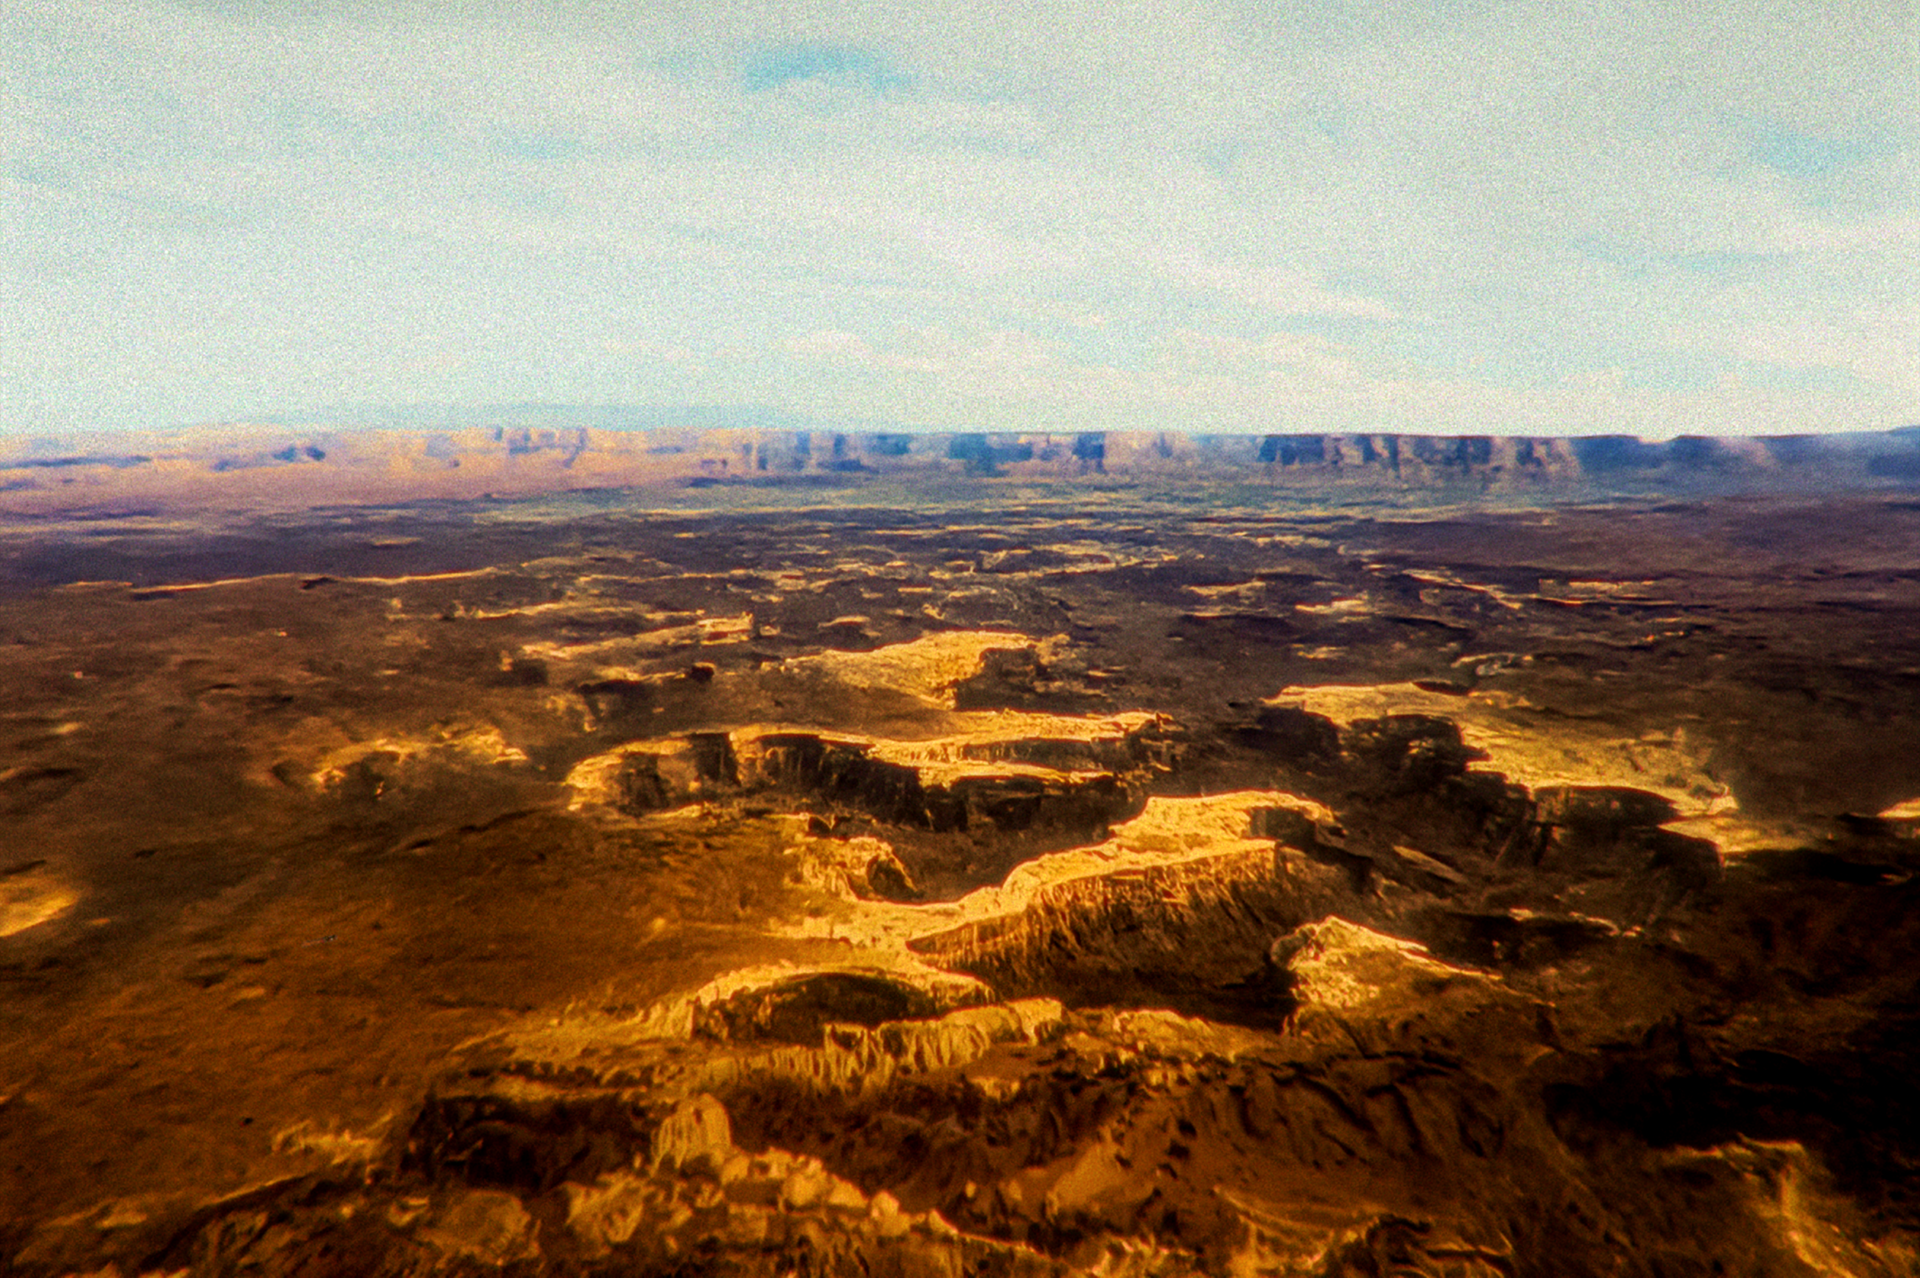
Canyon Valley & Plateau Environment Establishment: High-altitude and low-pass drone composite shots of the sculpted physical miniature model, showcasing golden hour lighting, deep rock chasms, and snaking desert river valleys.
Render Passes & Final Composite
For final integration, the Hoonicorn and its tyre smoke were rendered as separate passes using object IDs. These renders were brought back into After Effects and composited over the tracked miniature footage. Separating the vehicle and effects from the environment provided independent control over edge integration, colour, exposure, and atmospheric interaction. The completed composite was maintained within the ACES pipeline before being transferred into the DI stage.
Vehicle Asset Preparation & Rigging
The vehicle rig was prepared beginning in Blender, where the Hoonicorn's tyres, brake callipers, suspension components, glass elements, and body geometry were separated according to their movement hierarchy. Individual wheel and component meshes were exported independently and rebuilt into a functional rig. Wheel height, basic camber, and dimensional relationships were kept consistent with the real vehicle reference. This allowed steering, wheel rotation, suspension behaviour, and vehicle-body movement to be controlled independently during animation.
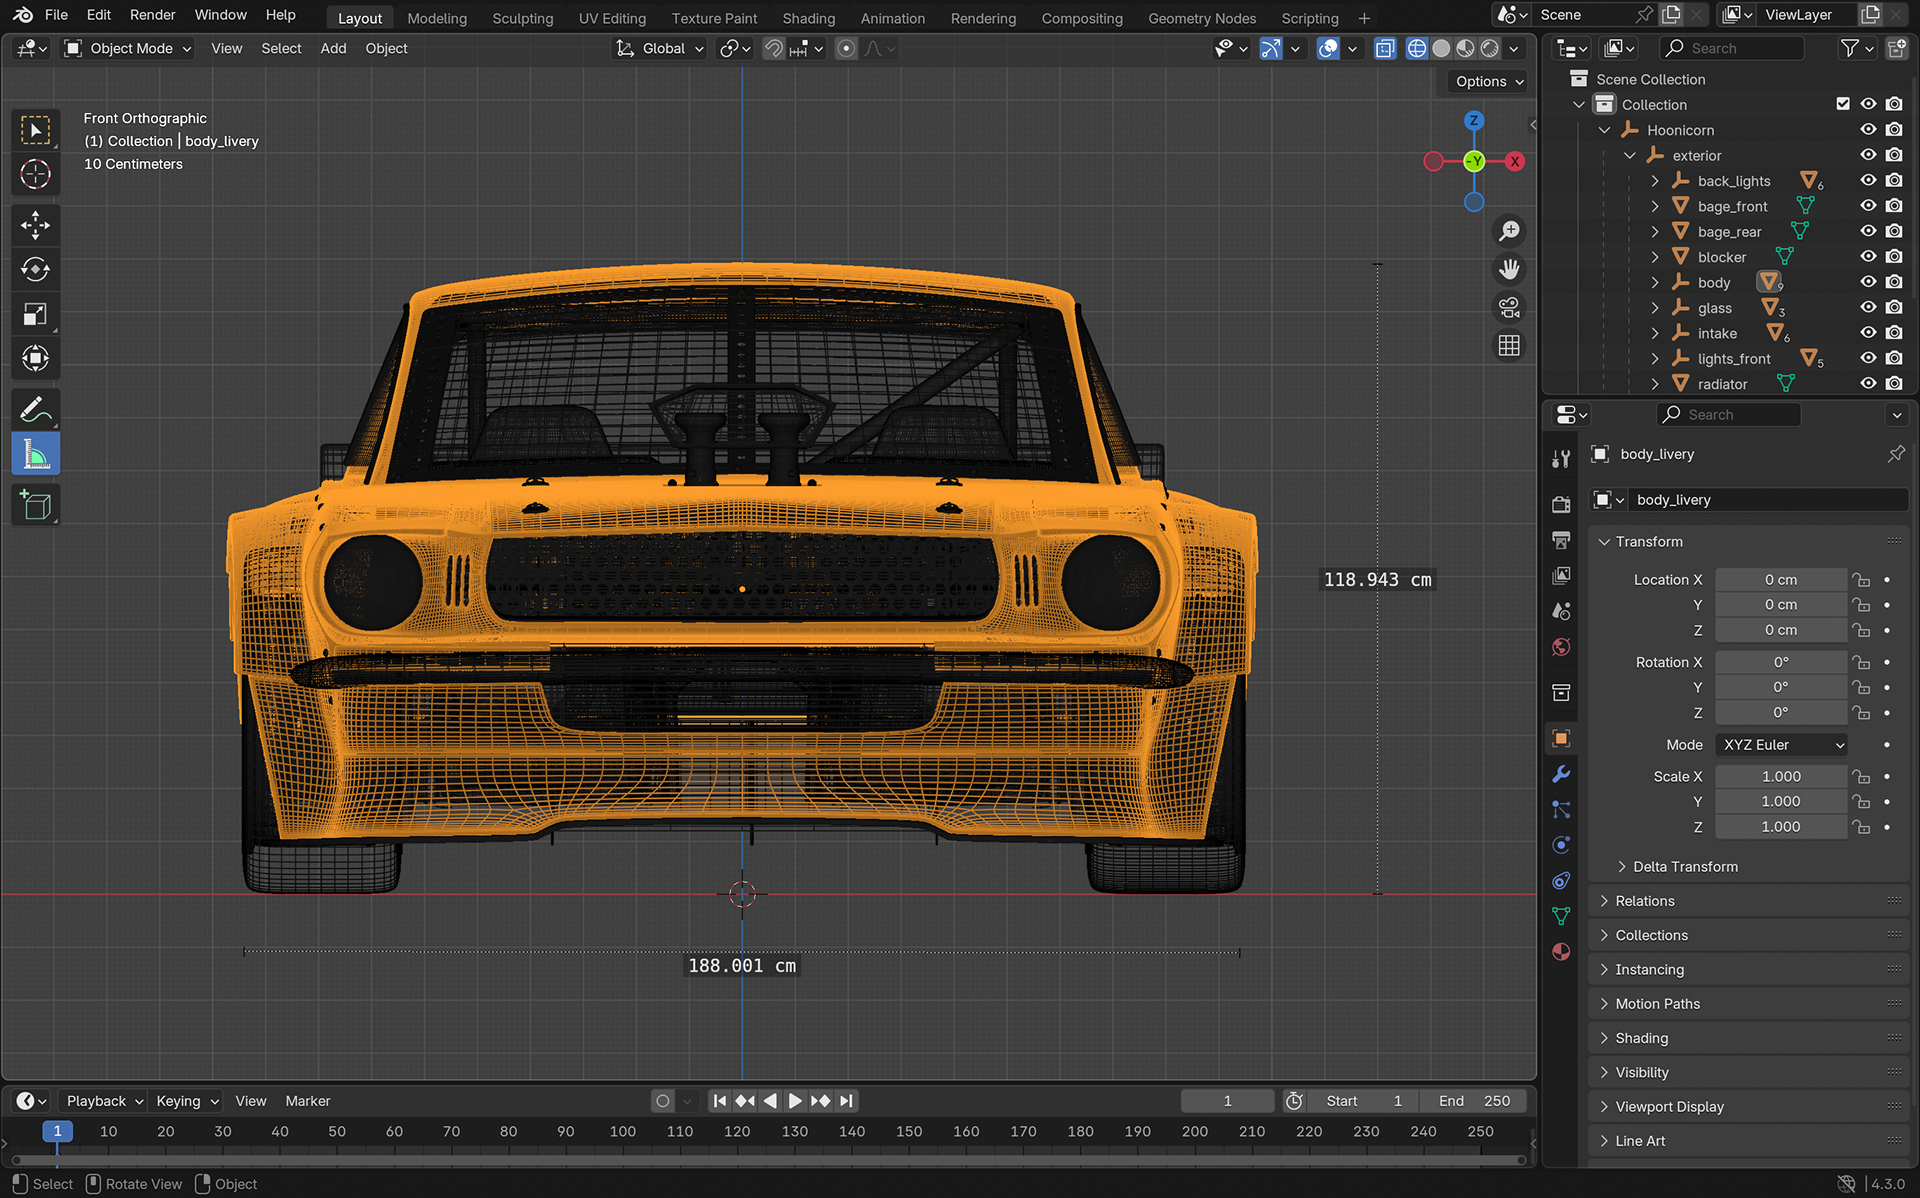
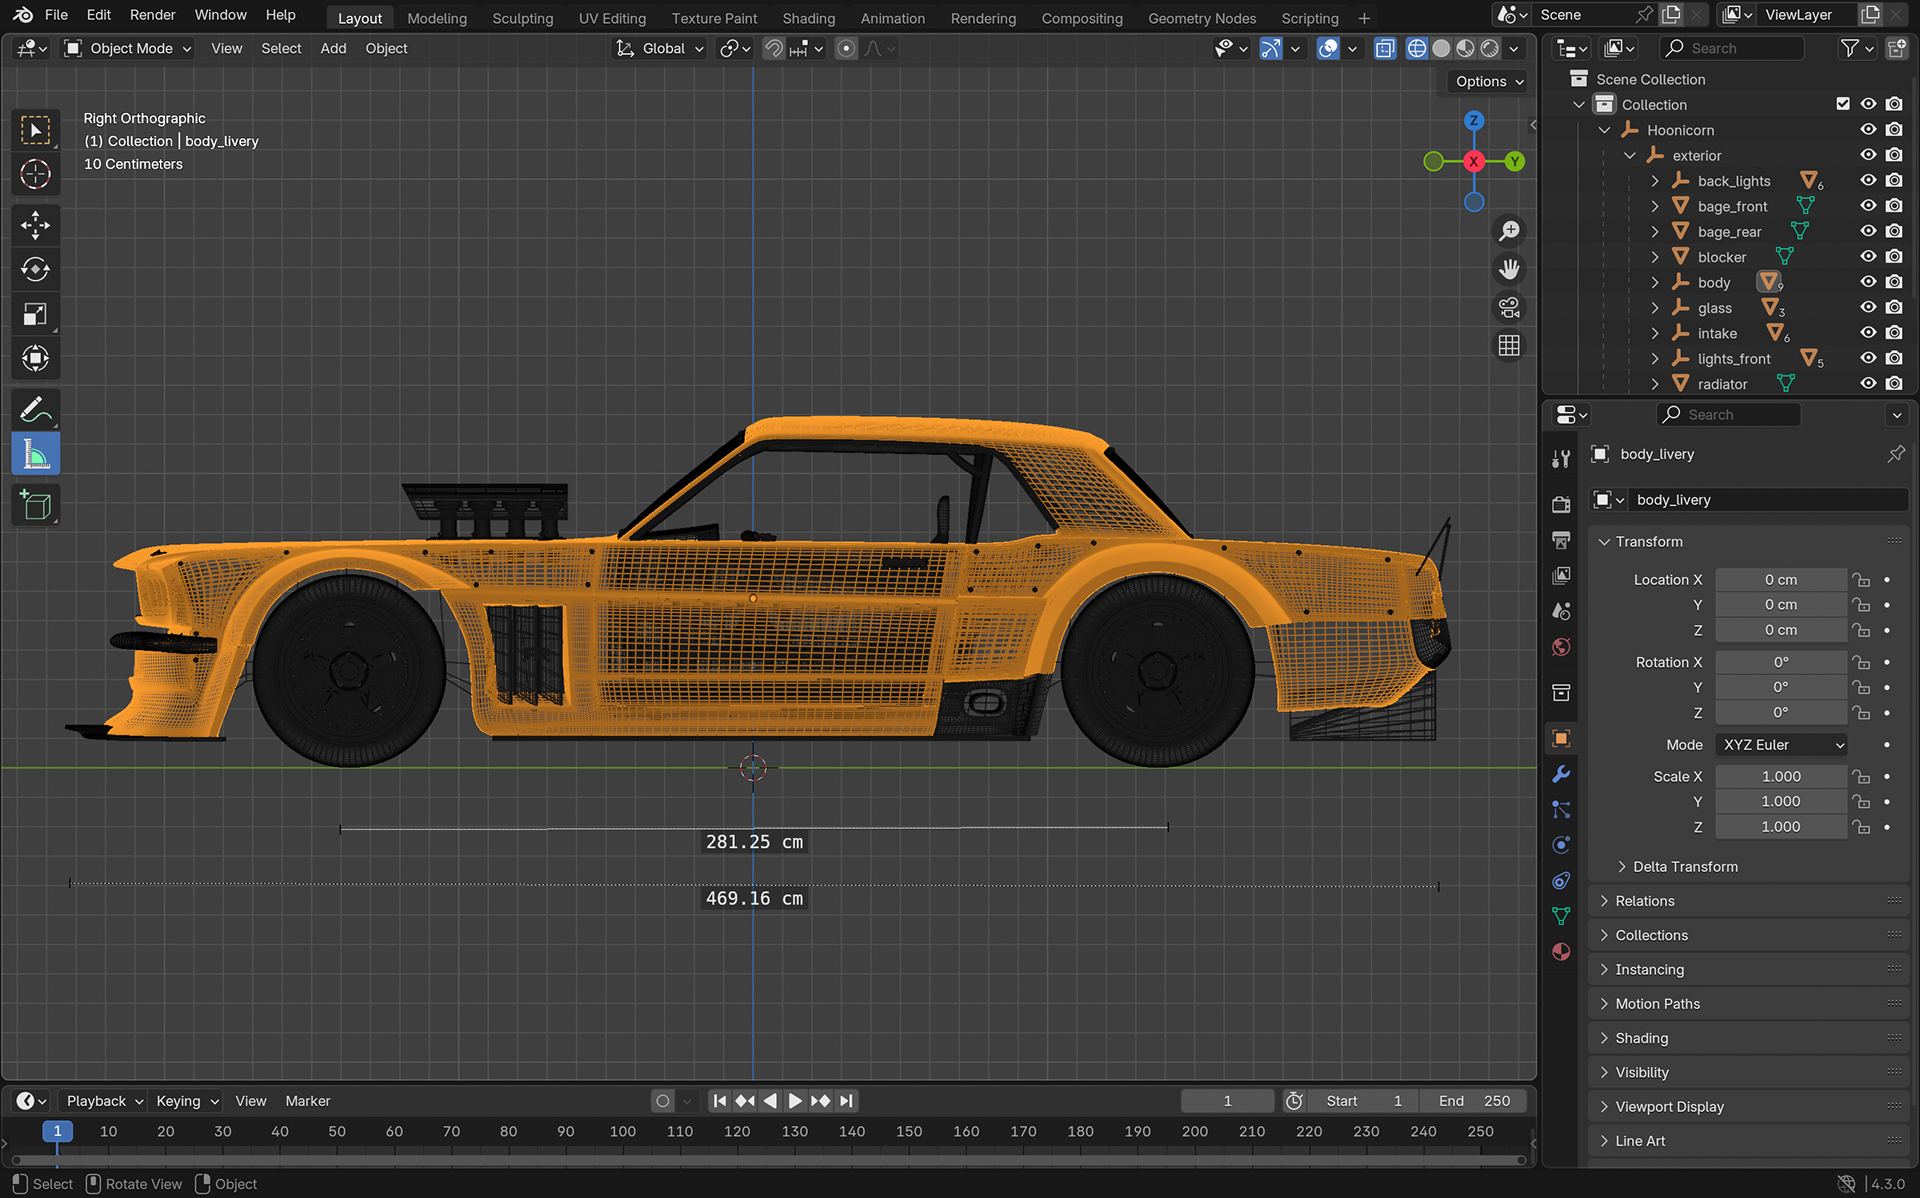
Vehicle Mesh Preparation & Technical Rigging: Blender orthographic wireframe views demonstrating precise dimension verification, component separation (wheels, calipers, suspension), and mesh hierarchy grouping before Unreal Engine rigging.
Unreal Engine Environment Design
The virtual environments were developed after the miniature concept and visual treatment were locked. Each environment was designed around a specific narrative event and shot requirement. The Oil Rig combined industrial containers, pipes, pressure structures, and canyon architecture. The Hangar placed a conventional aircraft hangar structure within the same canyon-industrial ecosystem. The Refinery expanded the industrial scale into a large exterior oil-processing complex. The Crash Site introduced a fragmented commercial aircraft into the desert biome. The Sandstorm was constructed primarily as an atmospheric action environment for the vehicle animation.
Environment Build — Oil Rig
The Oil Rig environment was designed around a canyon cavern containing industrial piping, oil containers, structural platforms, and heavy mechanical infrastructure. The visual language referenced the underground industrial environments from the Mad Max-inspired research while maintaining enough spatial clarity for automotive hero shots. The lighting used a golden-hour directional source with limited visible volumetrics. Bloom and lens flare were introduced through the Unreal camera setup to emphasise reflective automotive surfaces and create a controlled commercial finish.
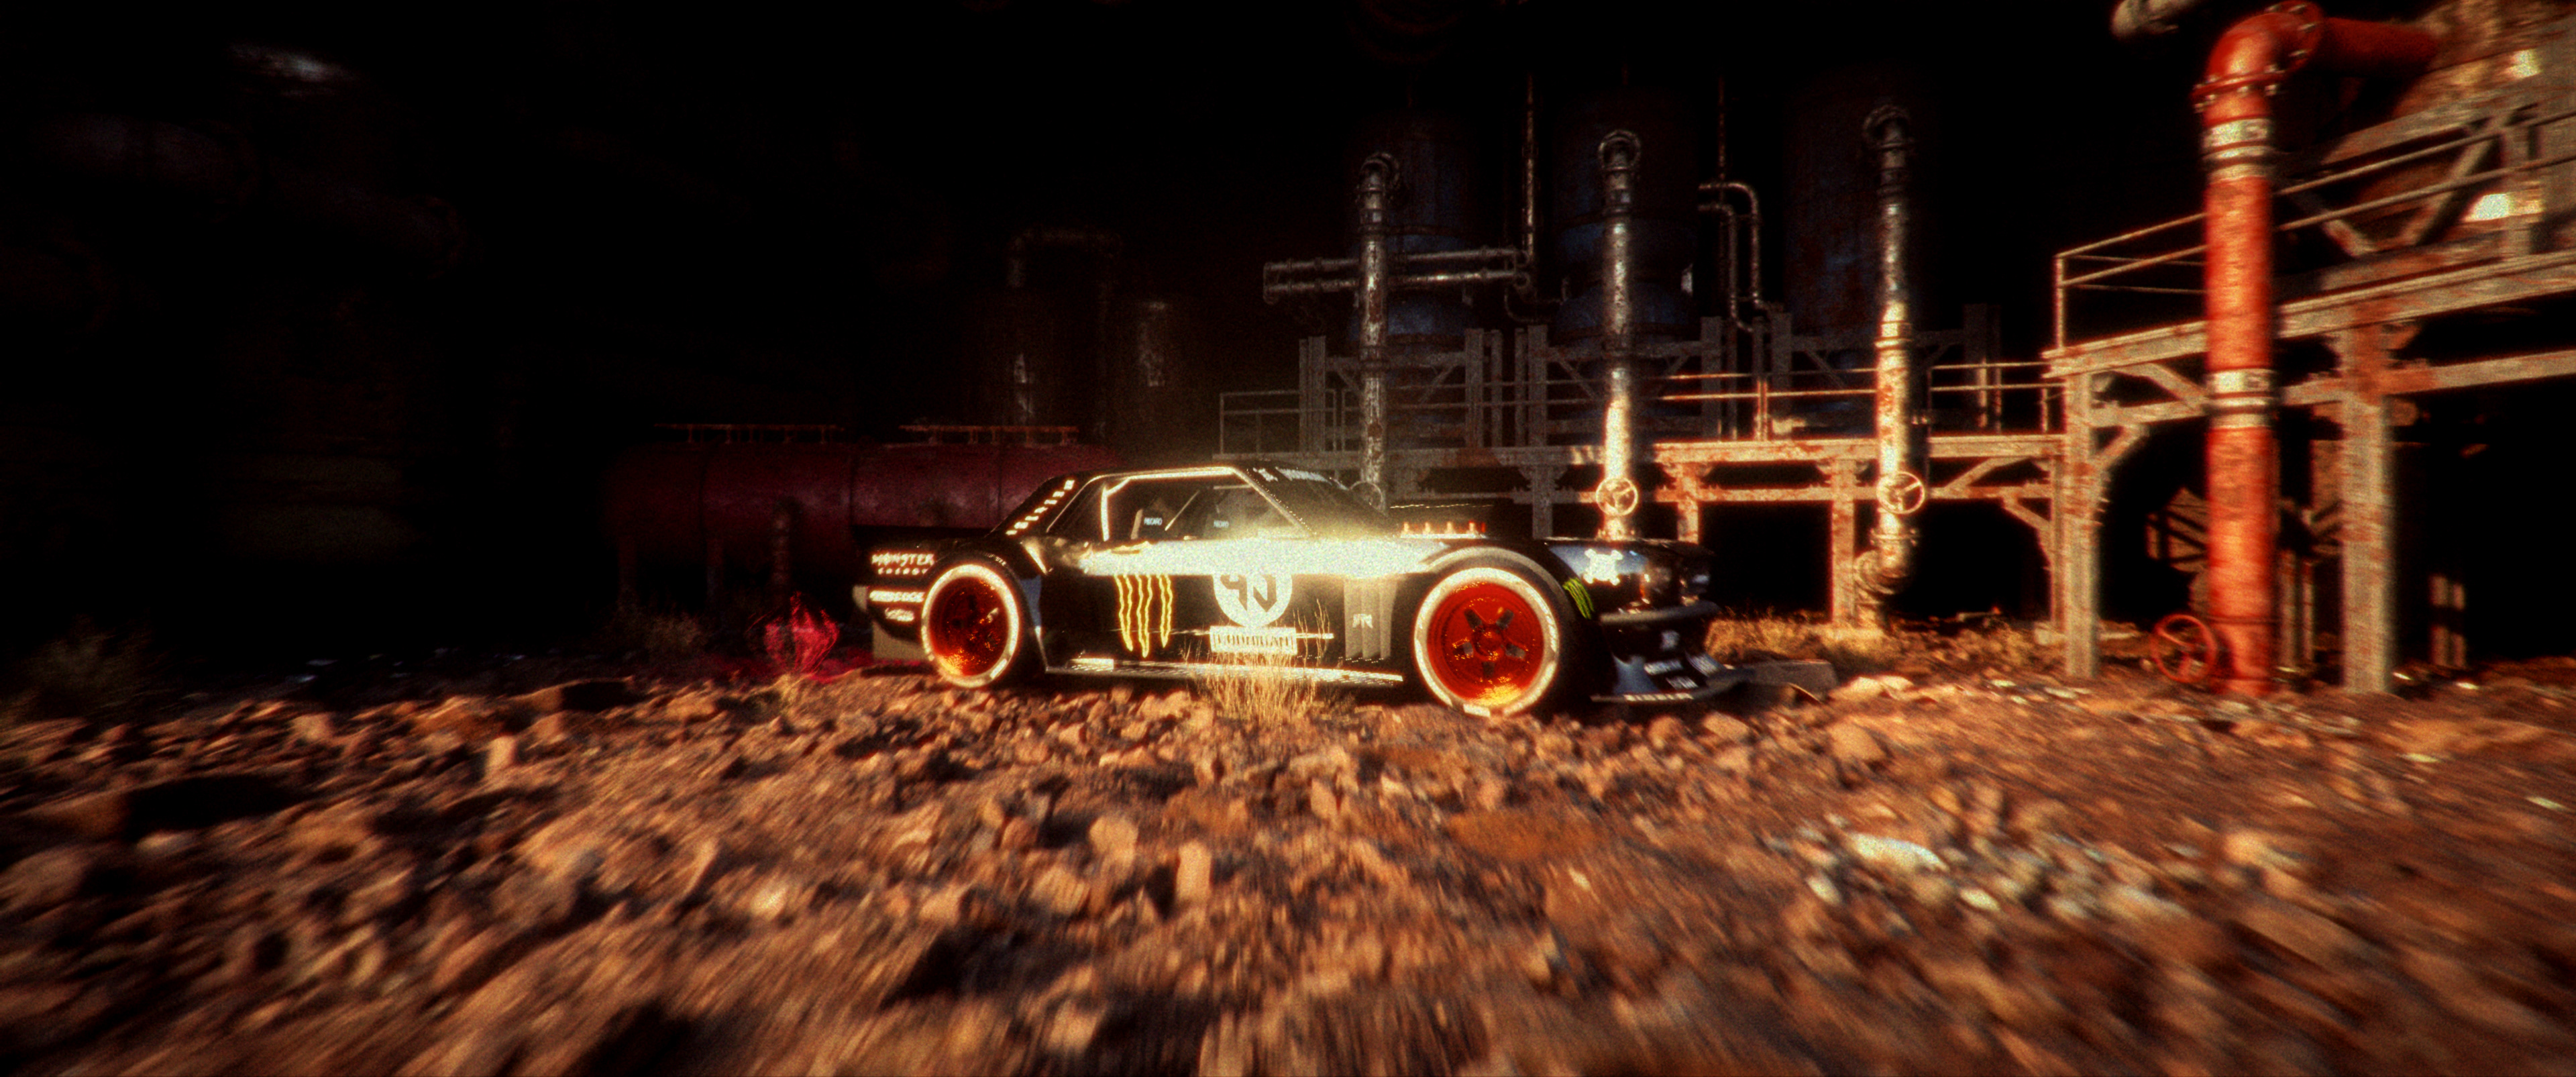
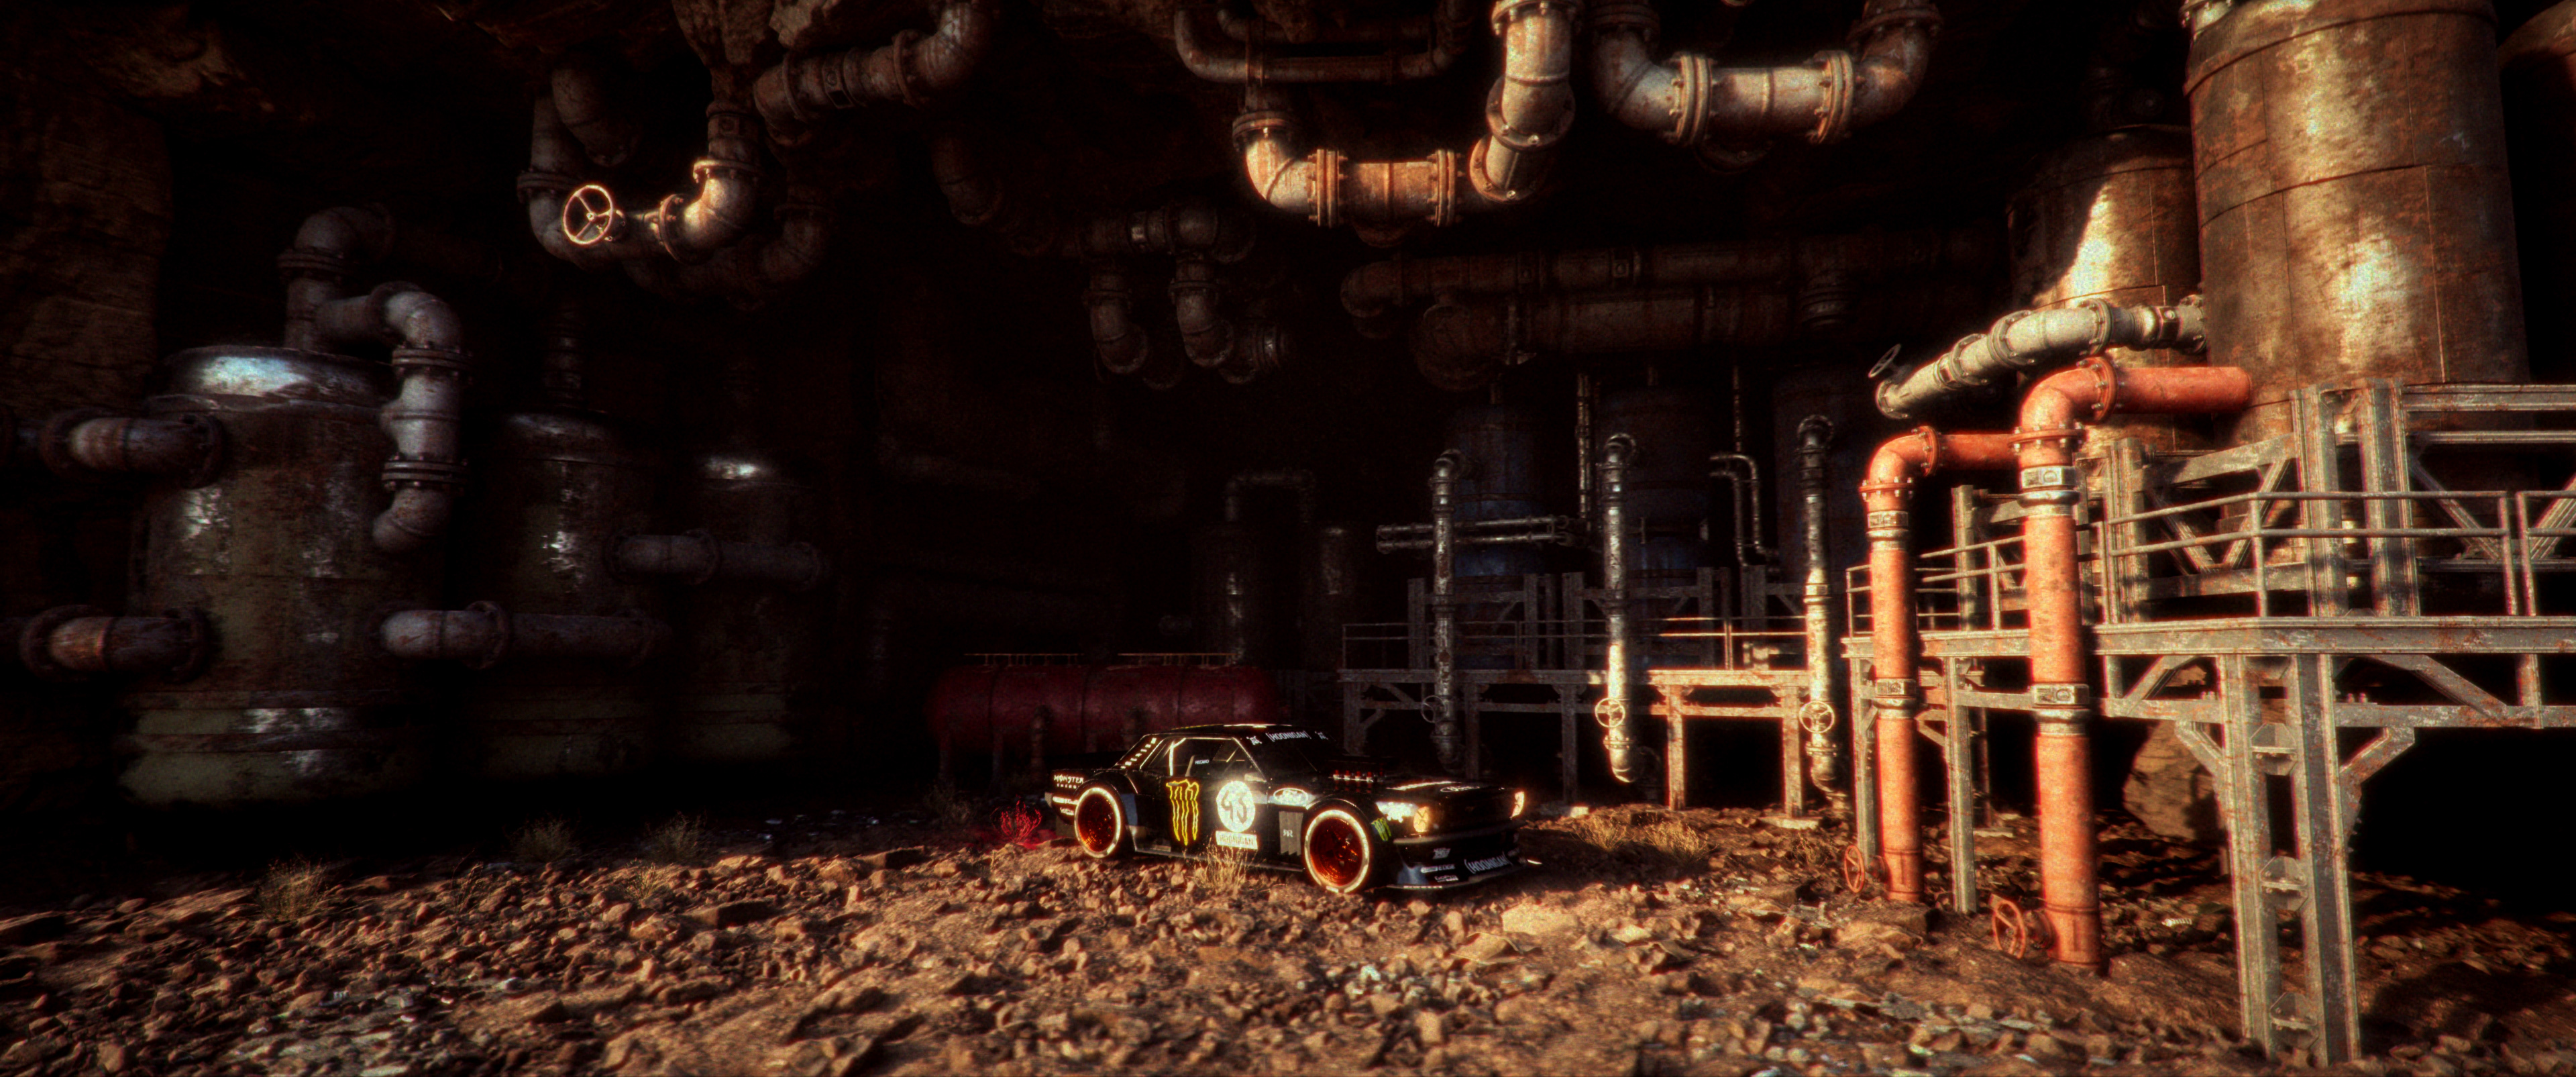
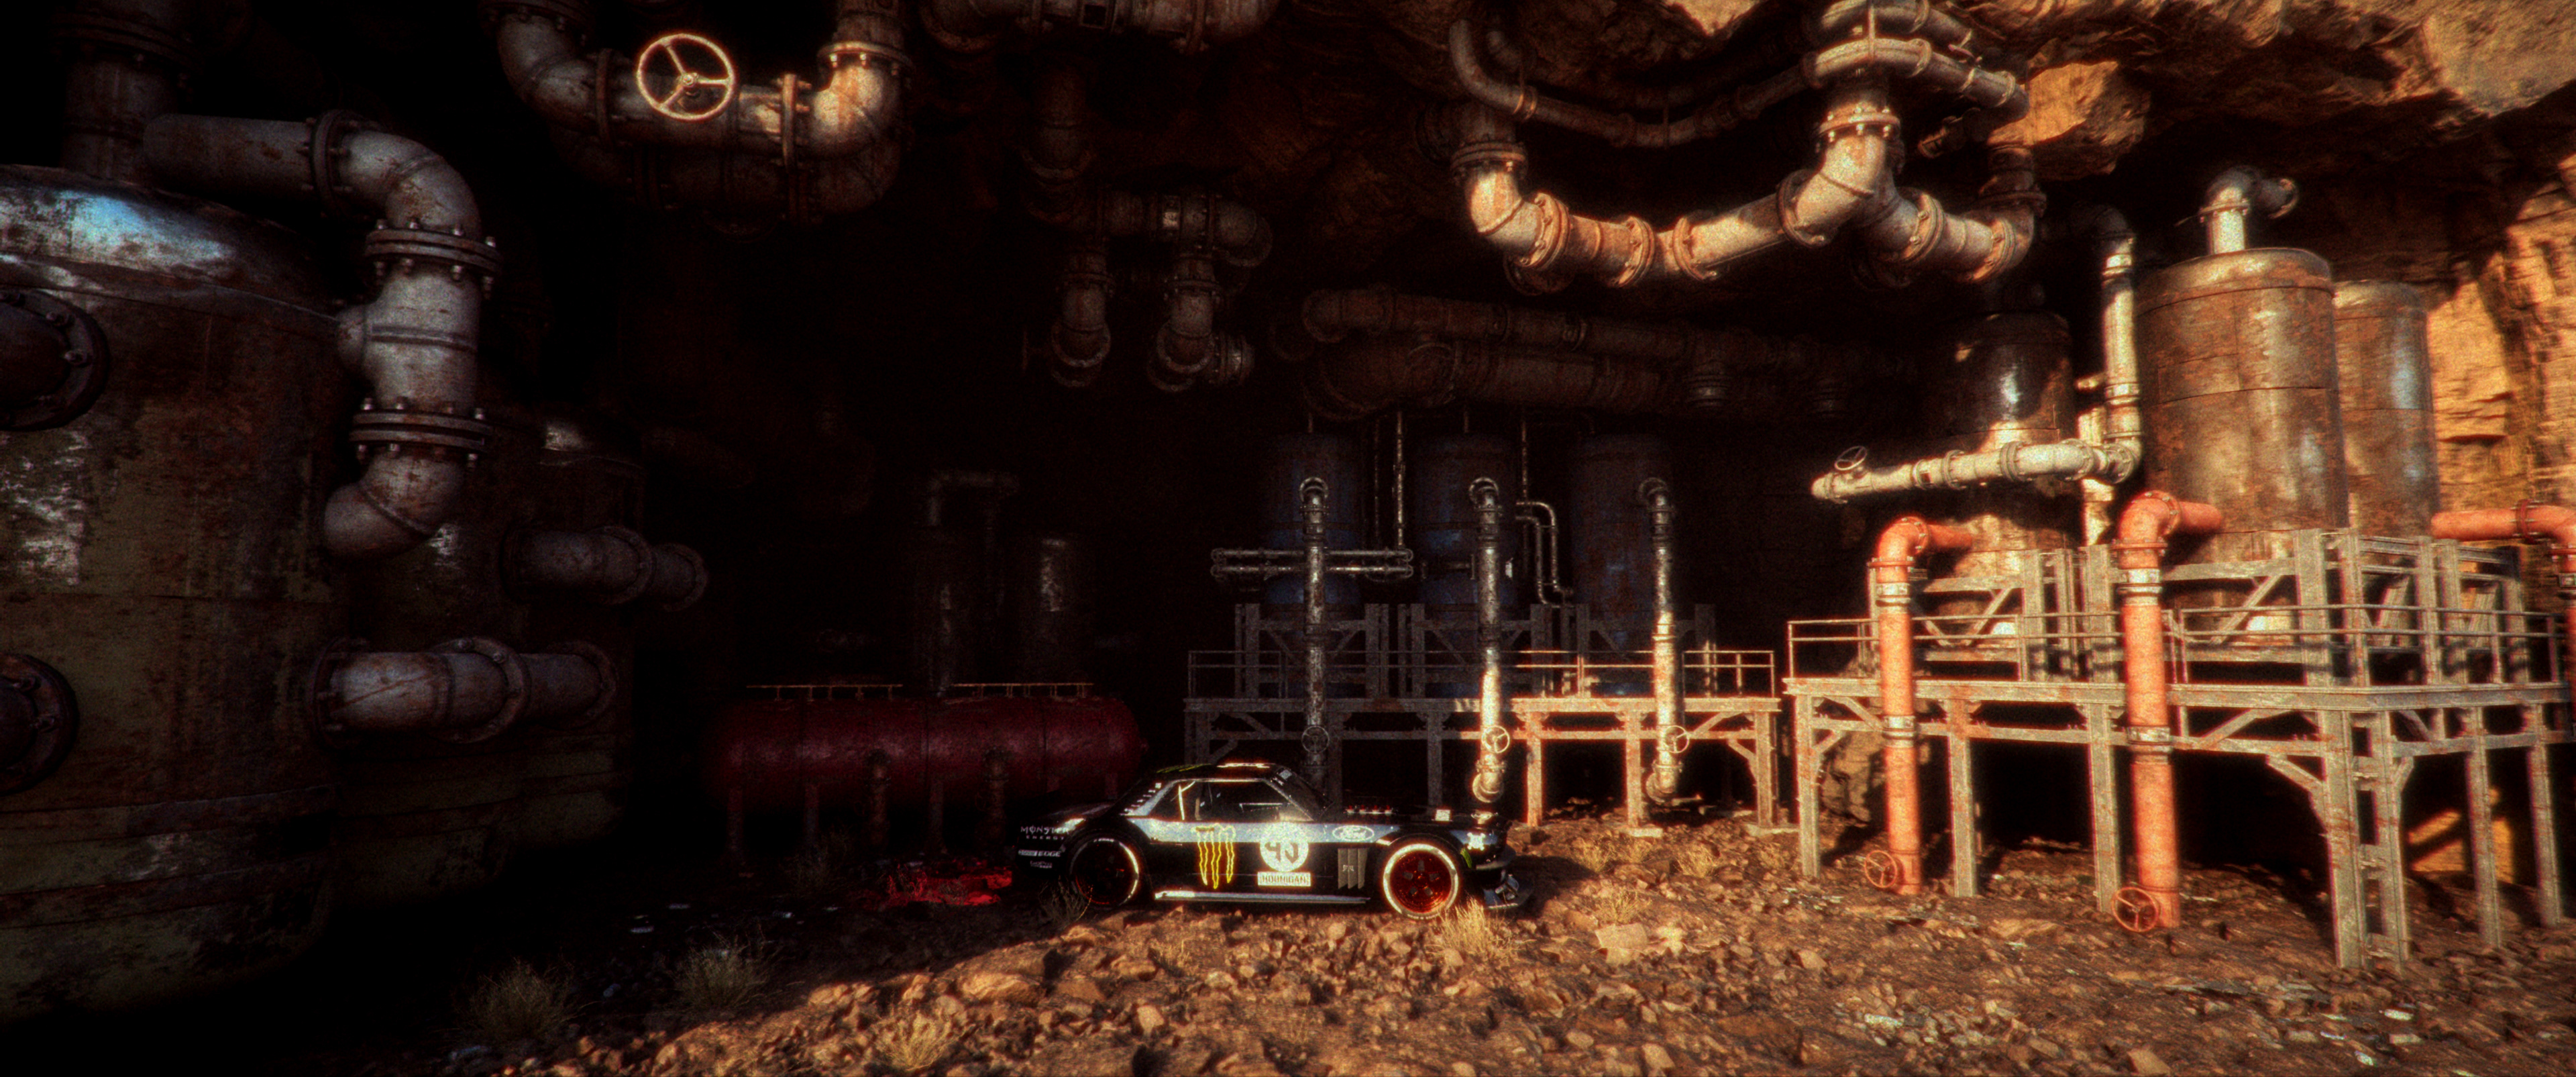
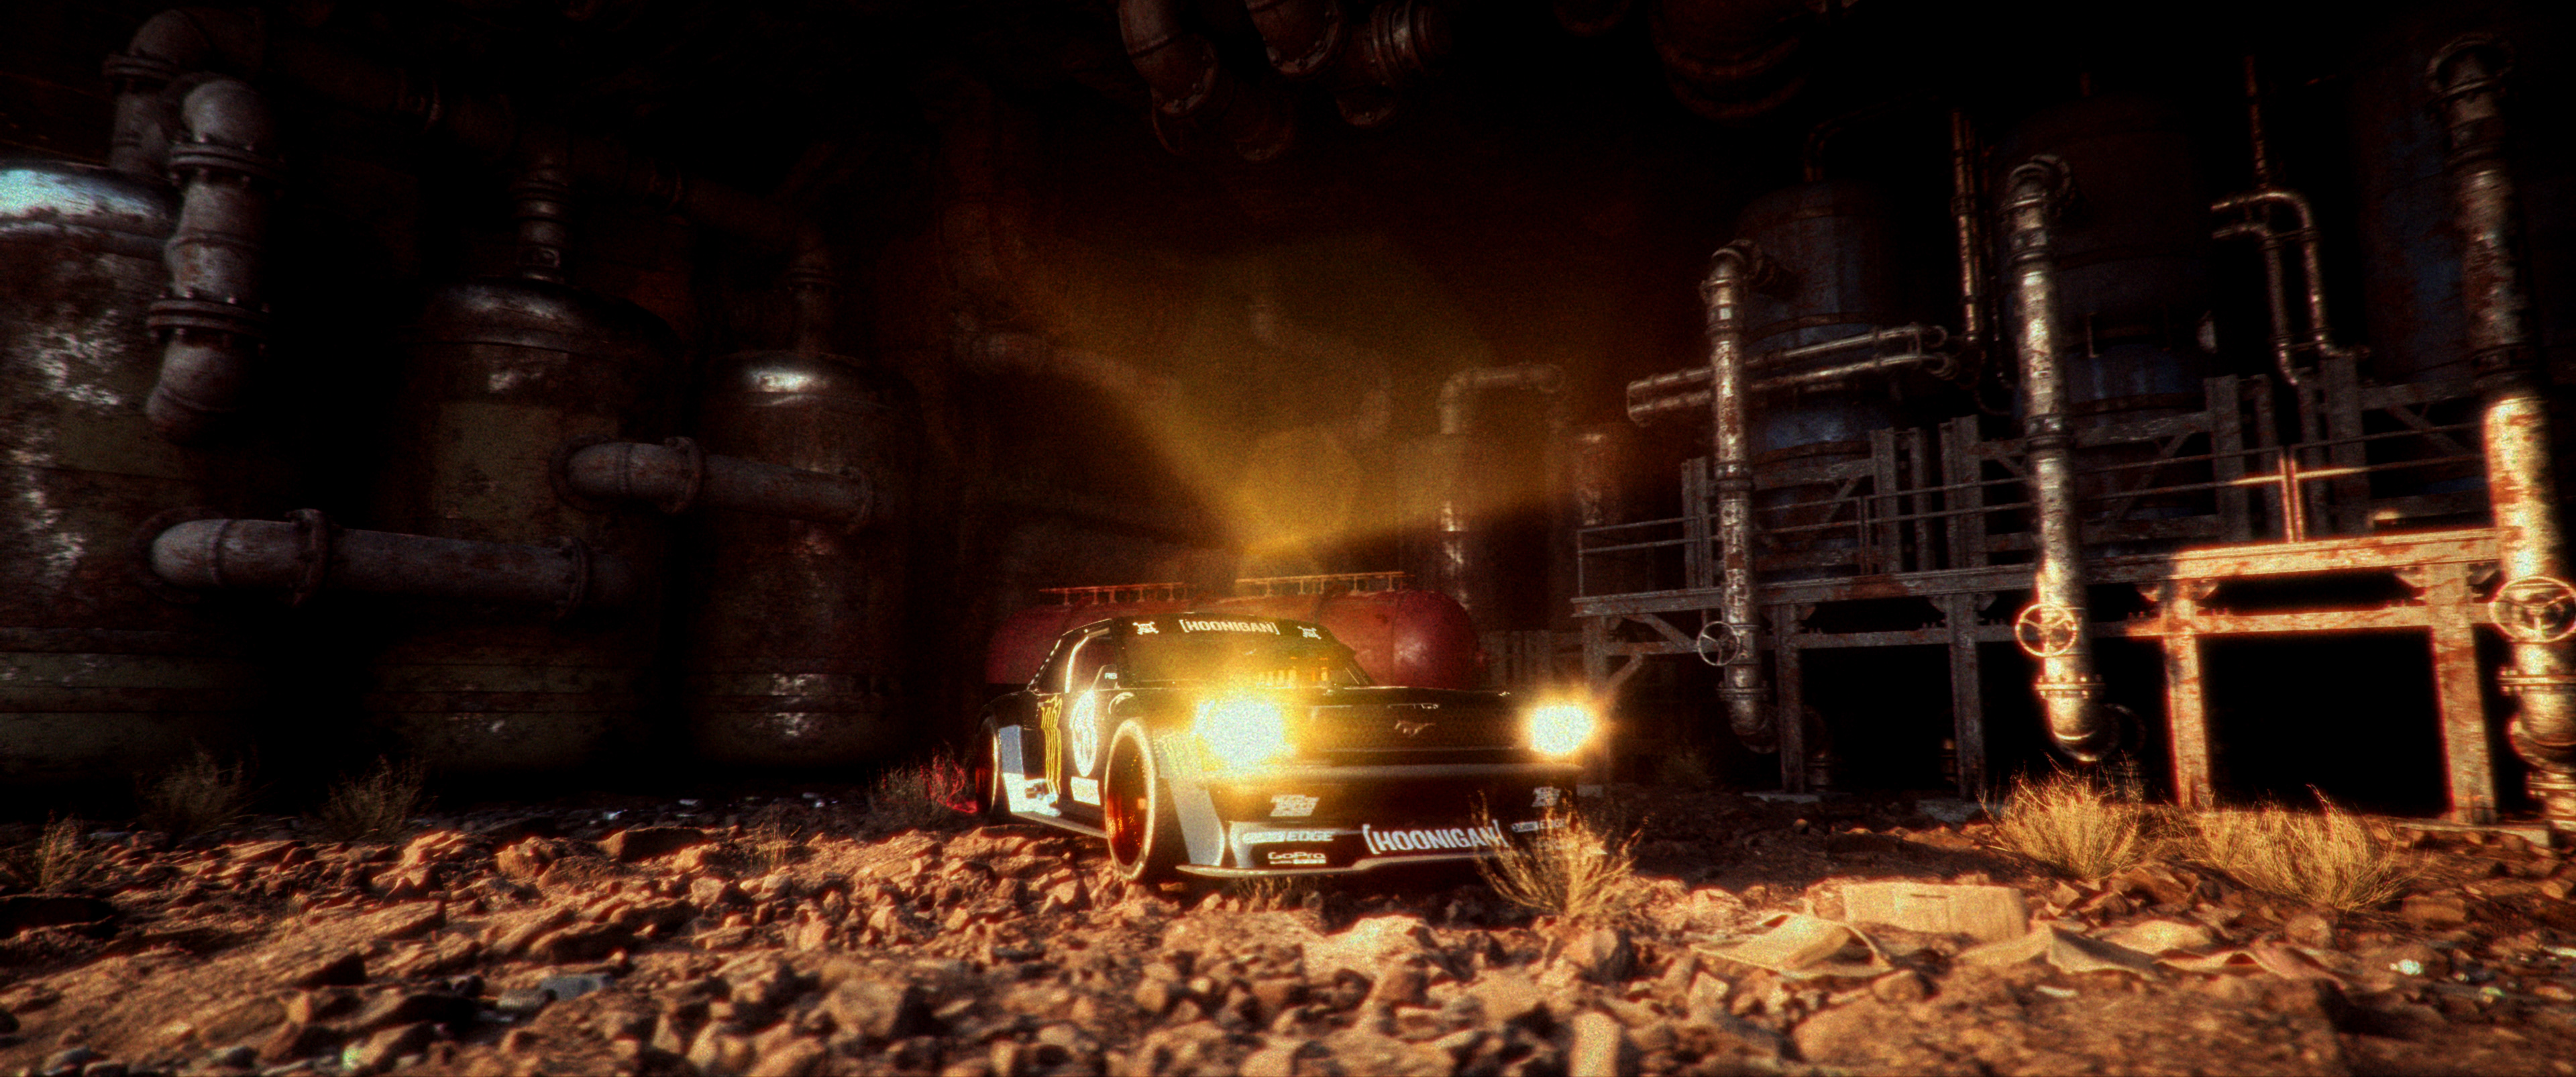
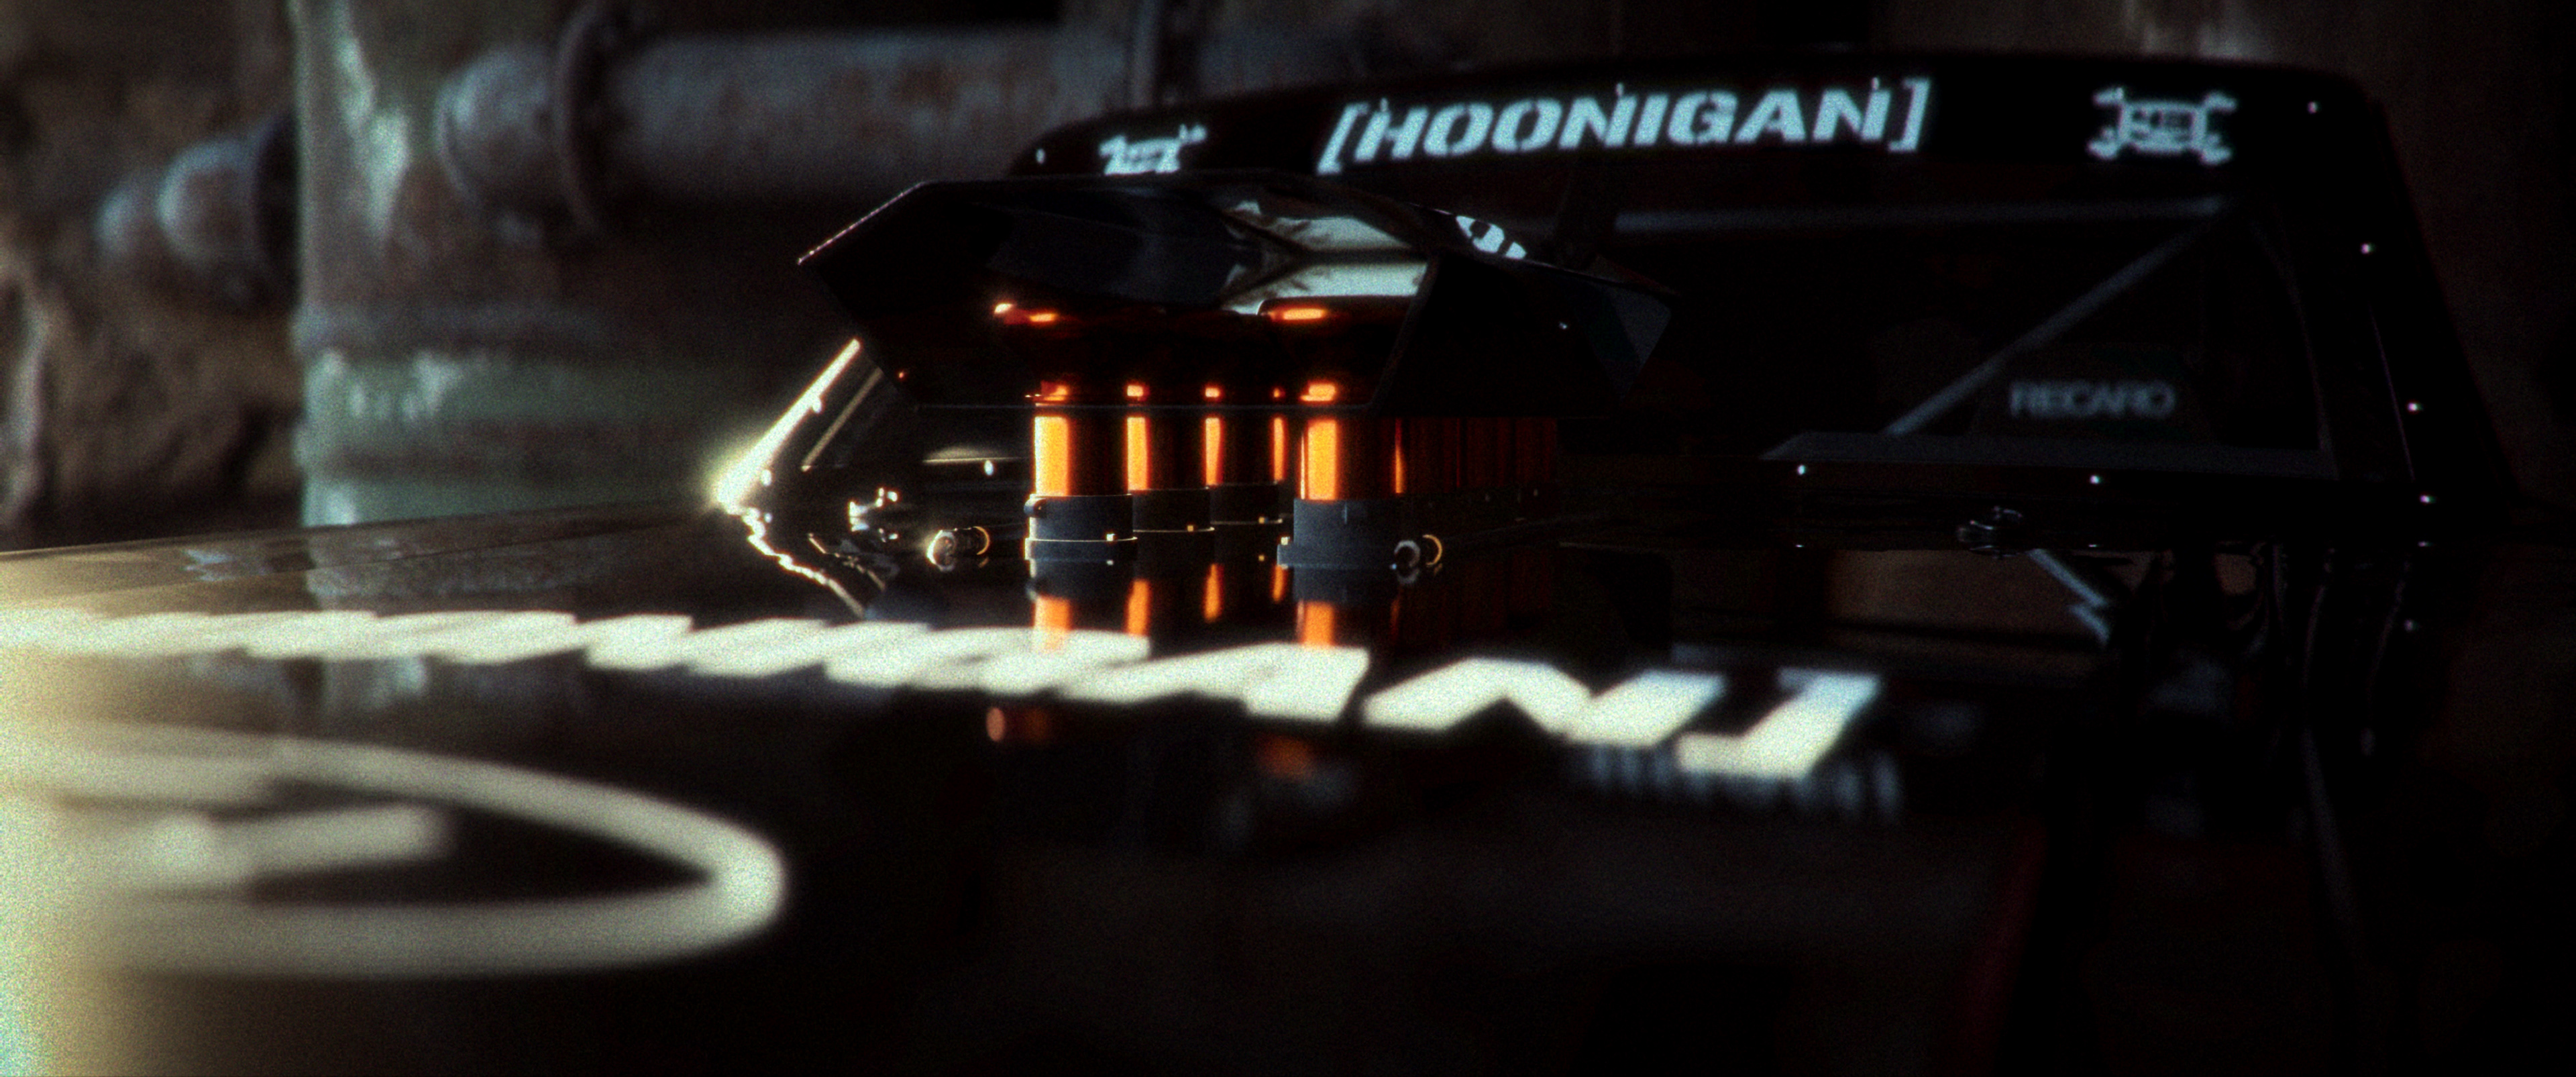
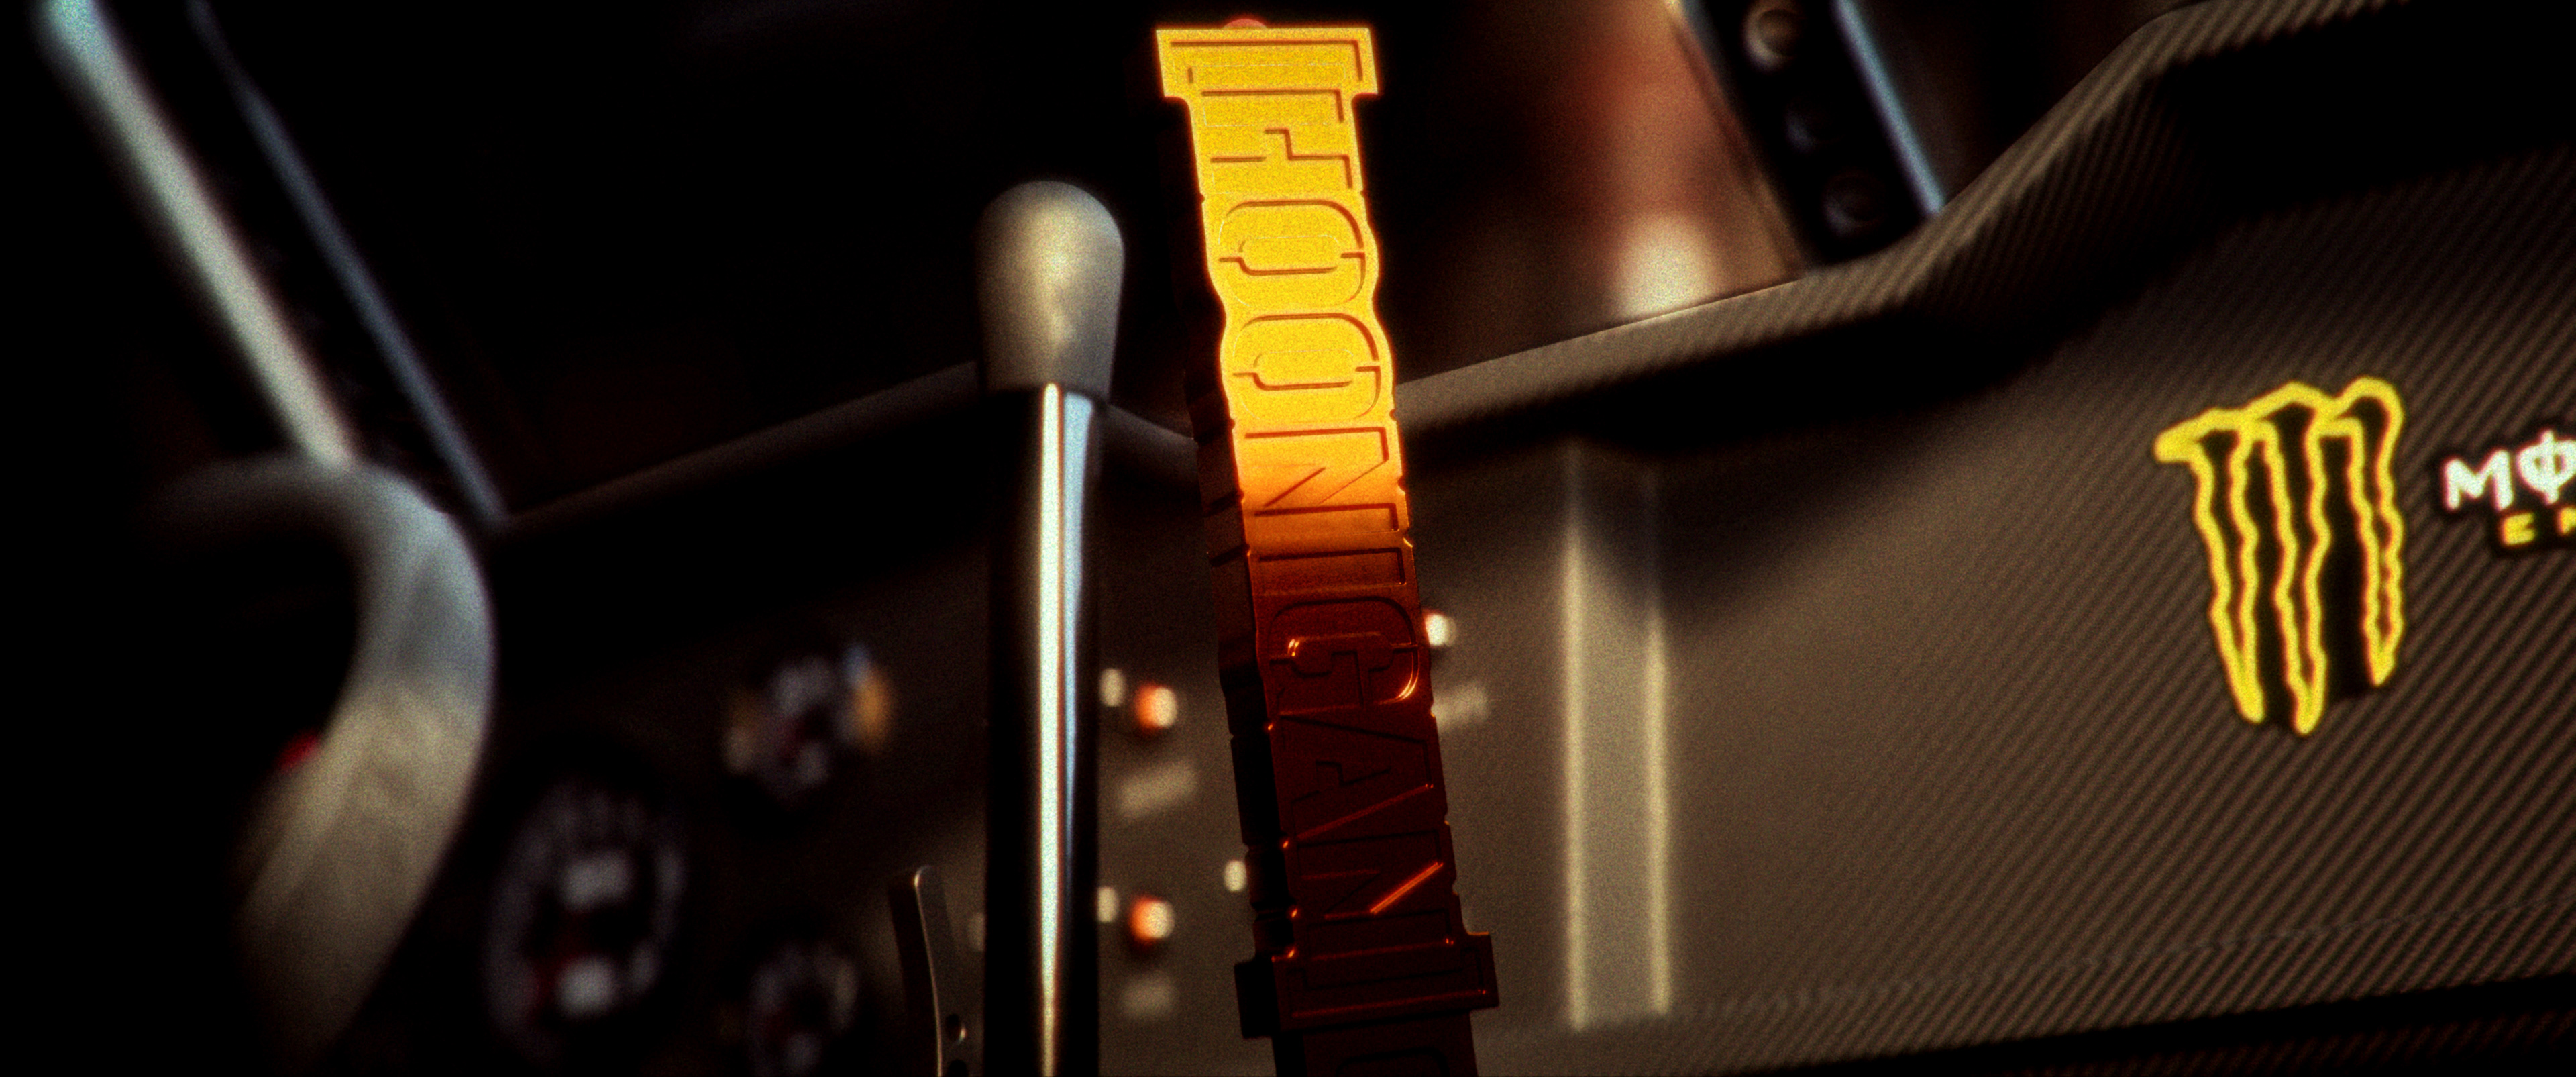
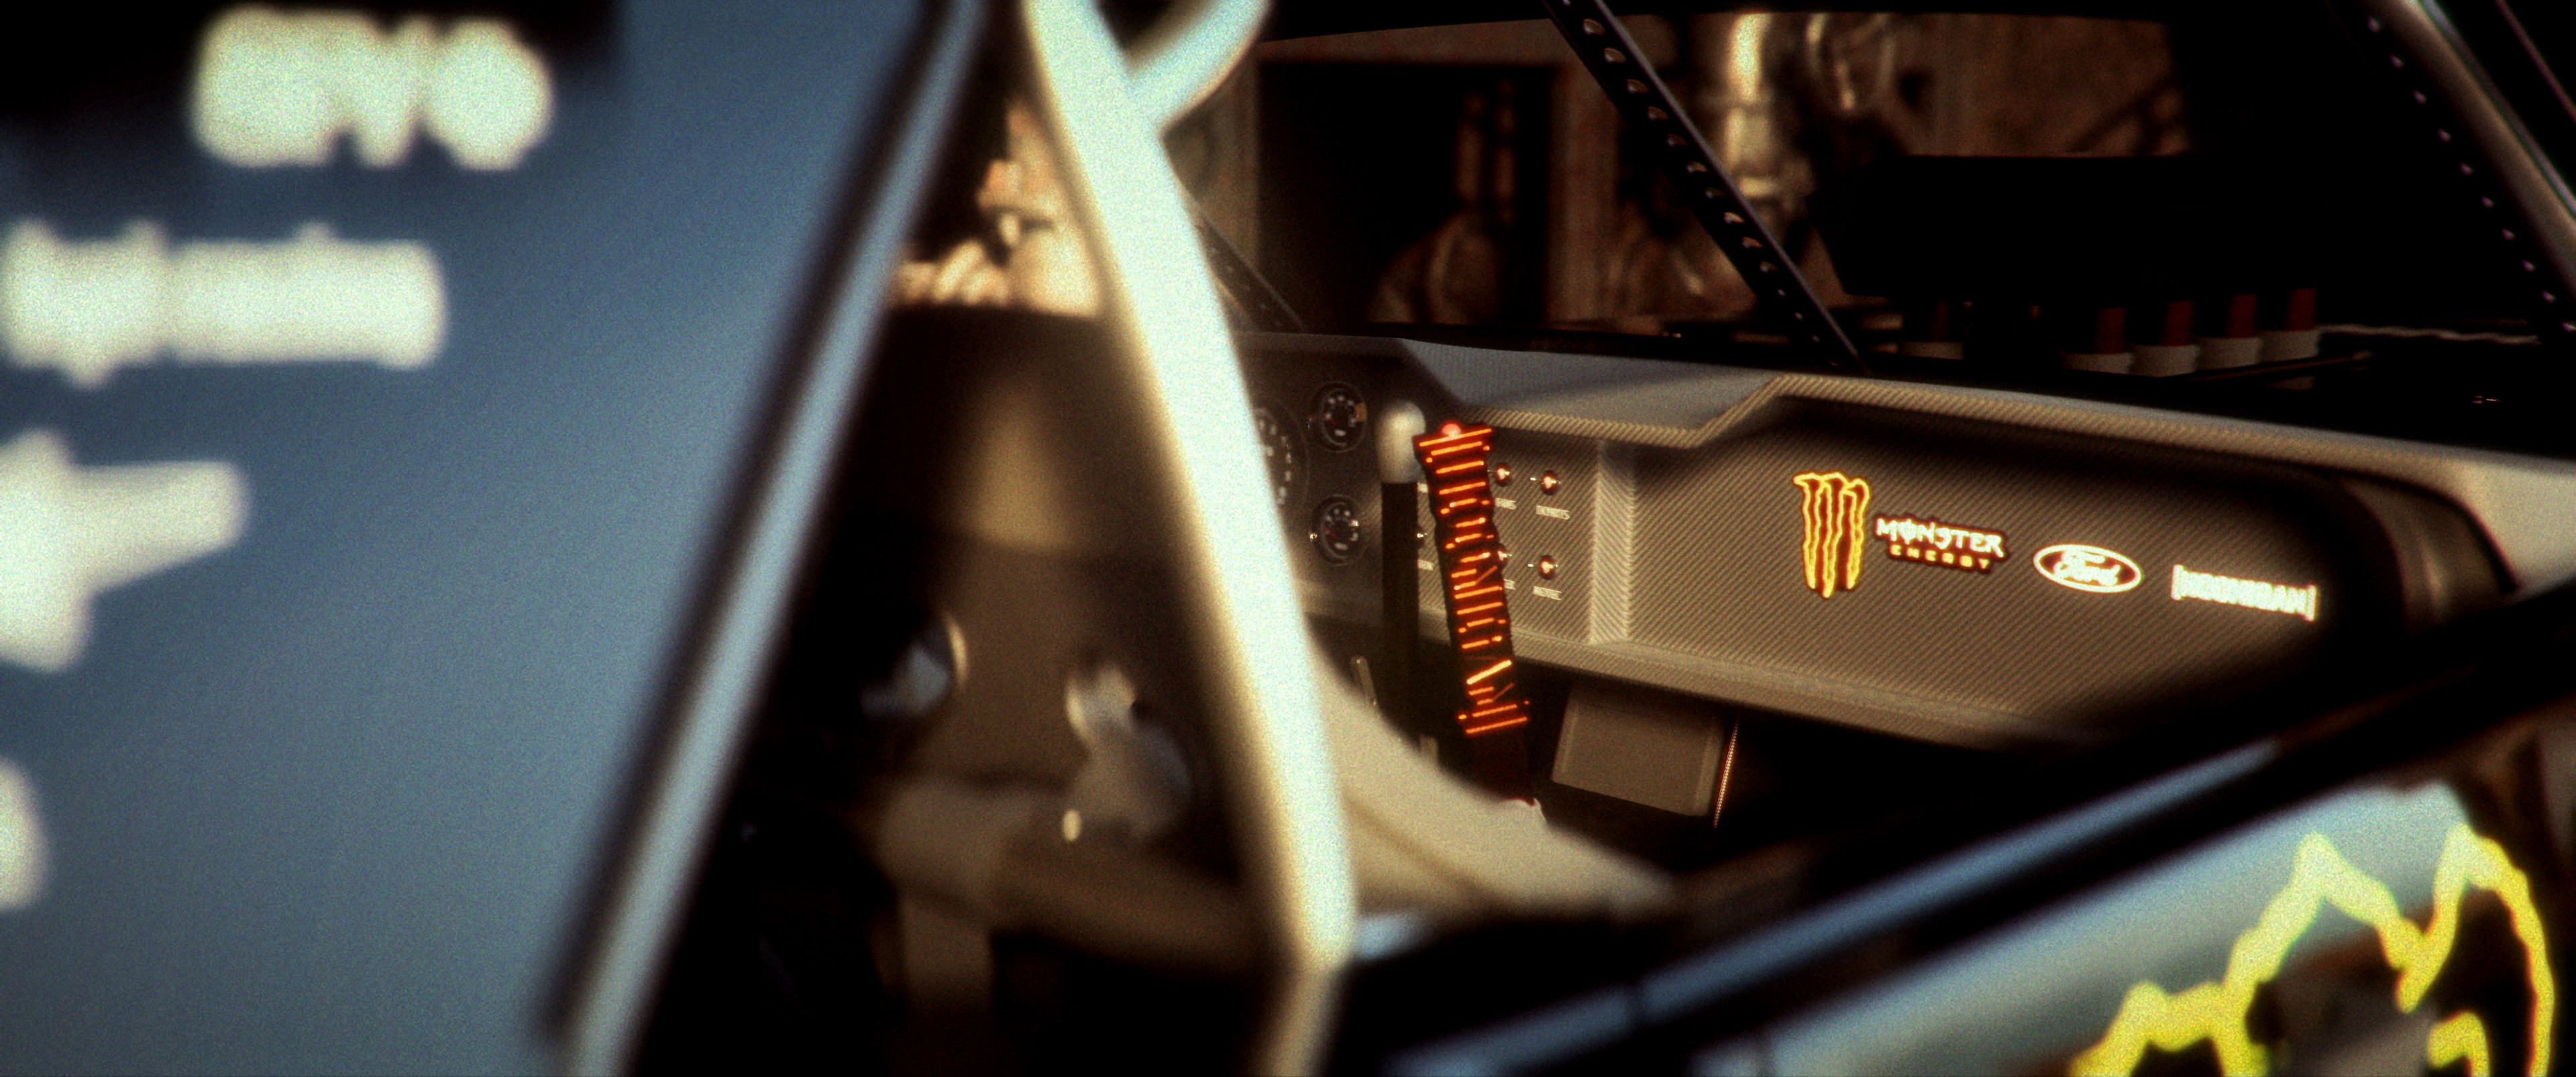
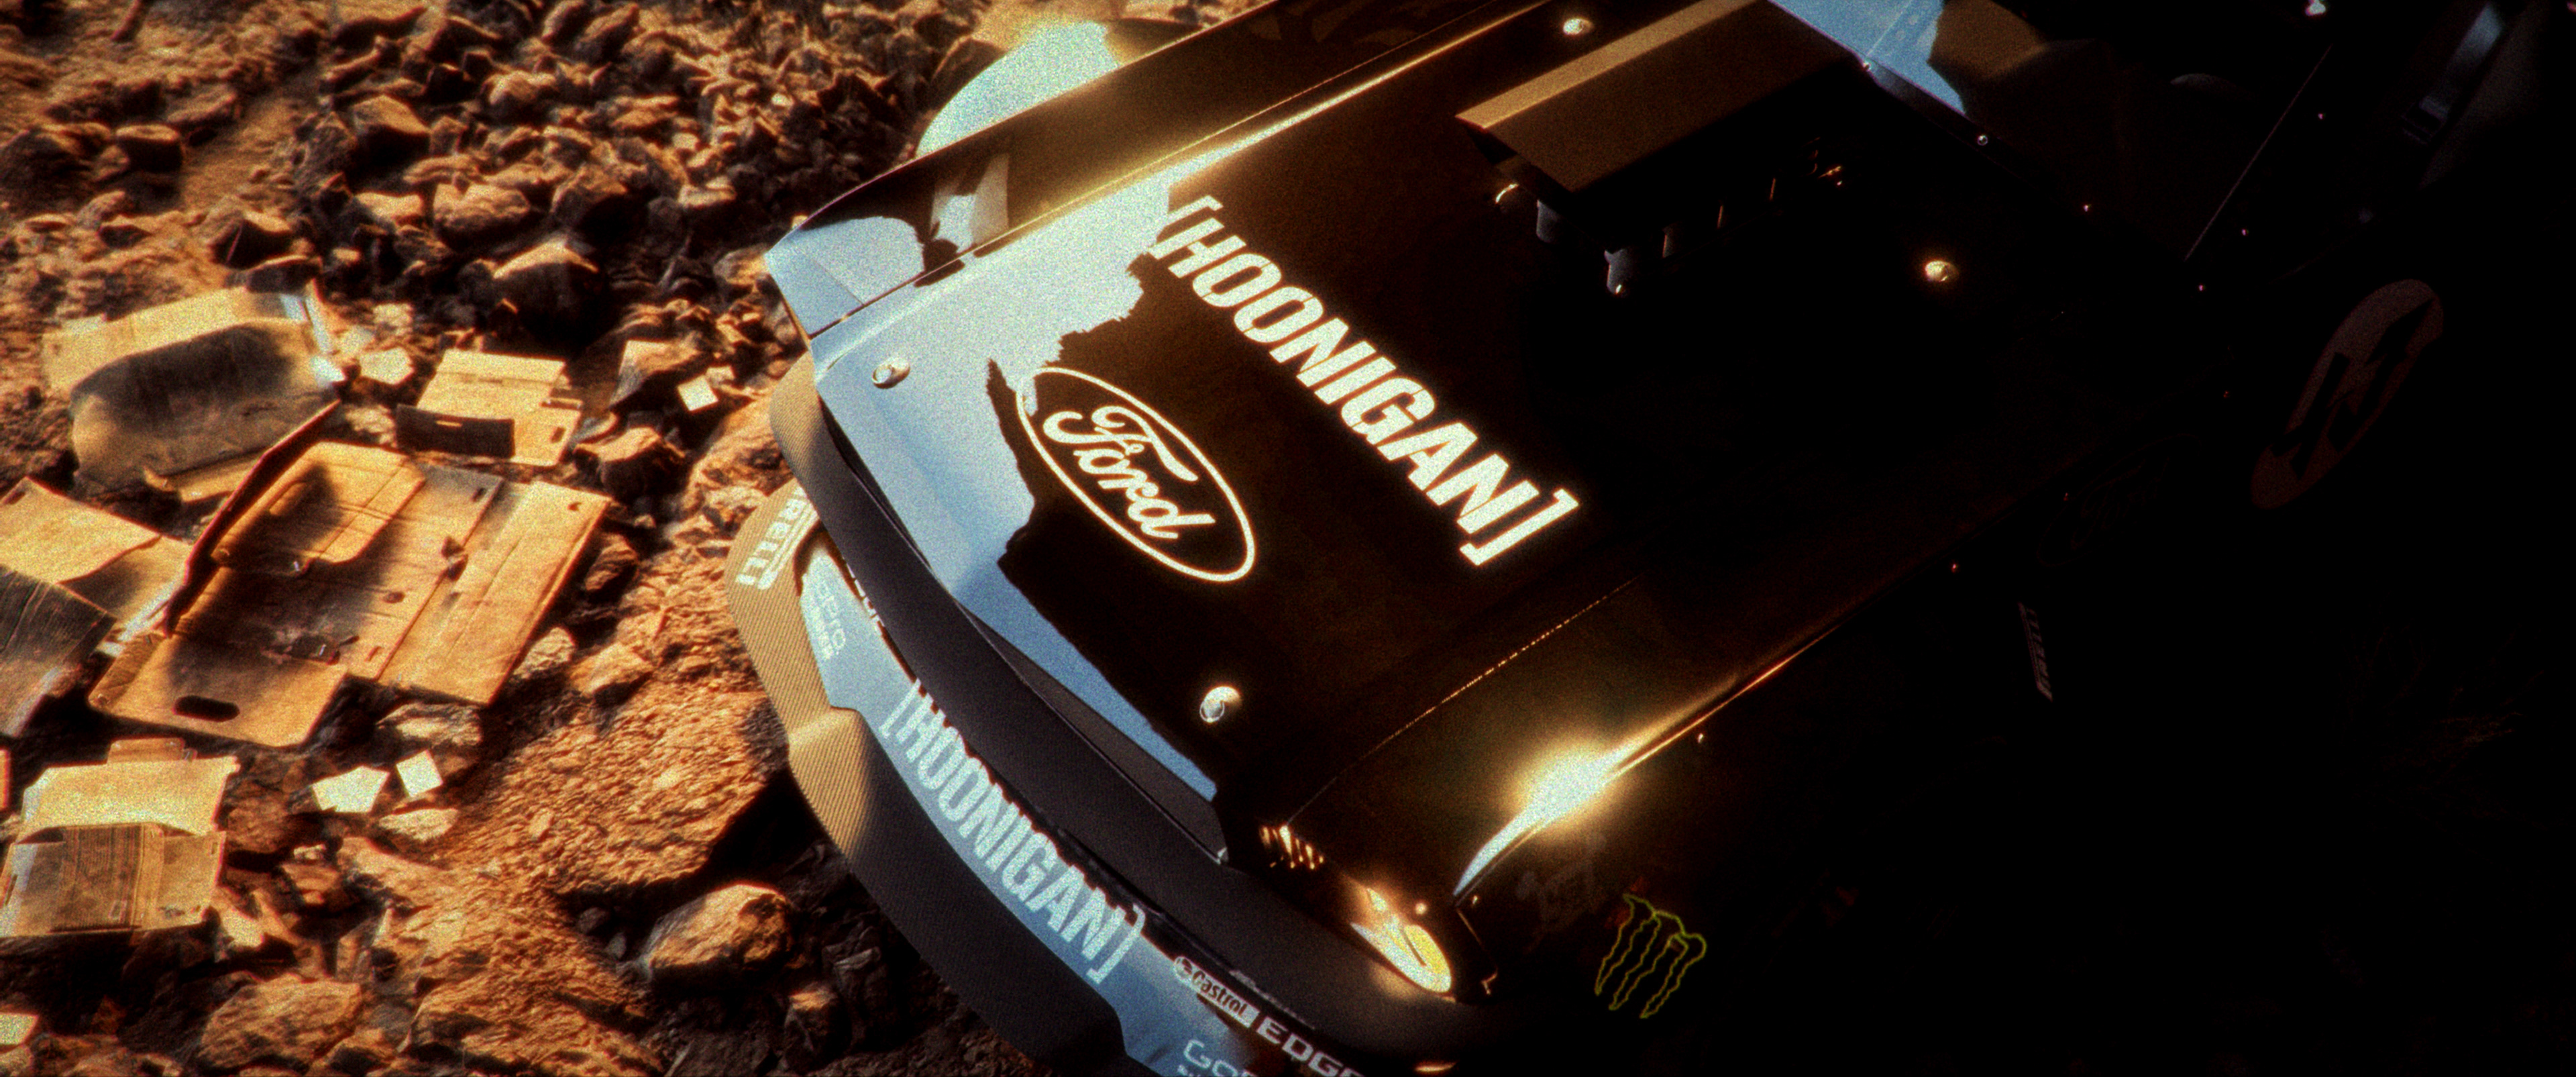
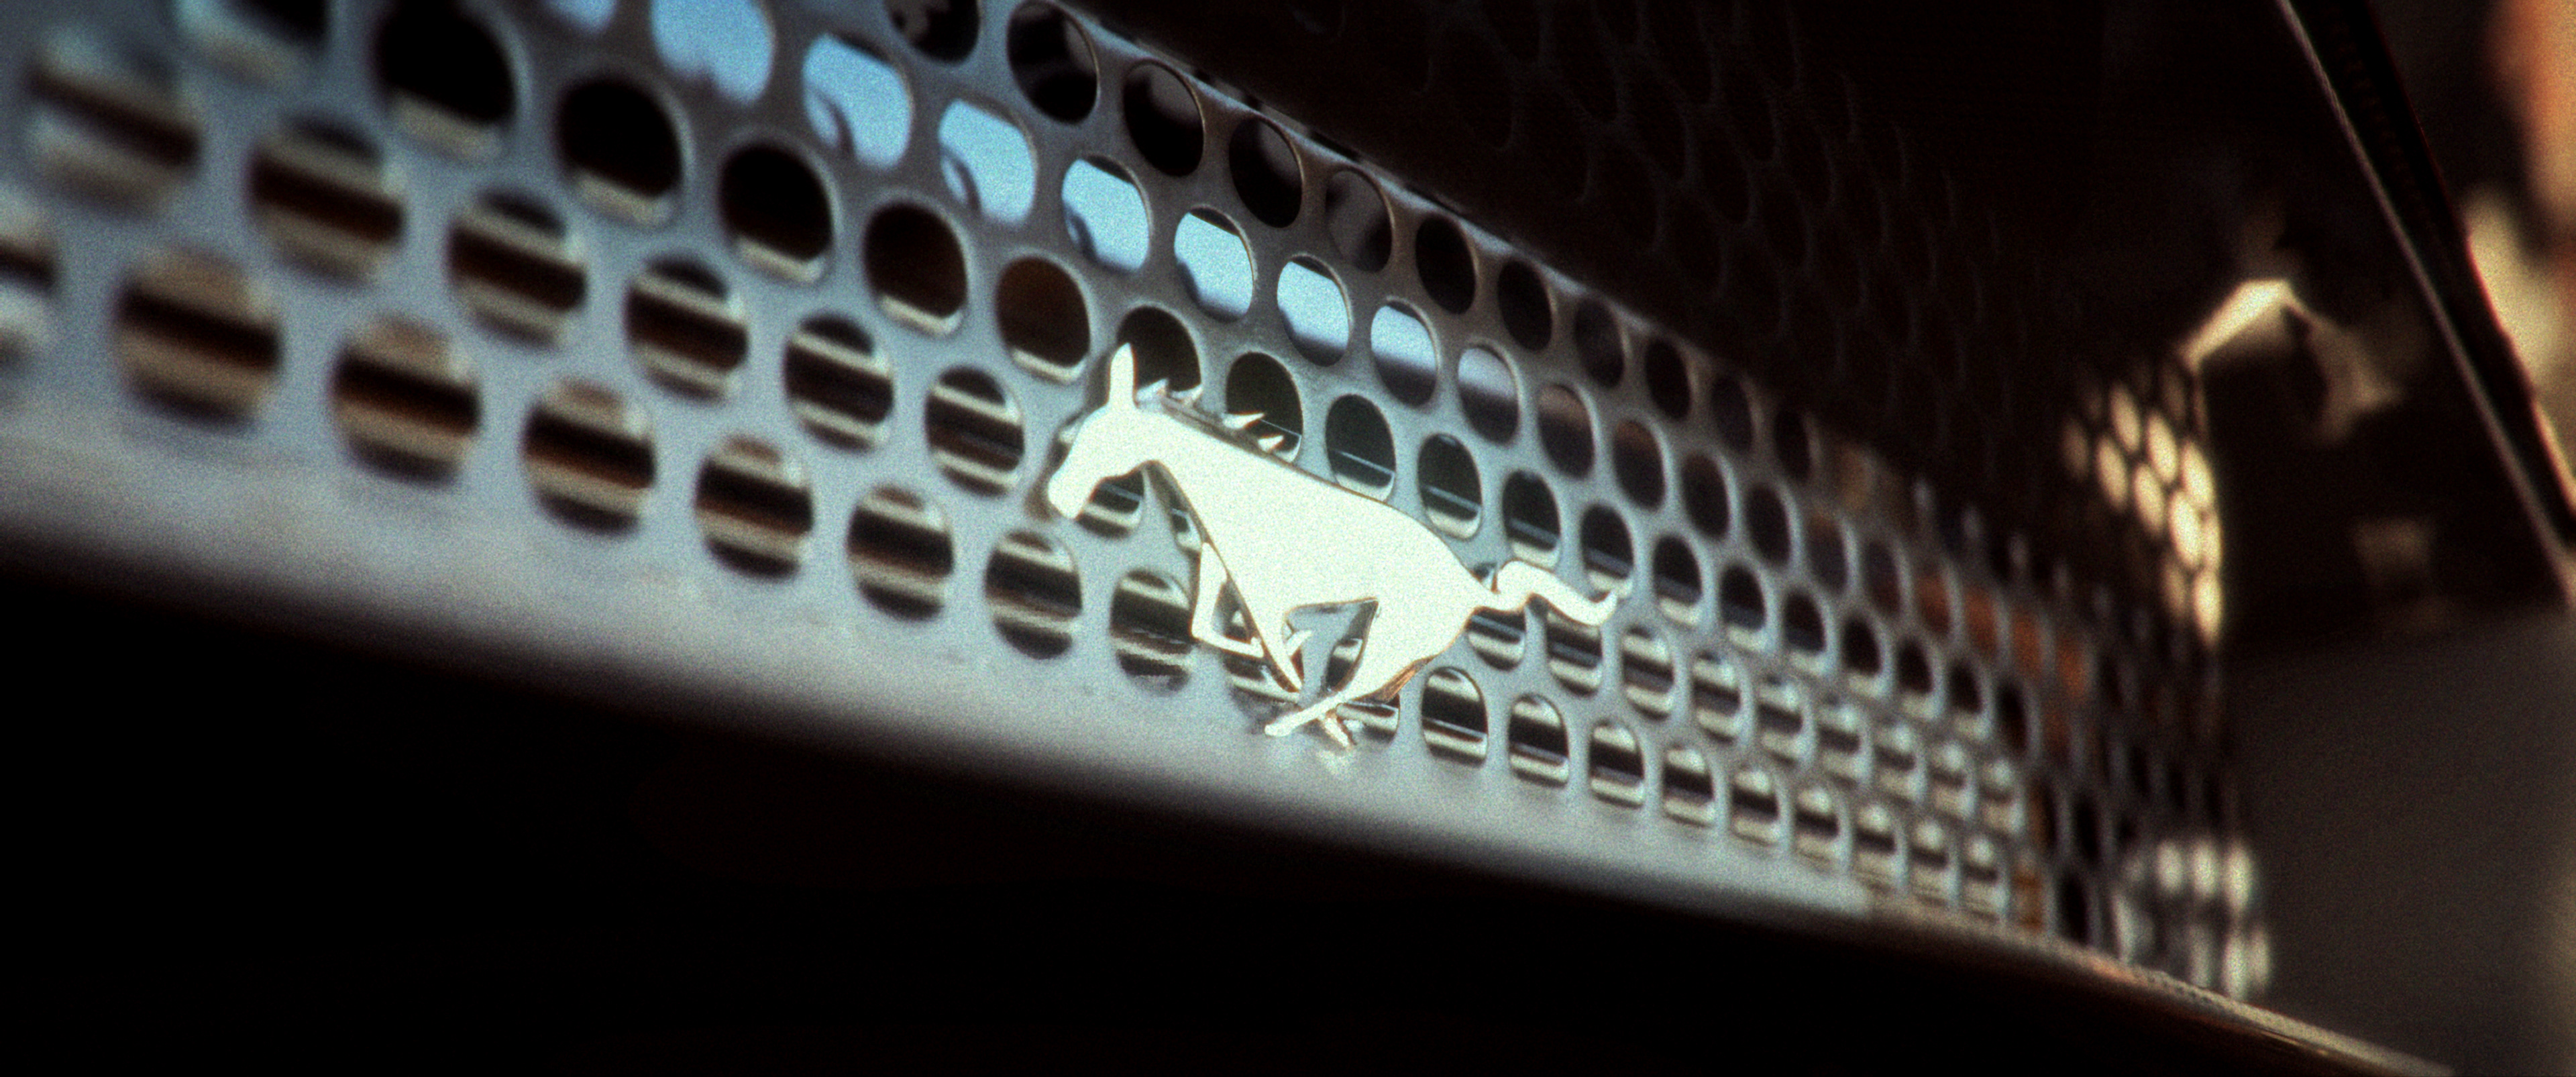
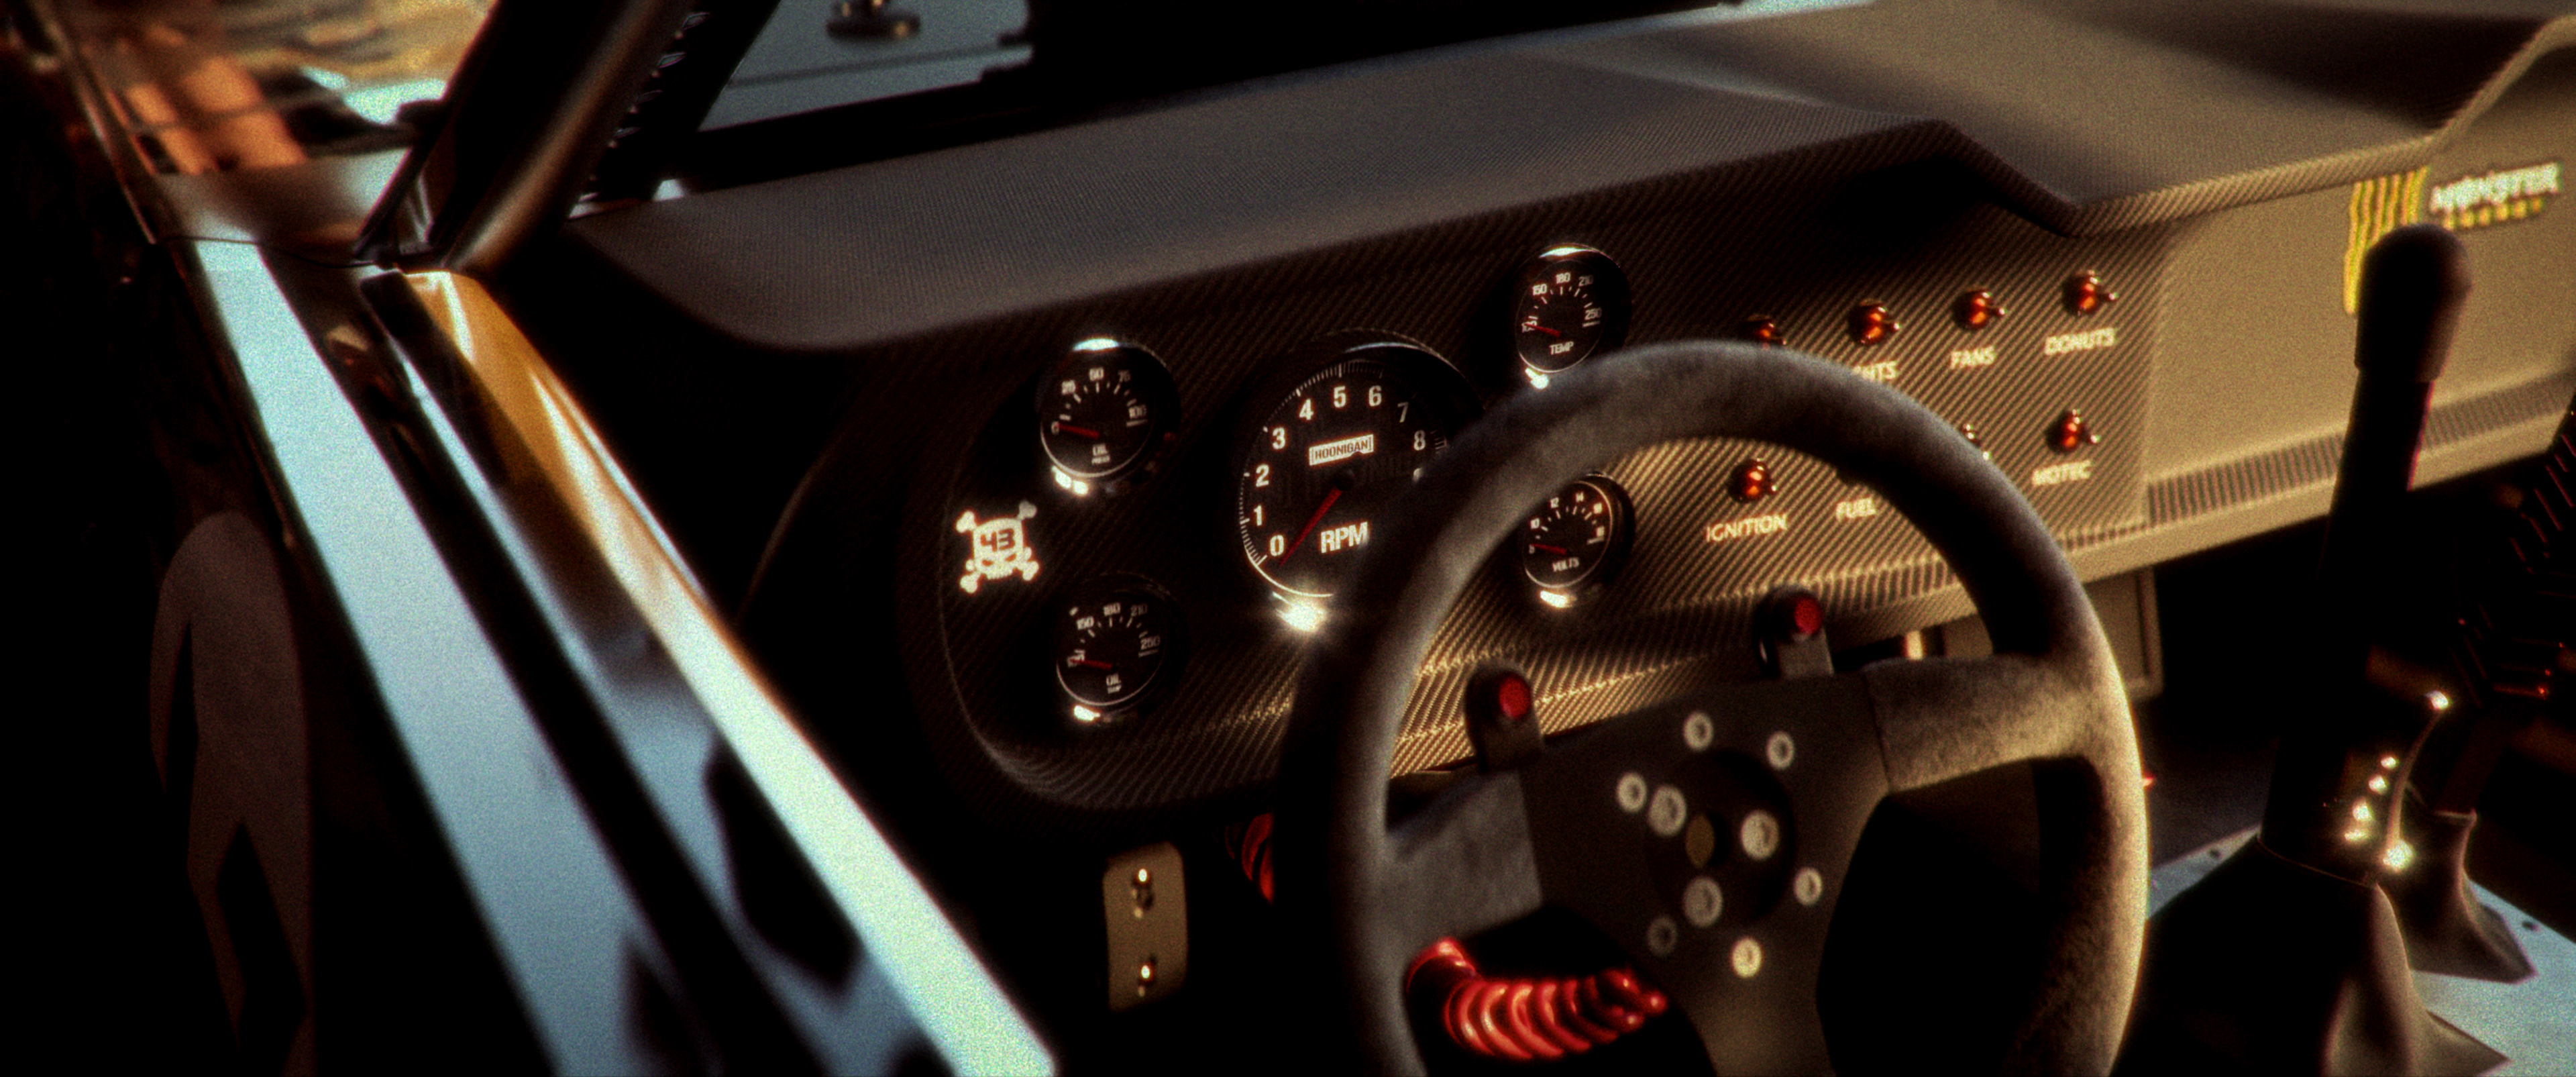
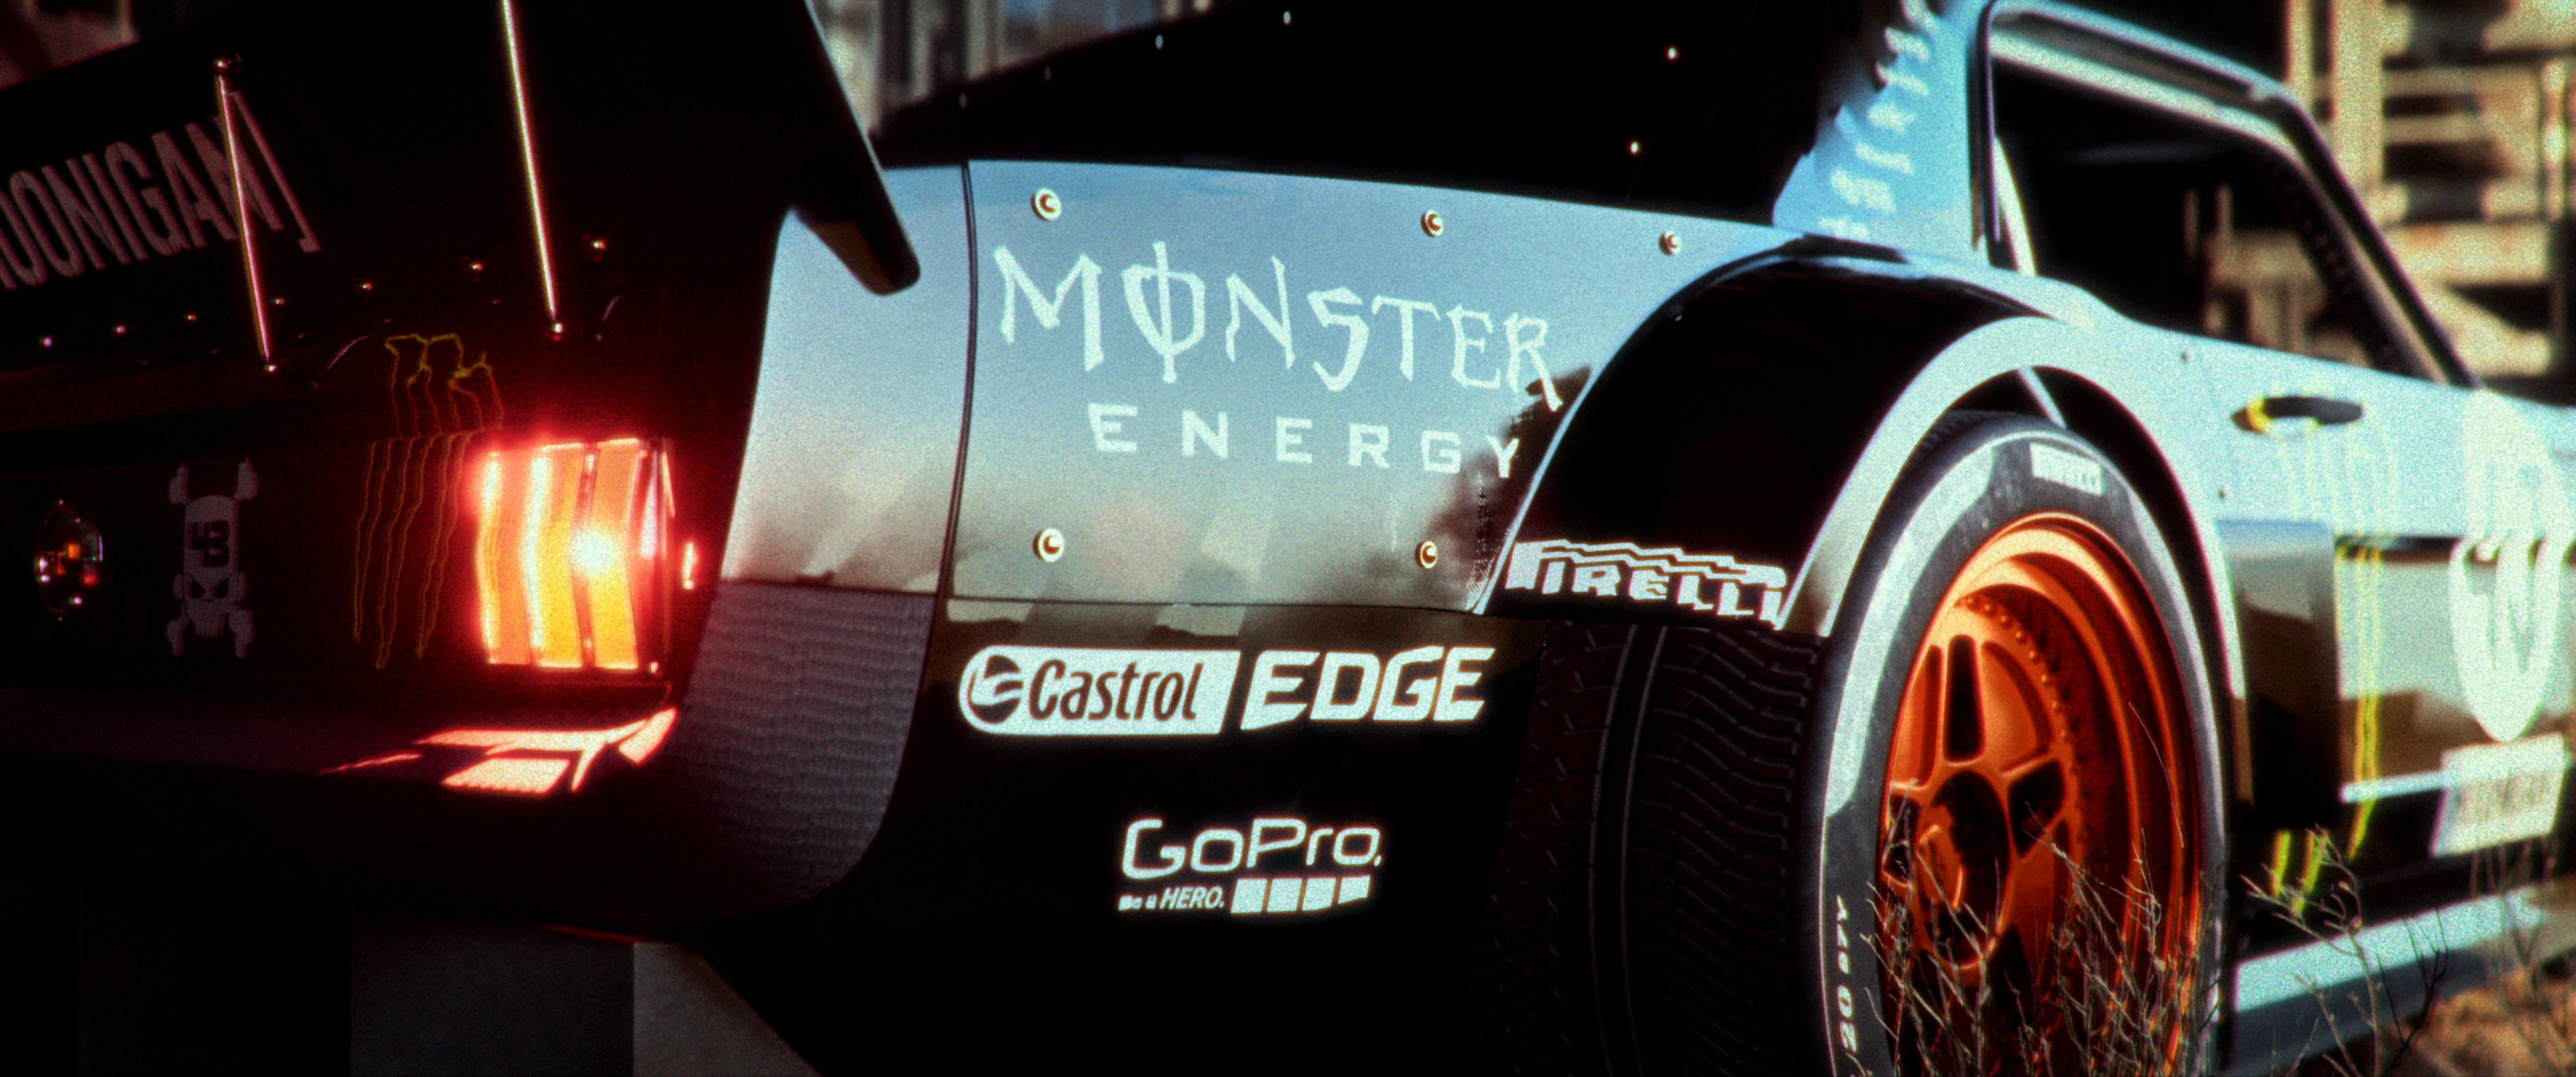
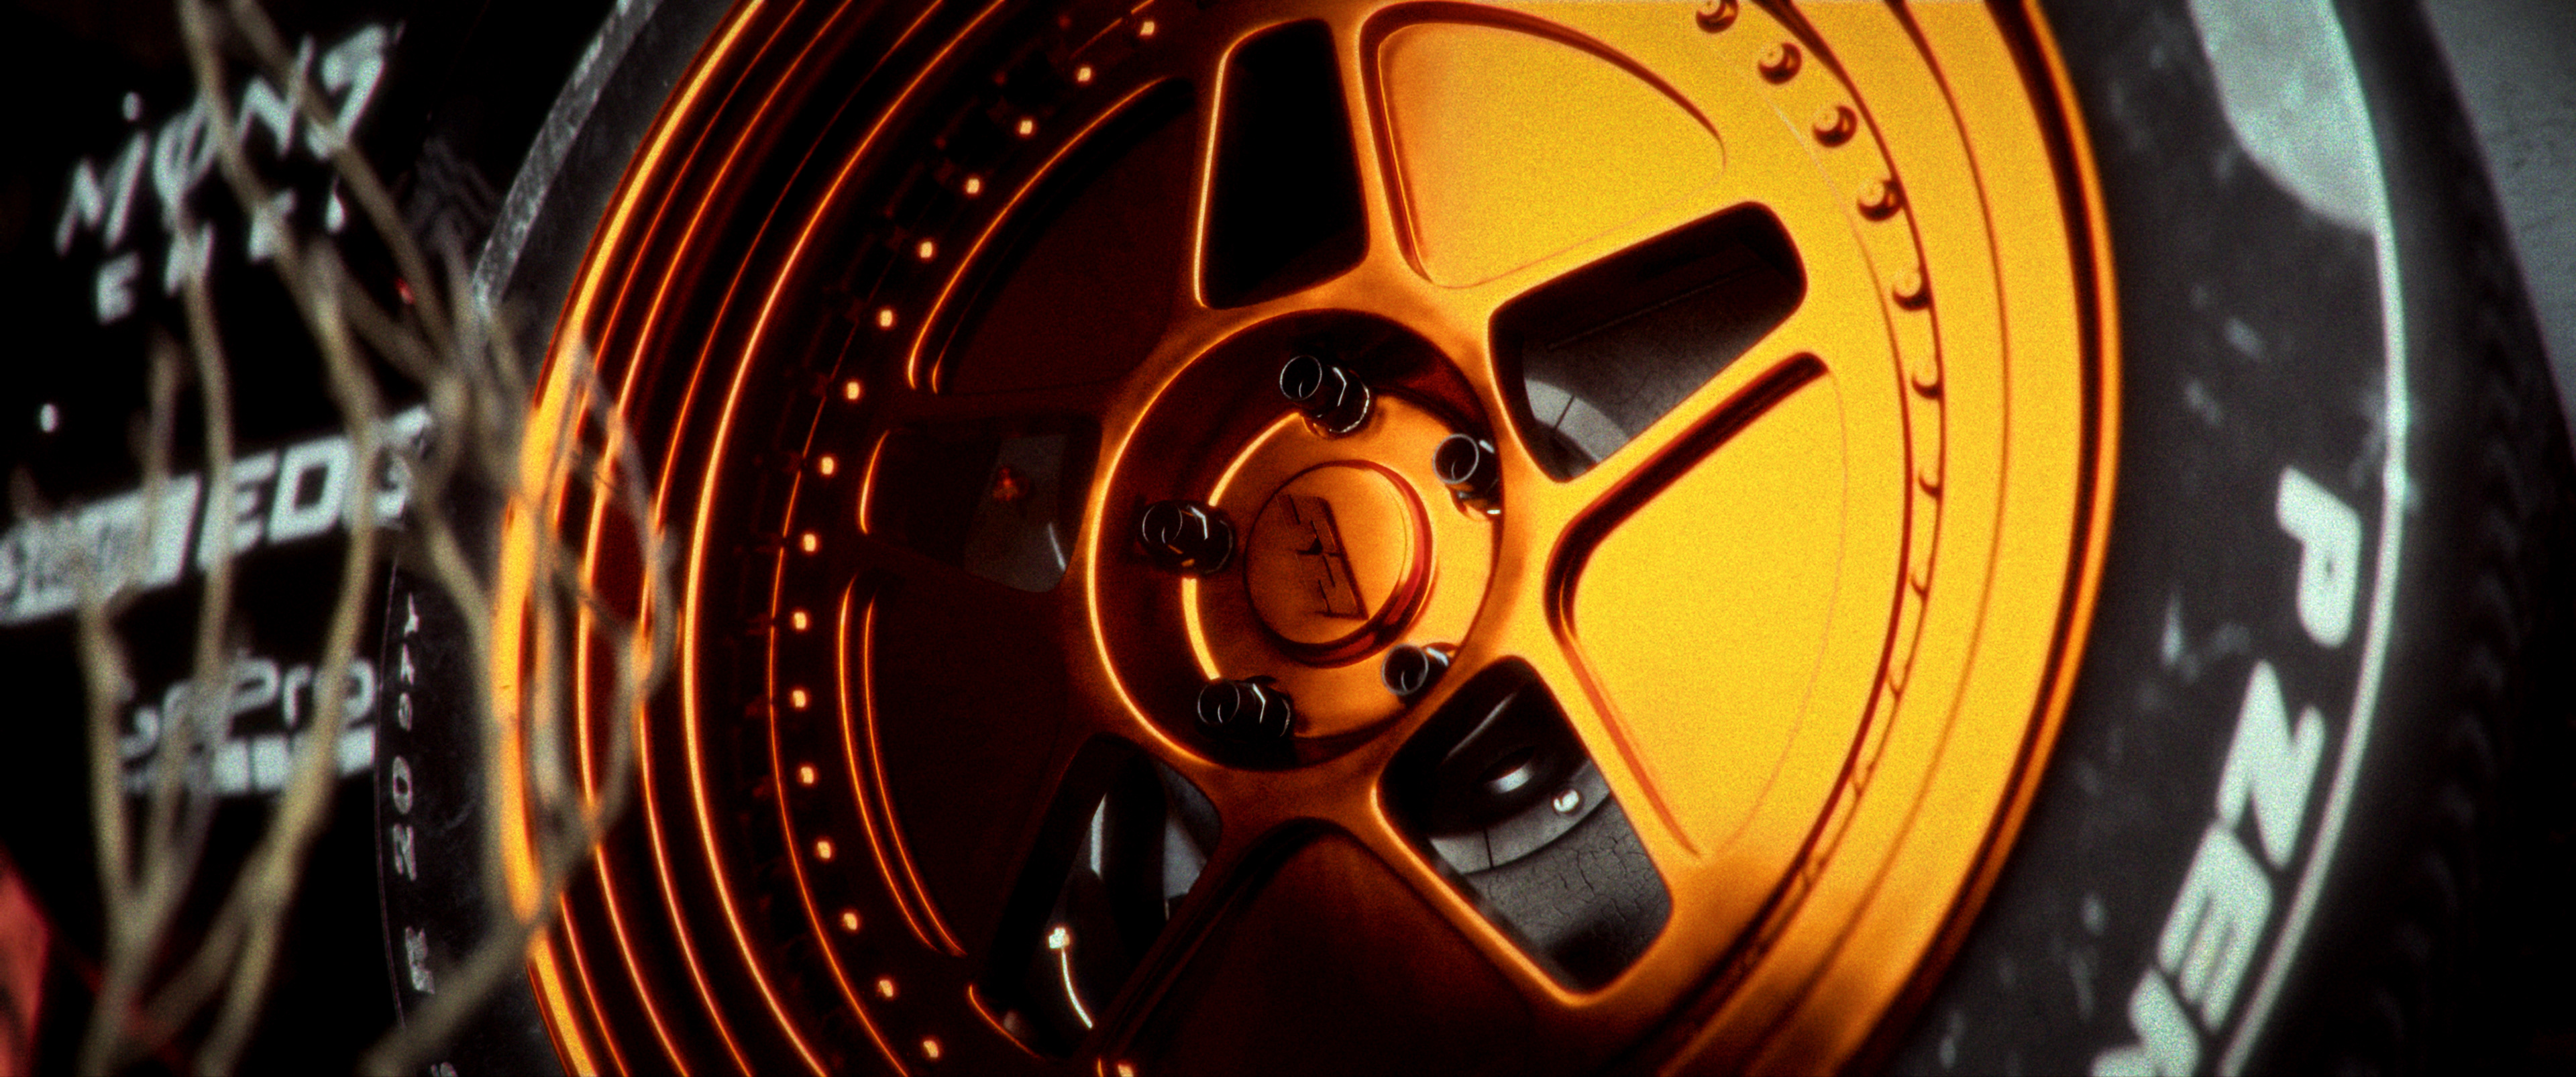
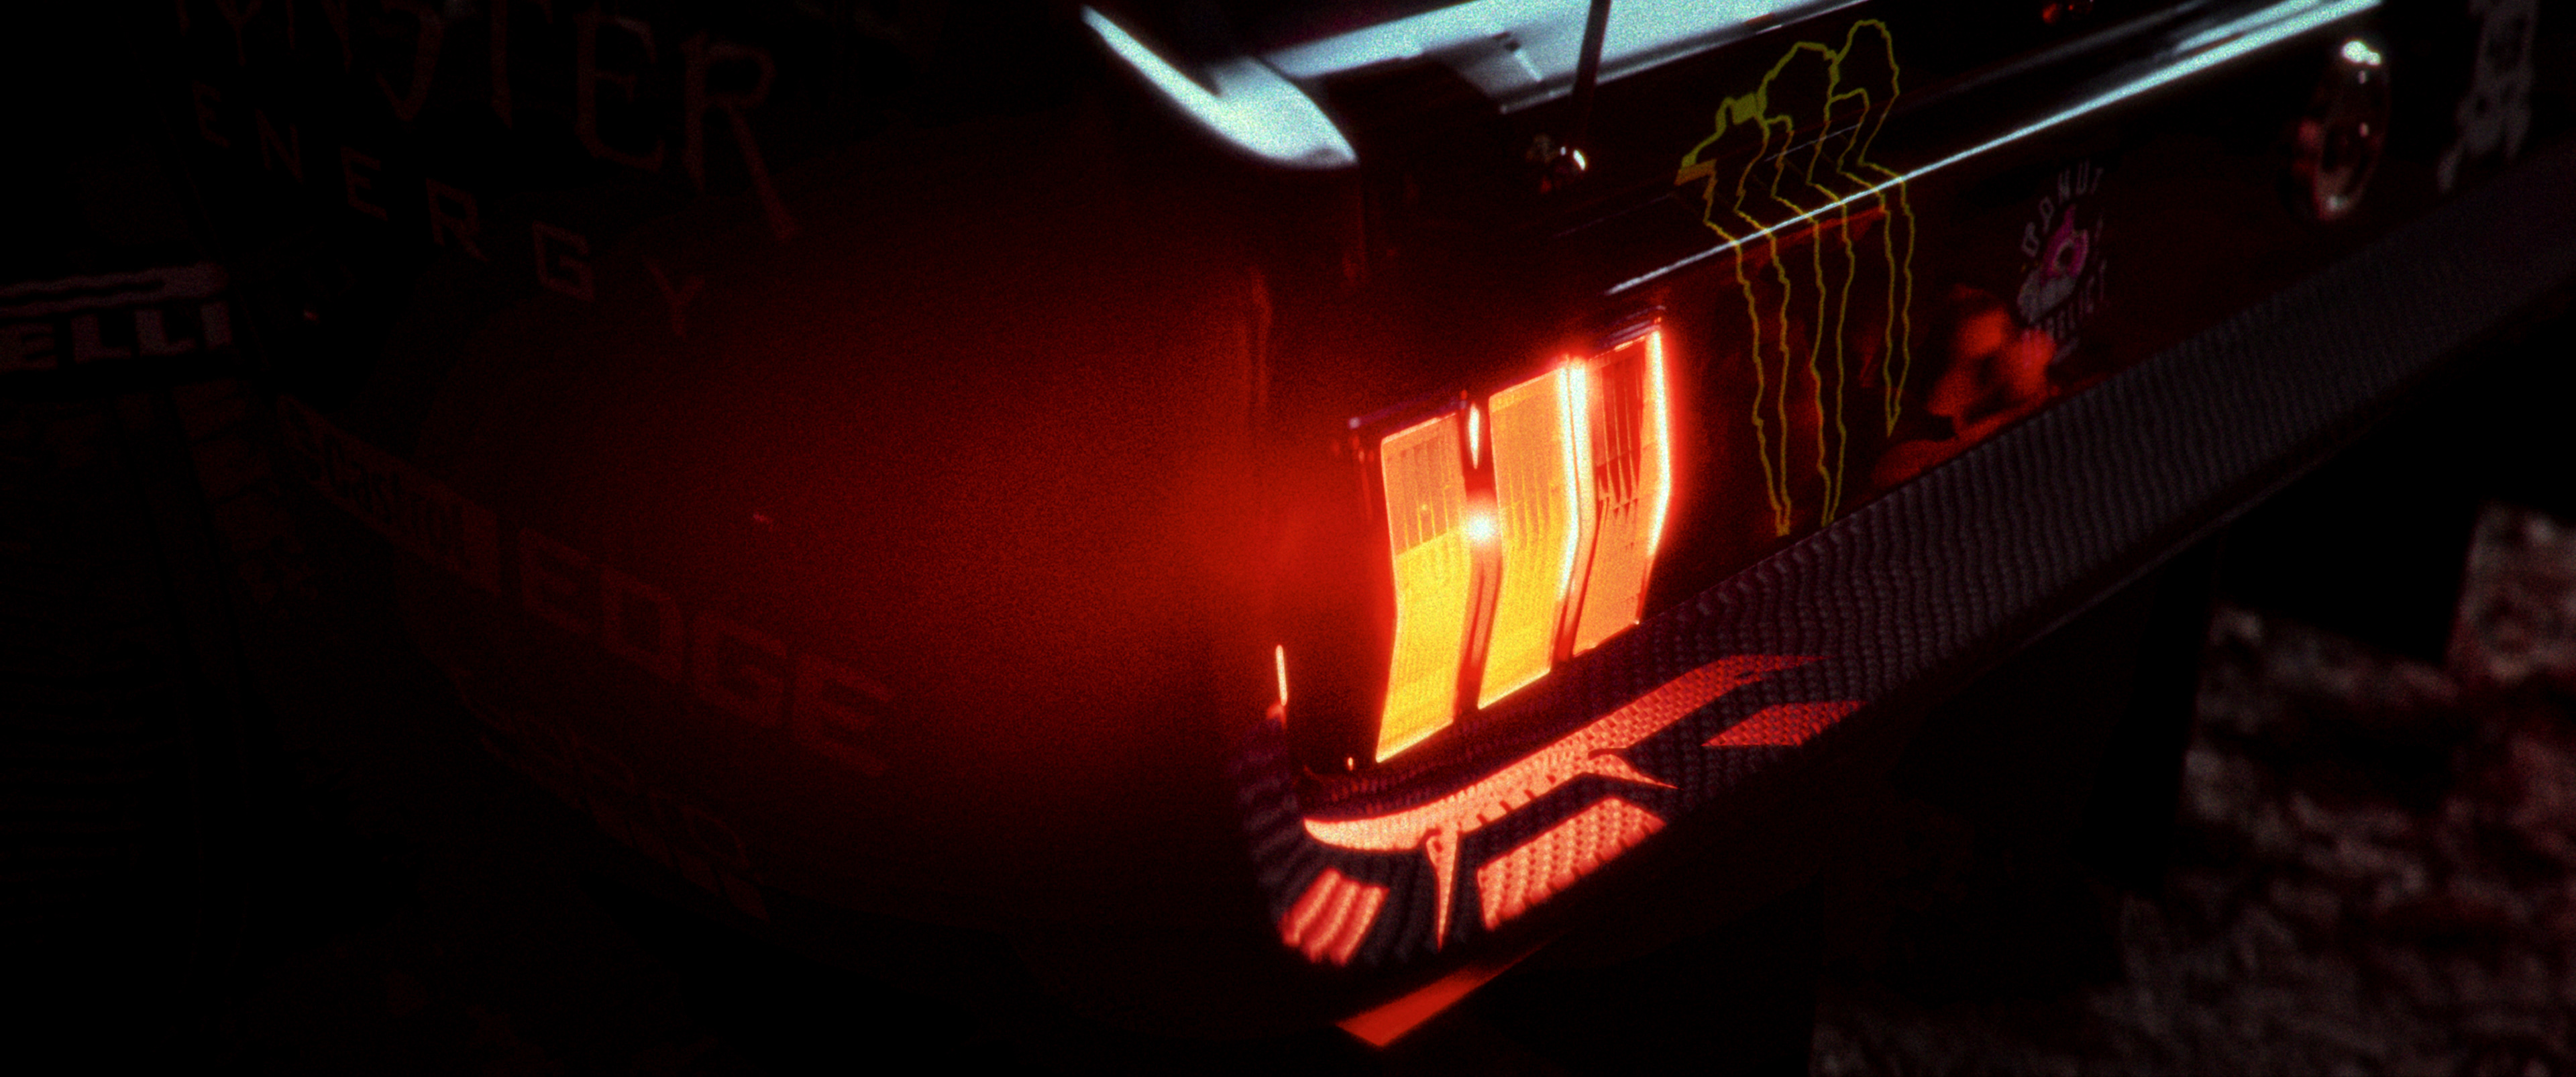
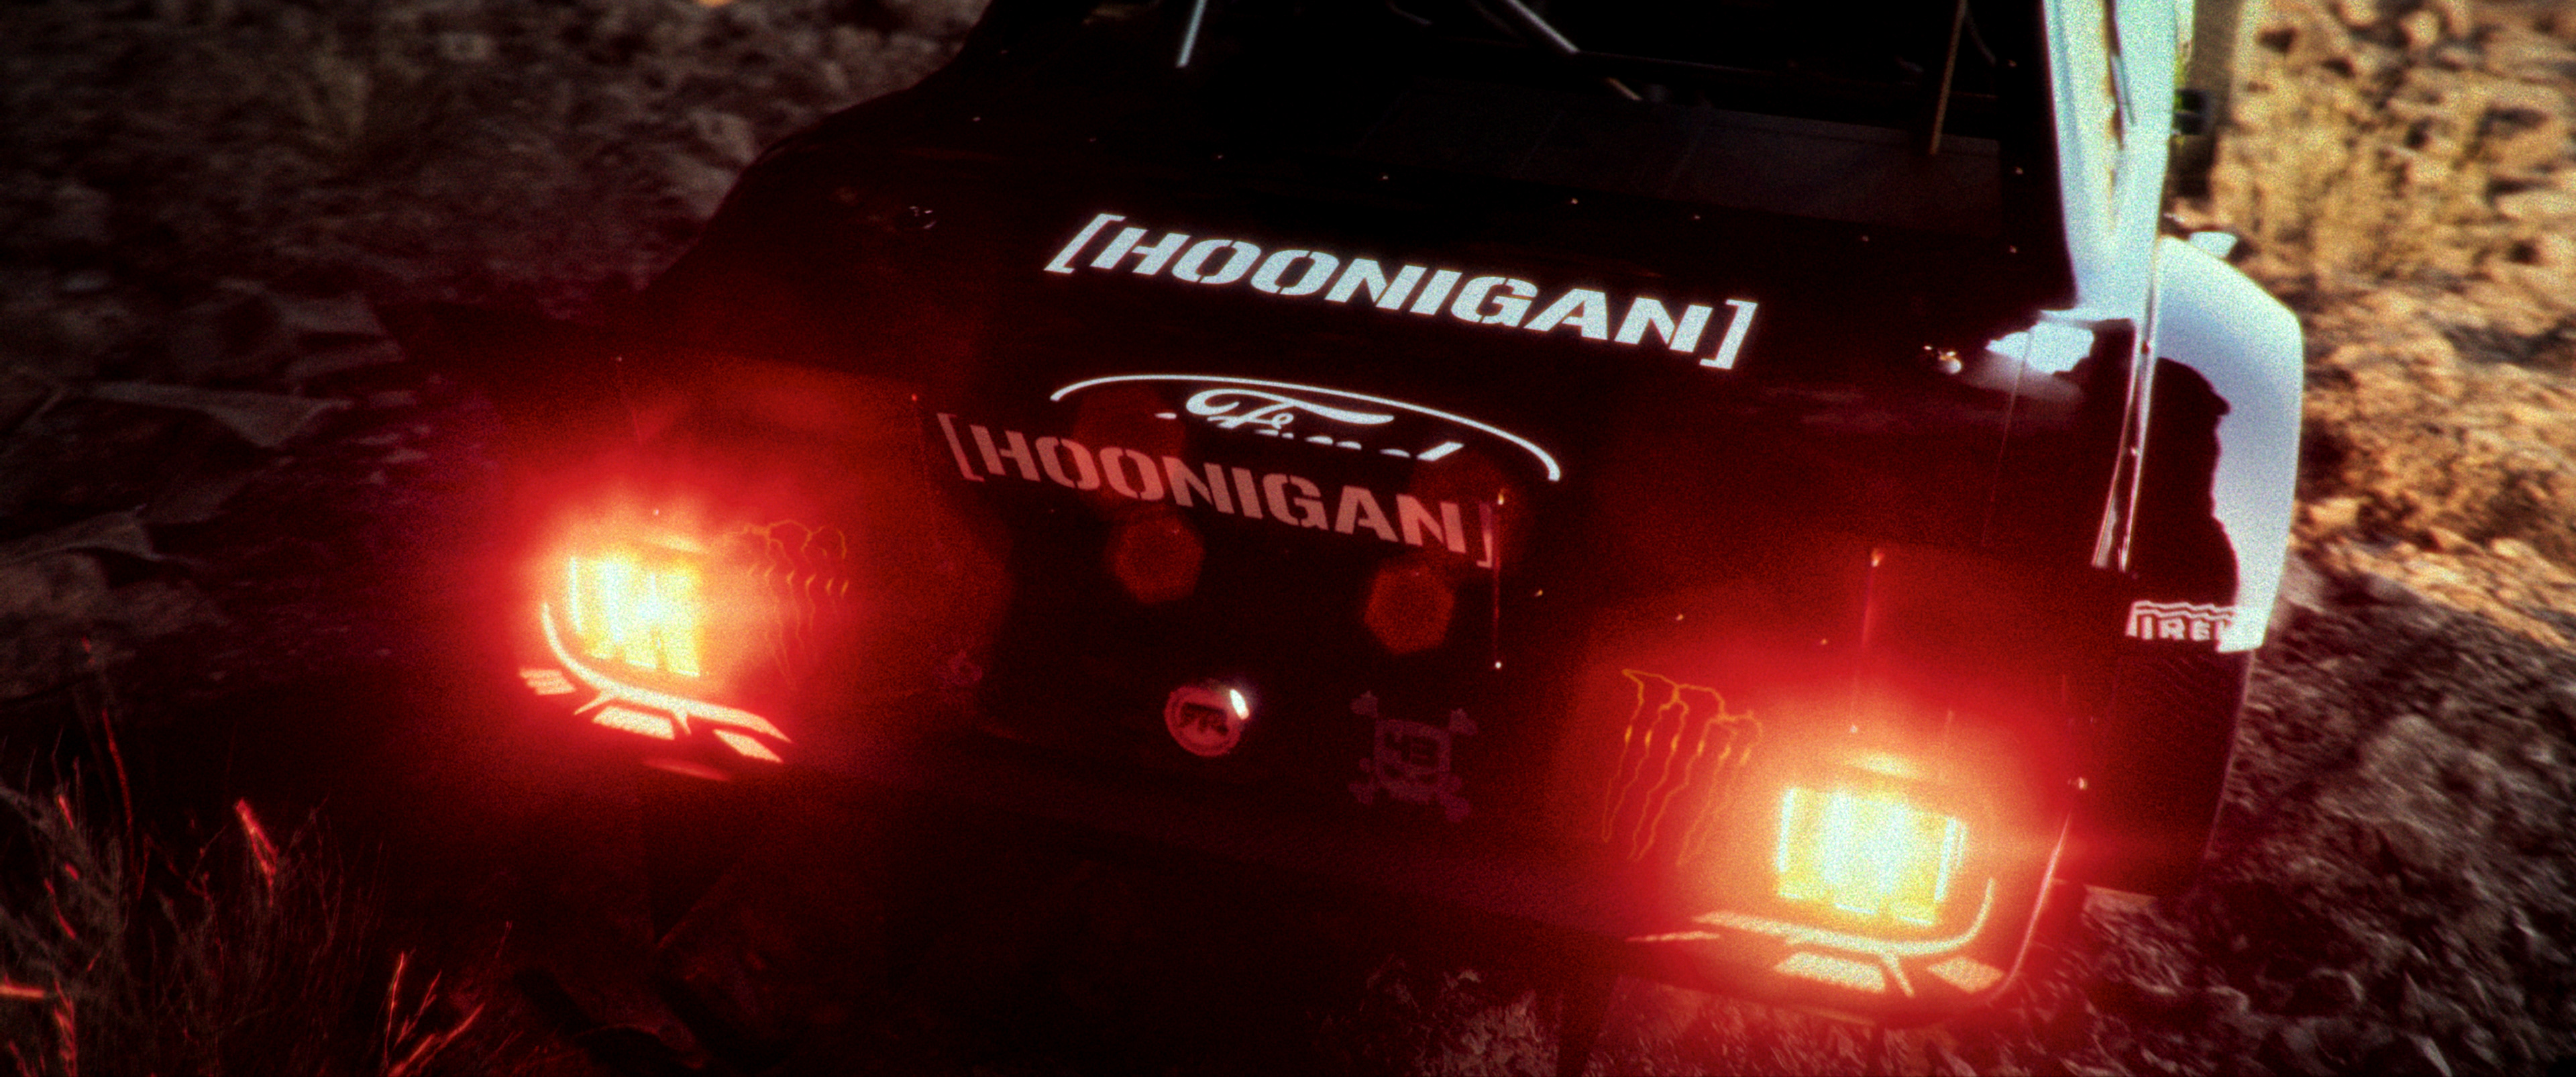
Oil Rig Interior Sequence: High-contrast CGI renders highlighting wide cavernous industrial architecture, macro supercharger details, custom interior cockpit controls, glowing LED tail lights, and golden-hour environmental lighting within the cave structure.
Livery & UDIM Workflow
The vehicle livery was developed using a UDIM-based texturing workflow, allowing the relatively complex body graphics and surface information to retain sufficient texture resolution across the vehicle. Before the full environment production began, a previsualisation setup was created using a small selection of photogrammetric assets and foliage. This allowed the team to verify the narrative appearance, material response, UDIM behaviour, and glass transparency under Unreal Engine's Lumen lighting before committing to the full environment builds.
Environment Build — Hangar
The Hangar was constructed as an enclosed aircraft structure embedded within the canyon-industrial setting. The lighting design was deliberately minimal. The primary sources were the Hoonicorn's headlights, rear lamps, and the opening hangar door. Additional low-specularity rectangular lights were introduced only as controlled fill sources. The light sources were animated with the opening door and vehicle illumination so that the scene's exposure developed naturally with the action.
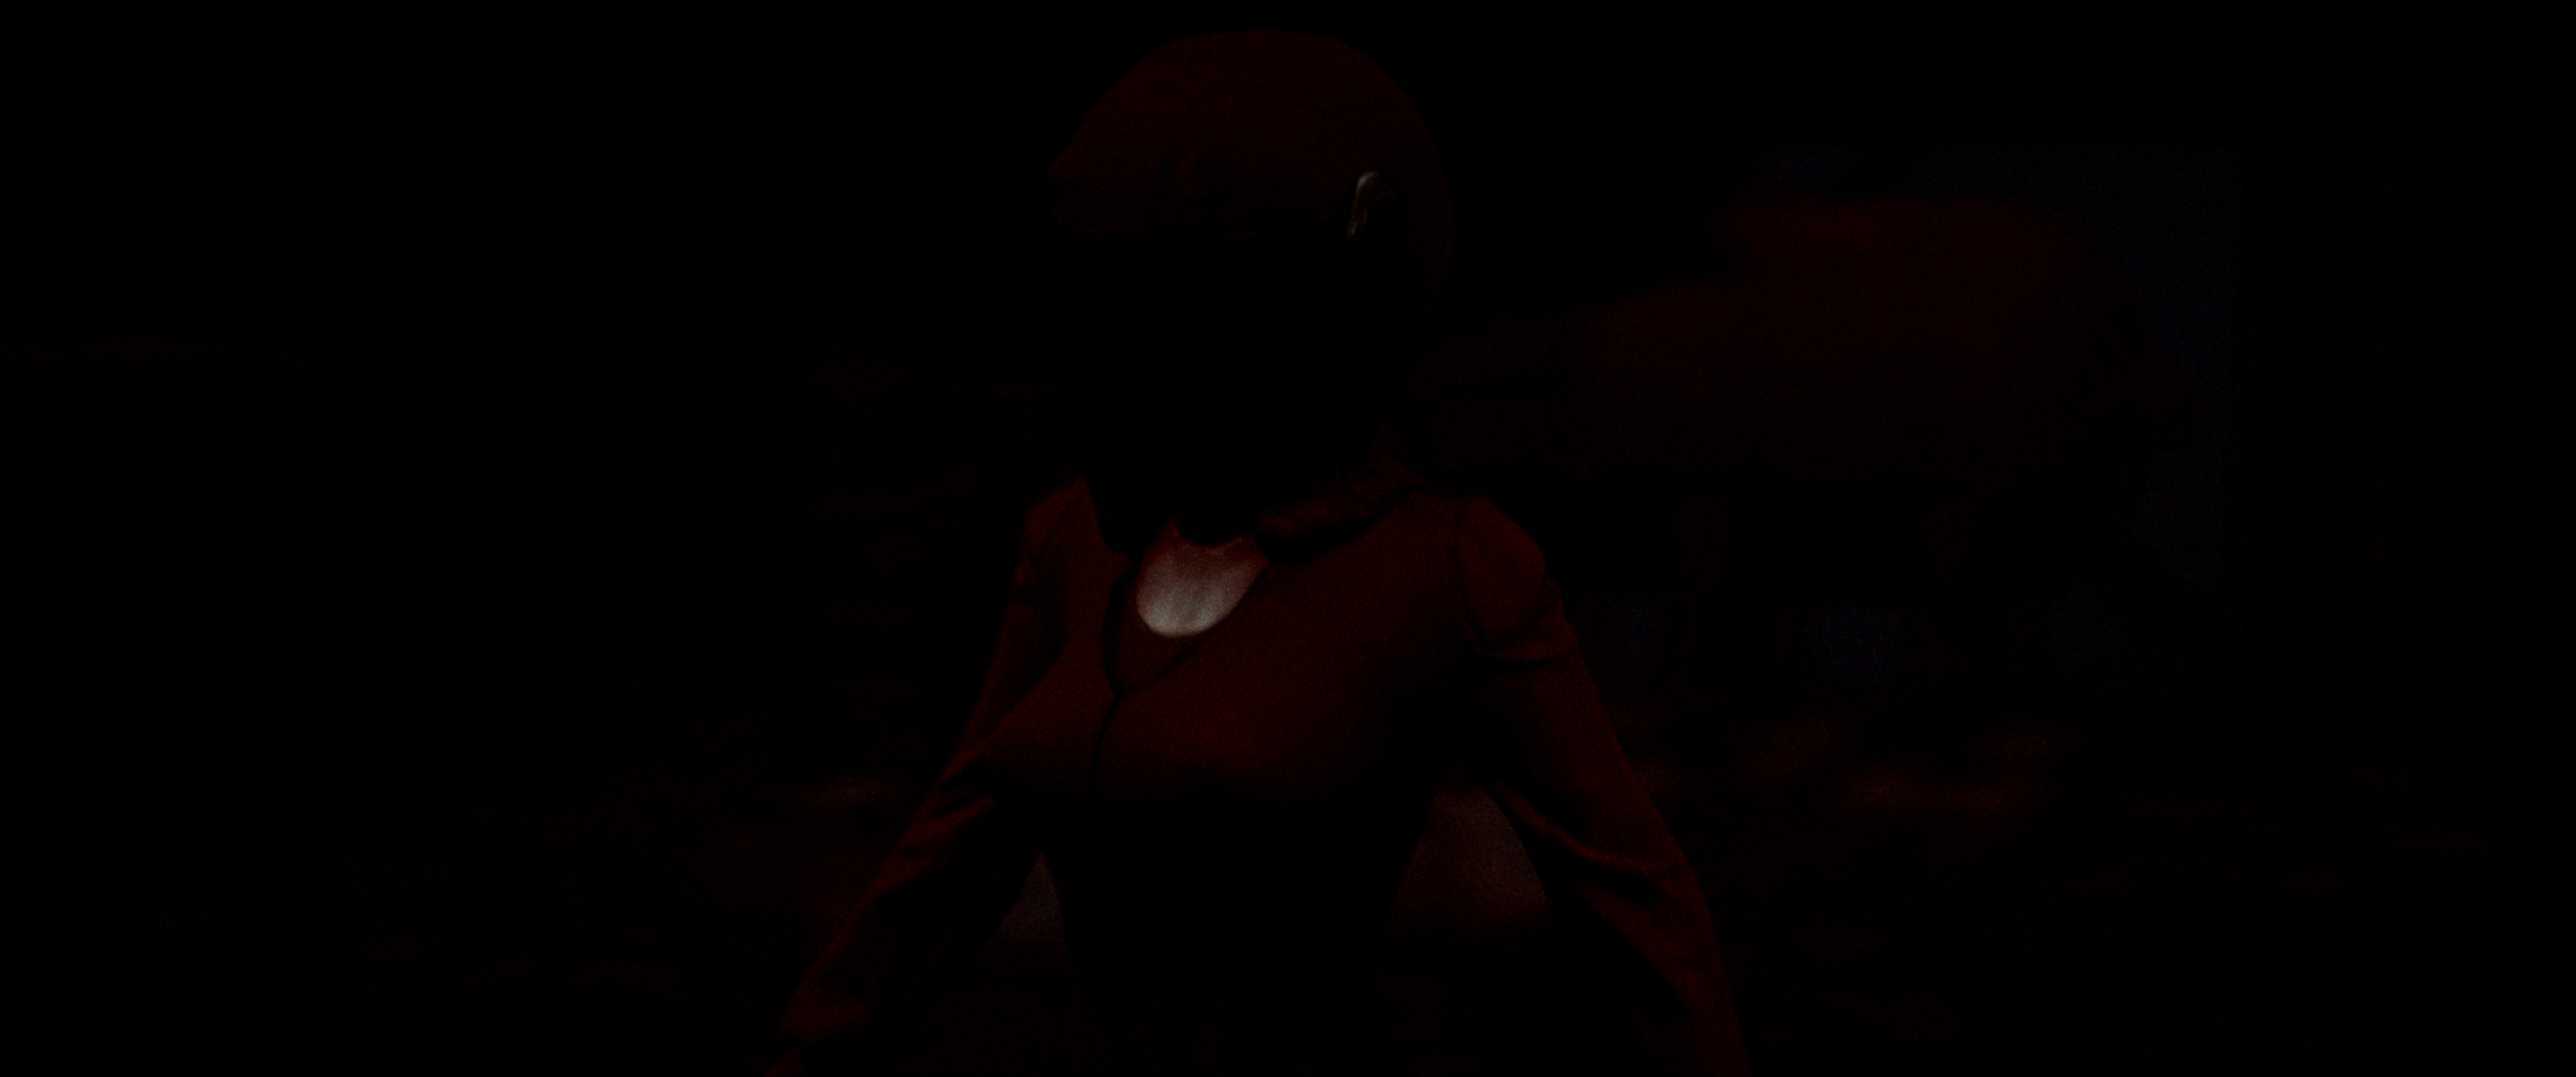
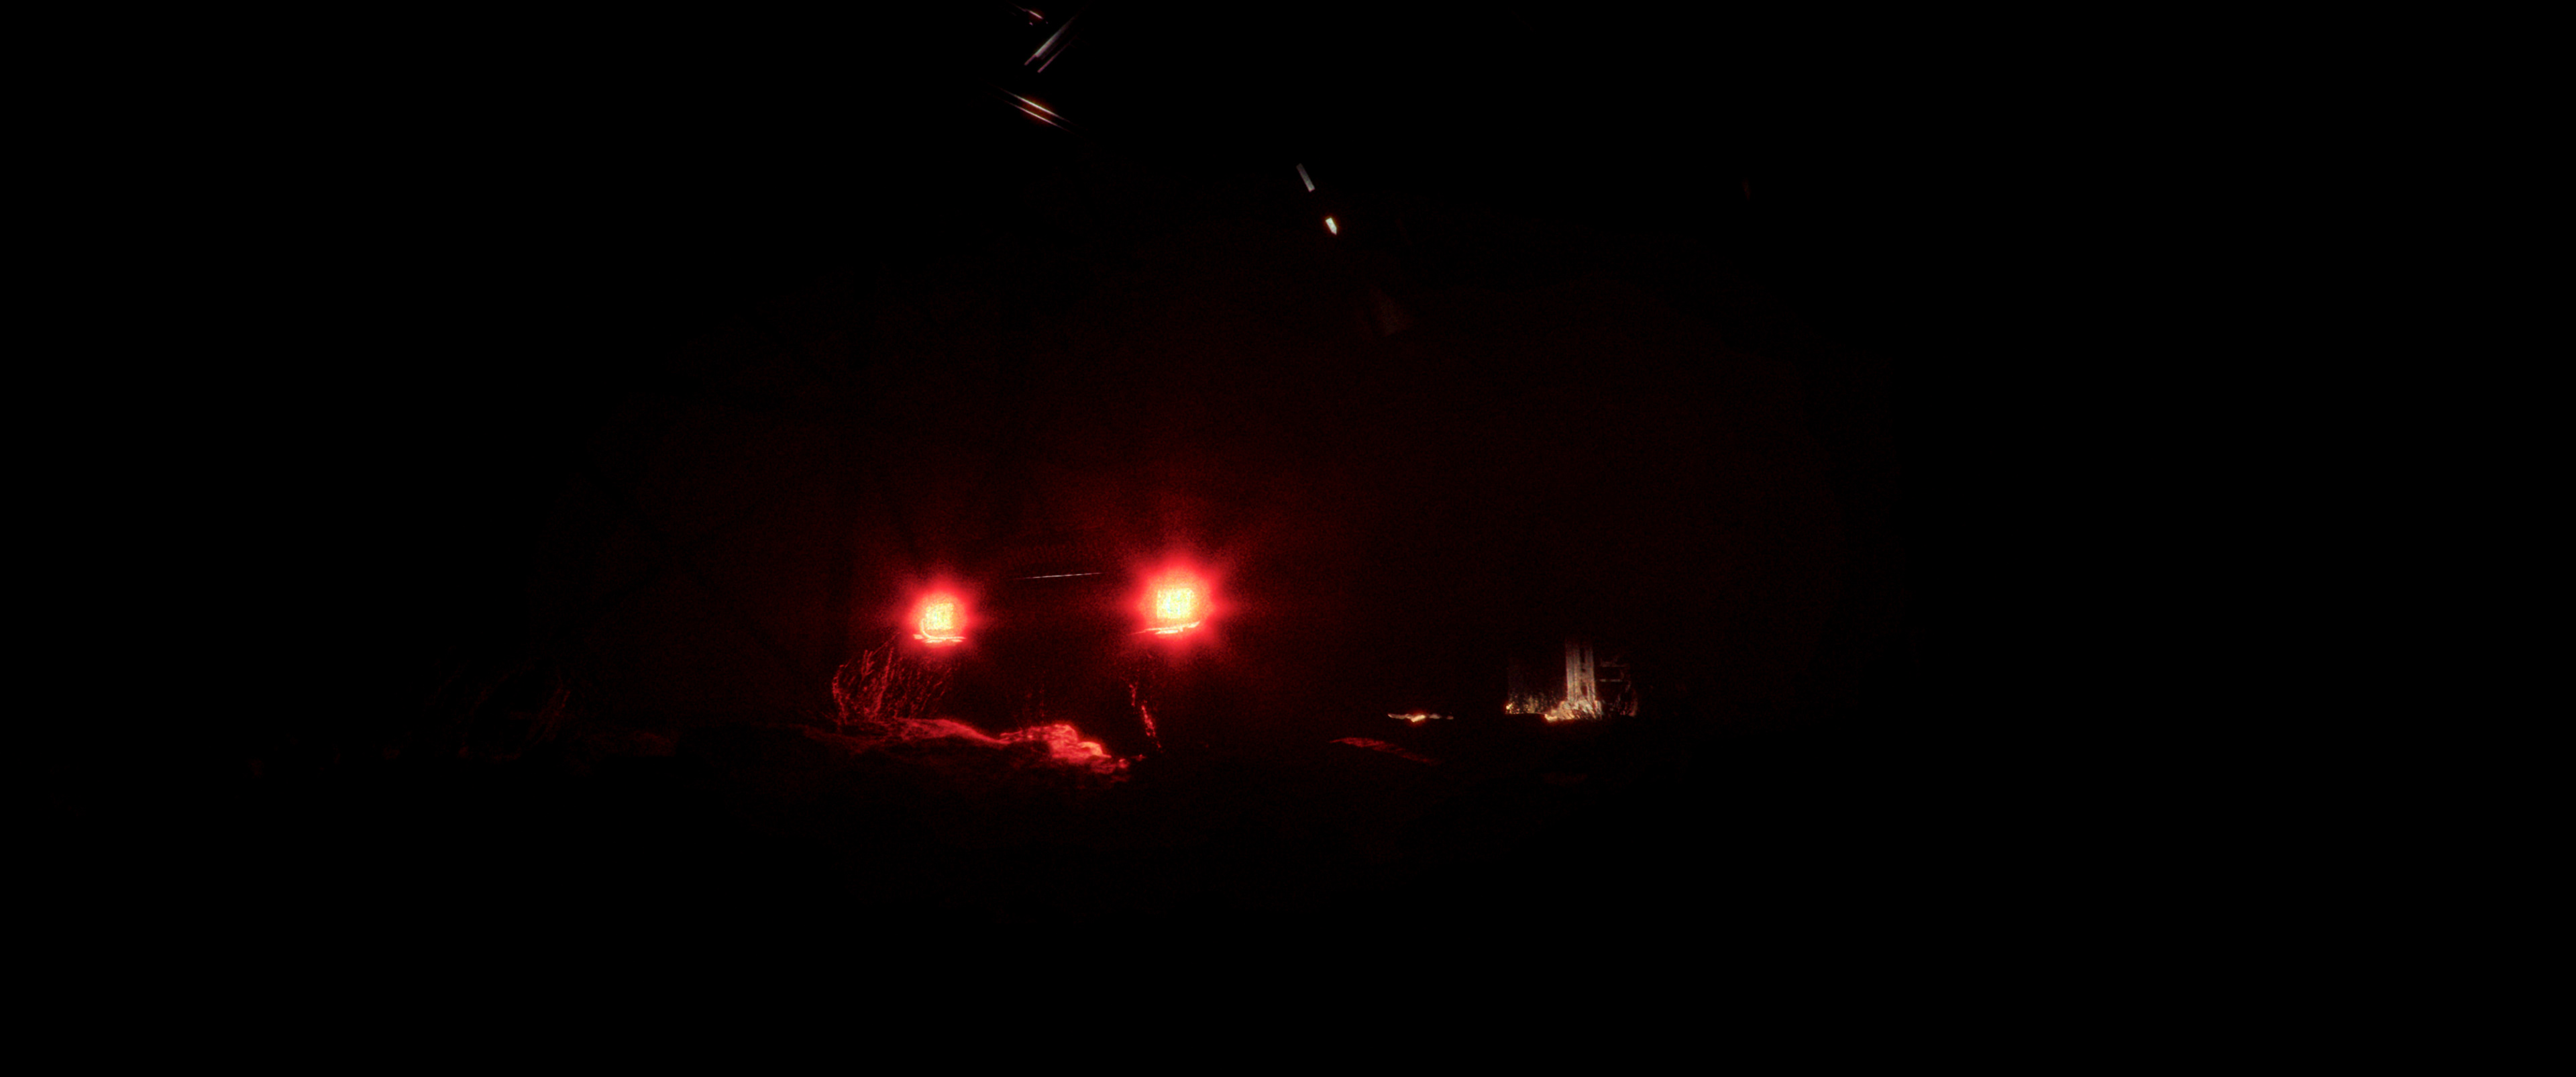
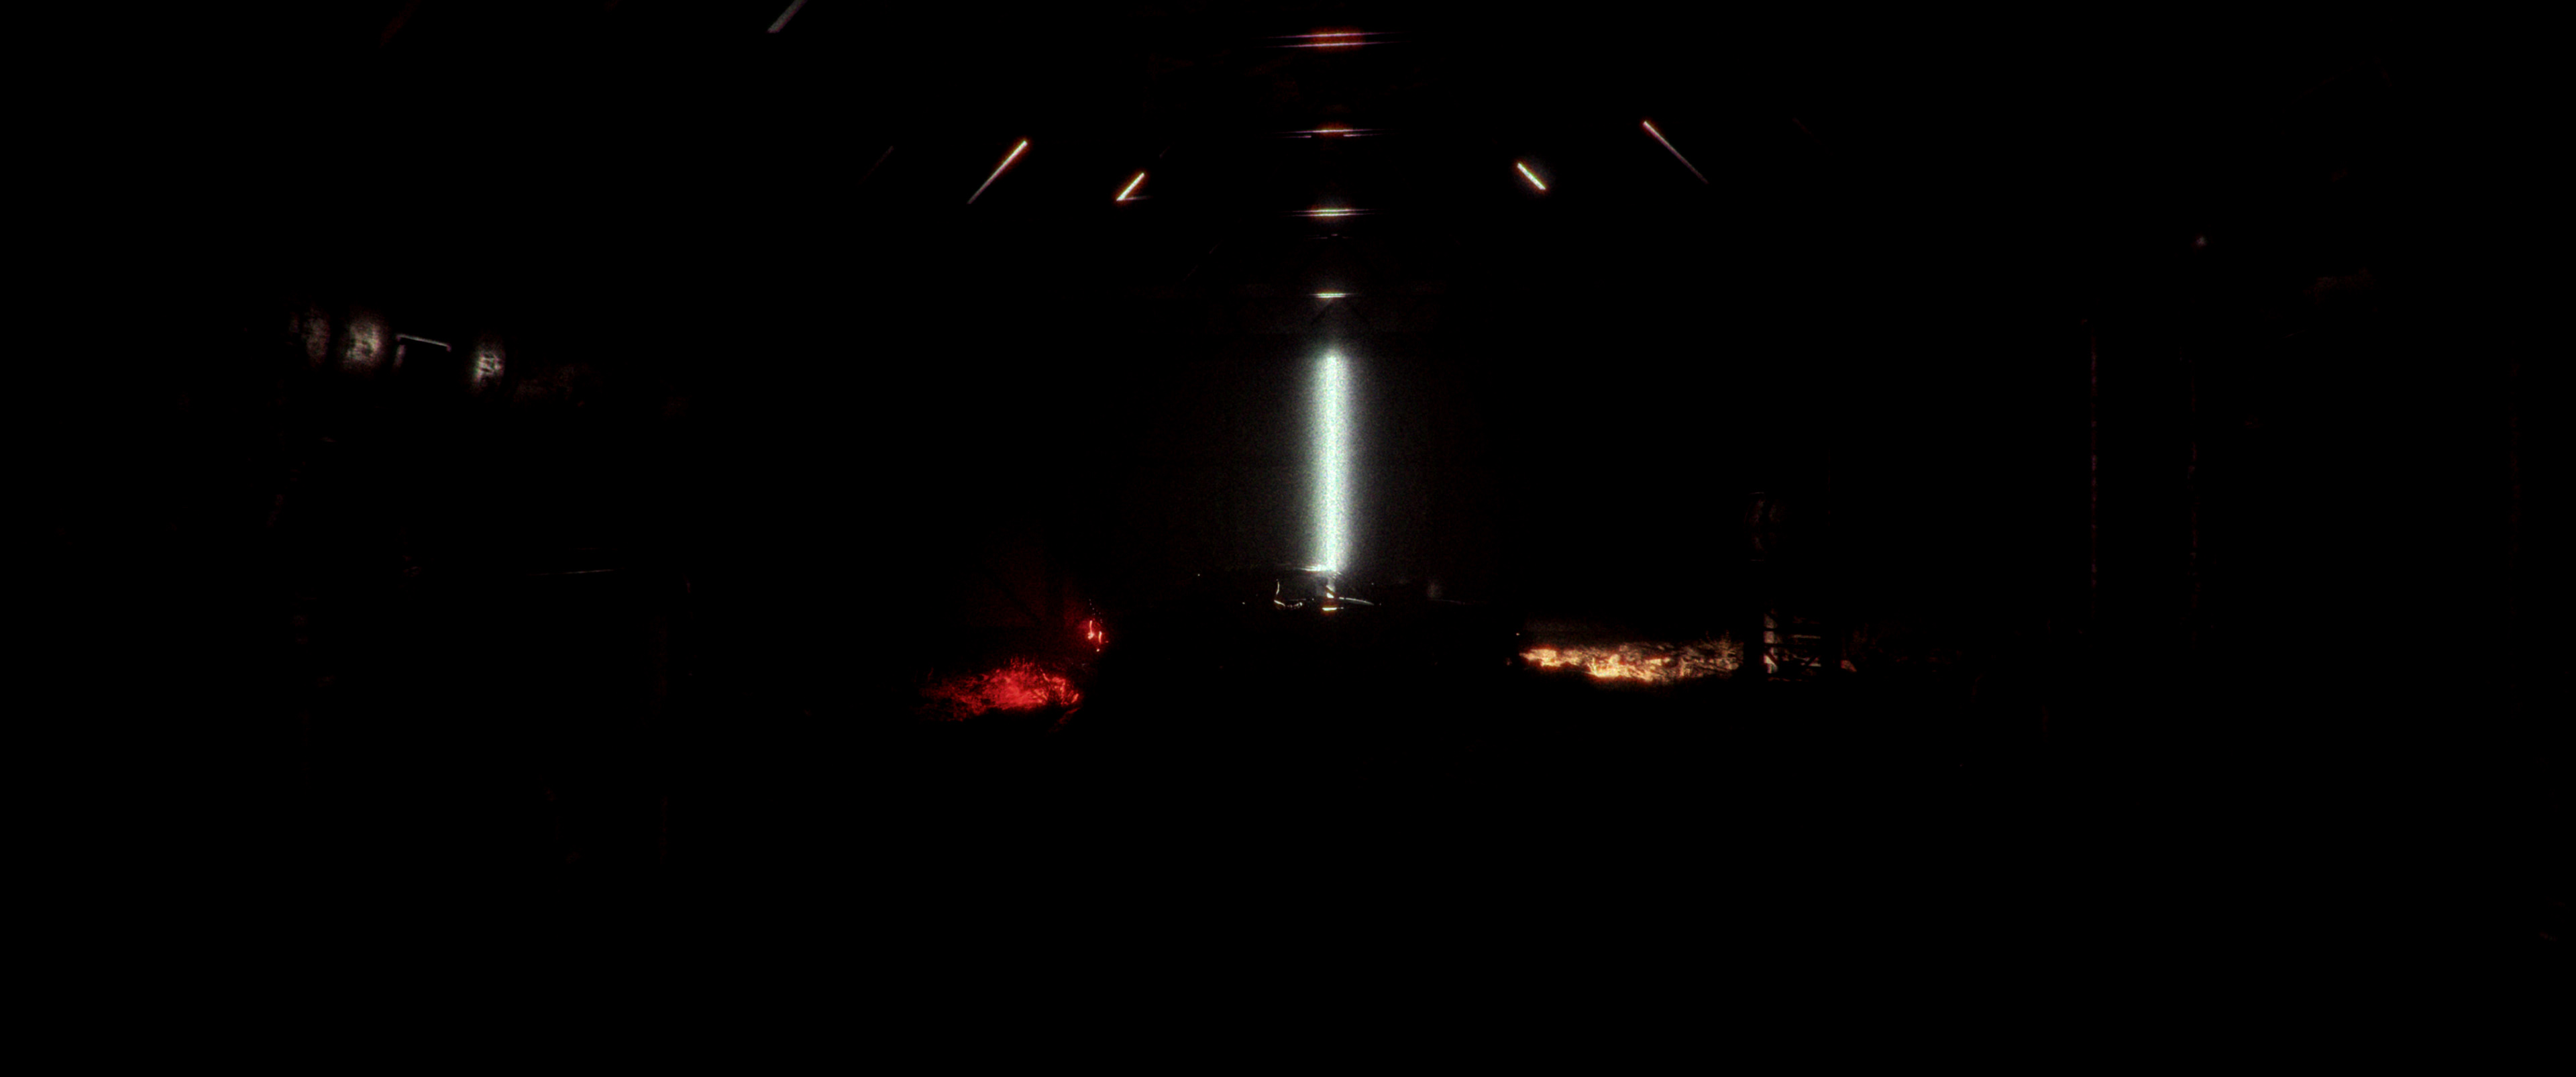
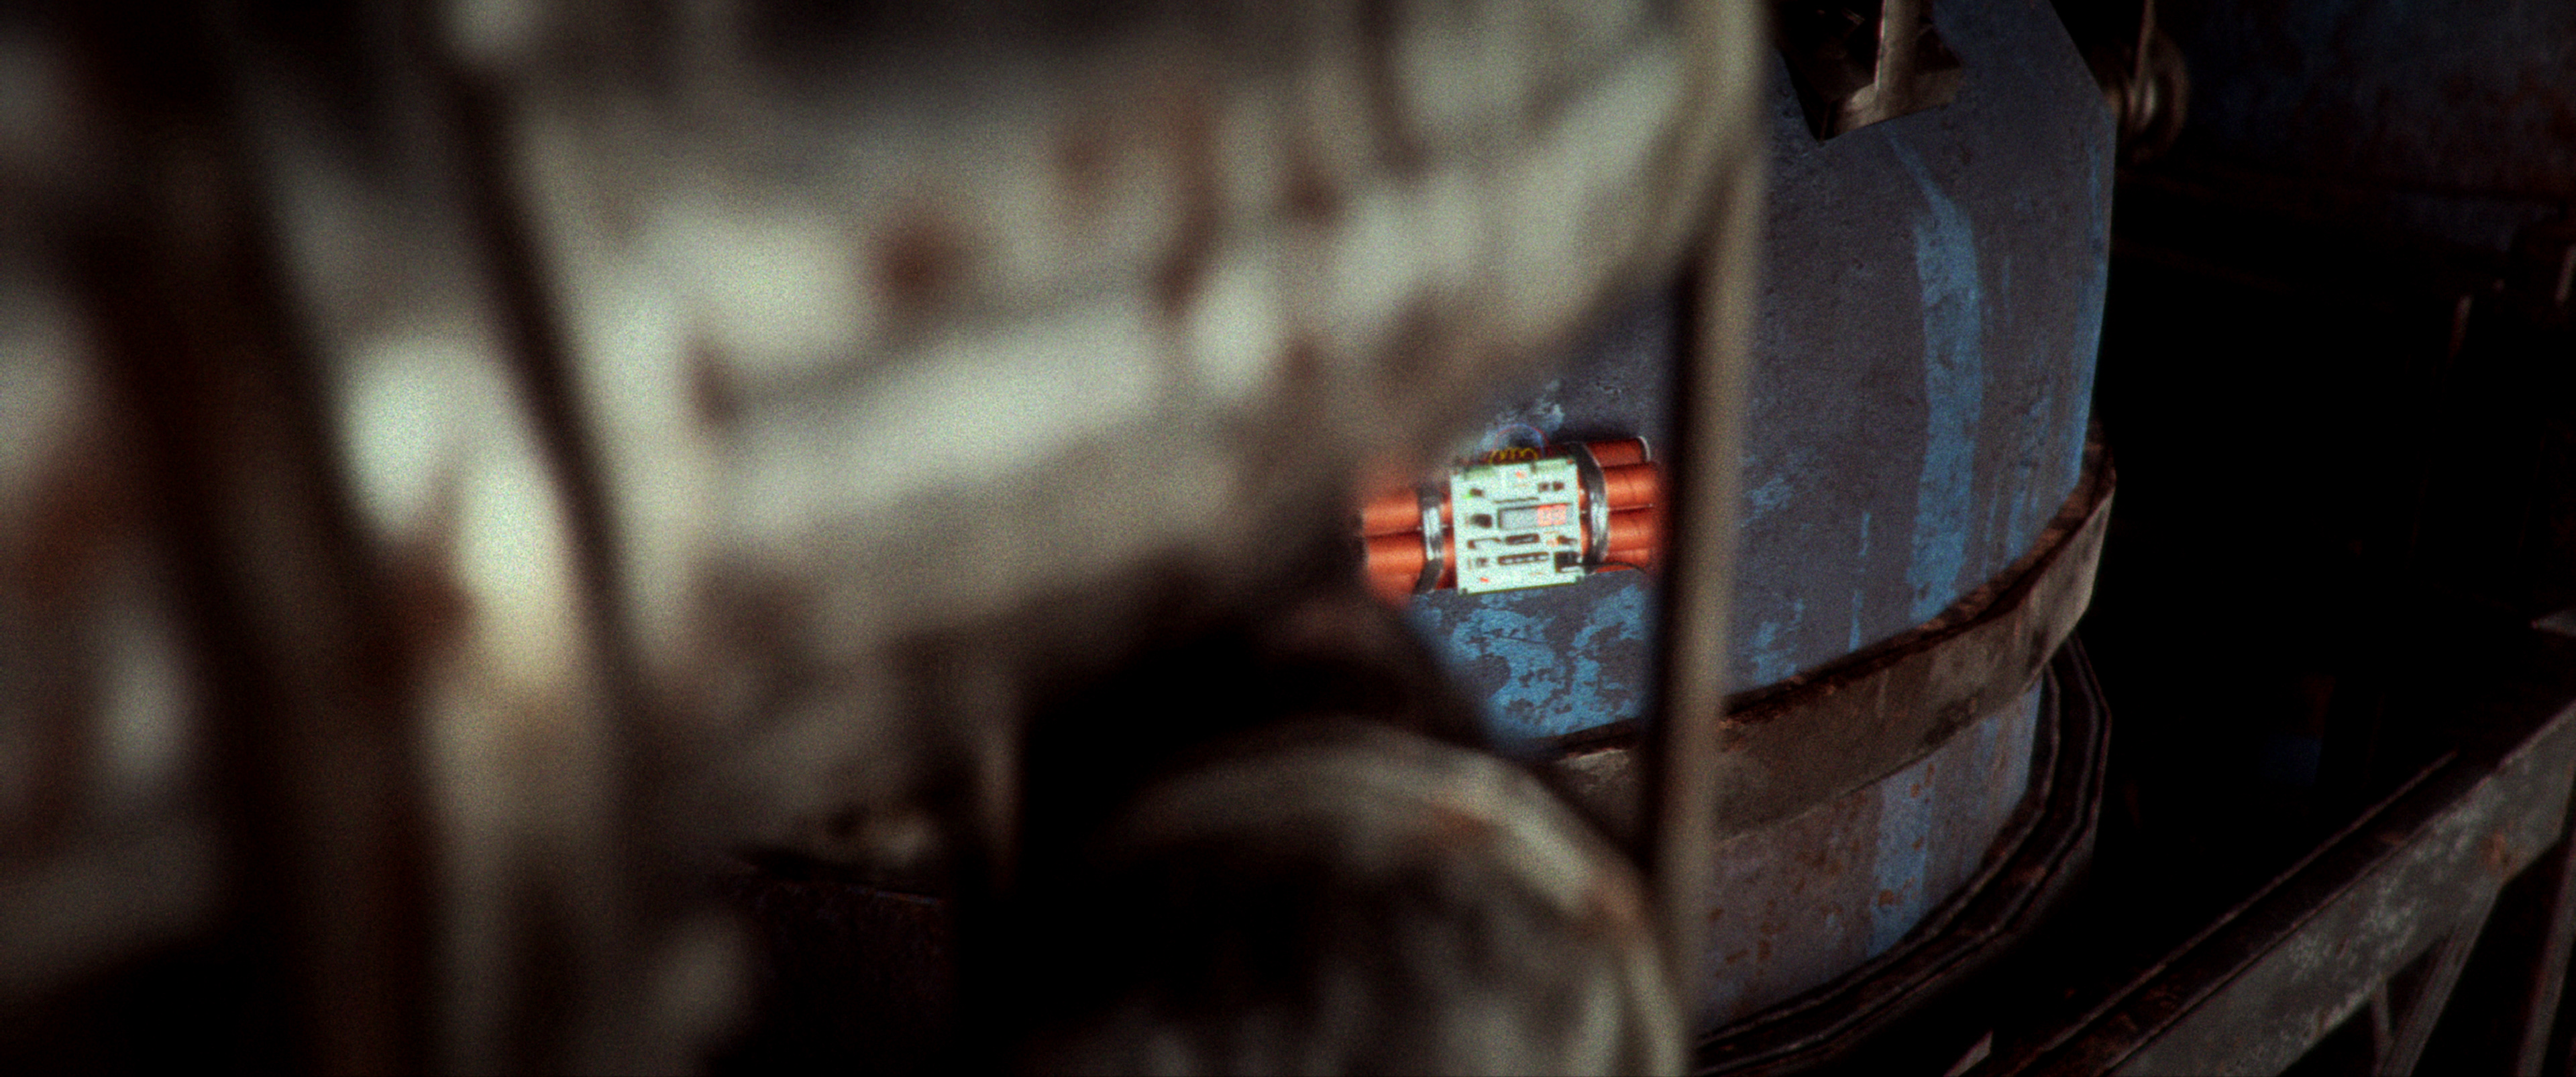
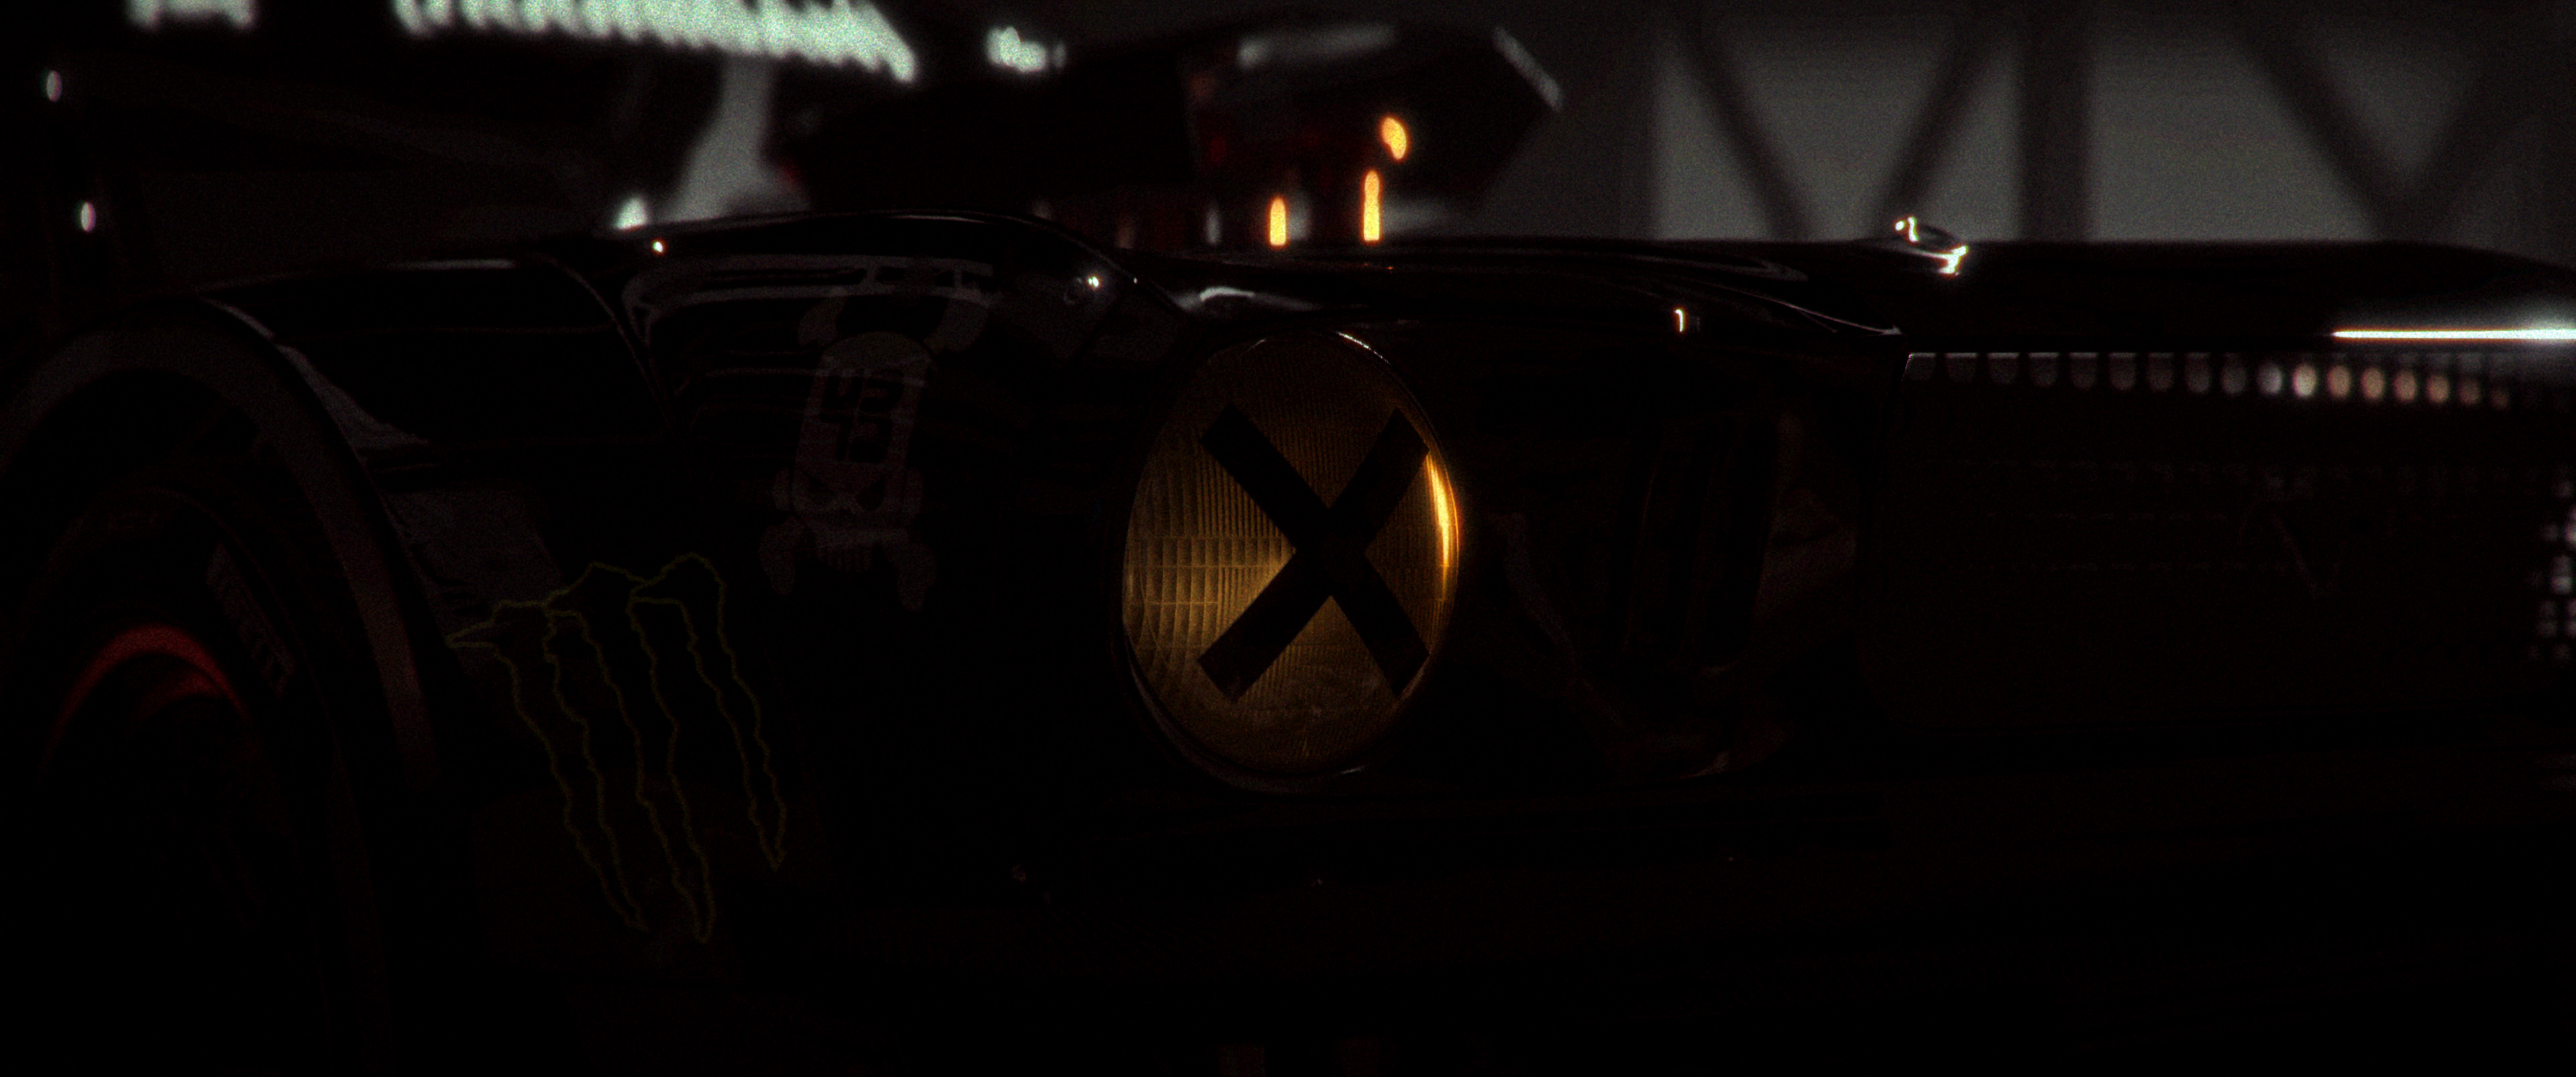
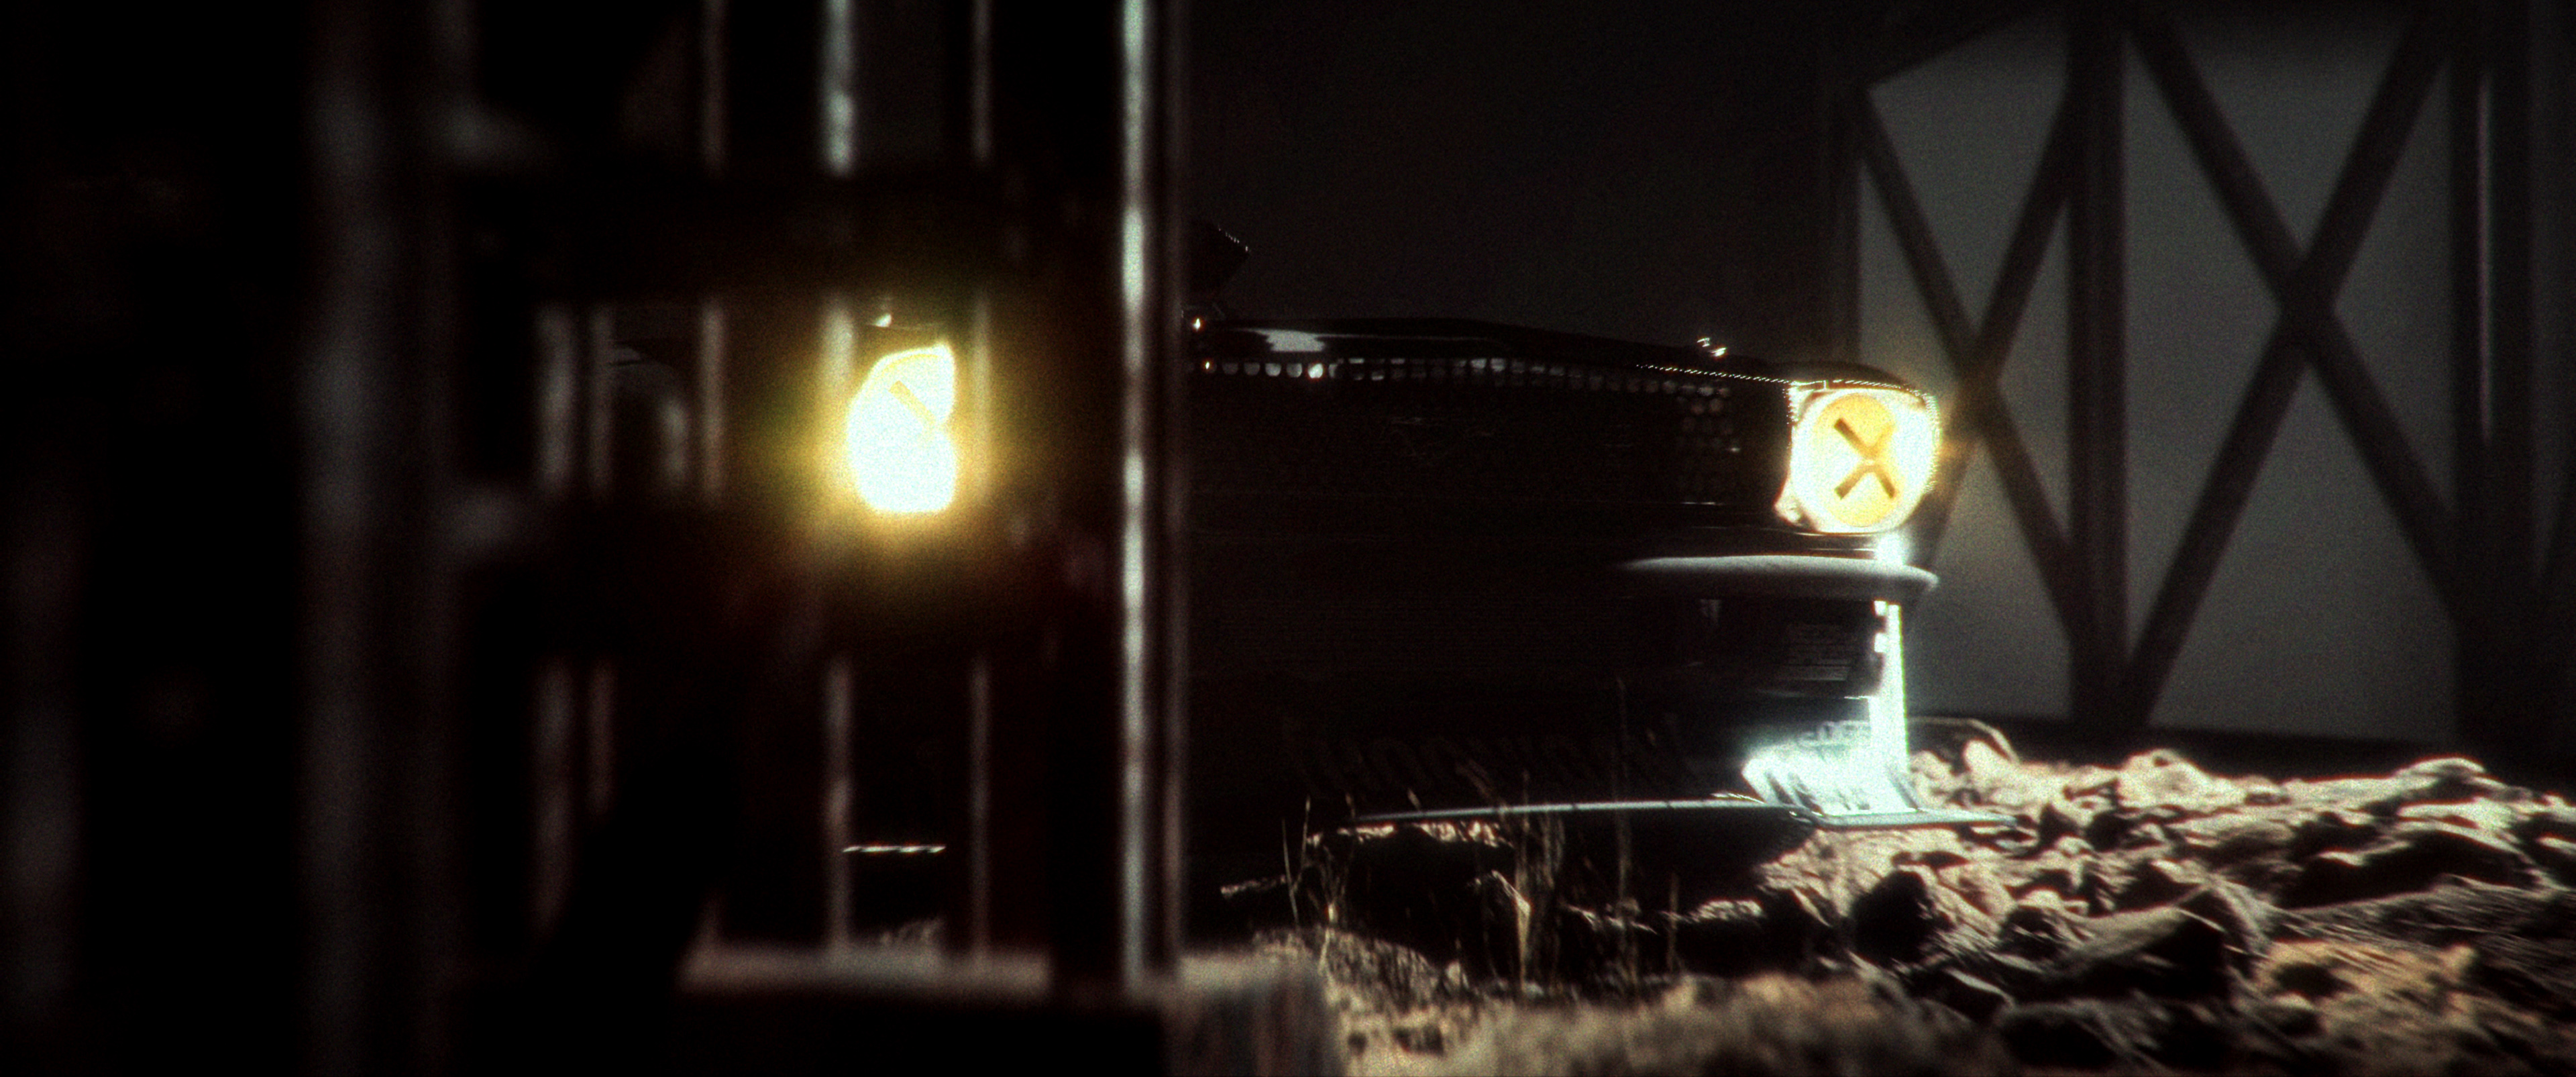
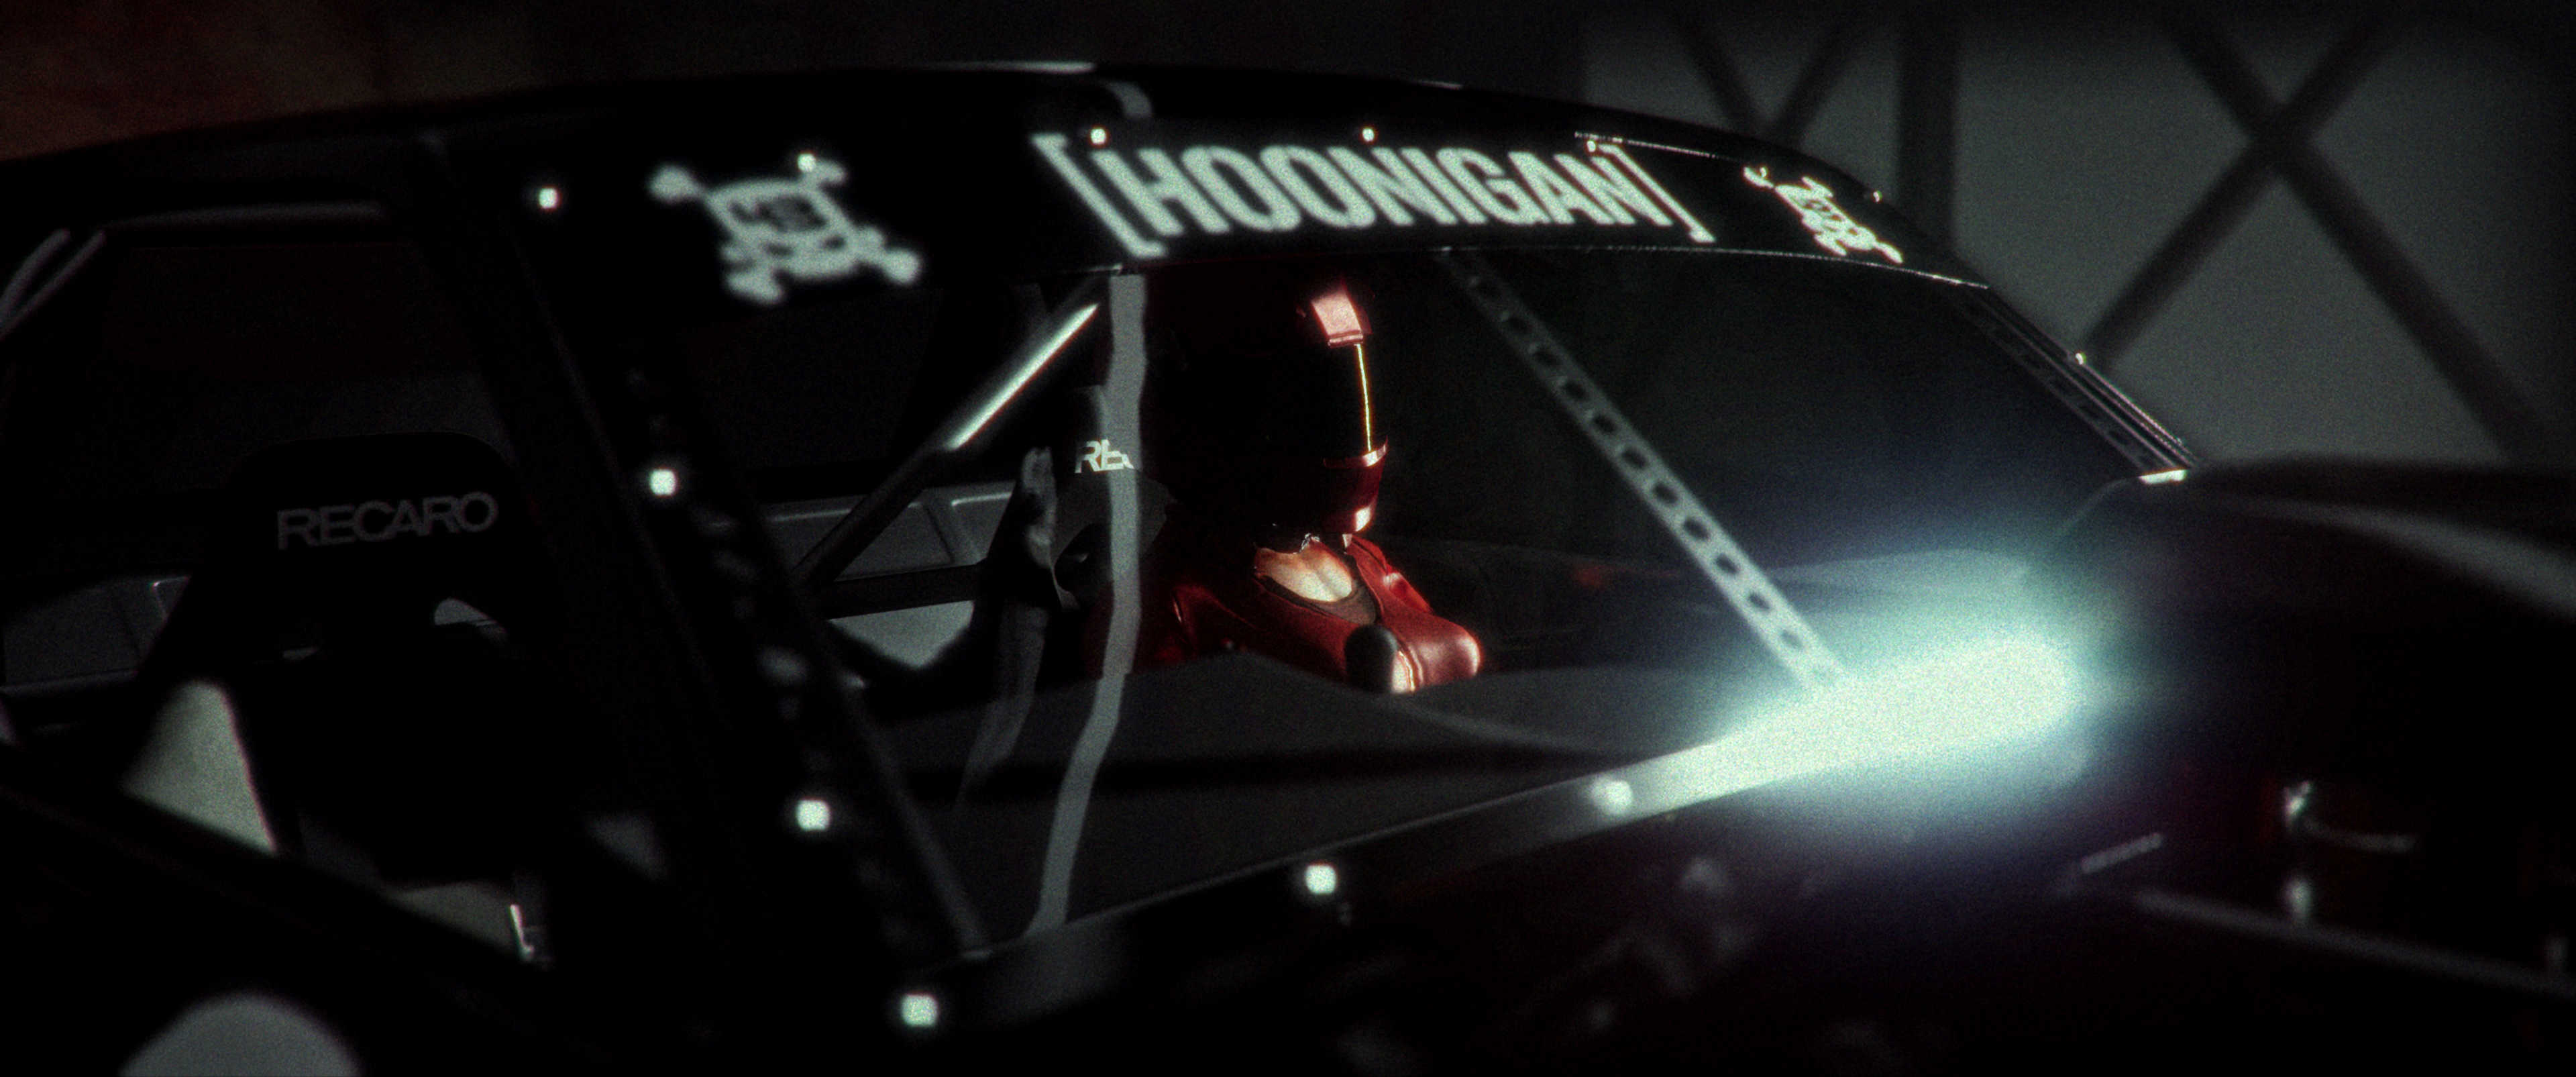
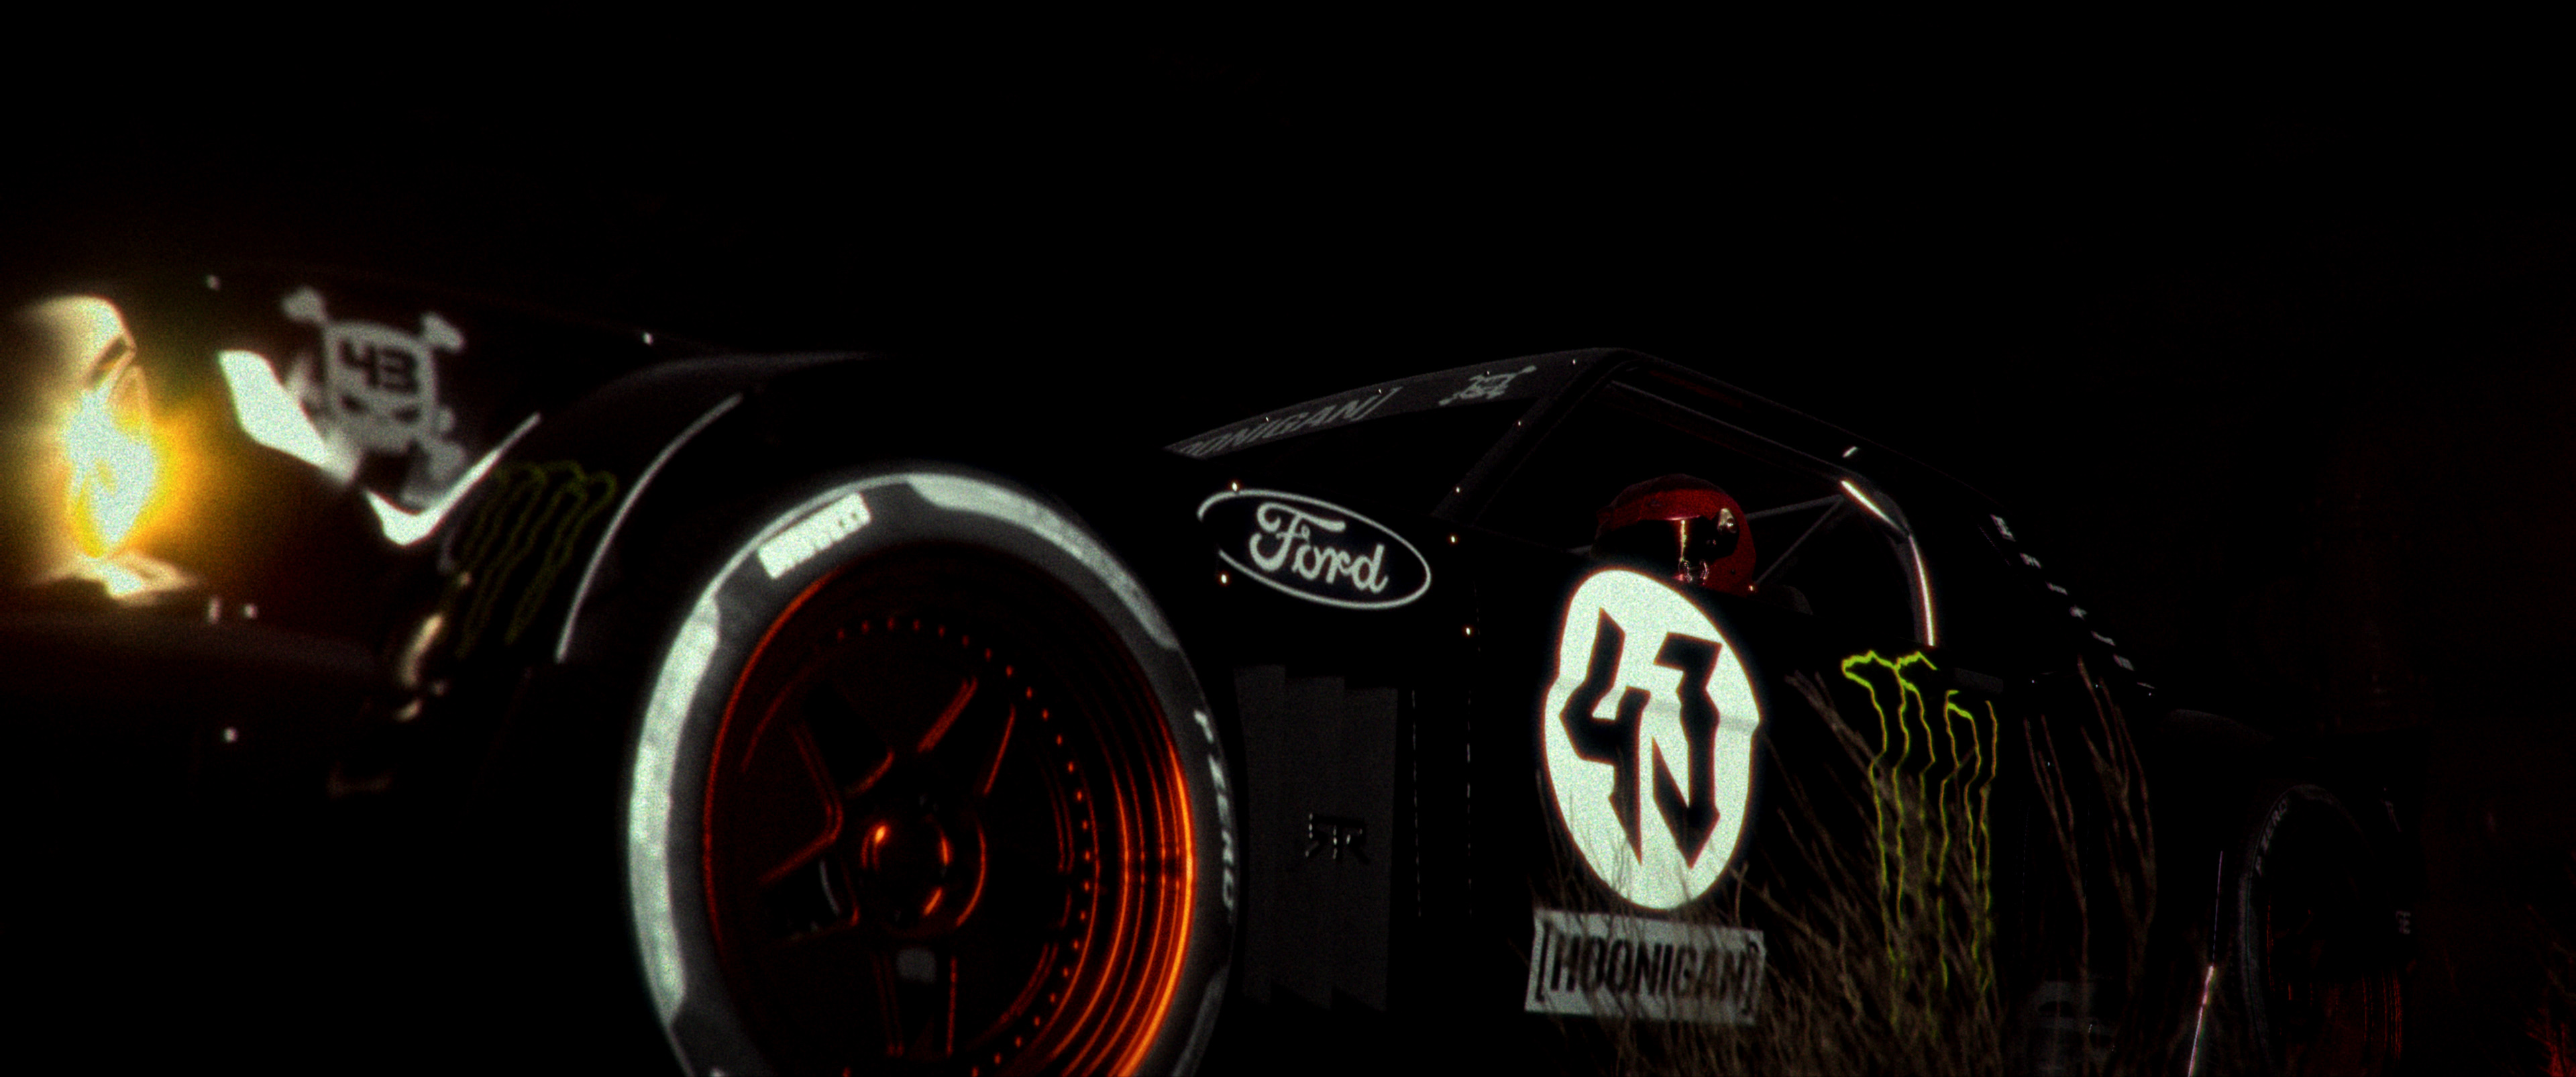
Infiltration & Detonation Sequence: Low-key narrative shots capturing the rogue driver, rear tail light glows, opening hangar doors, planted explosive detonator, and yellow headlights piercing the dark underground Oil Rig.
Previsualisation & Technical Validation
The previsualisation stage functioned as a technical proof-of-concept rather than simply a composition exercise. The vehicle was tested against a preliminary environment to validate material response, Lumen reflections, glass transmission, livery scale, environment colour, and overall visual continuity. This reduced the risk of discovering material or lighting incompatibilities after the full environments and animation had already been built.
Environment Build — Refinery
The Refinery environment was designed as the project's largest industrial exterior and used a canyon environment derived from Grand Canyon / Nevada geographic height-map data. The landscape was generated from height information and supplemented with photogrammetric canyon assets placed selectively around the camera coverage. This allowed large-scale geographical forms to be established without fully populating the complete landscape at maximum detail. The lighting was intentionally hot and clear, with a saturated blue sky and warm earth tones supporting the high-energy automotive-commercial aesthetic.
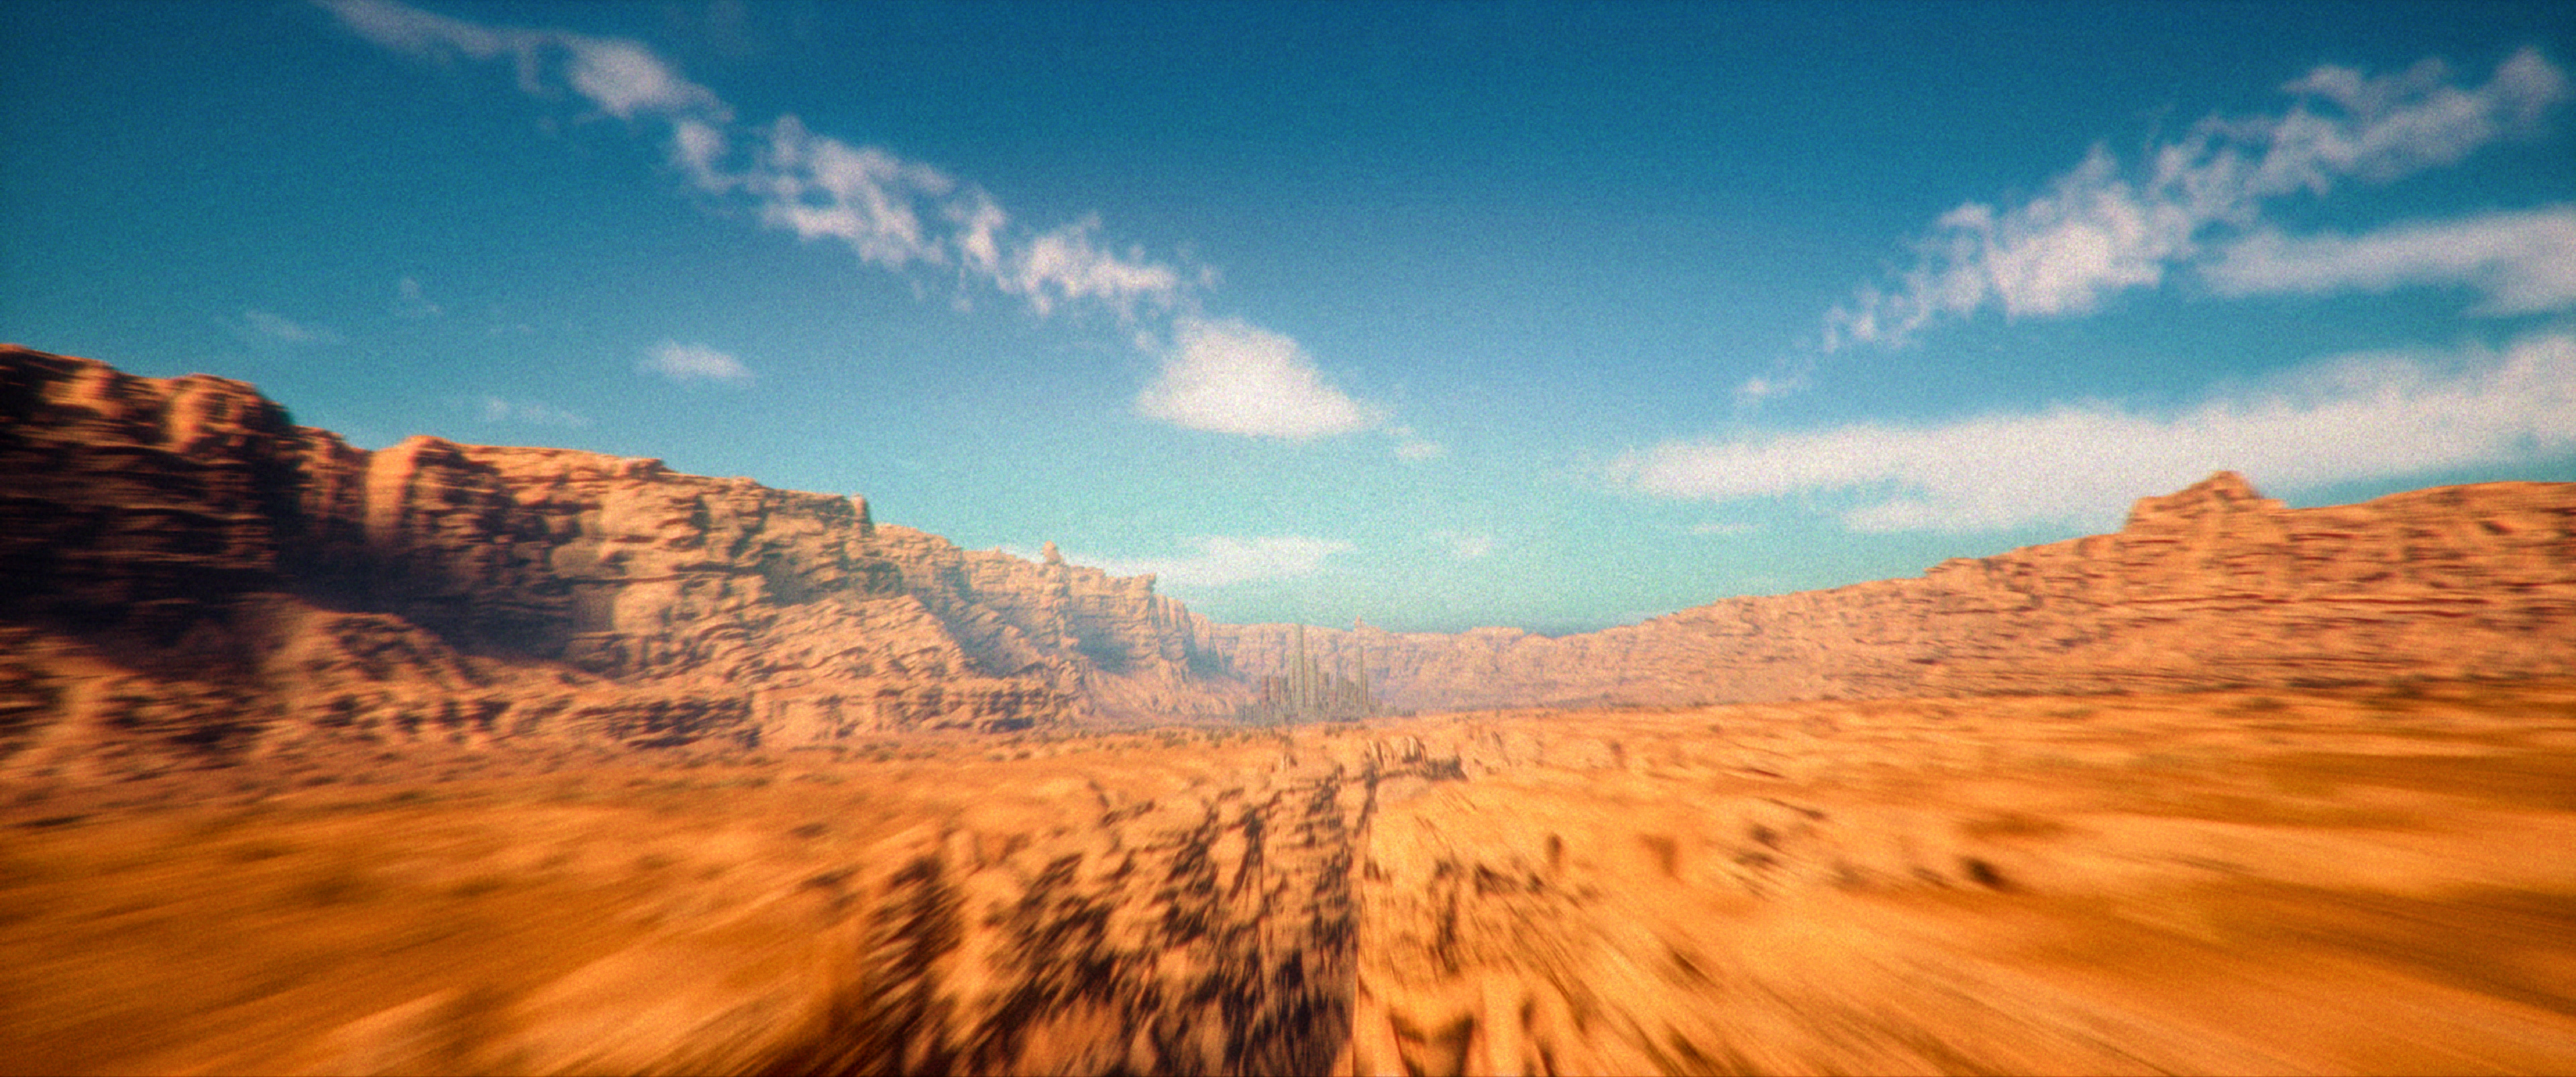
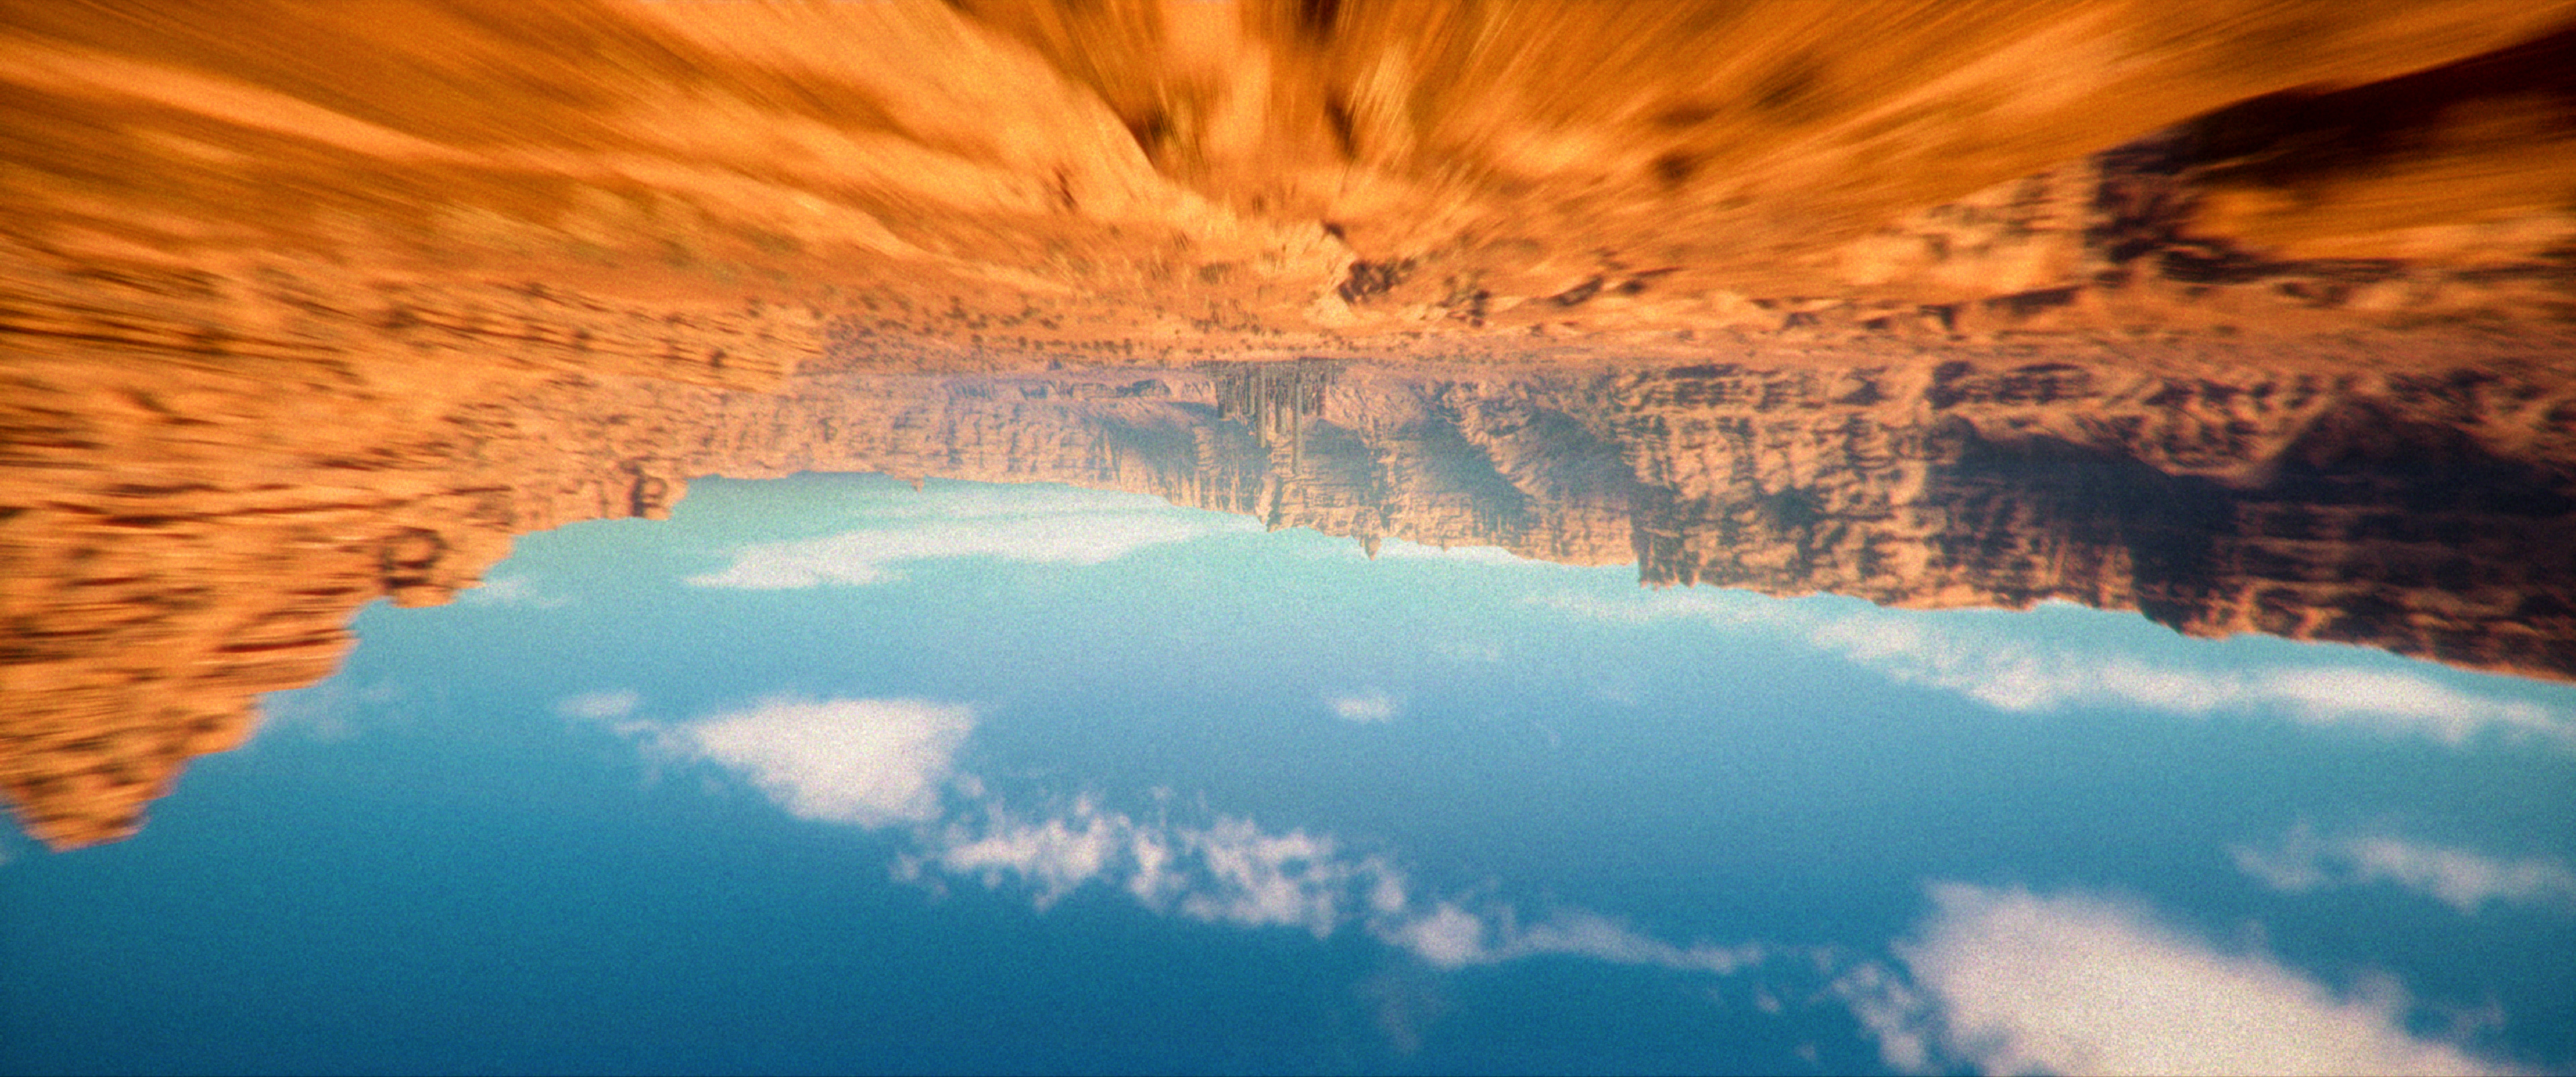
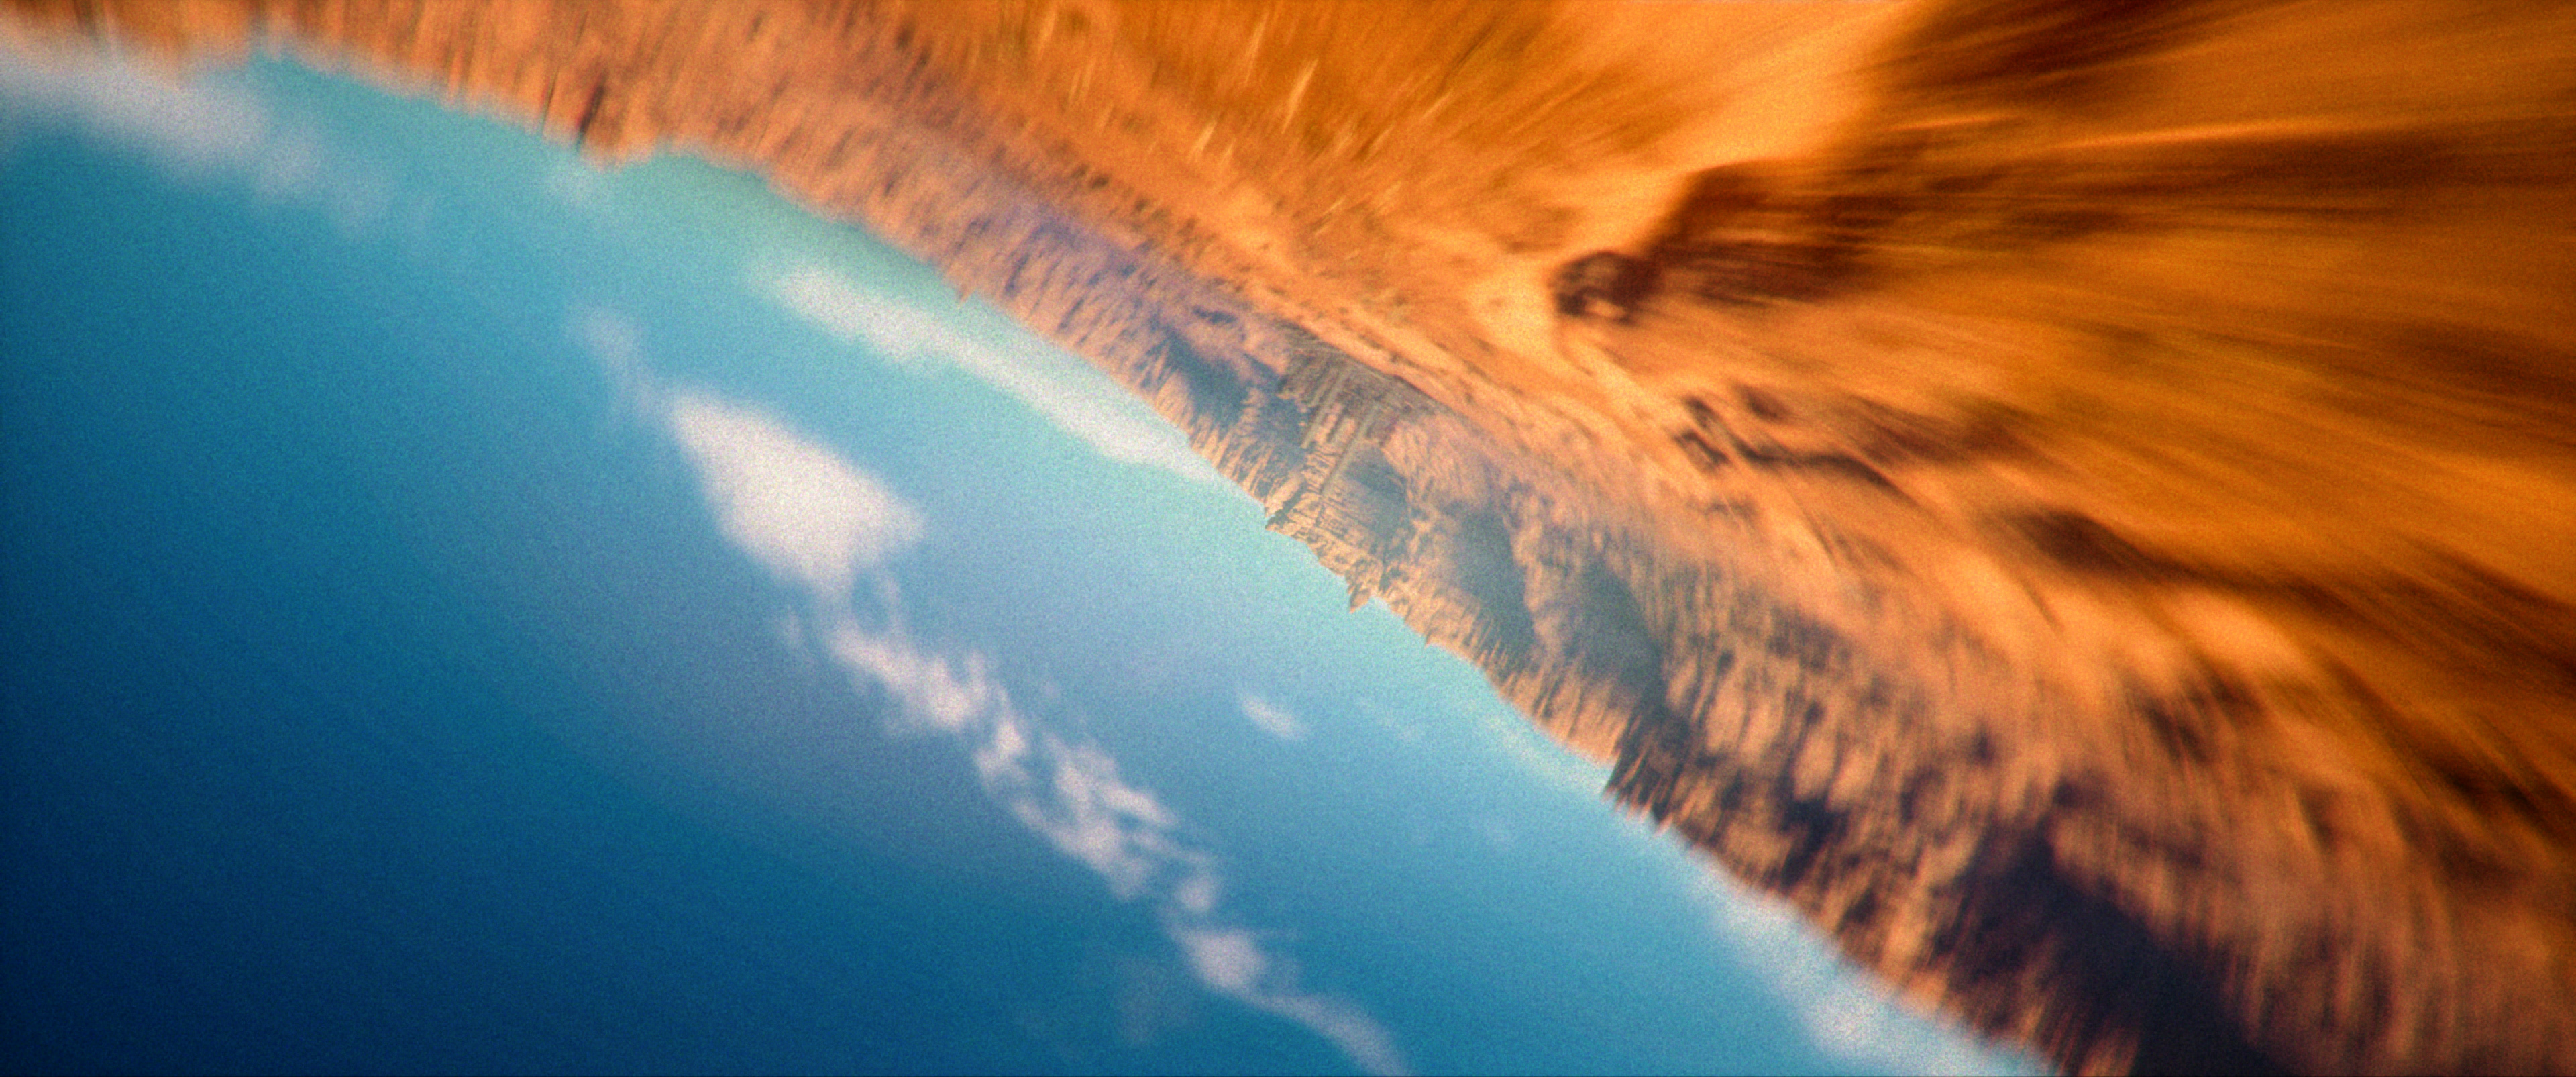
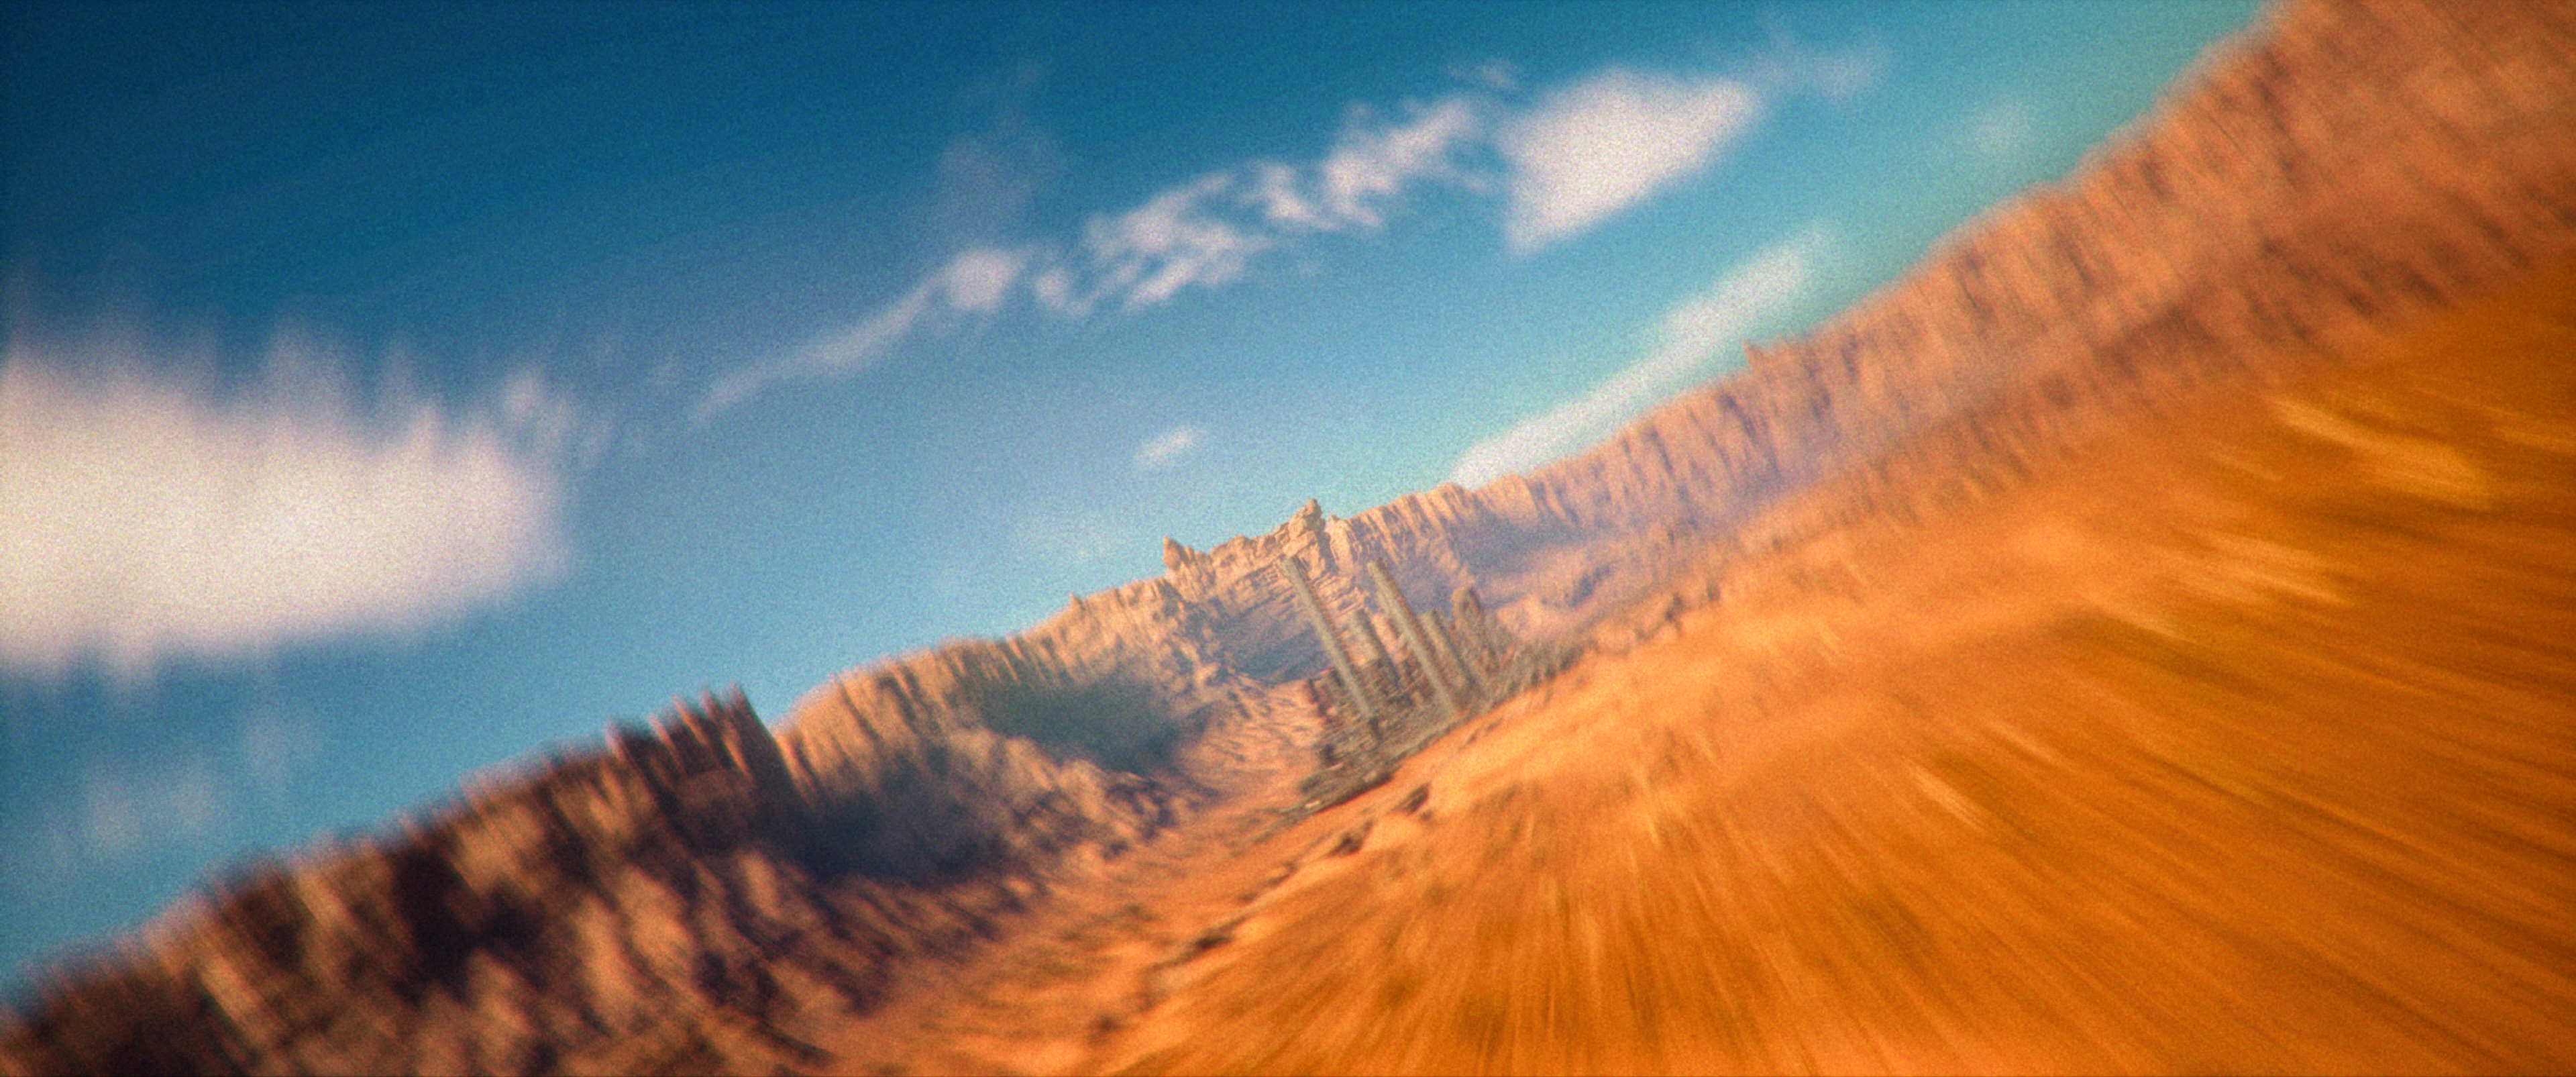
High-Speed Canyon Plateau Motion Sequence: Kinetic tracking renders featuring extreme radial blur, dynamic horizon rolls, vibrant blue-and-amber sky tones, and sweeping desert canyon walls during the full-throttle escape across the plateau.
Refinery Explosion sequence
The refinery destruction sequence was executed as a layered 2D compositing approach rather than a Niagara-based particle or fluid simulation. The detonation was initiated with a brief high-intensity white flash before transitioning into the main explosion, followed by camera shake and a deliberately blown-out exposure response to sell the scale of the blast. During the escape, multiple individual 2D fireball elements were animated manually through the scene according to the Hoonicorn's speed, trajectory, and intended evasive manoeuvres. Each fireball used a camera-facing setup so the element automatically maintained its orientation toward the lens, allowing relatively lightweight assets to preserve their visual readability from different camera positions. Additional 2D elements were animated behind the main fireballs to create trailing flames, burning debris, smoke-like streaks, and secondary fragments, with their timing and spatial offsets adjusted to imply acceleration, depth, and ballistic movement. The fireballs were also used as localized illumination sources within the composite by adding corresponding light interaction and warm colour spill to the vehicle, ground, and surrounding canyon surfaces. Because the elements were manually animated against the existing vehicle animation rather than generated procedurally, their trajectories could be art-directed precisely around the Hoonicorn, allowing the car to drift, counter-steer, and dodge the falling debris while preserving the intended shot composition and action rhythm.
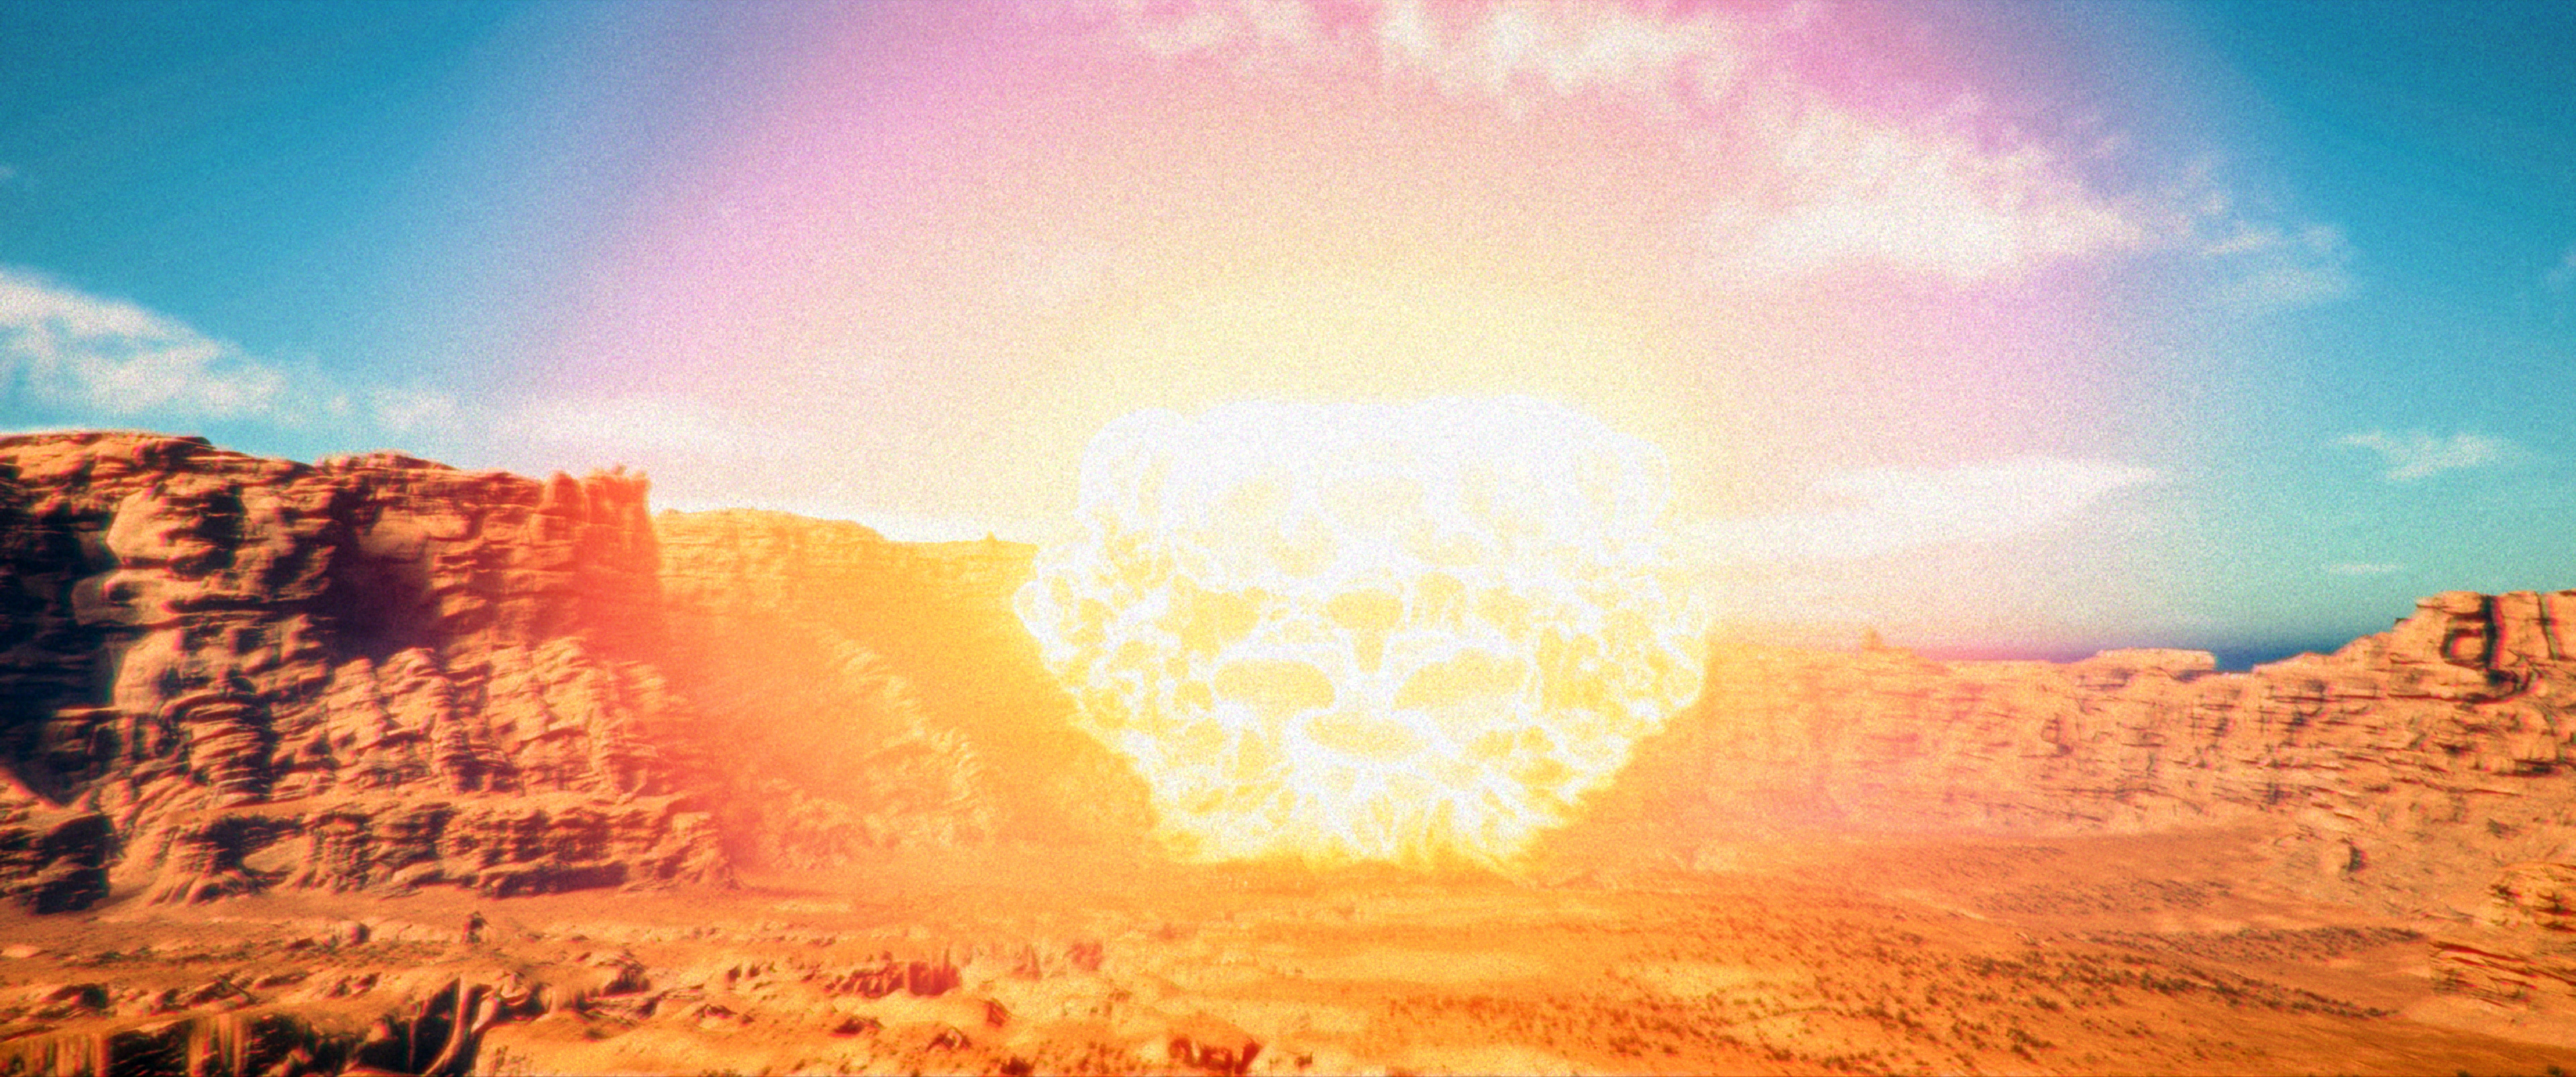
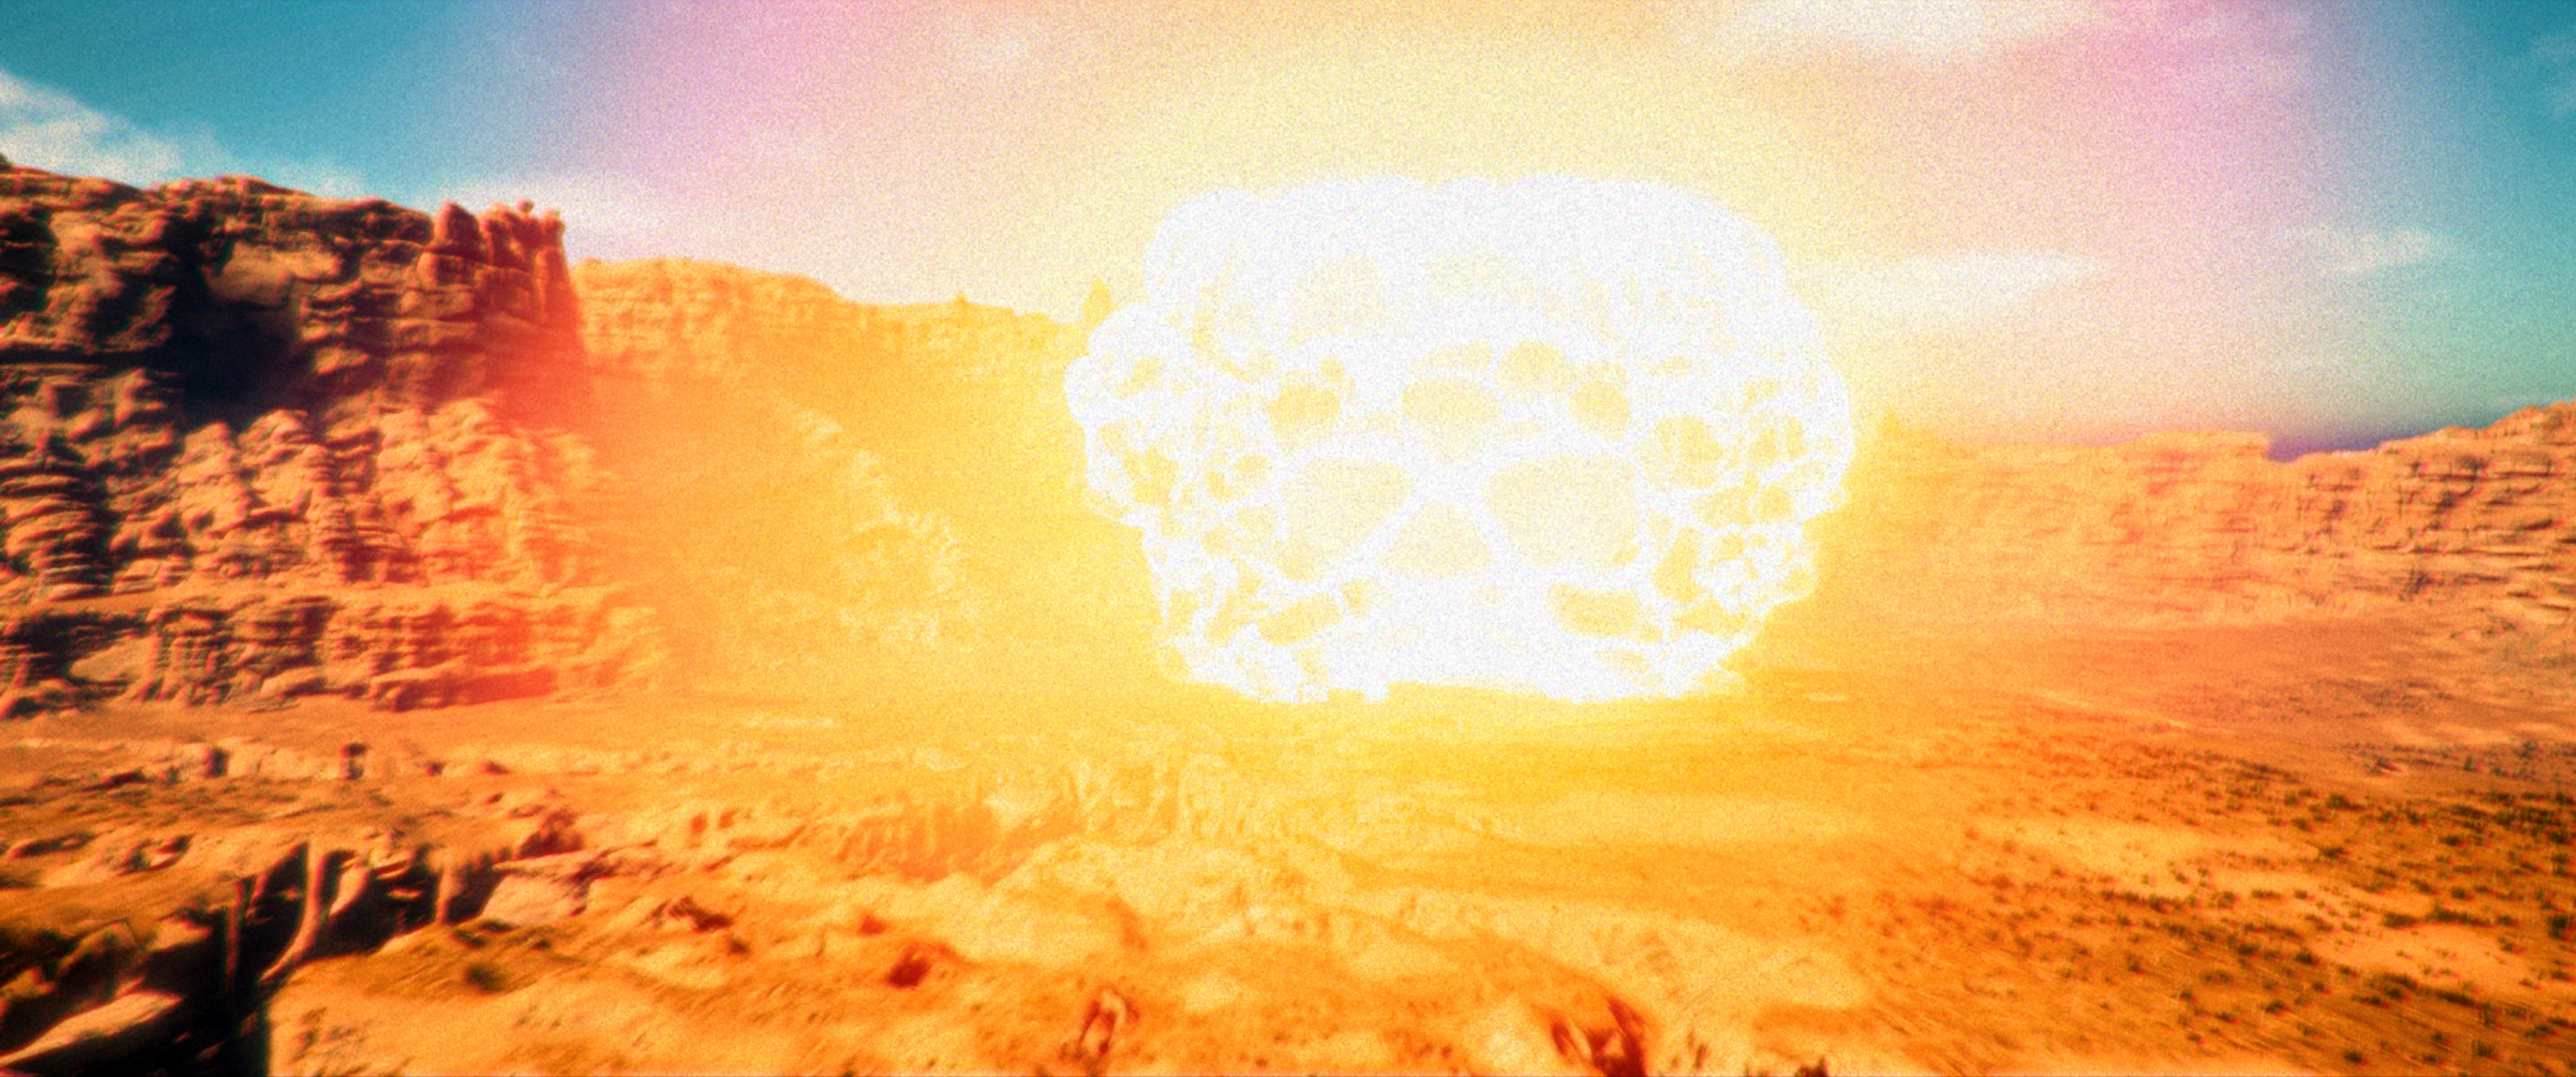
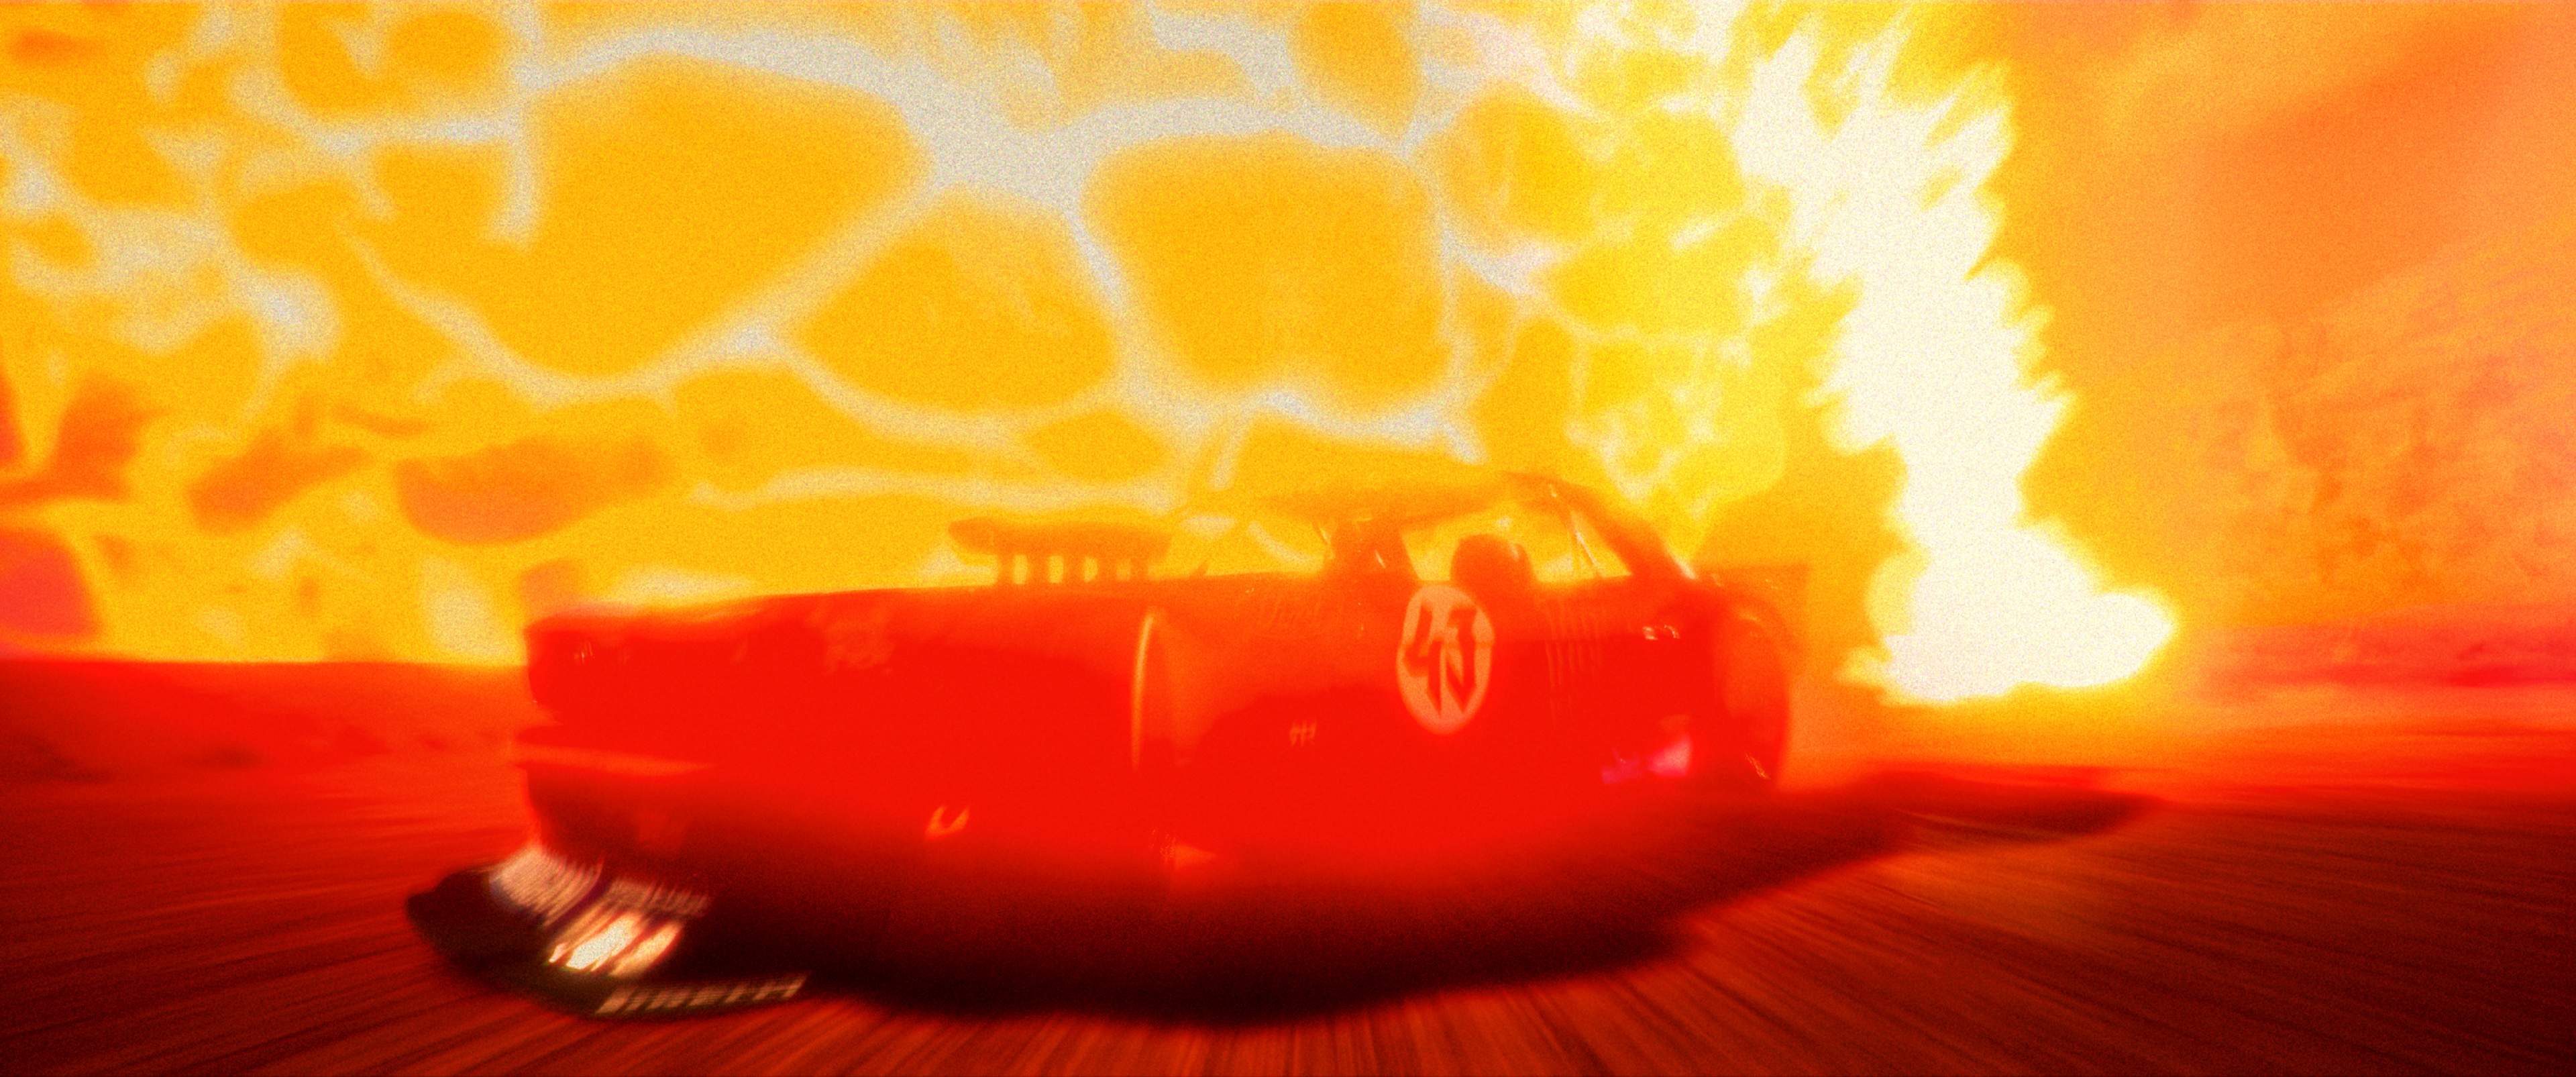
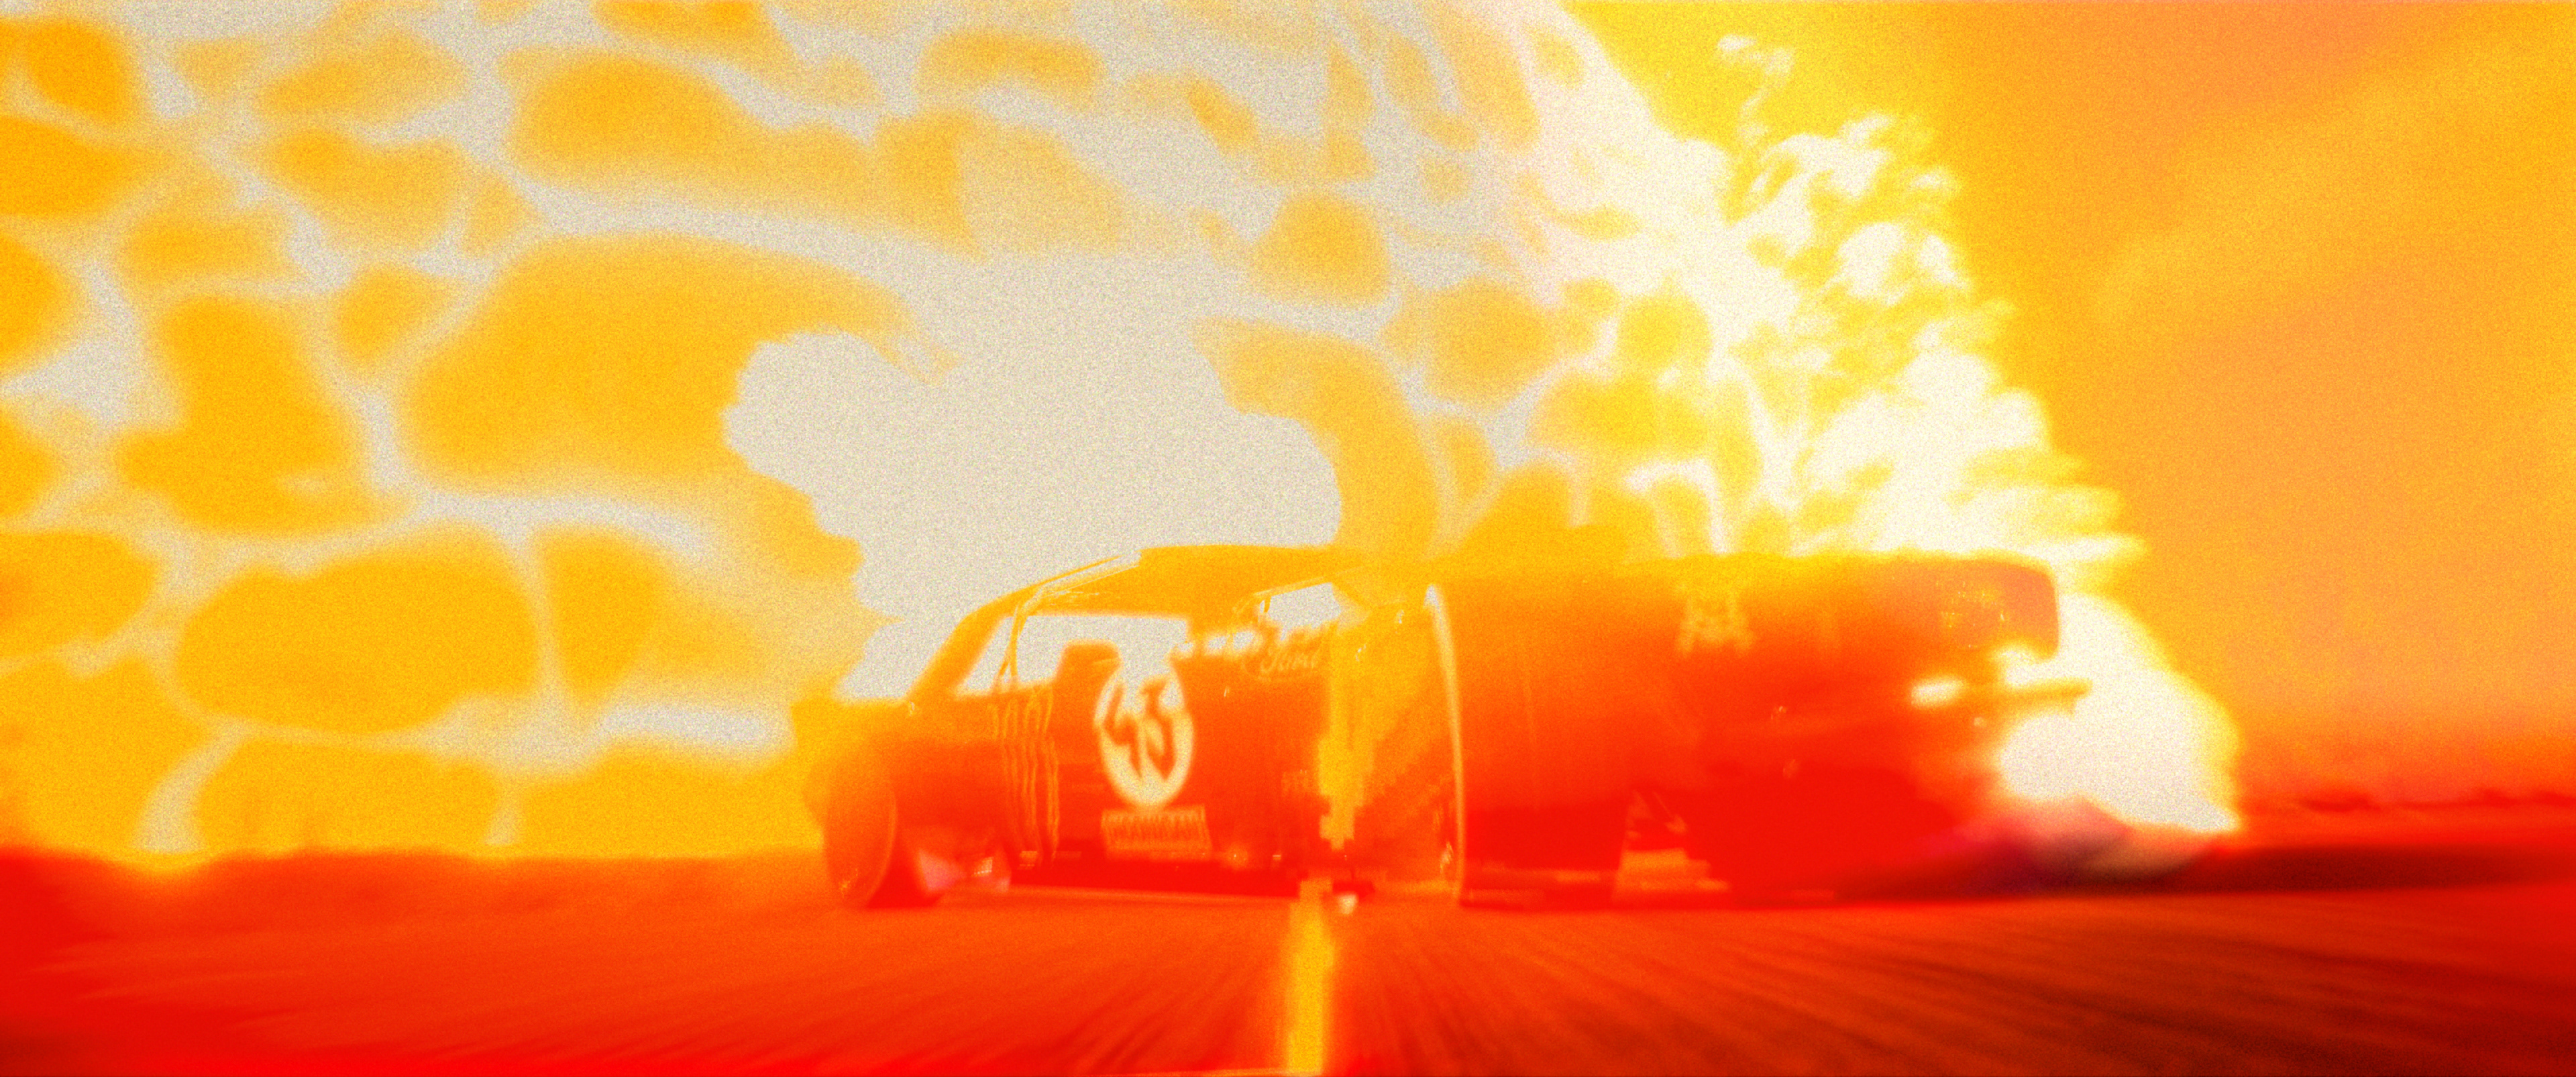
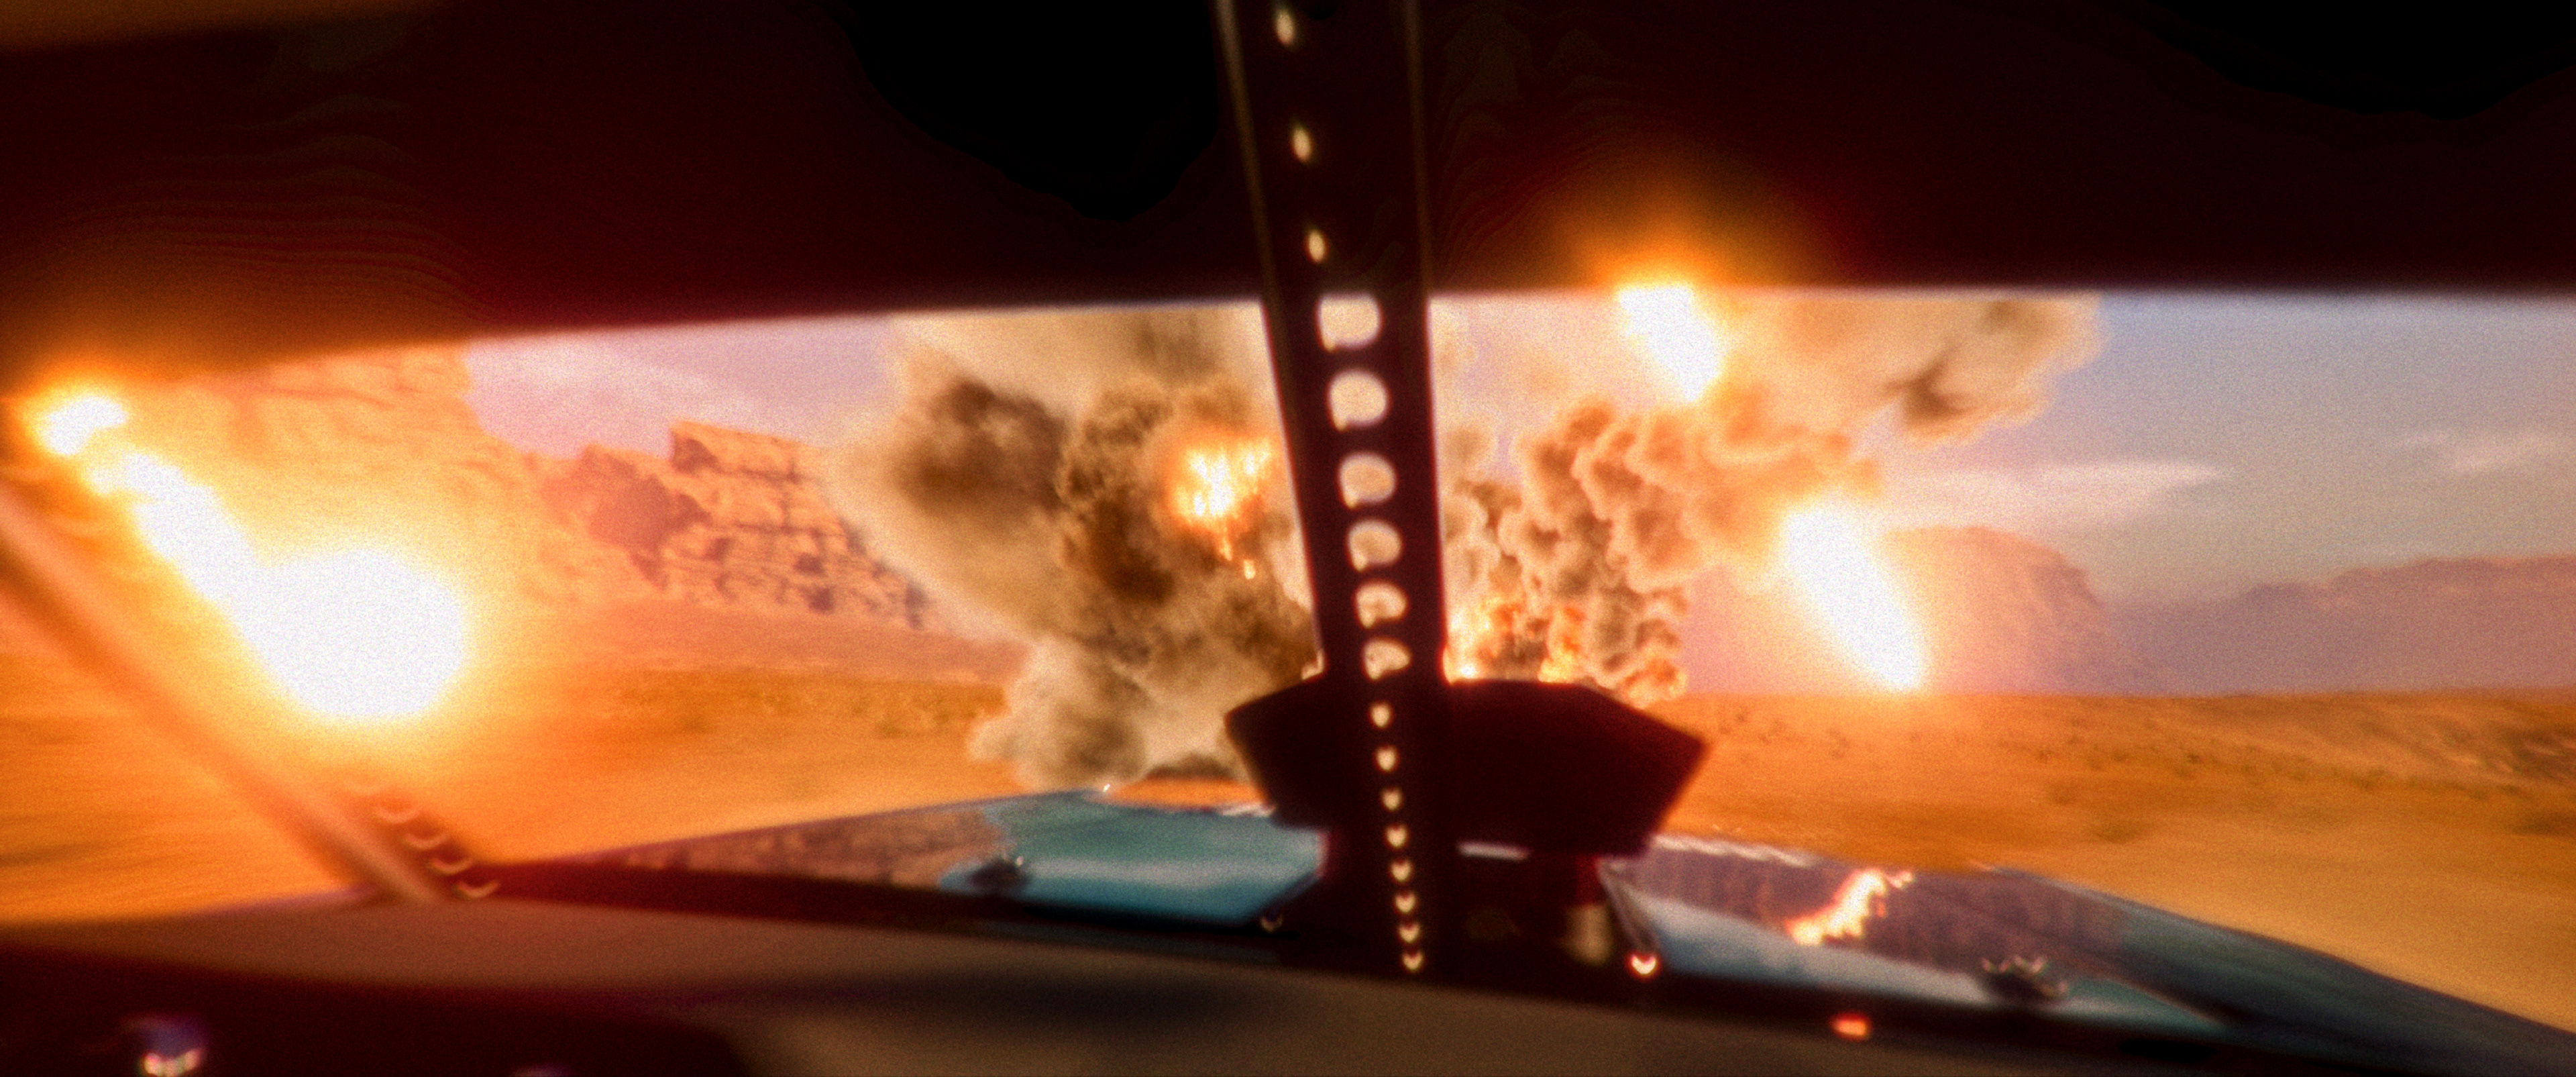
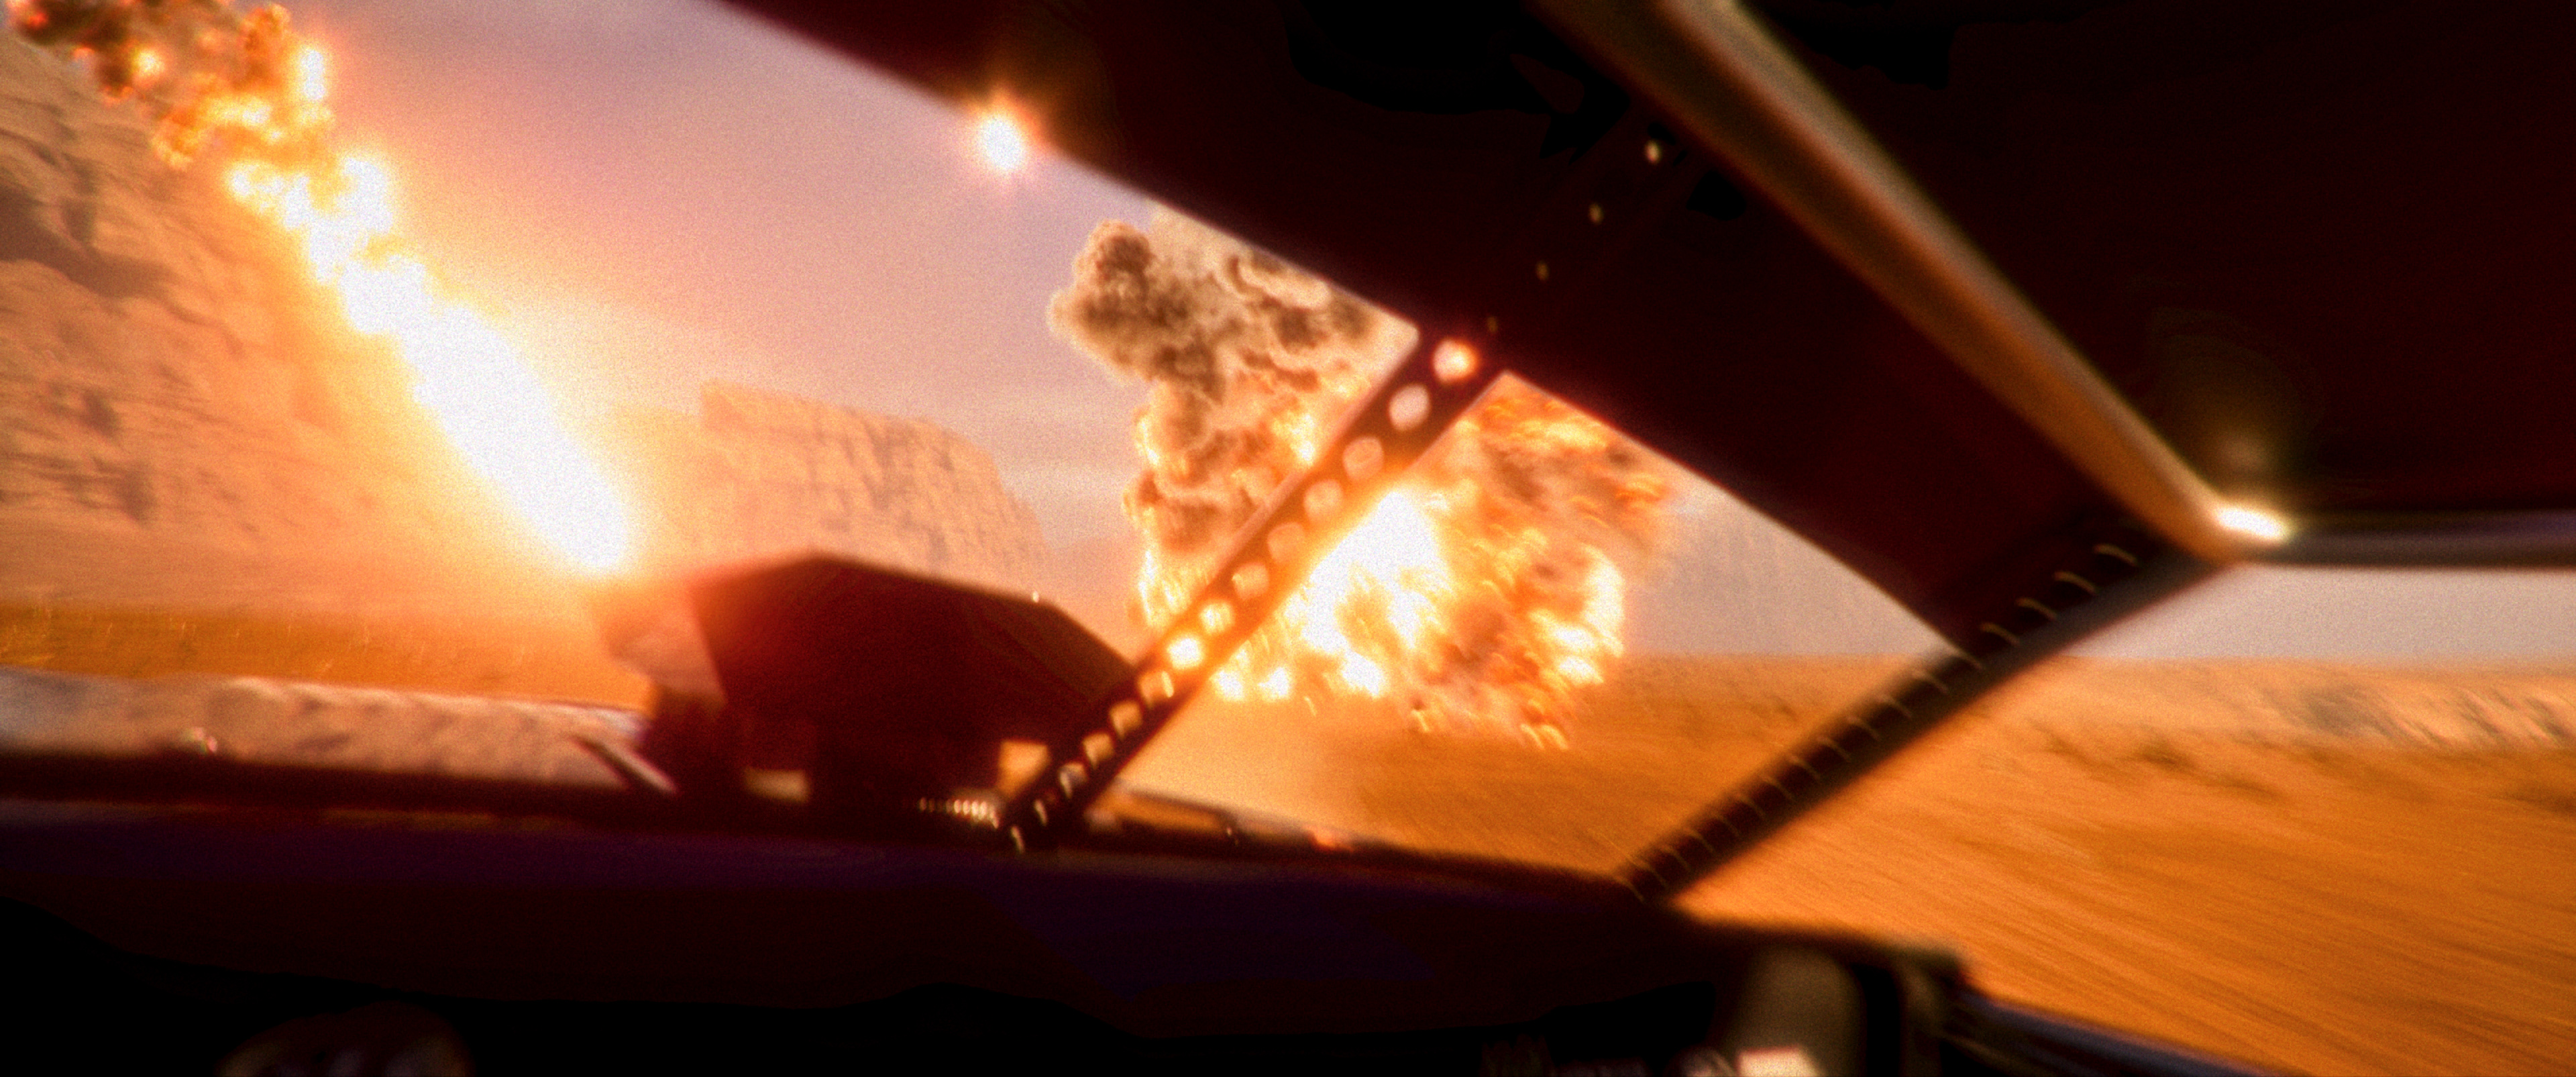
Canyon Blast & High-Speed Outrun: Explosive climax renders featuring a massive fiery mushroom cloud detonation,intense orange shockwave bloom, tracking shots of the fleeing Hoonicorn, and dynamic driver-POV cockpit views.
Camera & Lens Development
The Unreal Engine cinematography used a 2.39:1 CinemaScope / Anamorphic Scope presentation format. Anamorphic lens profiles were used to introduce characteristic geometric distortion and optical behaviour, including: Hawk V-Lite Vintage74 2x 80 mm and 74 2x 110 mm; Panavision C Series 30, 35, 40mm The optical treatment was used as part of the cinematography rather than added entirely during DI.
Environment Build — Crash Site
The Crash Site introduced a commercial aircraft broken into physically recognisable sections across the canyon floor. The aircraft was positioned so that the fuselage, wings, tail, and turbine sections created usable foreground and background obstacles for the vehicle choreography. Dry dead foliage was distributed according to individual camera coverage, while the canyon geometry was supplemented using the same large-scale terrain assets established in the Refinery environment. For wider shots, controlled haze and dust were introduced to separate the aircraft wreckage from the distant canyon structures.
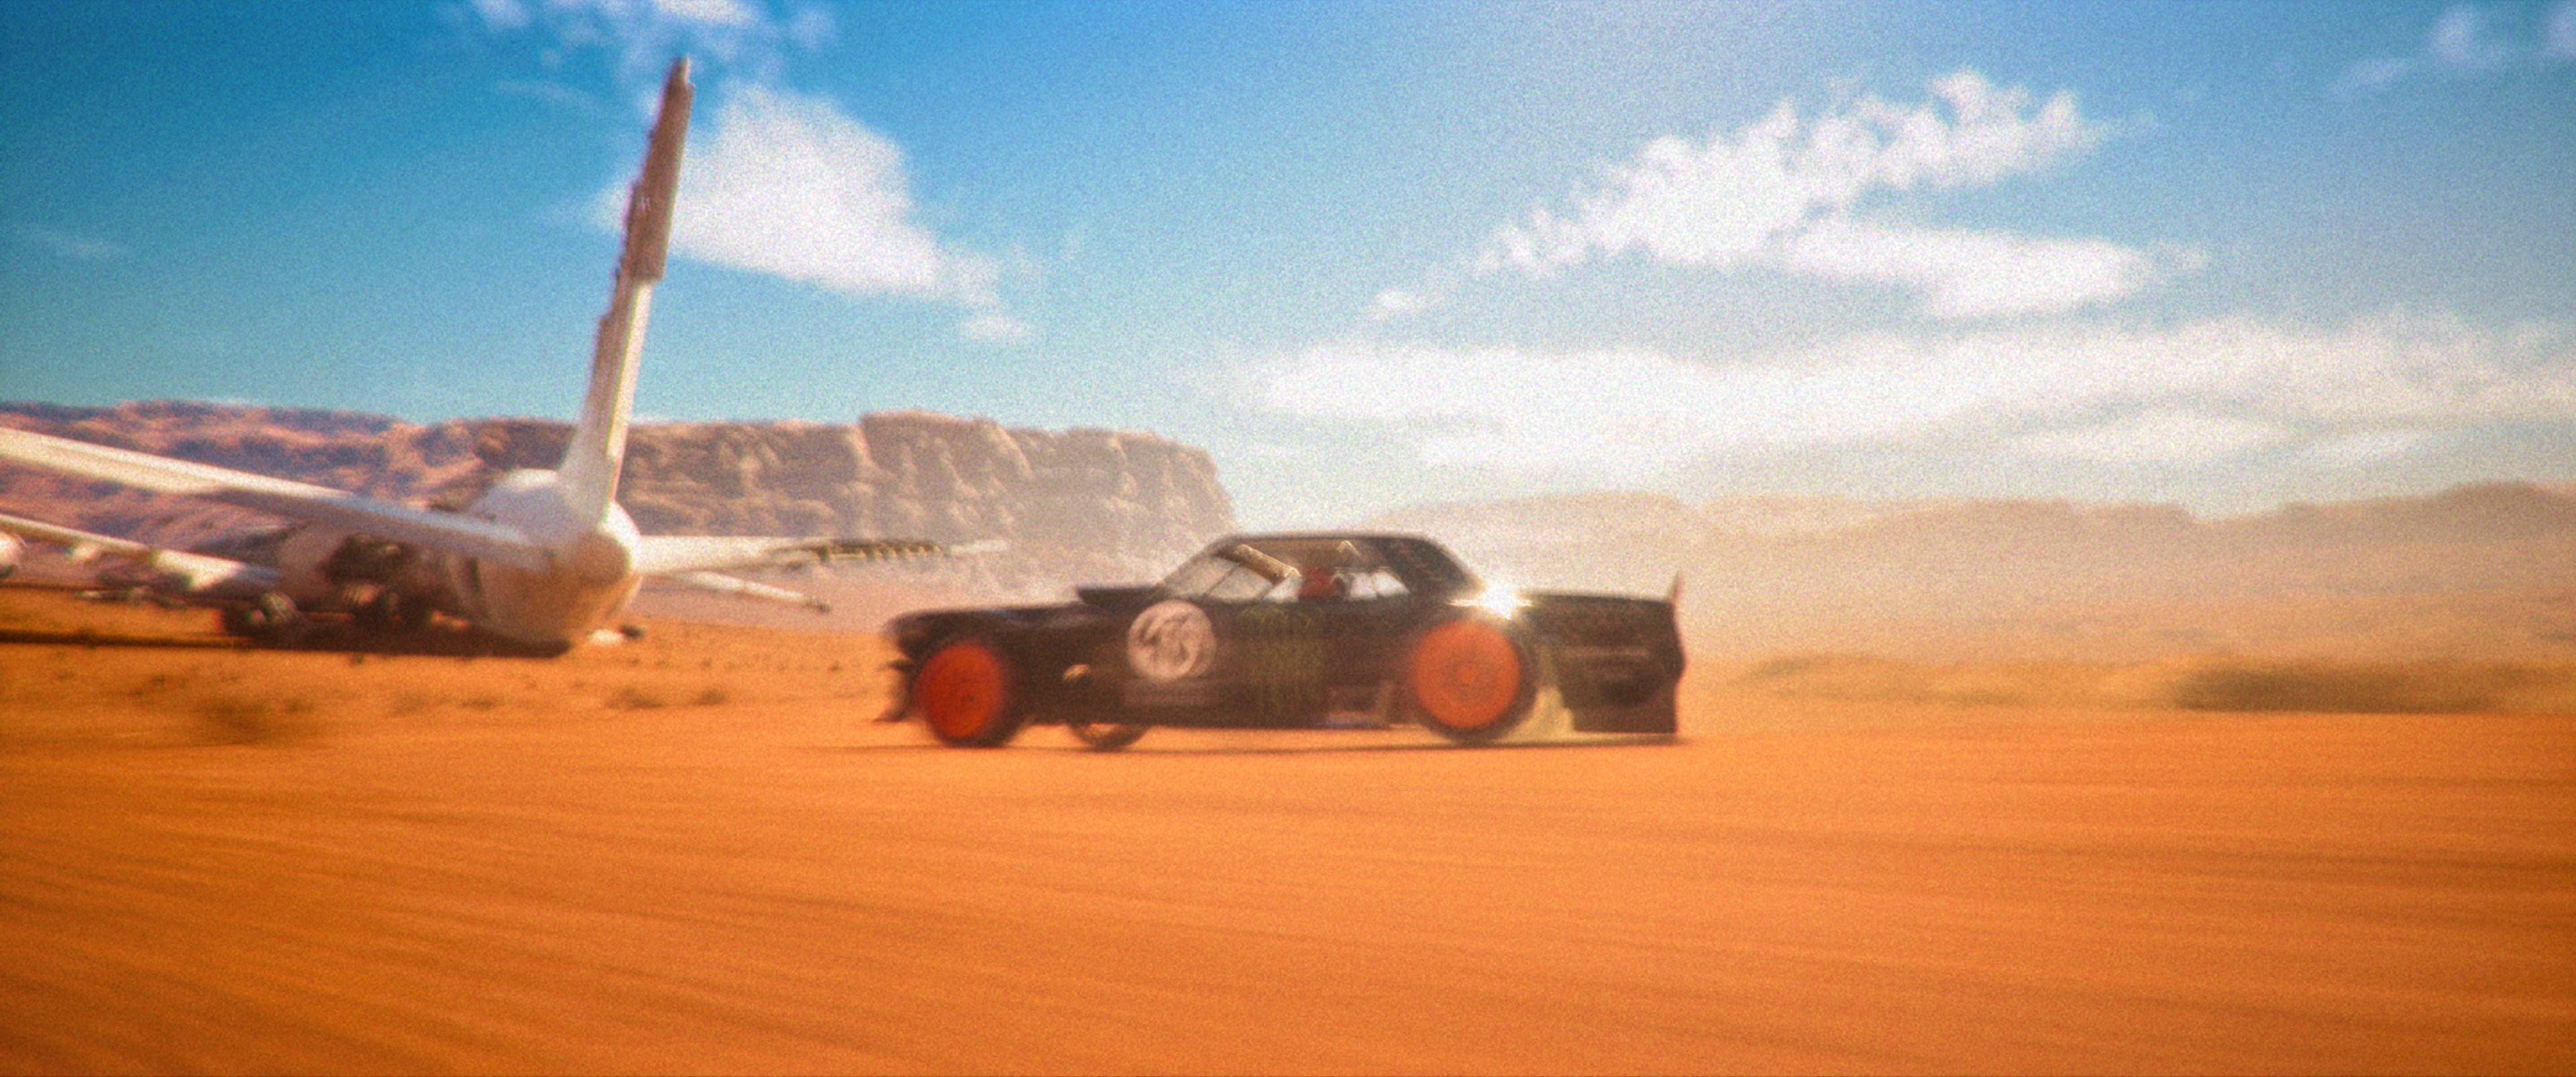
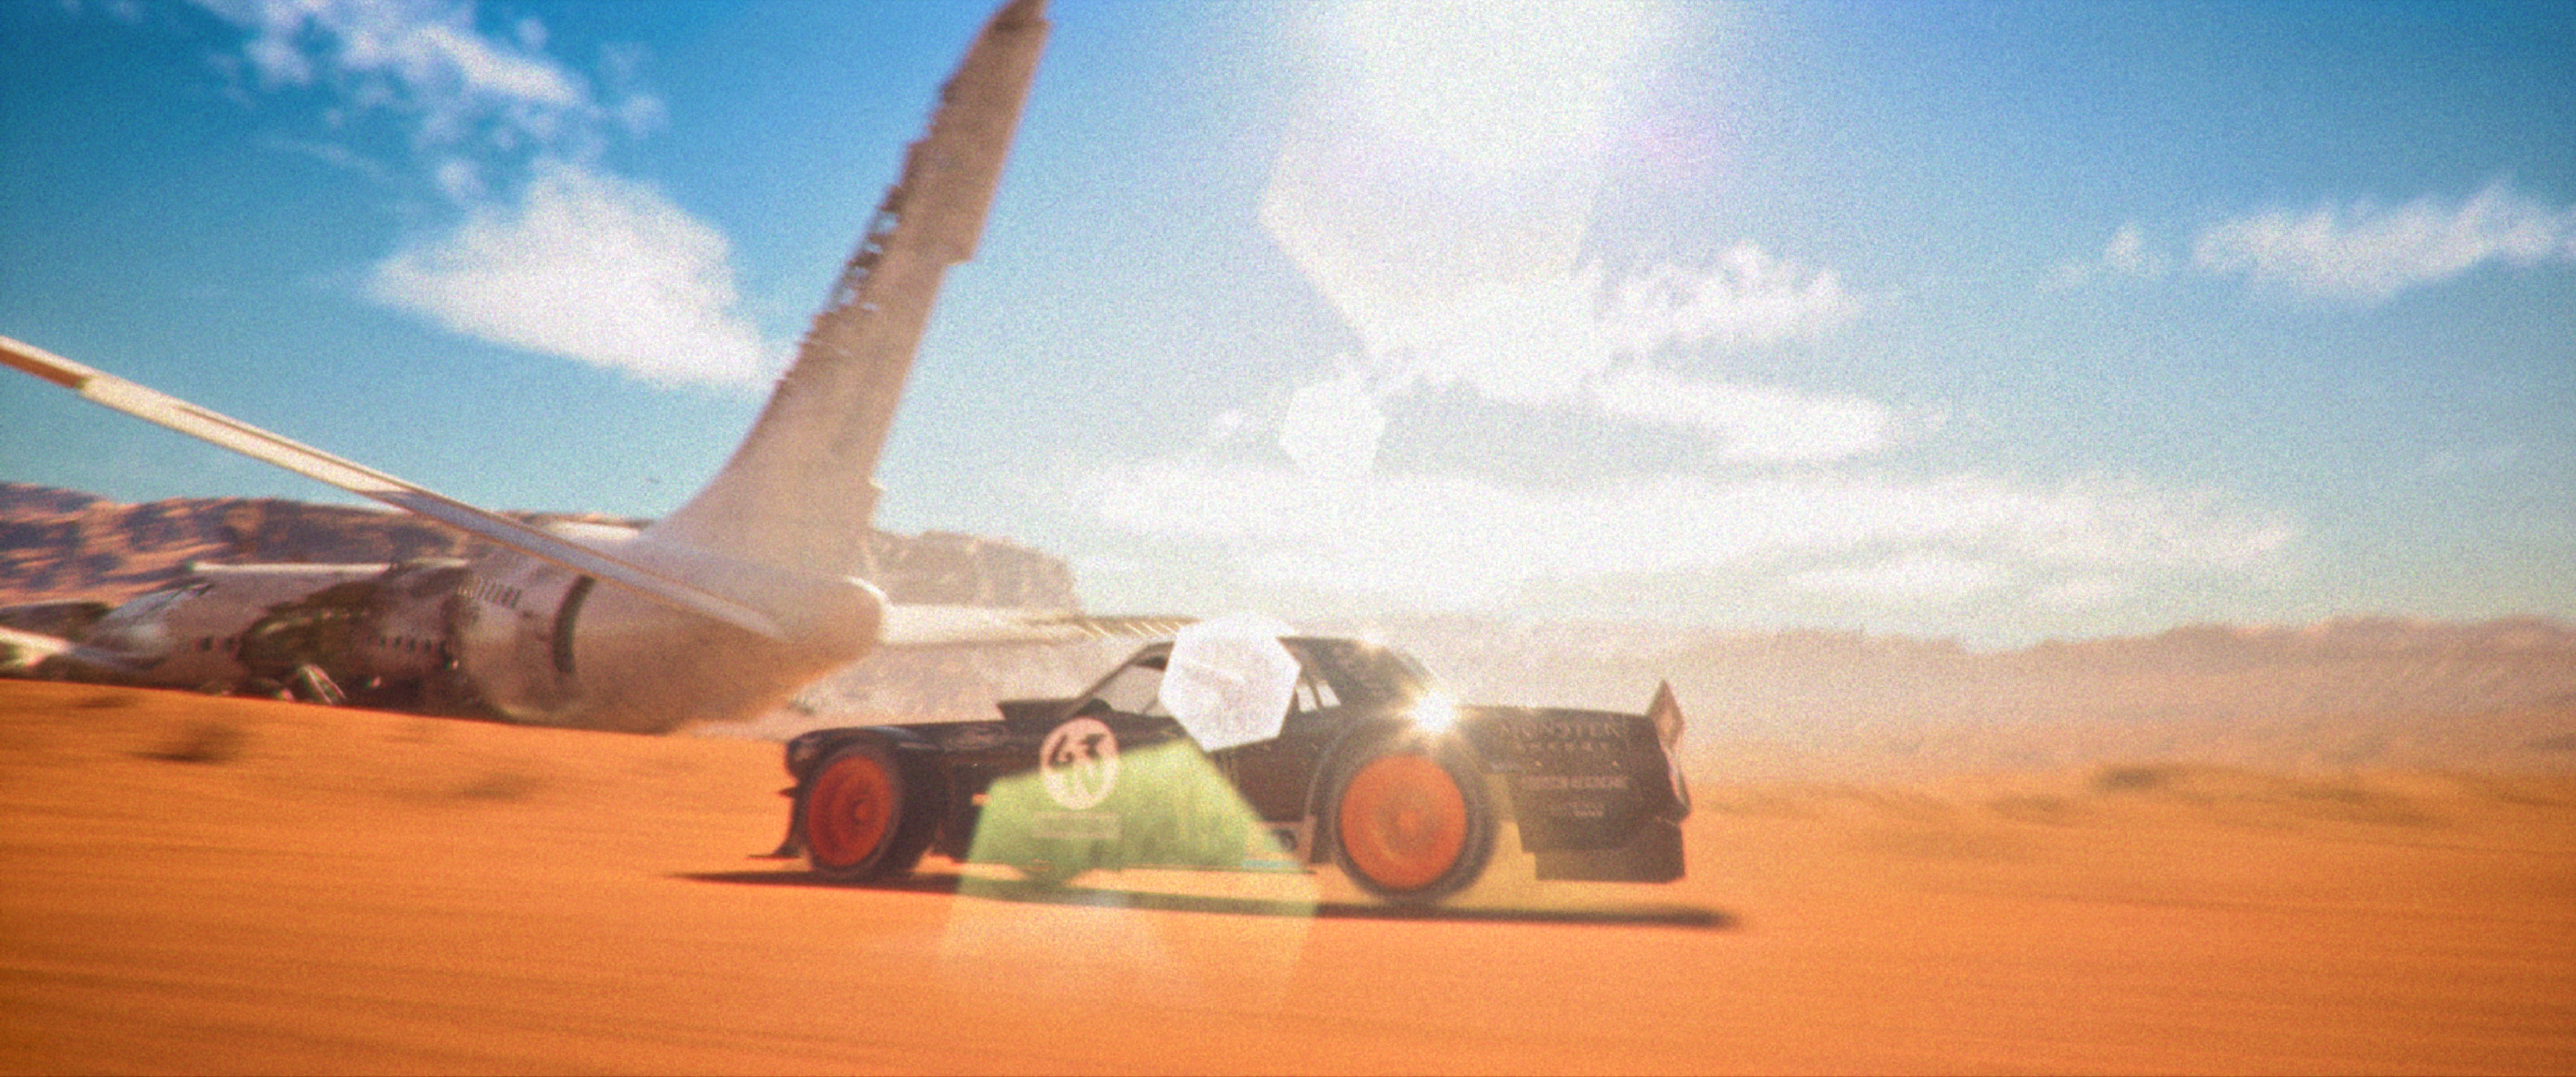
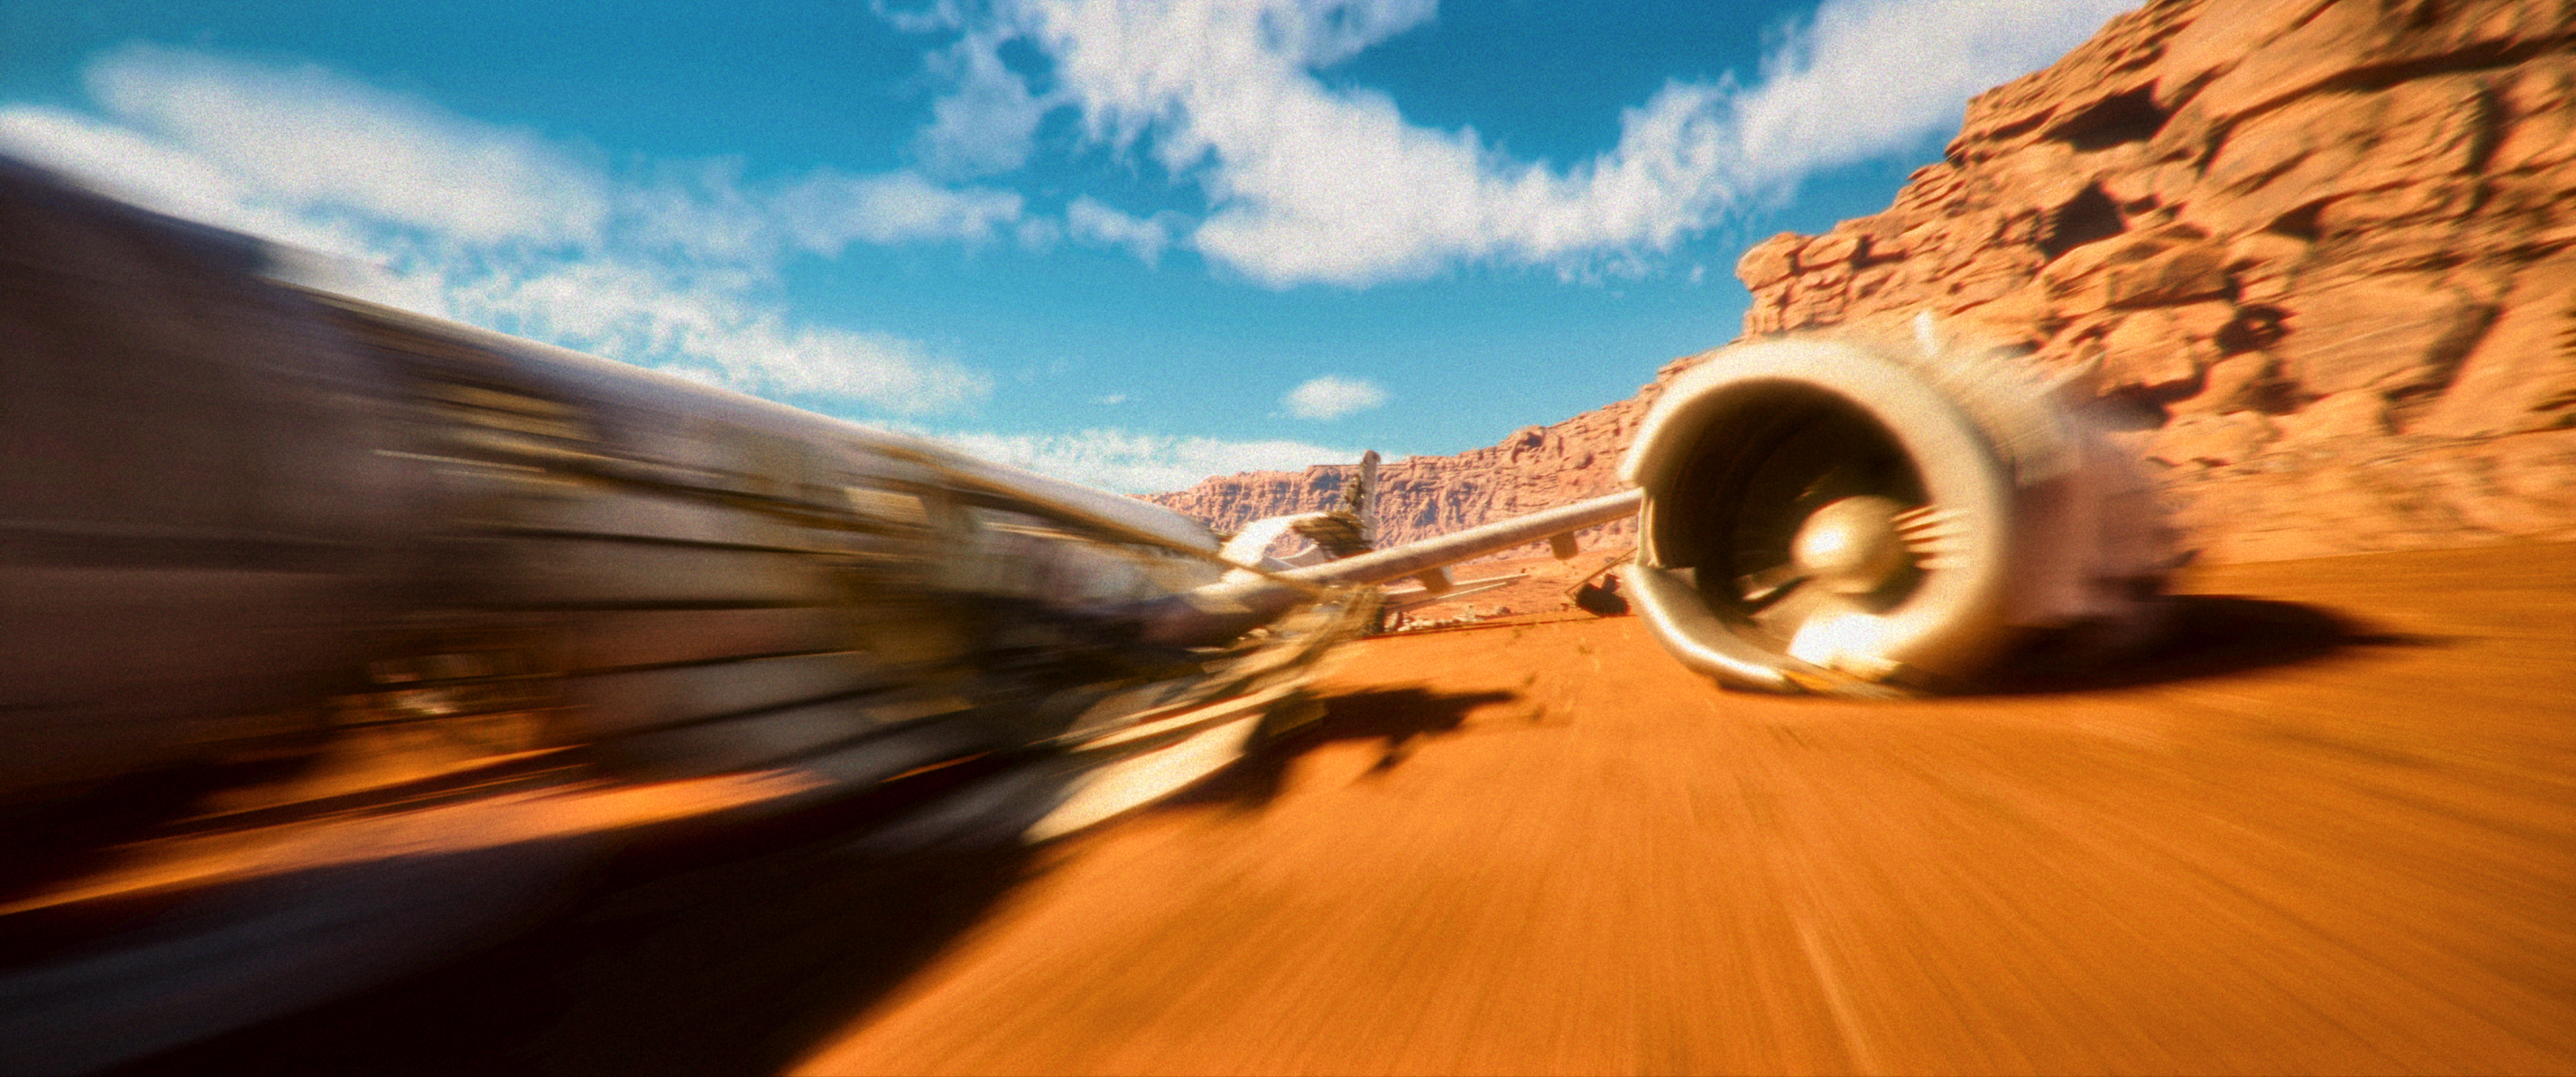
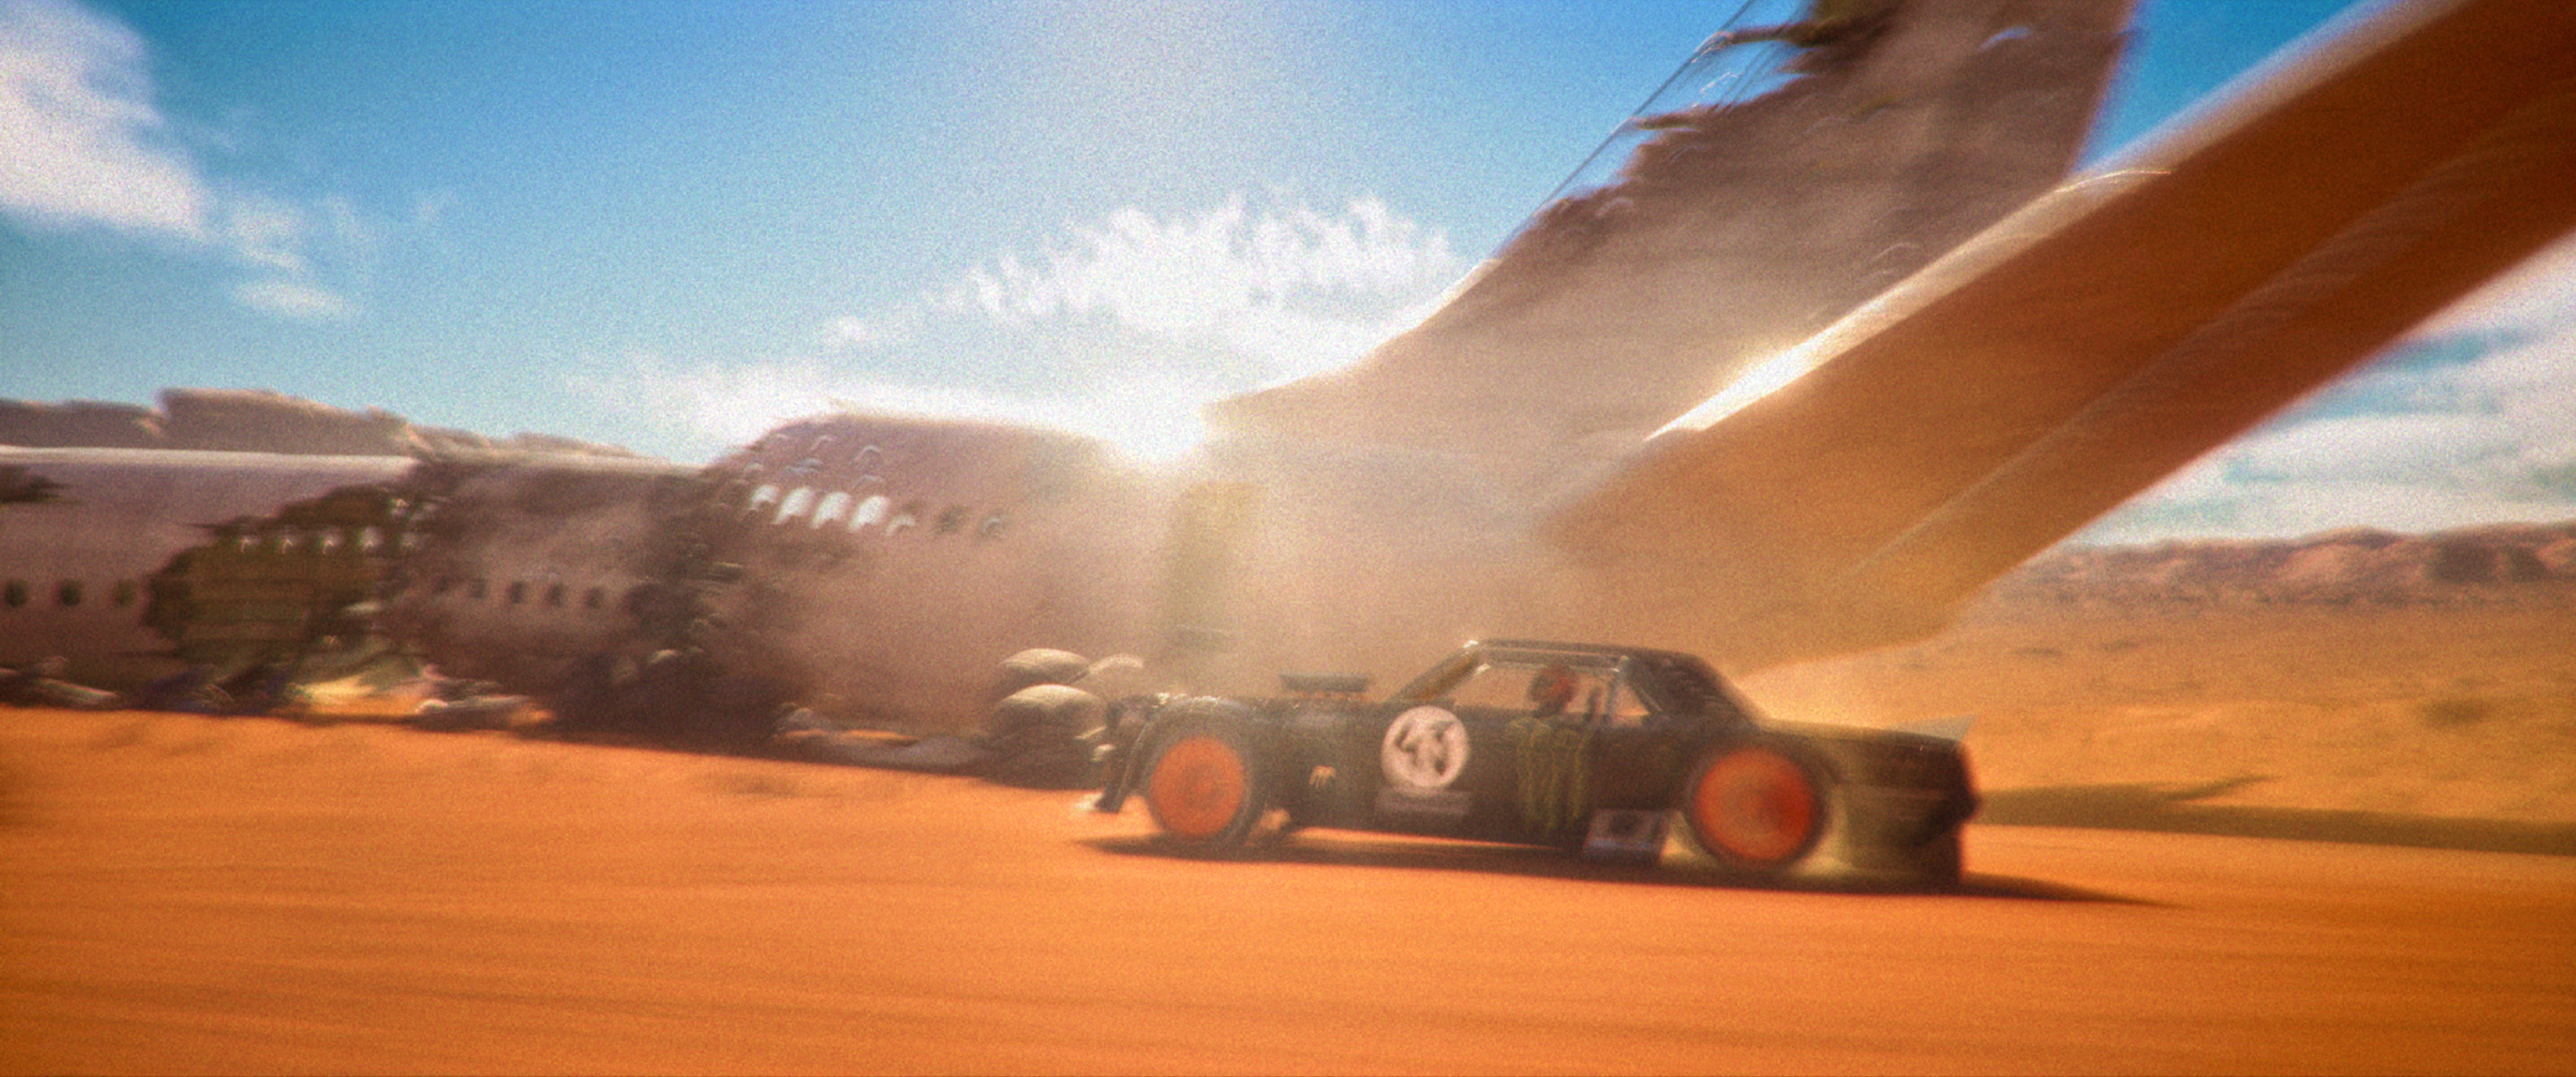
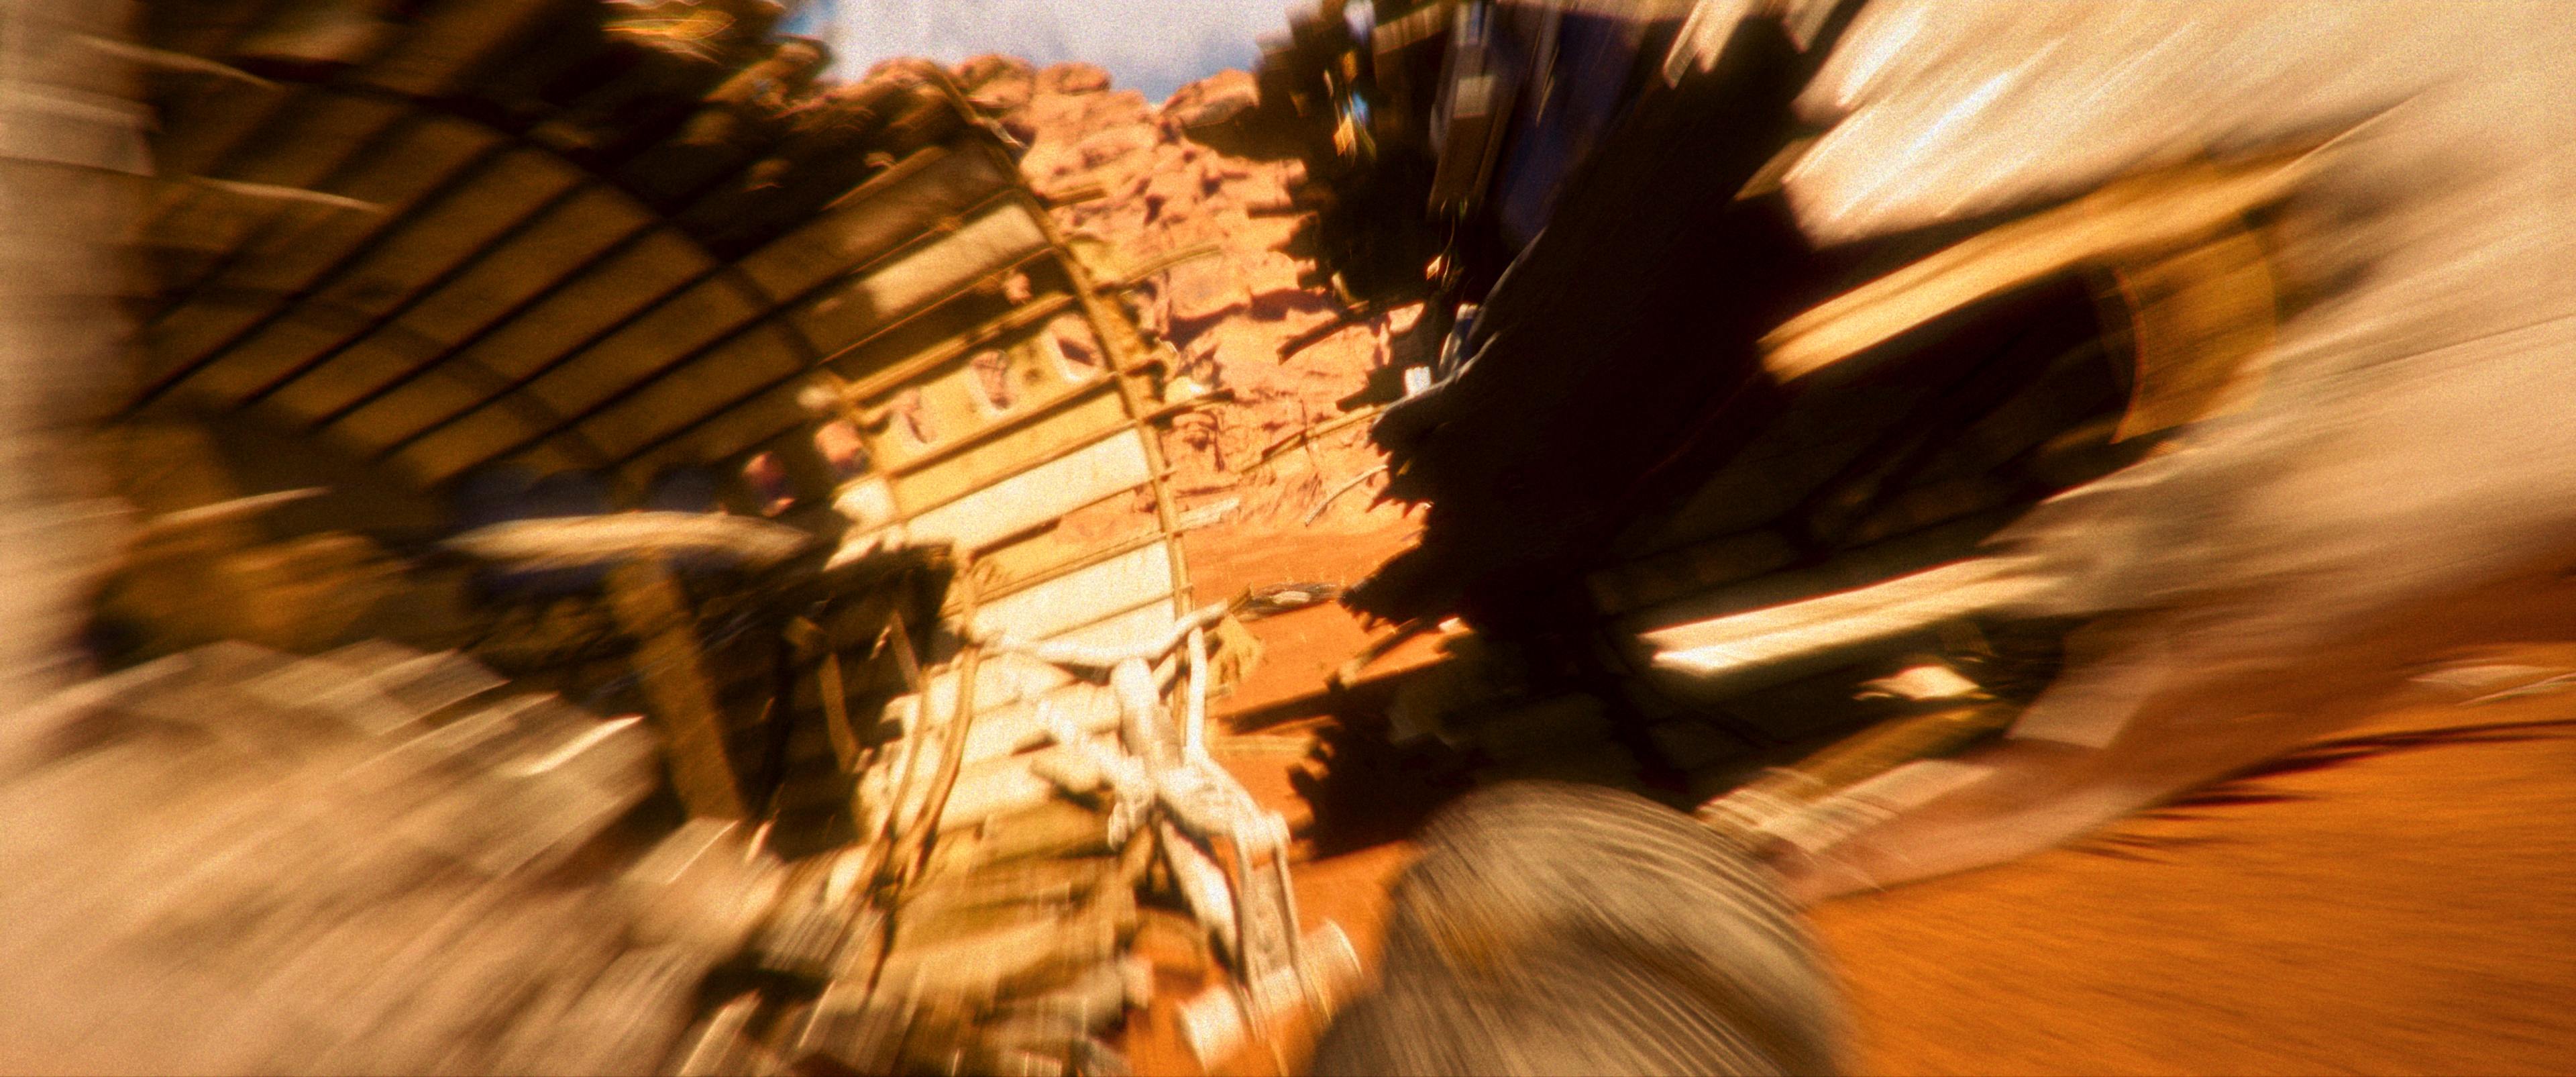
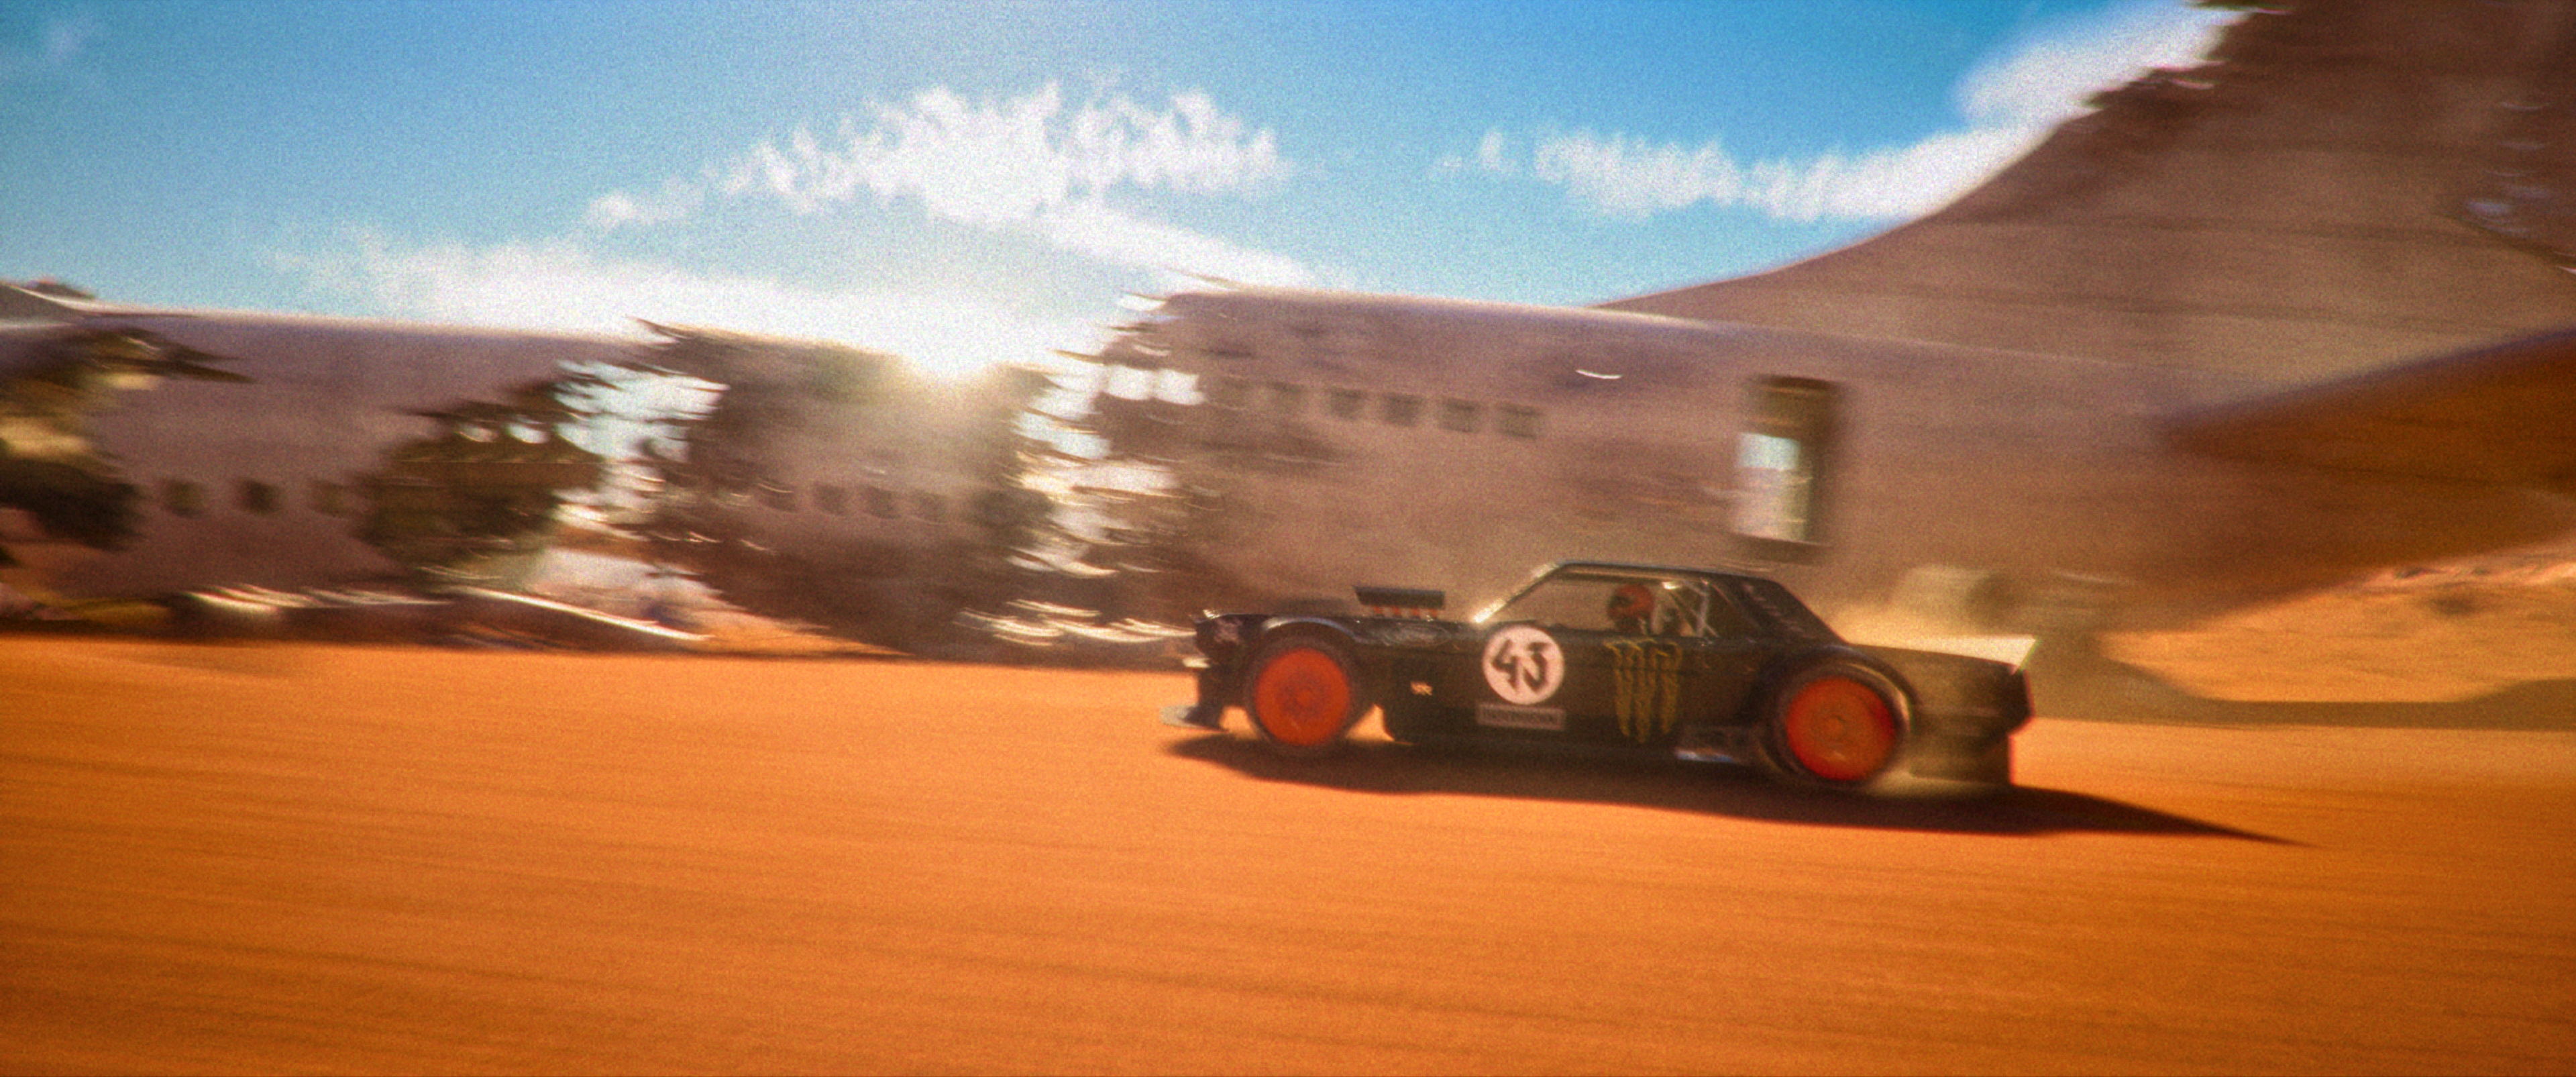
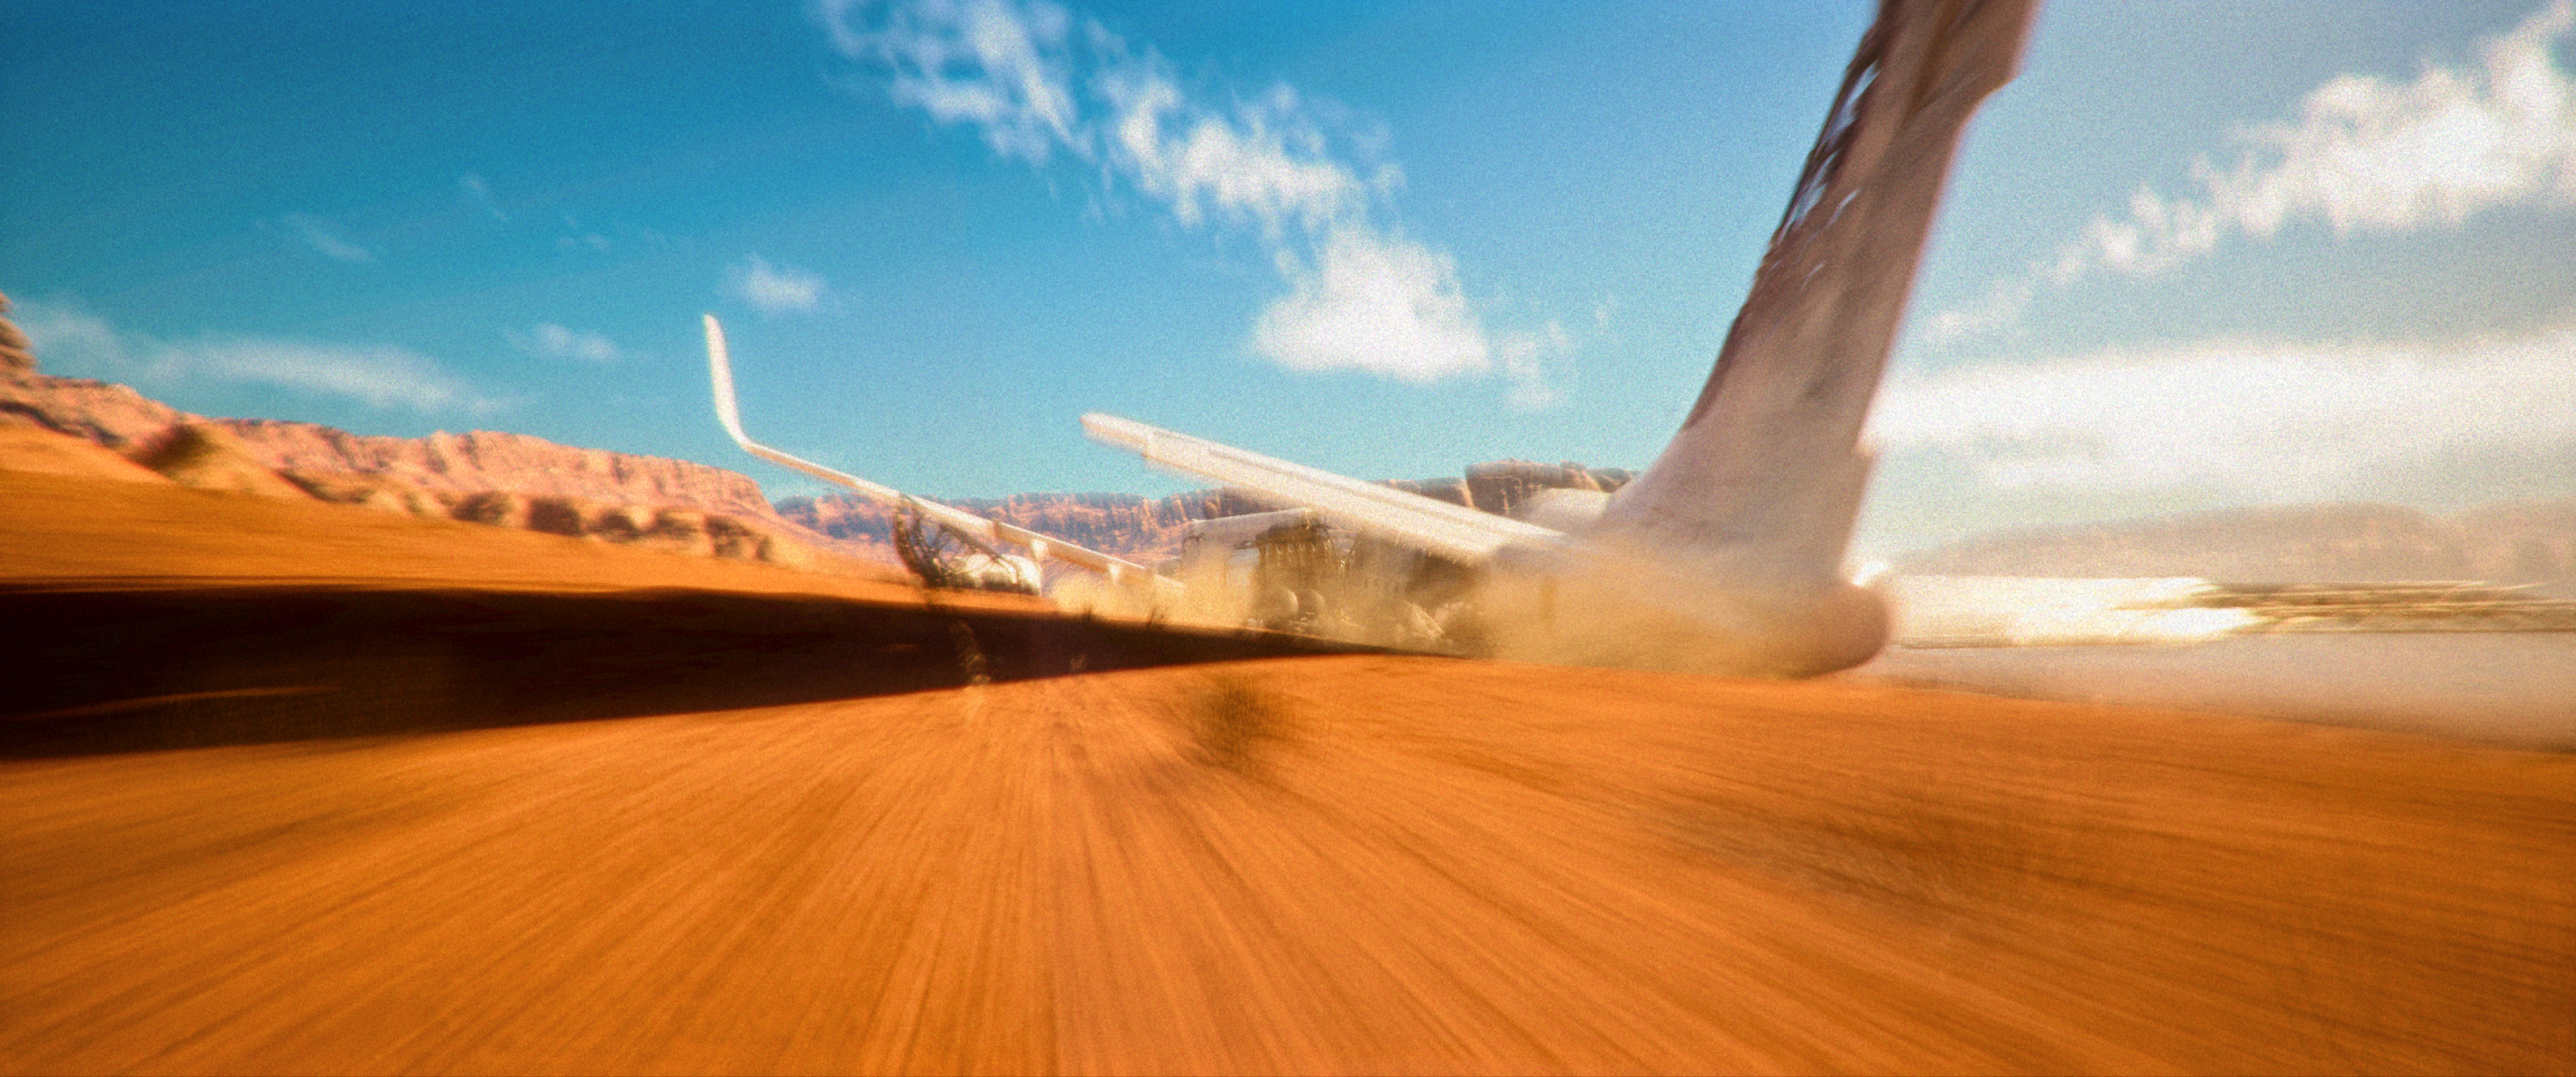
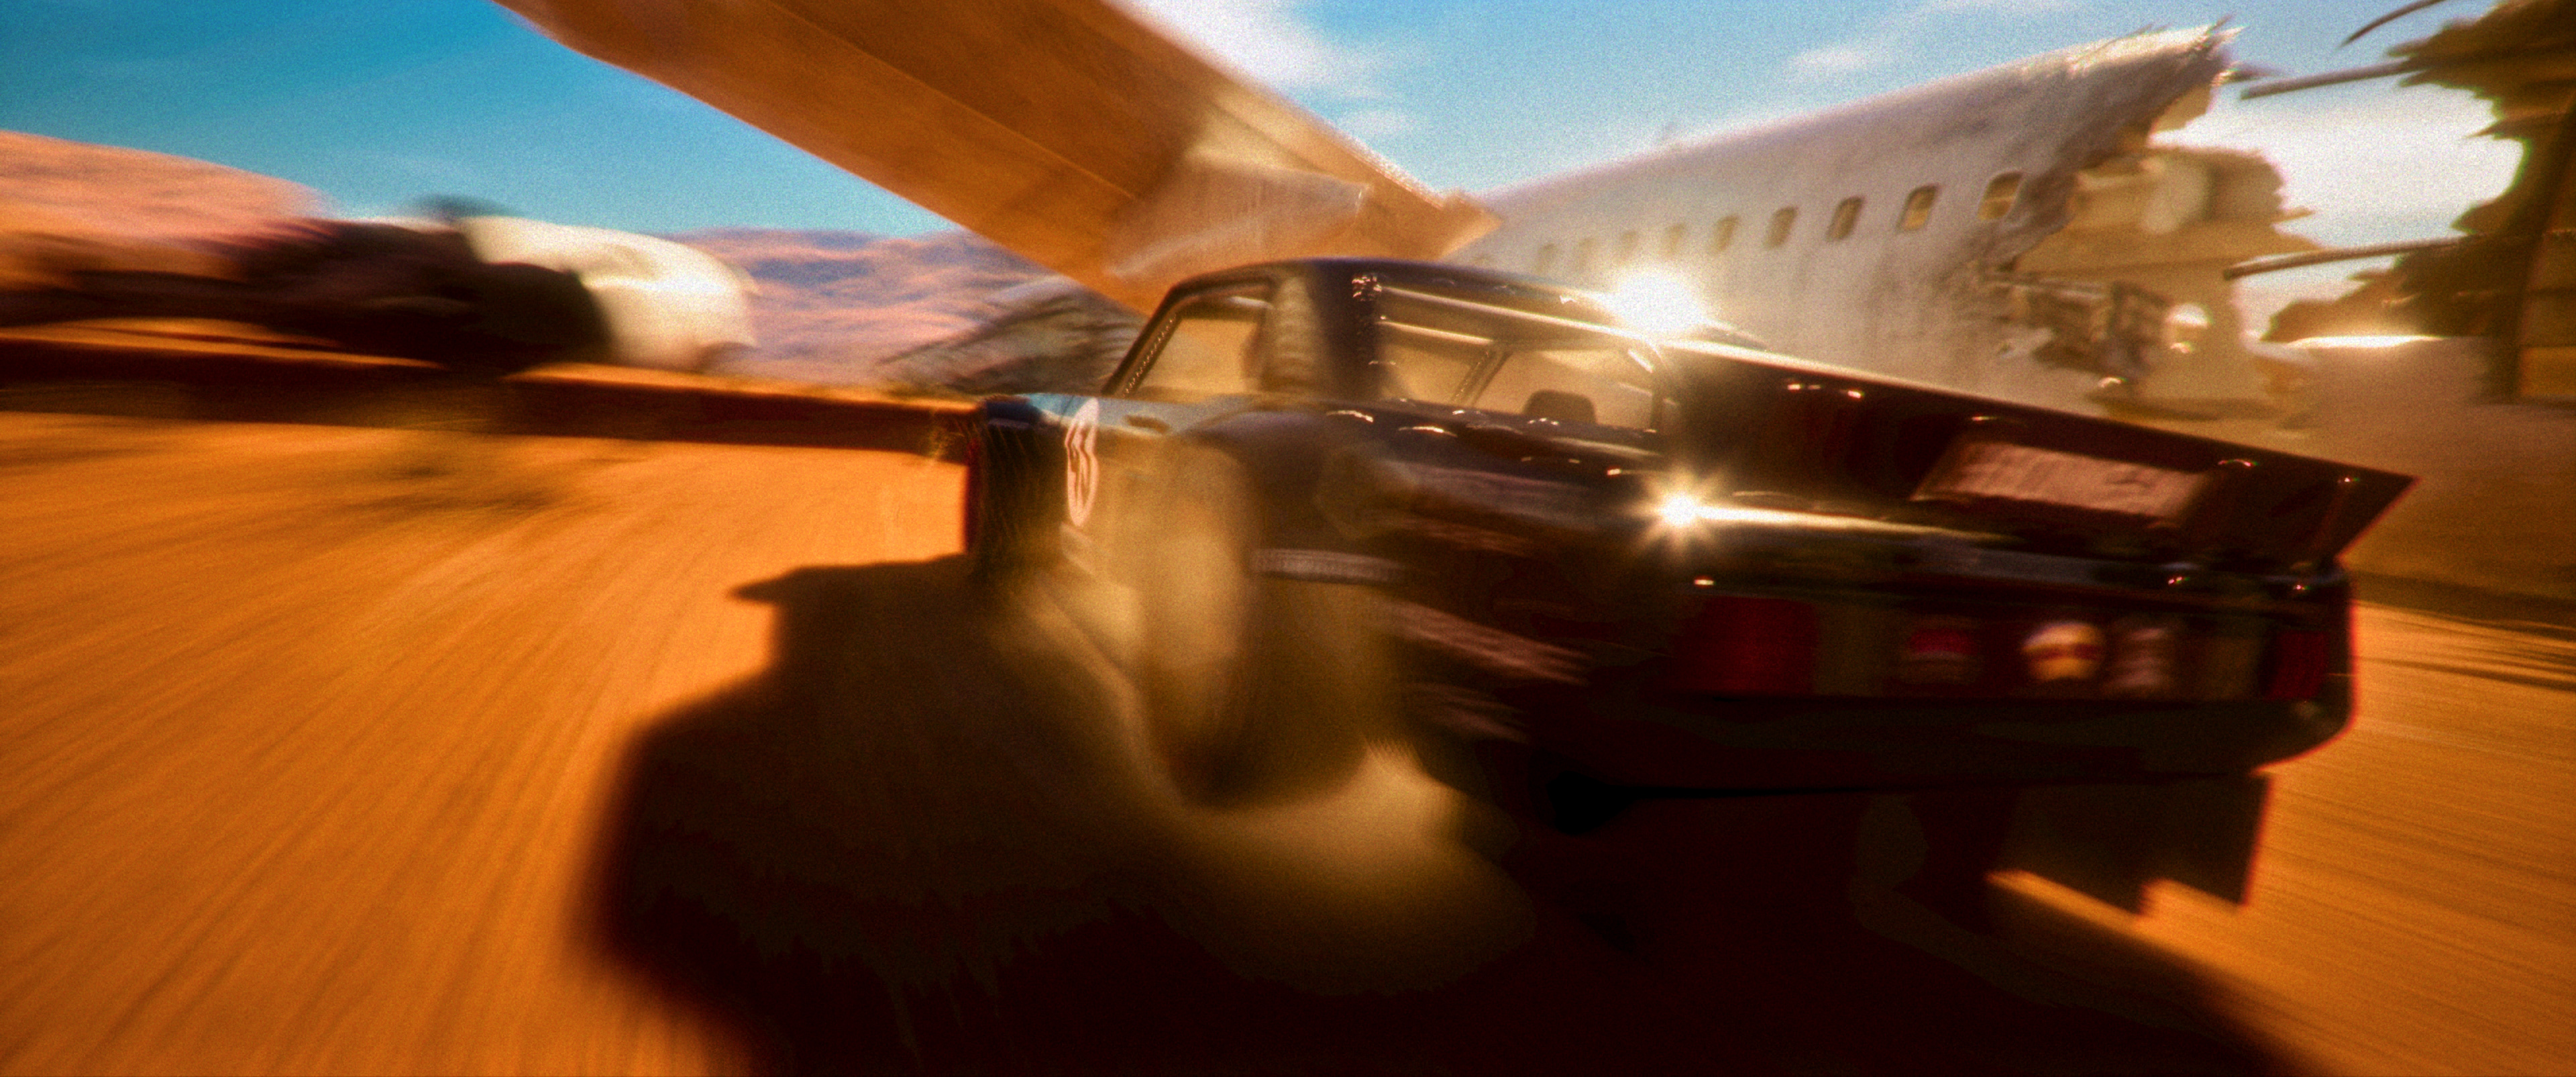
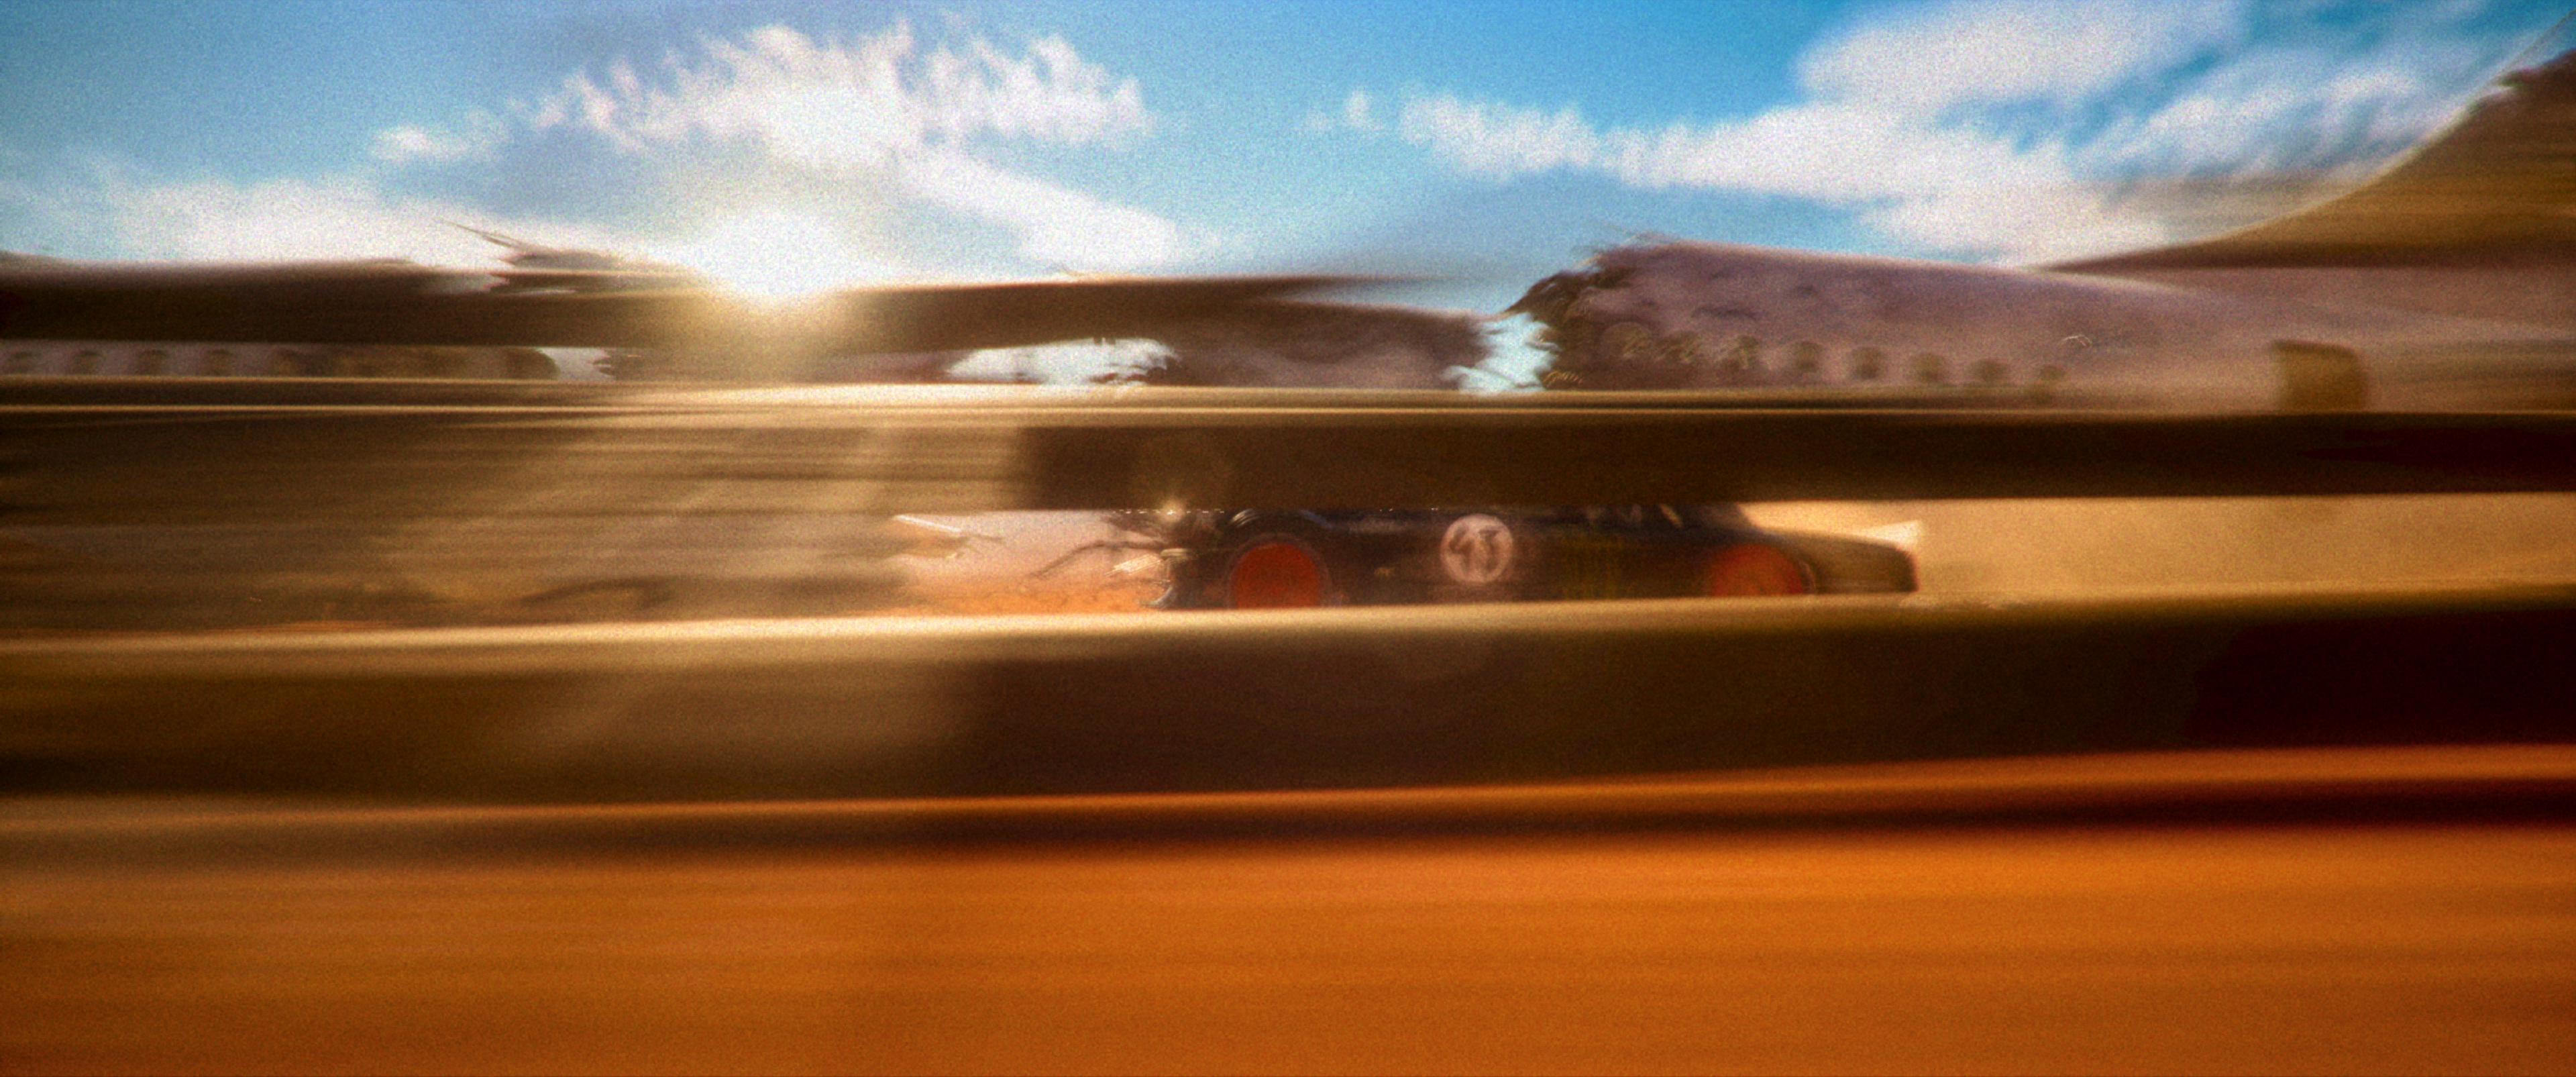
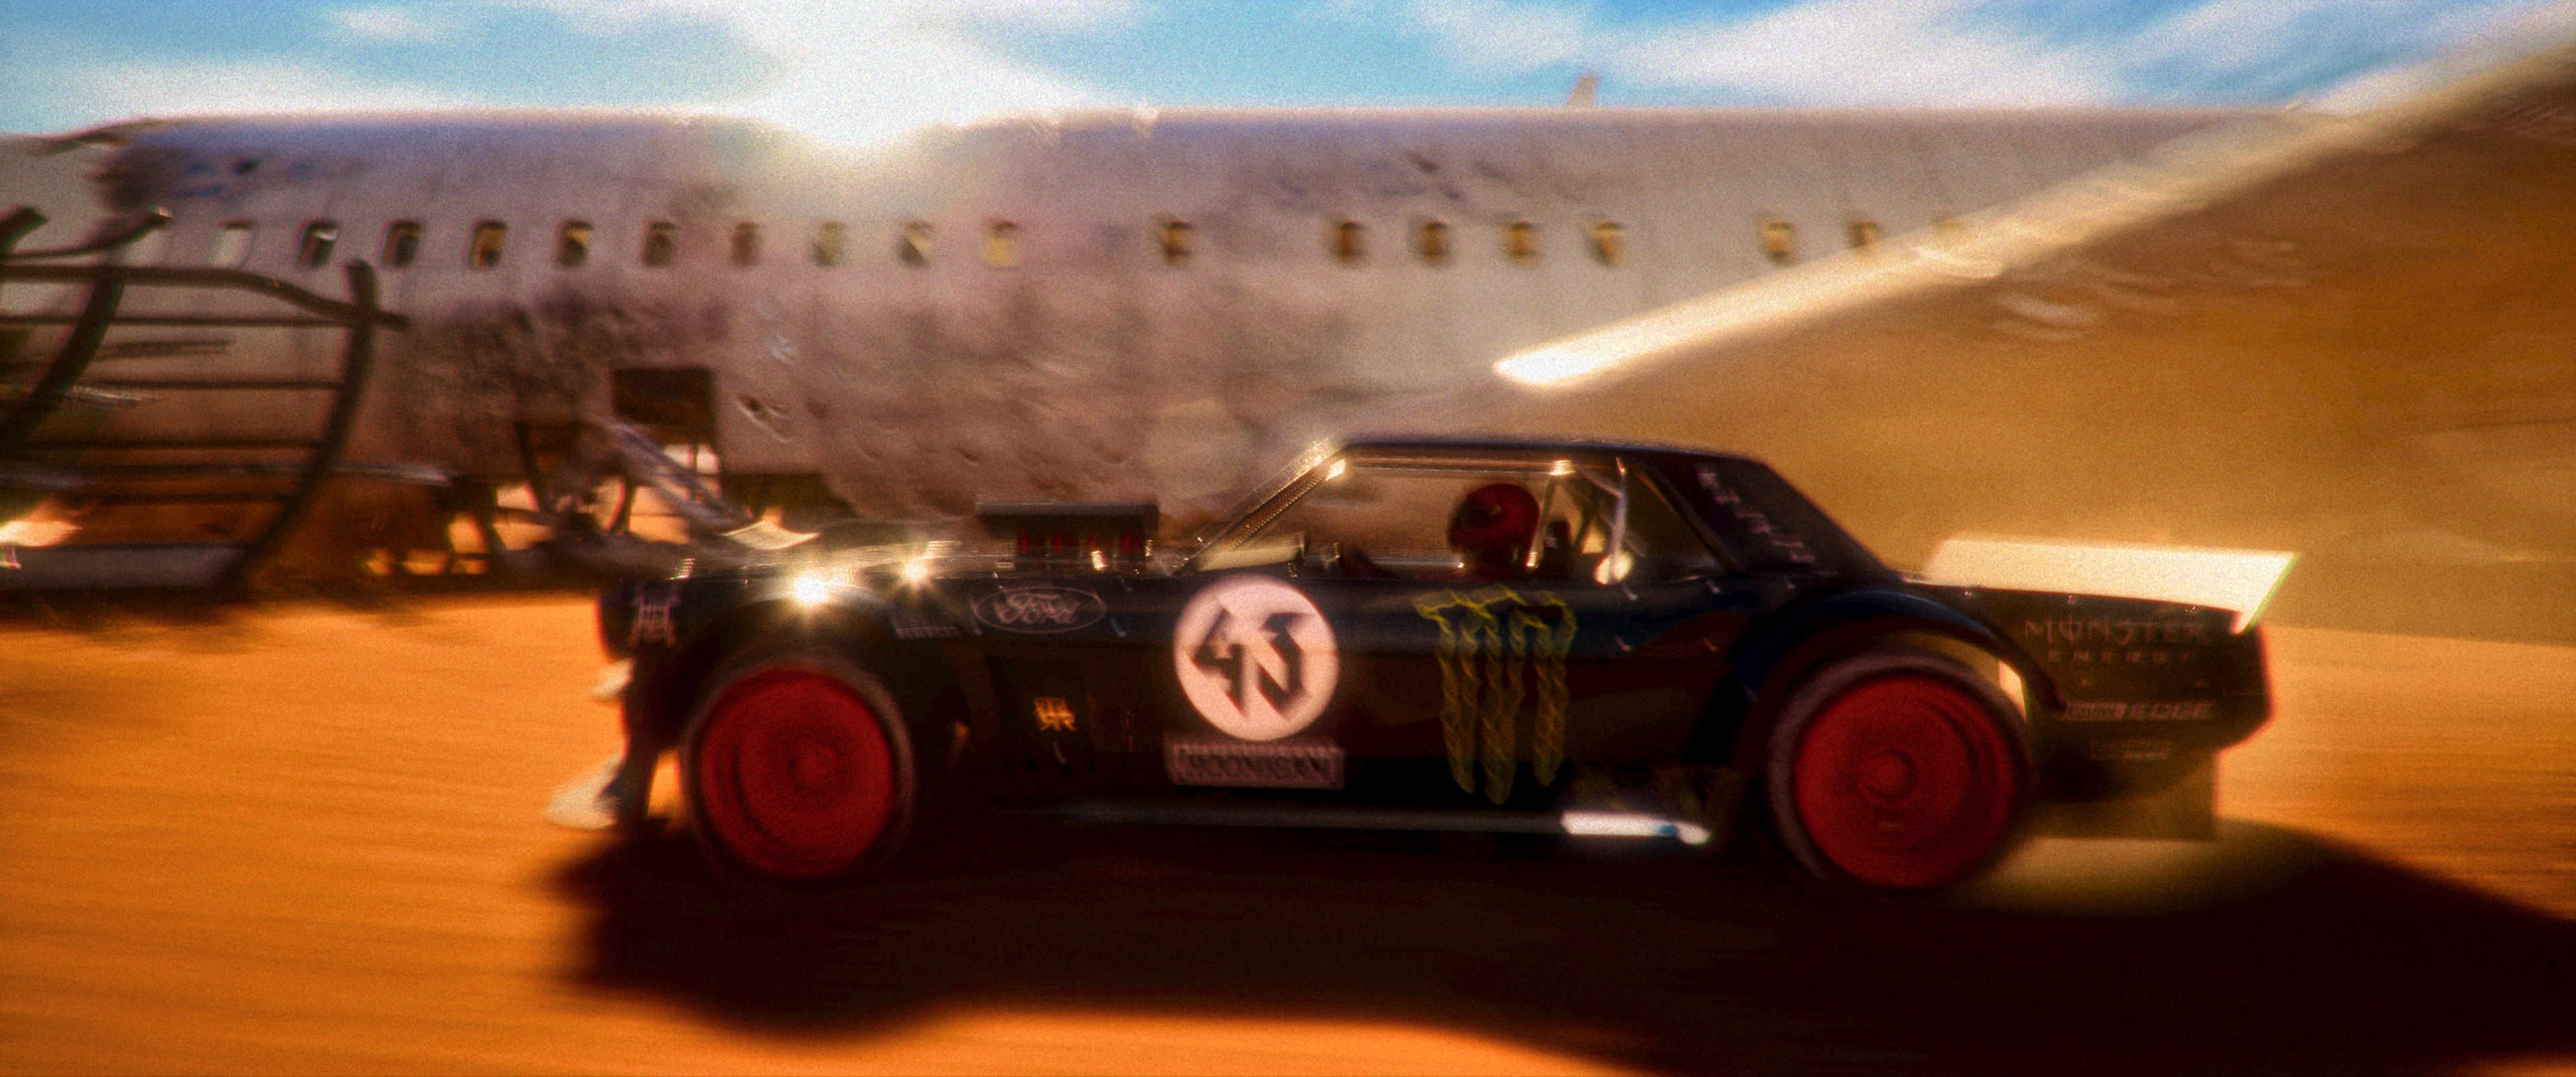
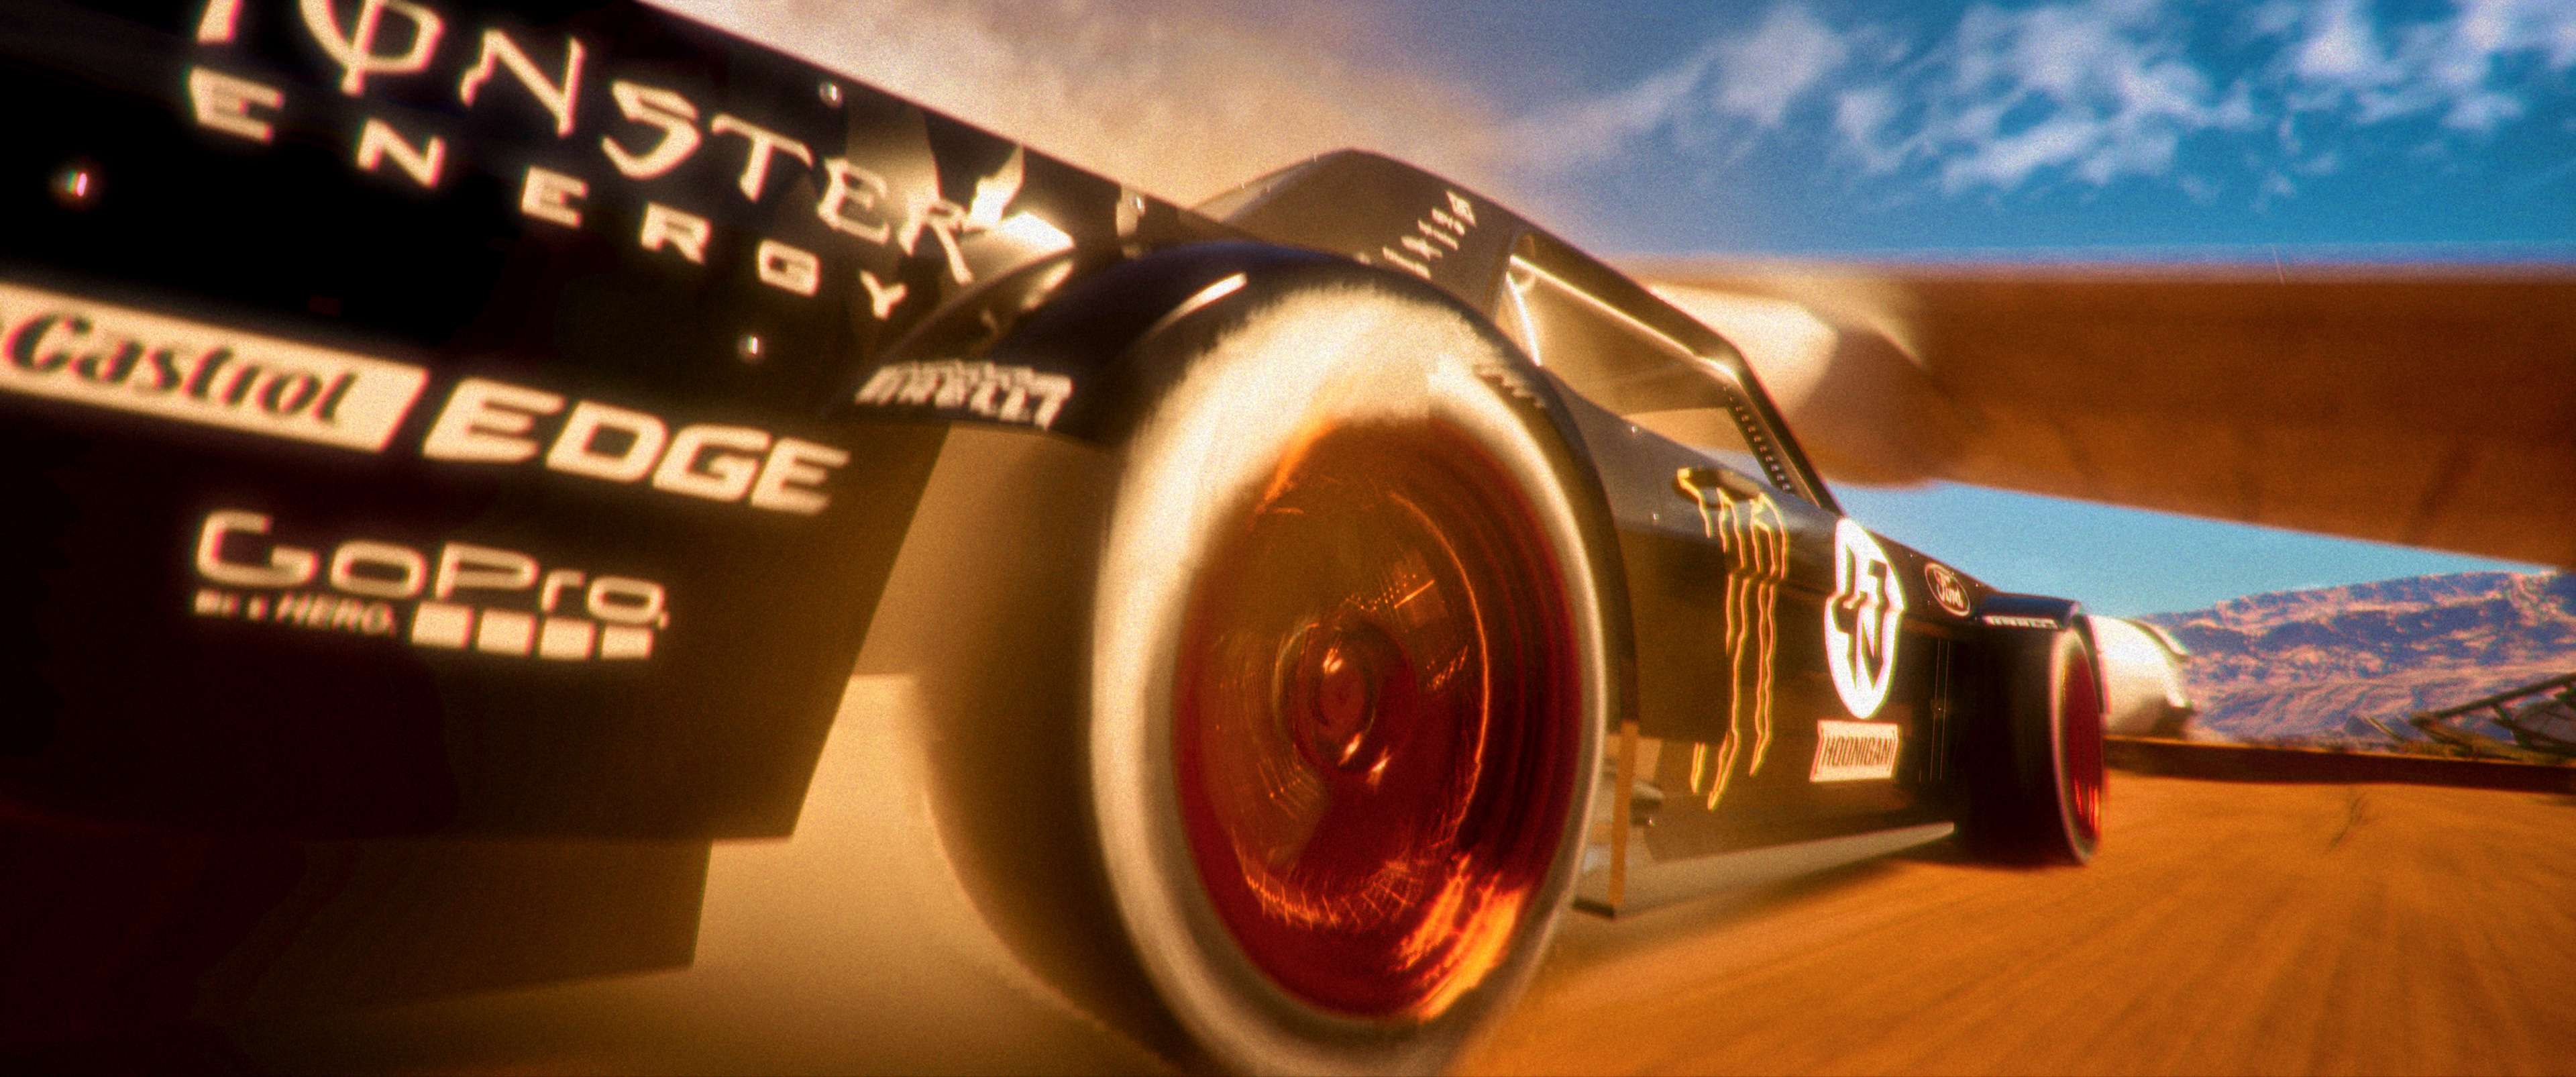
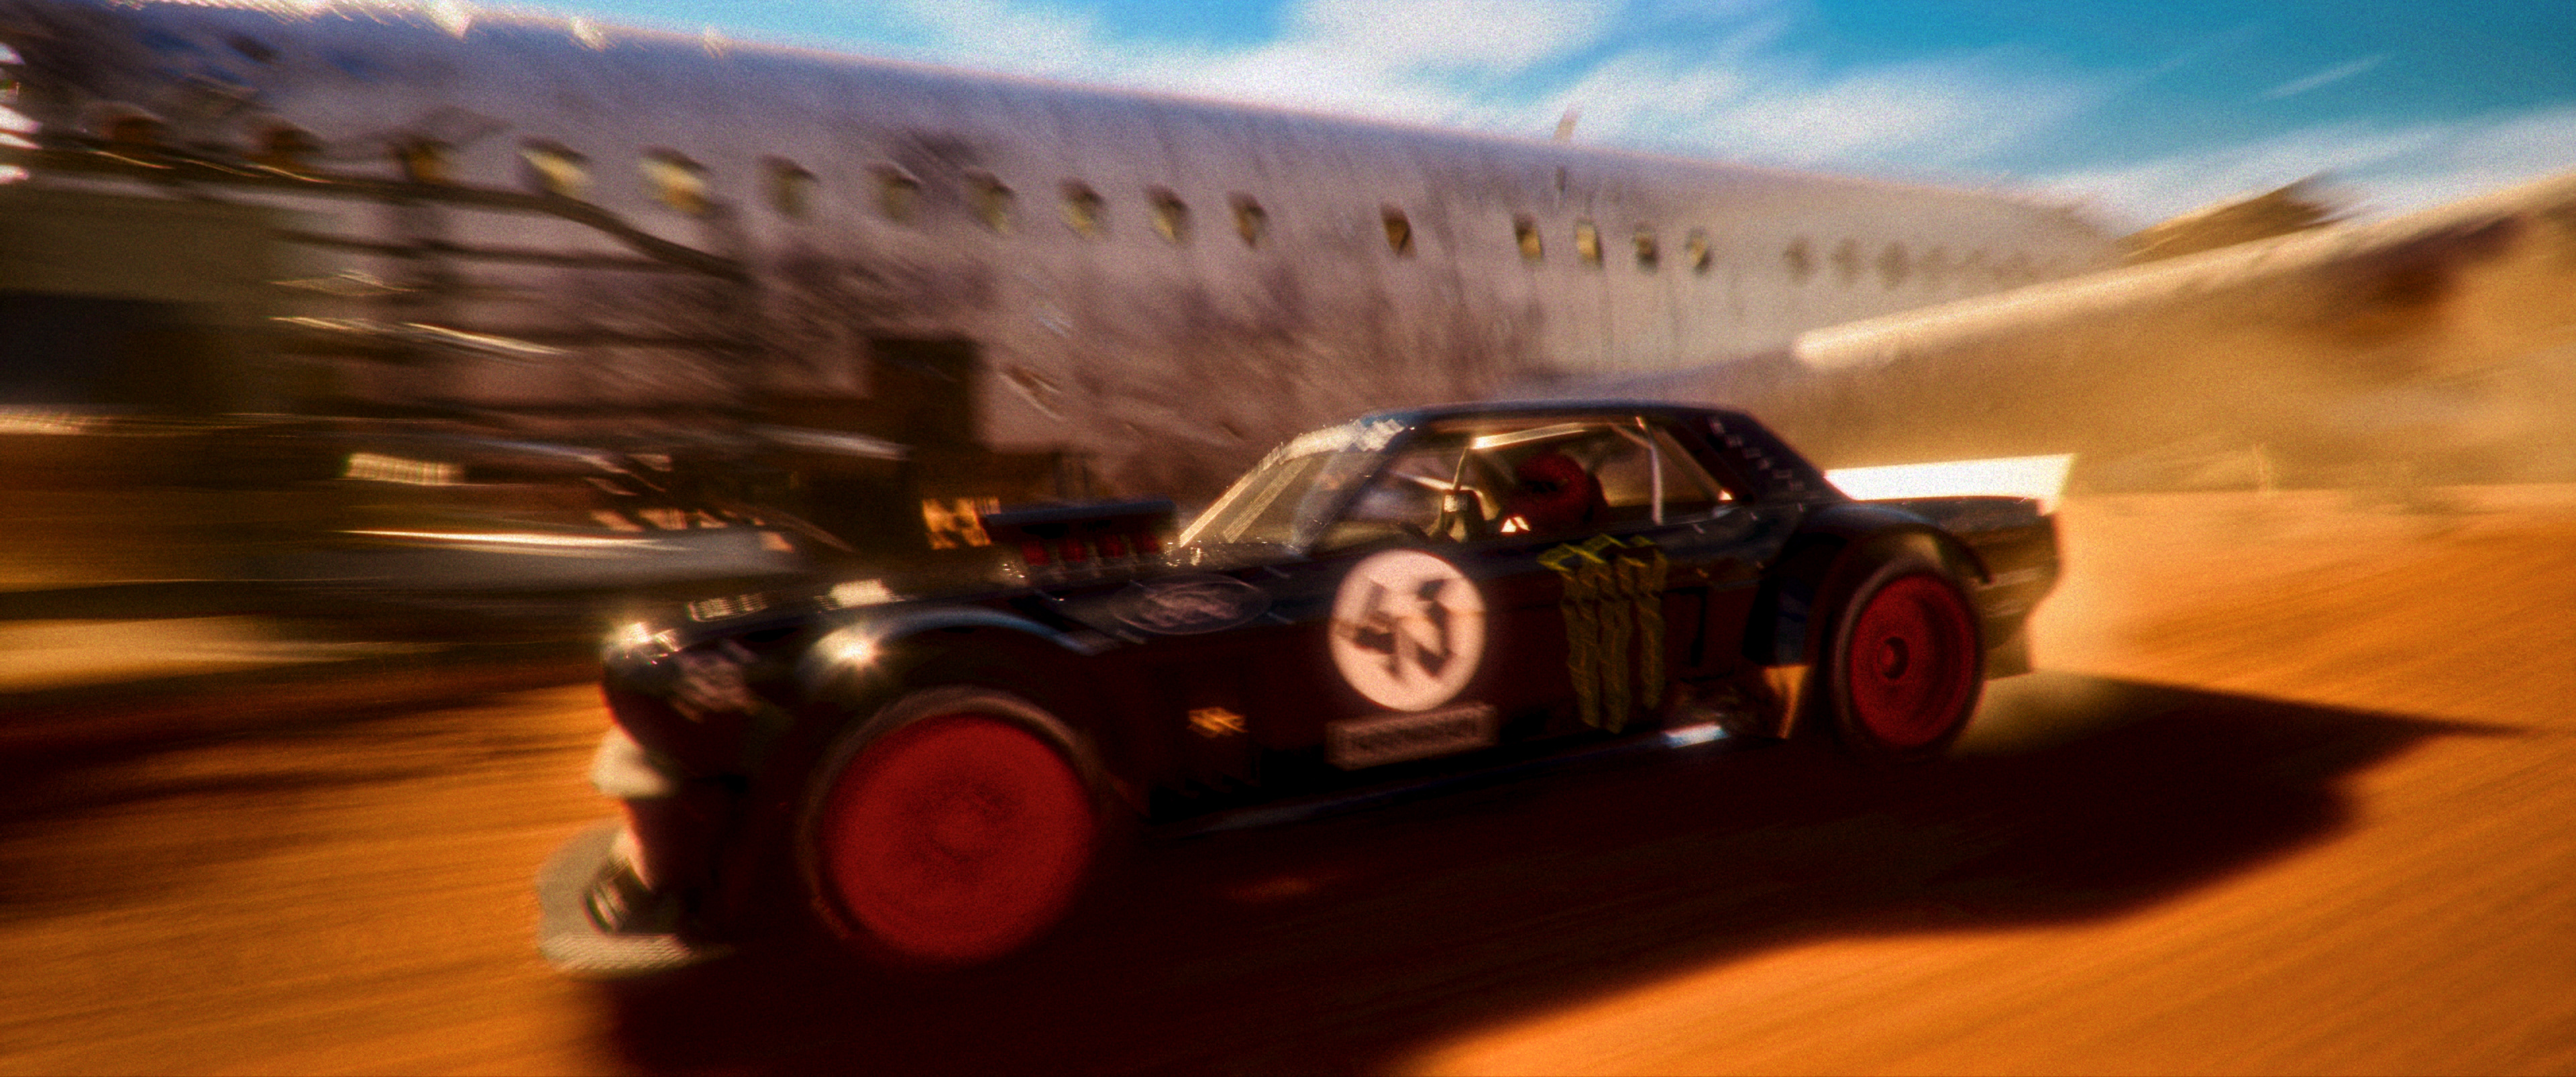
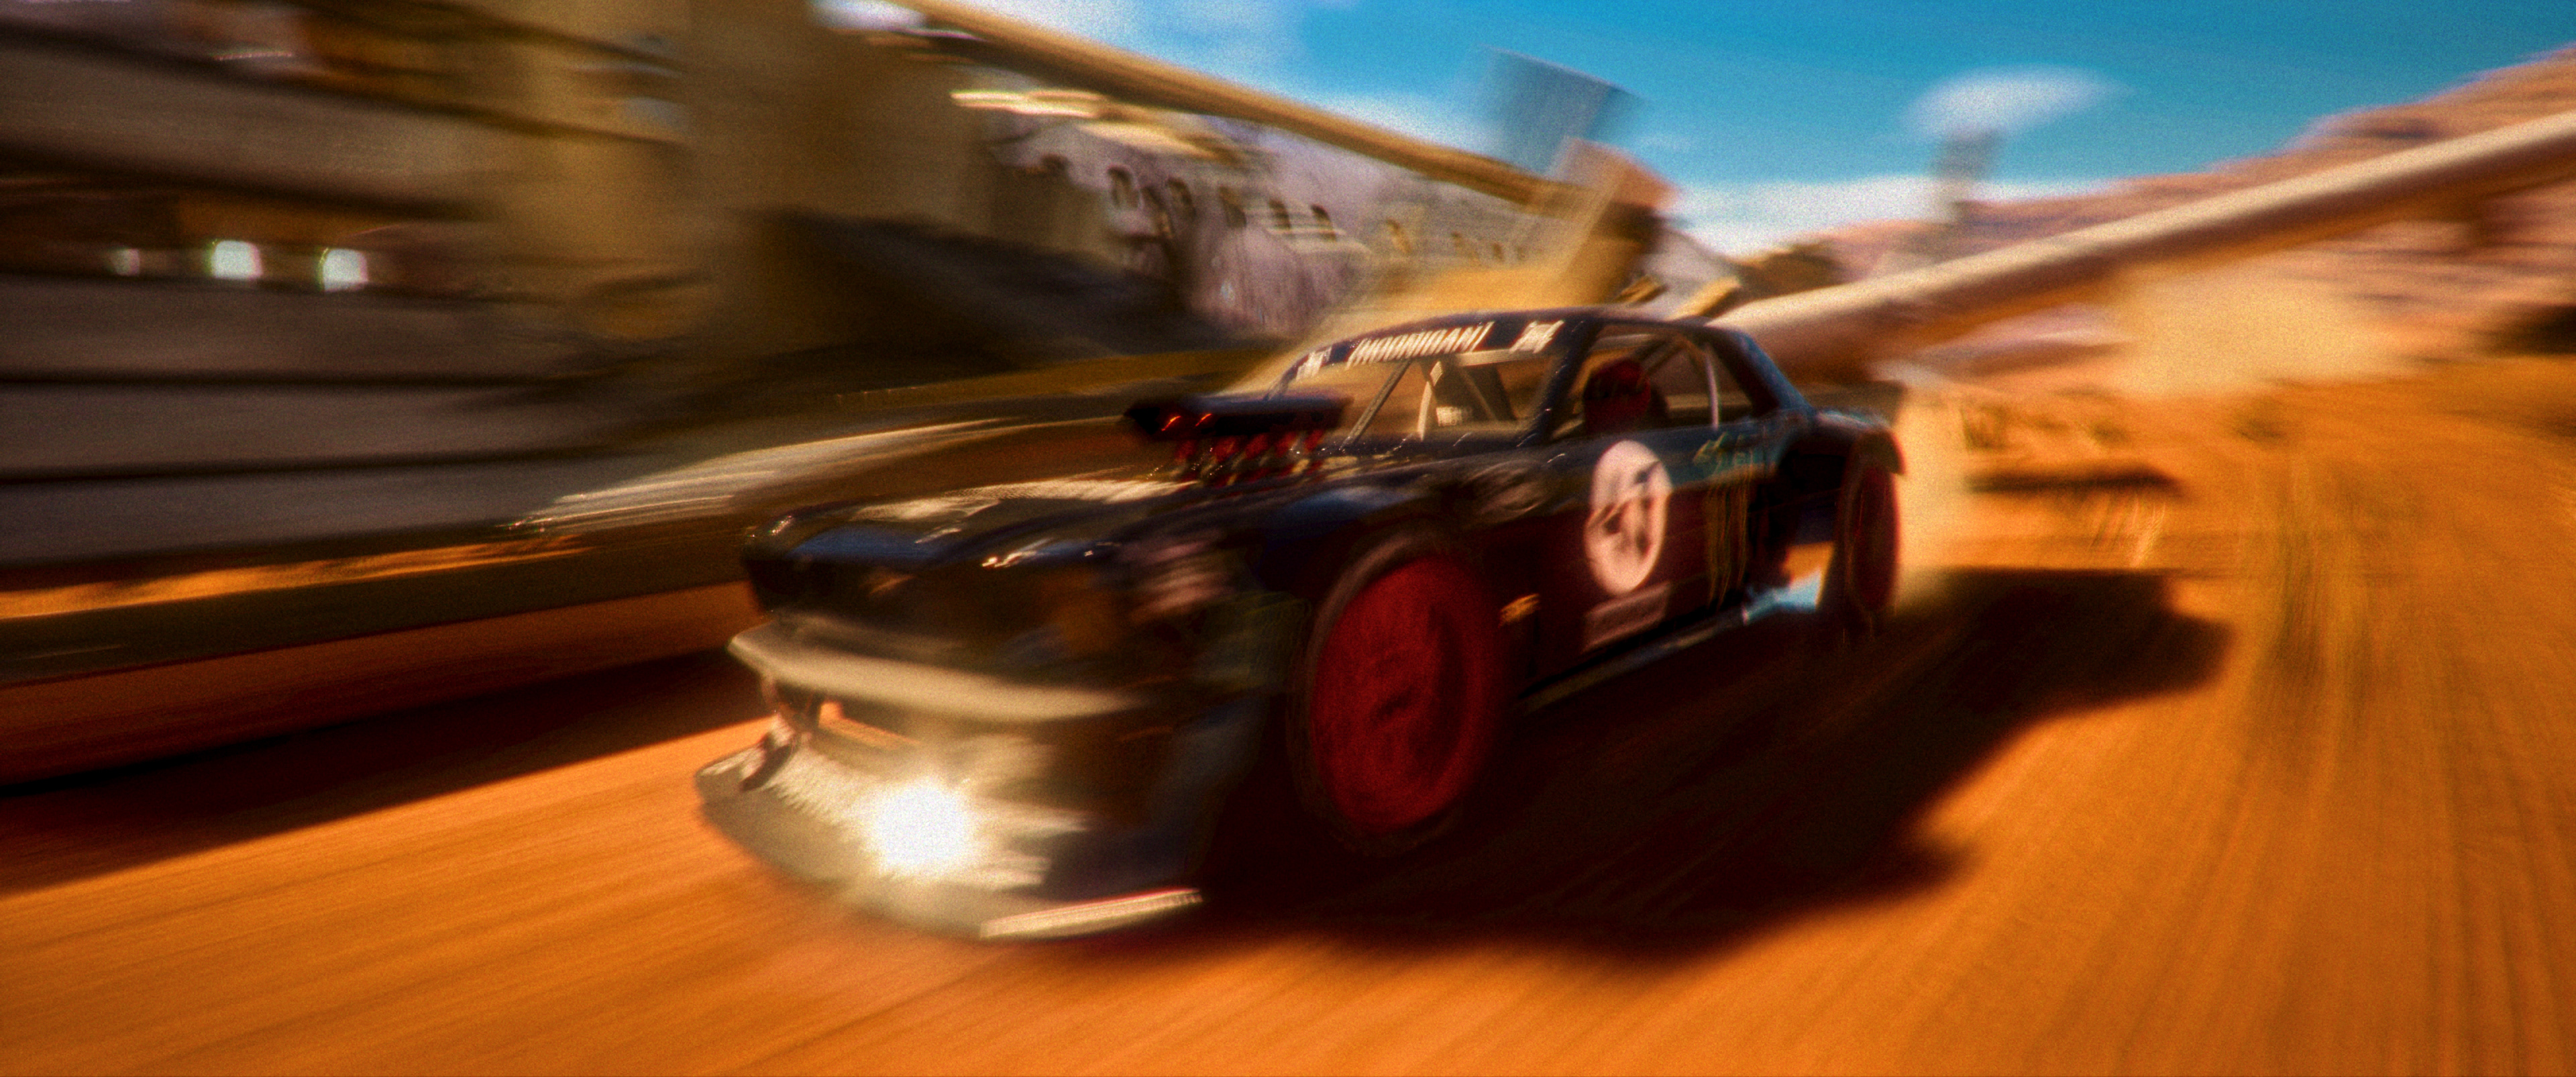
Airplane Crash Site Drift Sequence: Action-packed tracking renders featuring the Hoonicorn high-speed drifting through commercial plane debris, showcasing dusty ground trails, bright sun flares, dynamic tire-wheel closeups, and kinetic motion blur.
Environmental Establishing Sequence
The wide crash-site shots were designed primarily as environmental establishing plates, using the wrecked commercial aircraft as a large-scale foreground and midground element within the canyon biome. The aircraft was distributed across the terrain with separated fuselage, wing, and structural debris positioned to create readable depth and directional composition rather than appearing as a single intact asset. A combination of wide aerial framing, low-horizon placement, and controlled atmospheric perspective established the relationship between the wreckage, desert floor, and surrounding tabletop formations. Direct daylight was retained as the dominant source, while subtle dust and distant haze were introduced selectively to separate the far canyon structures and reduce the synthetic sharpness of the CG environment. The shots also functioned as spatial transitions within the sequence, establishing the geography through which the Hoonicorn would later pass while maintaining visual continuity with the surrounding desert sets.
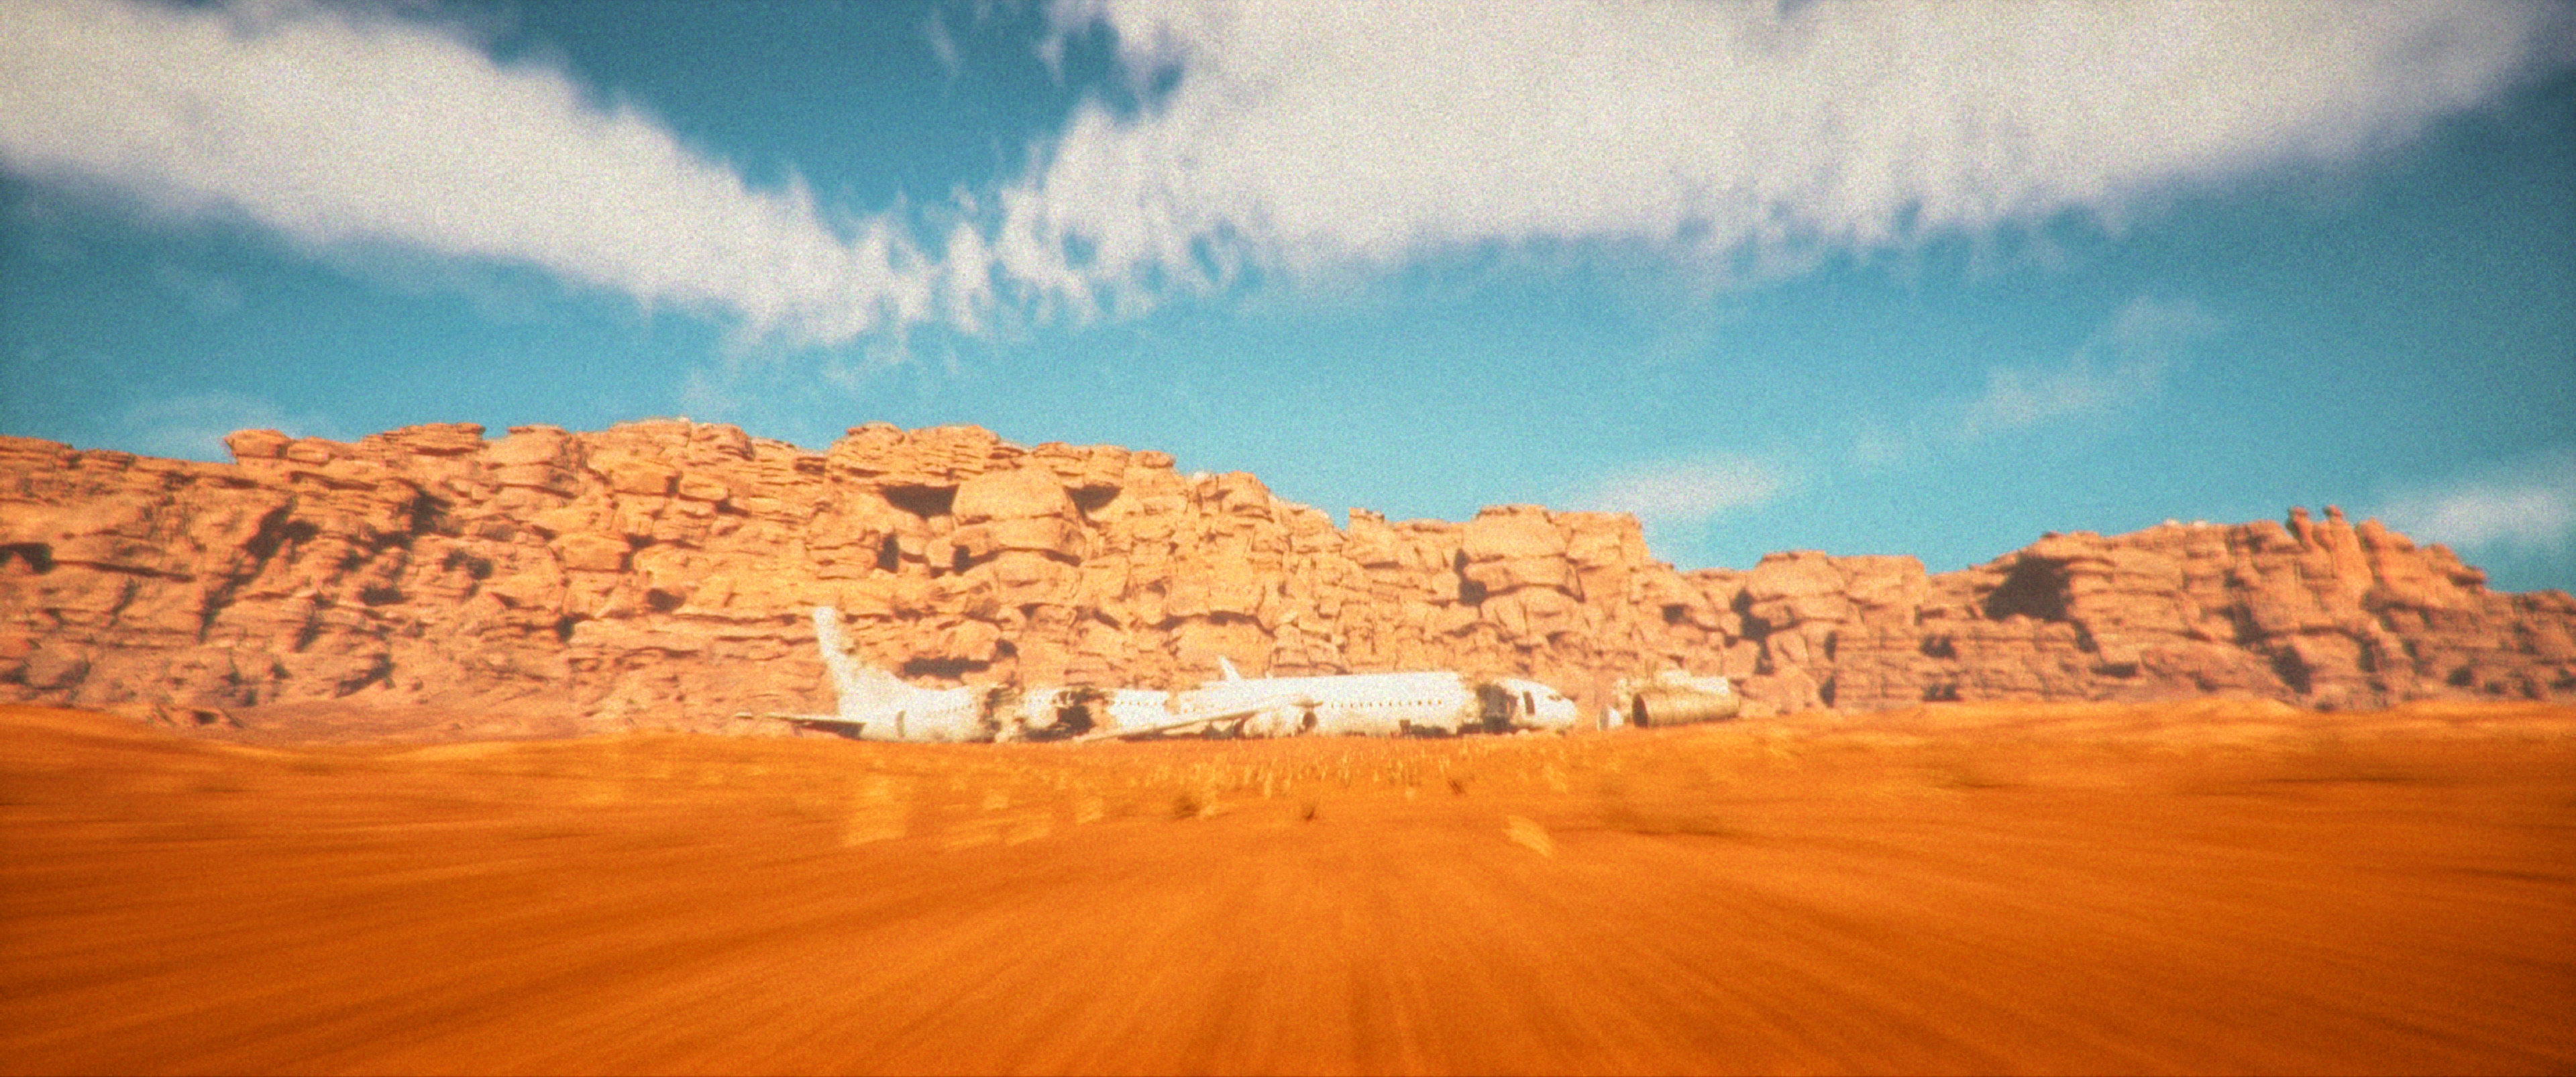
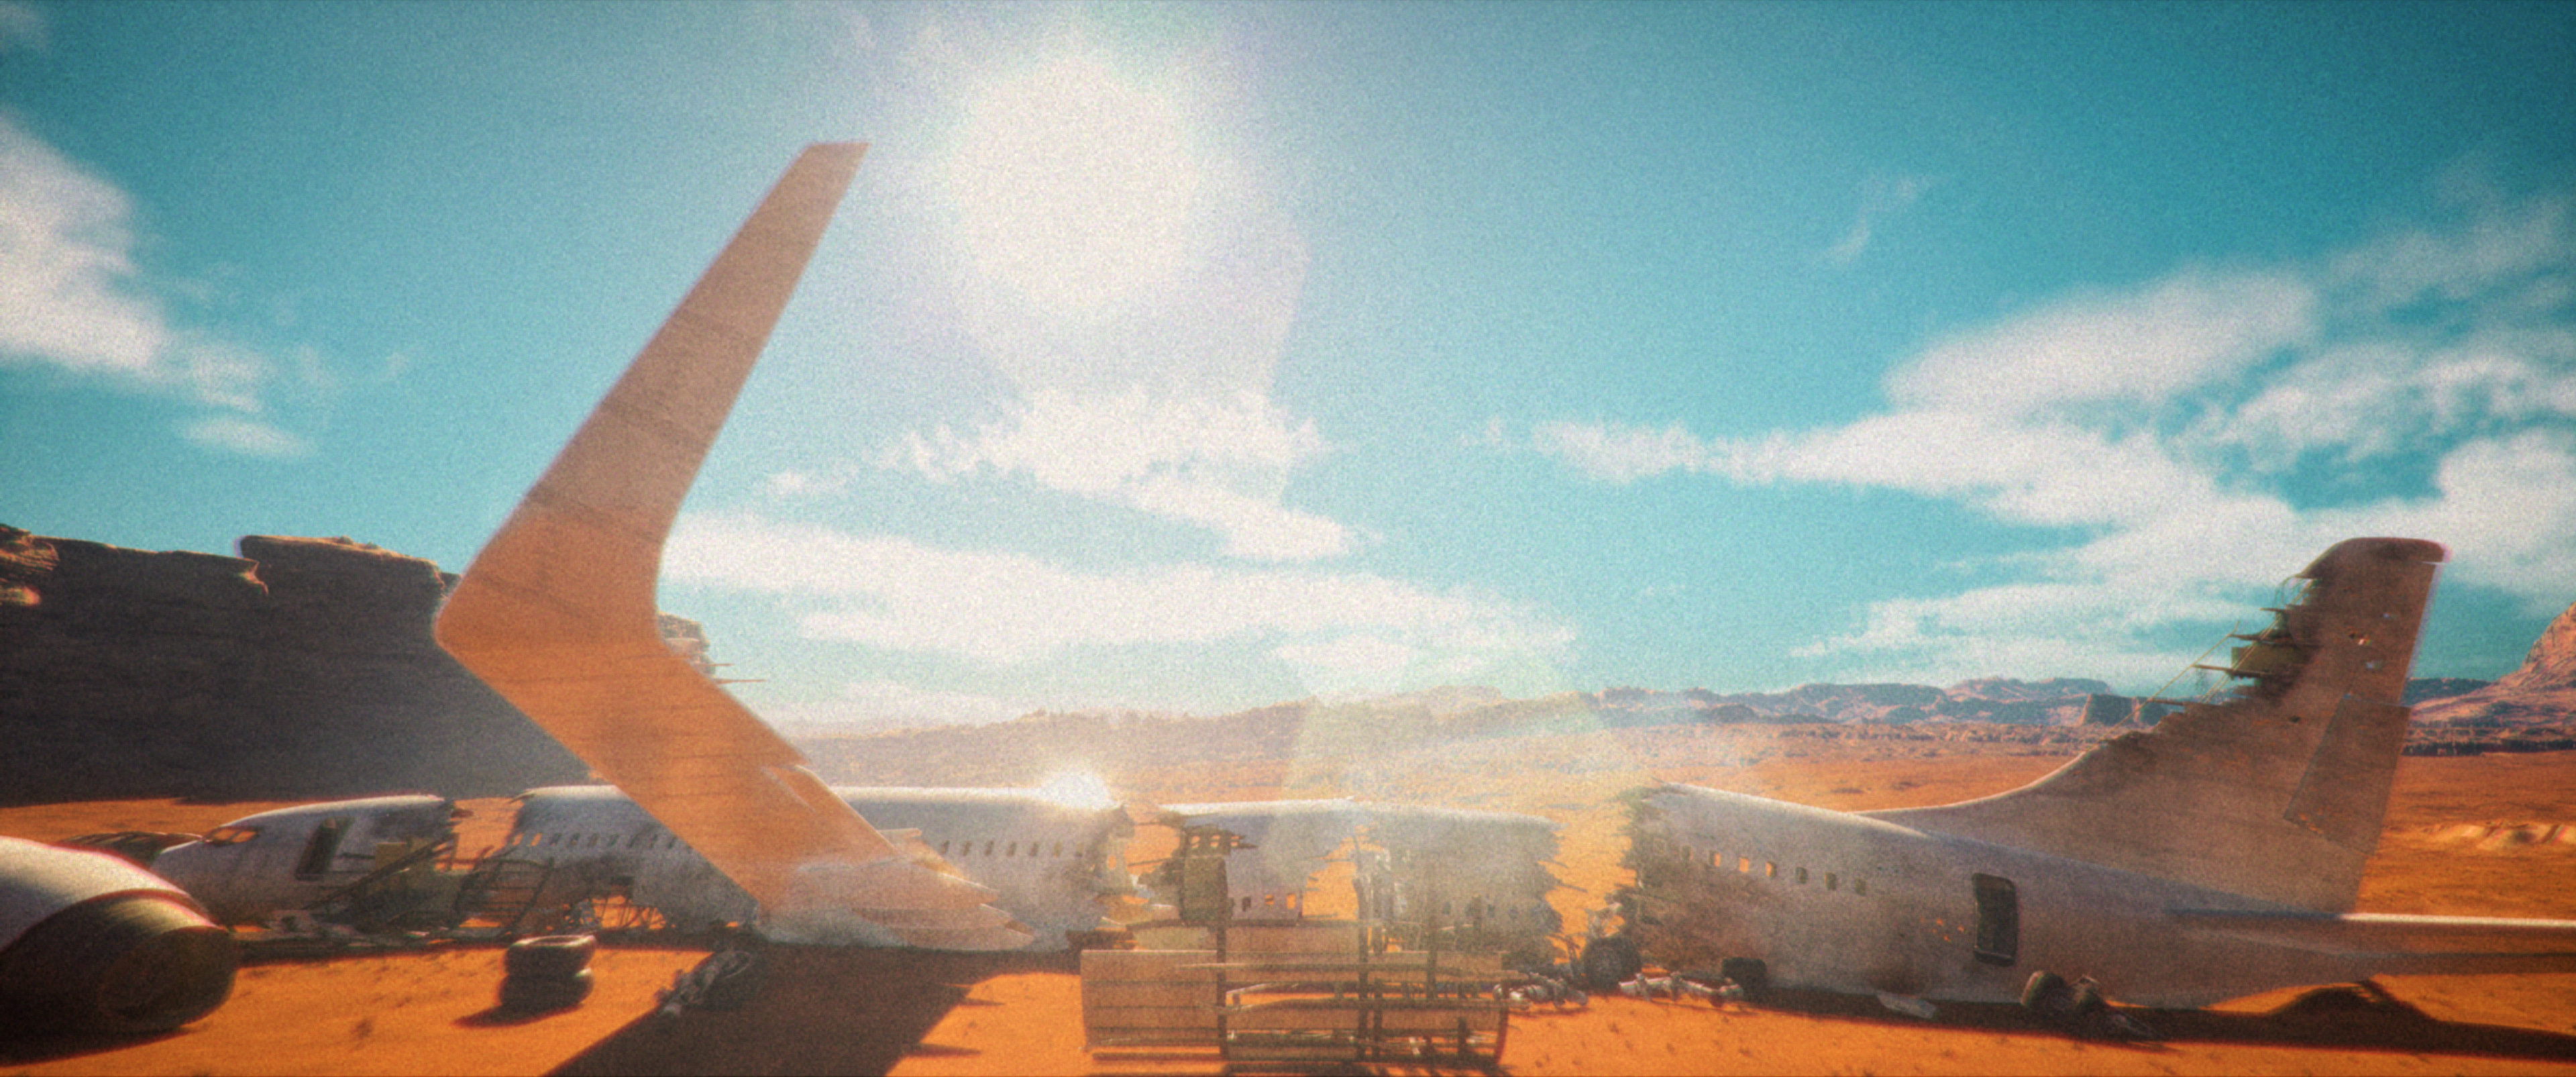
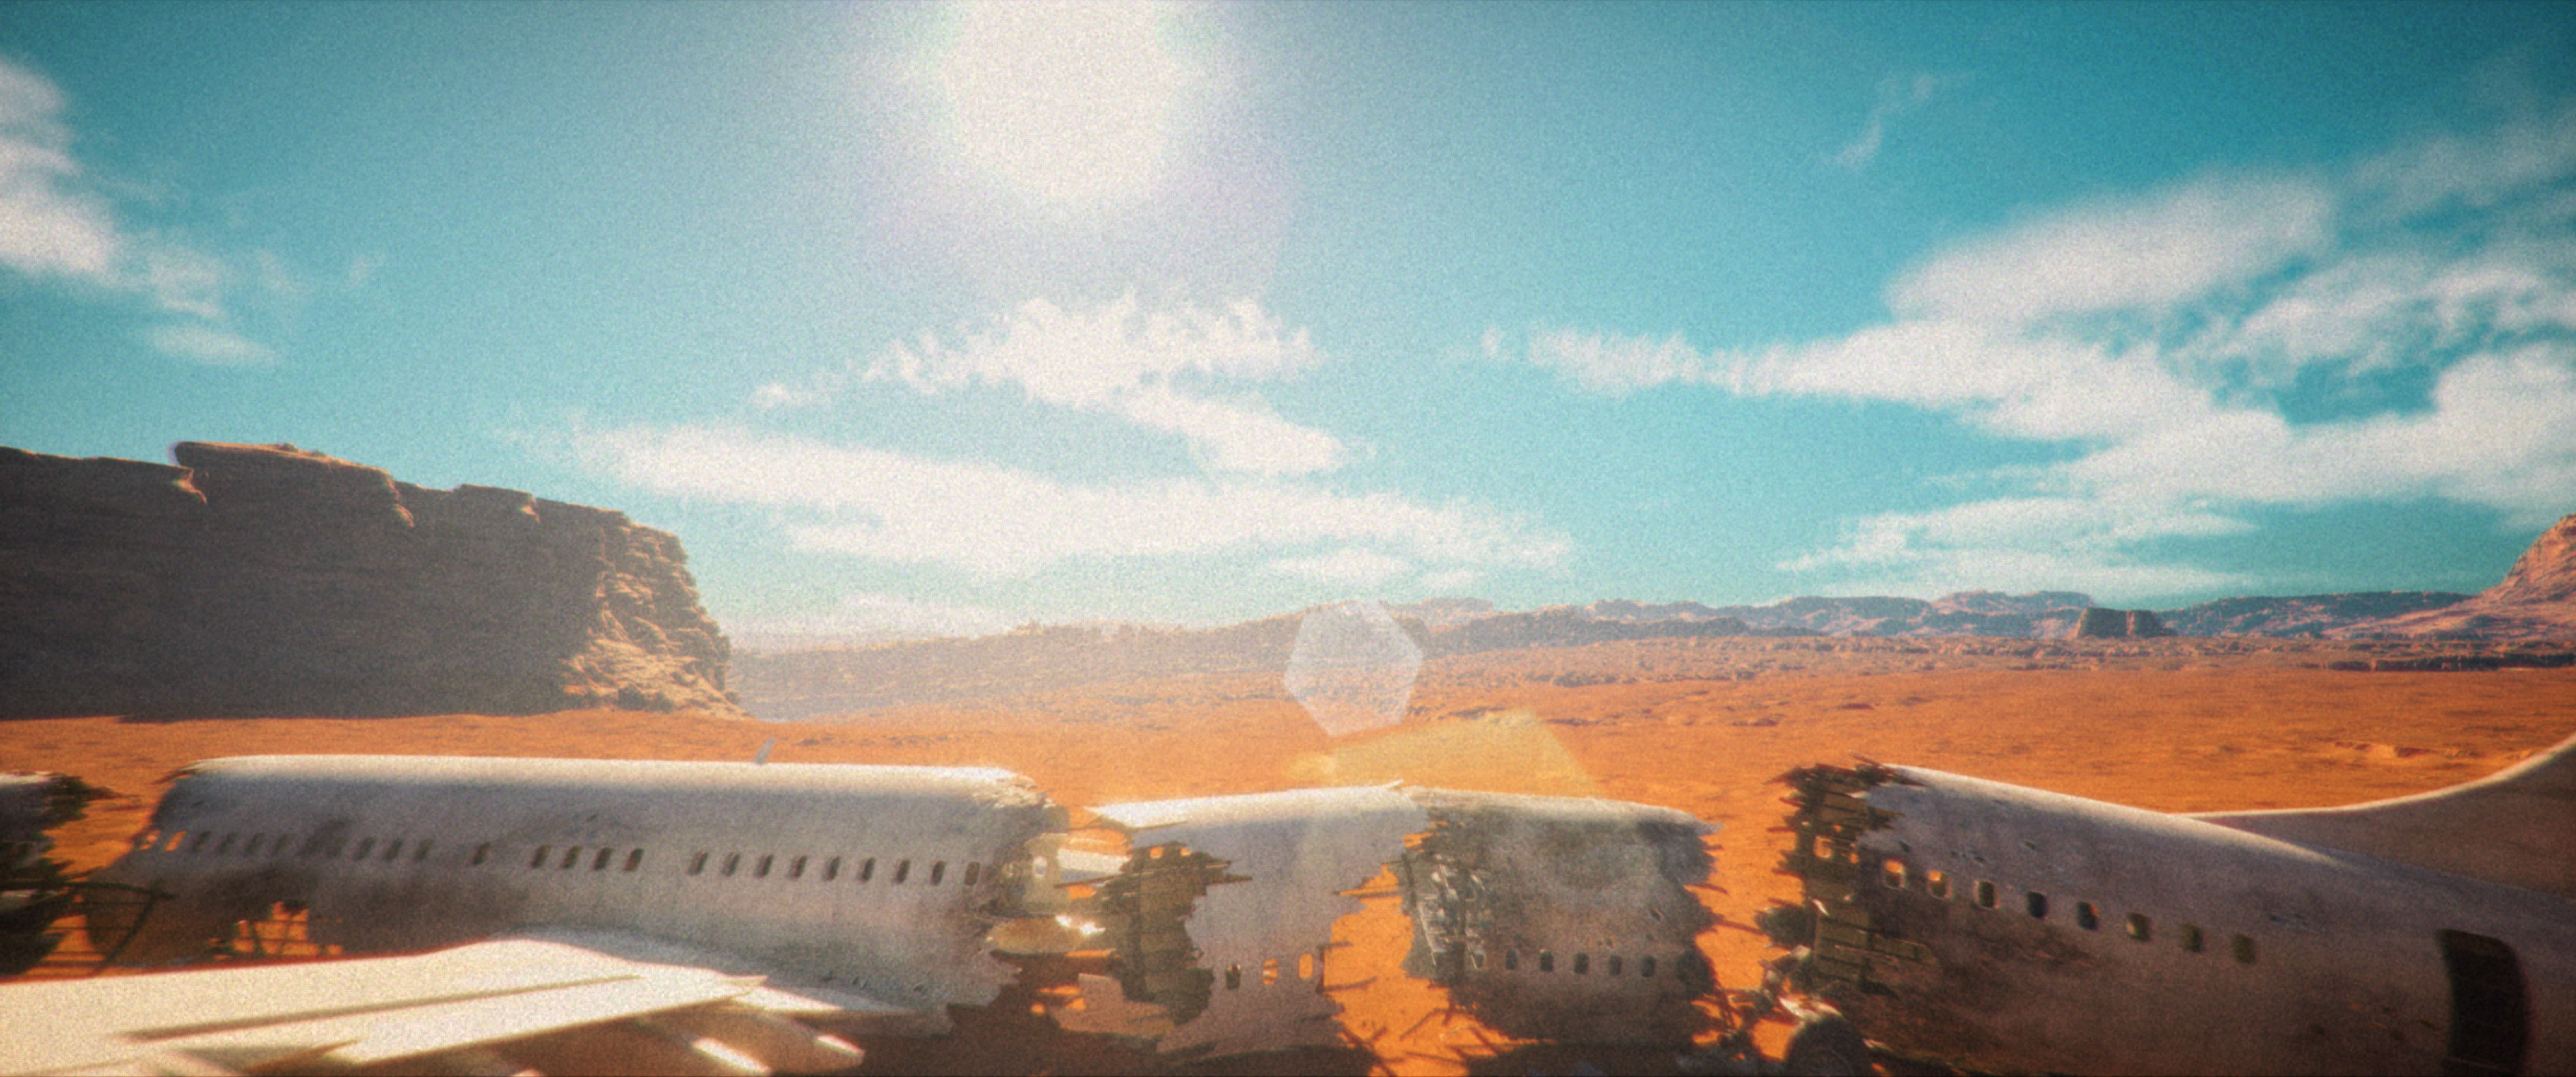
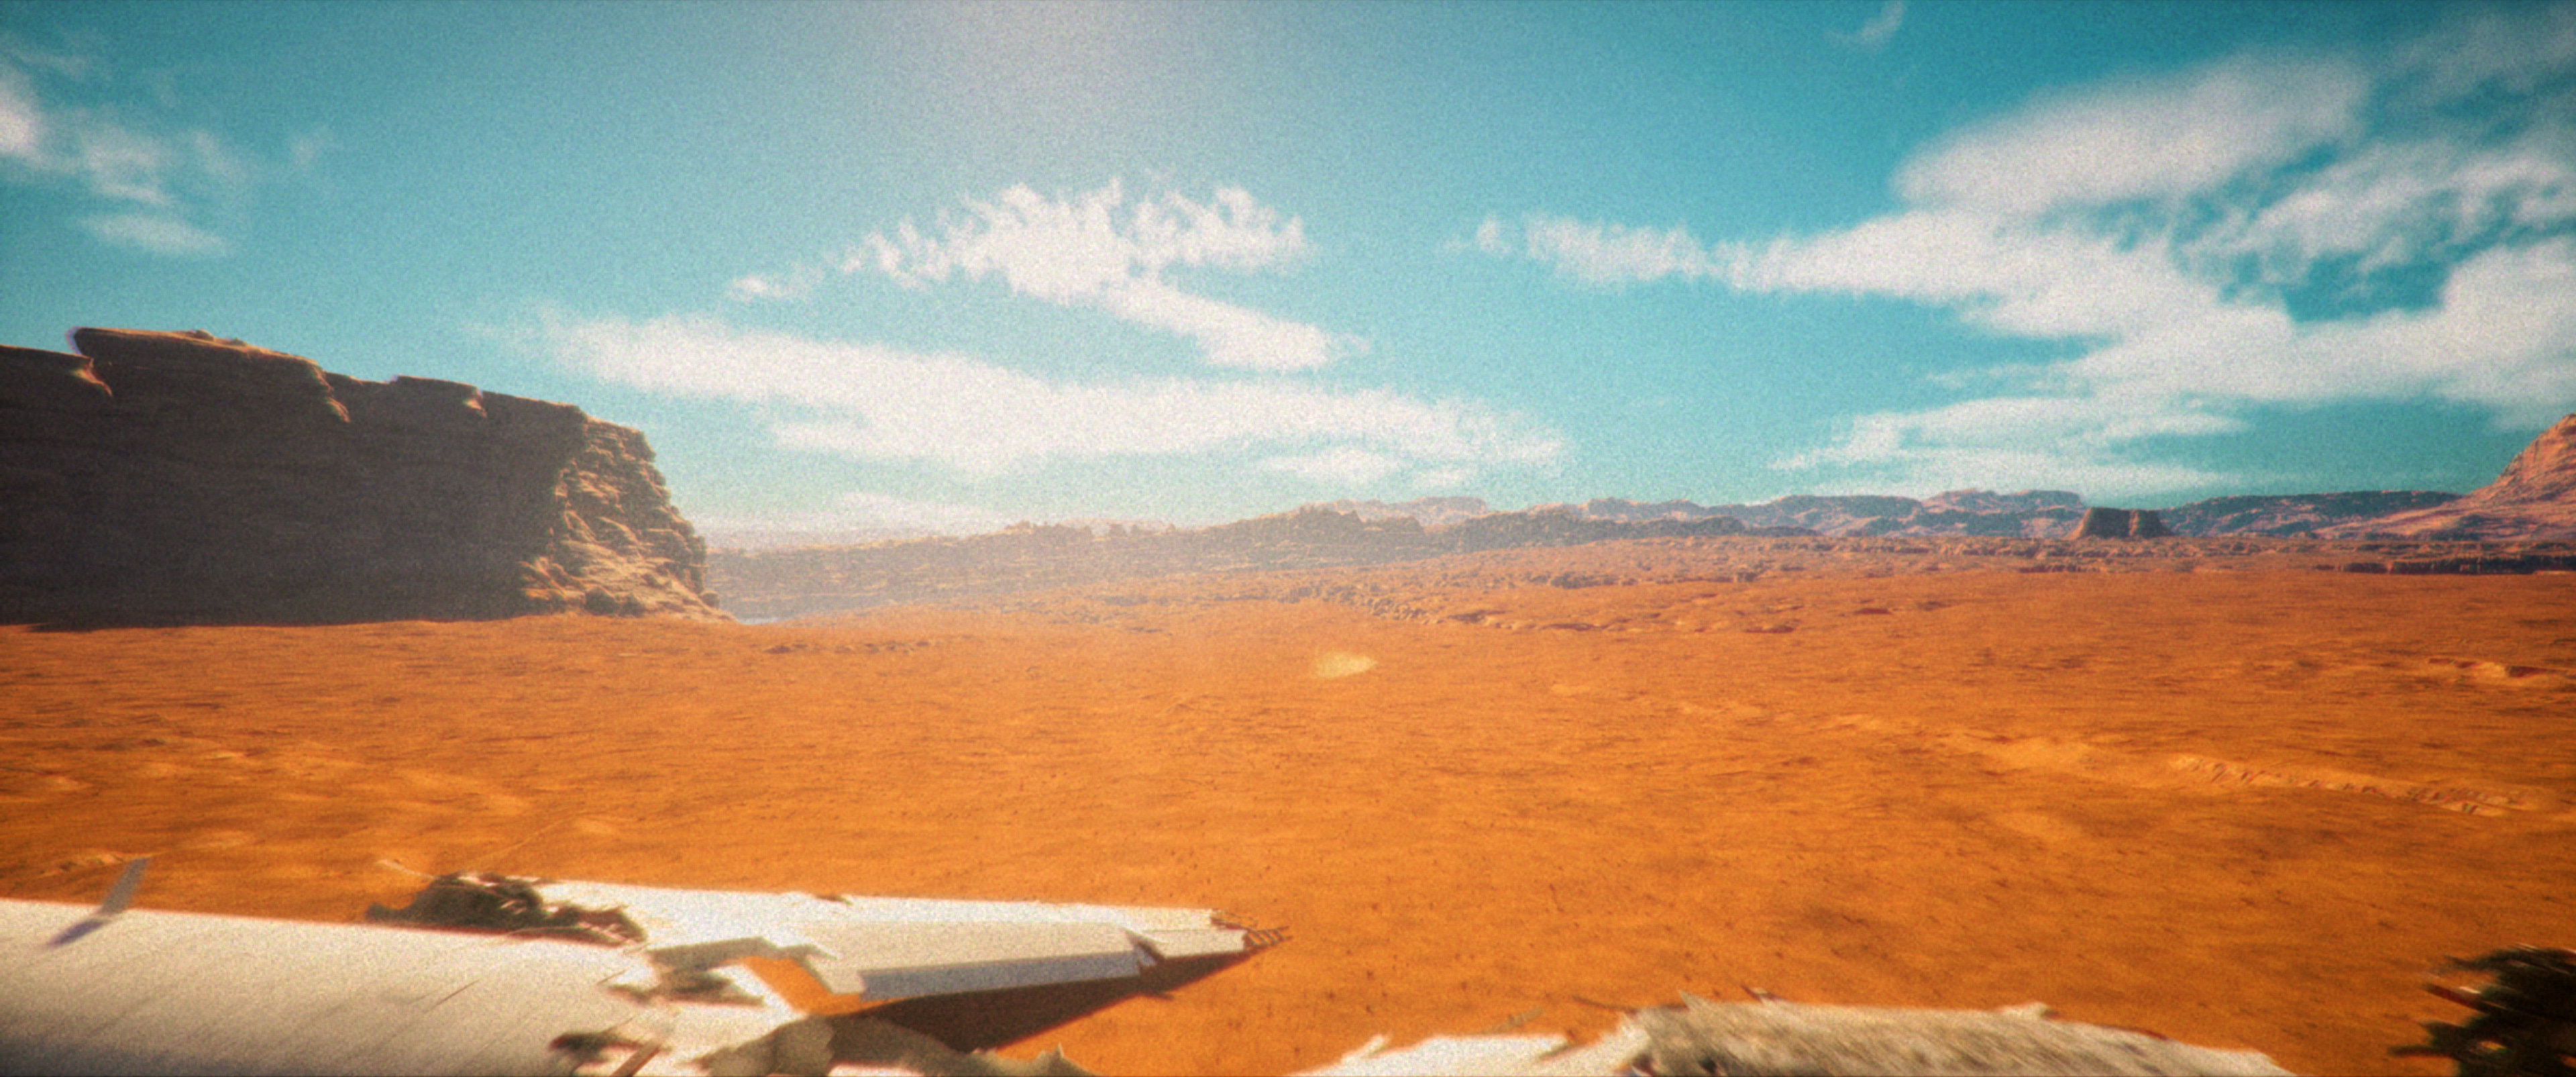
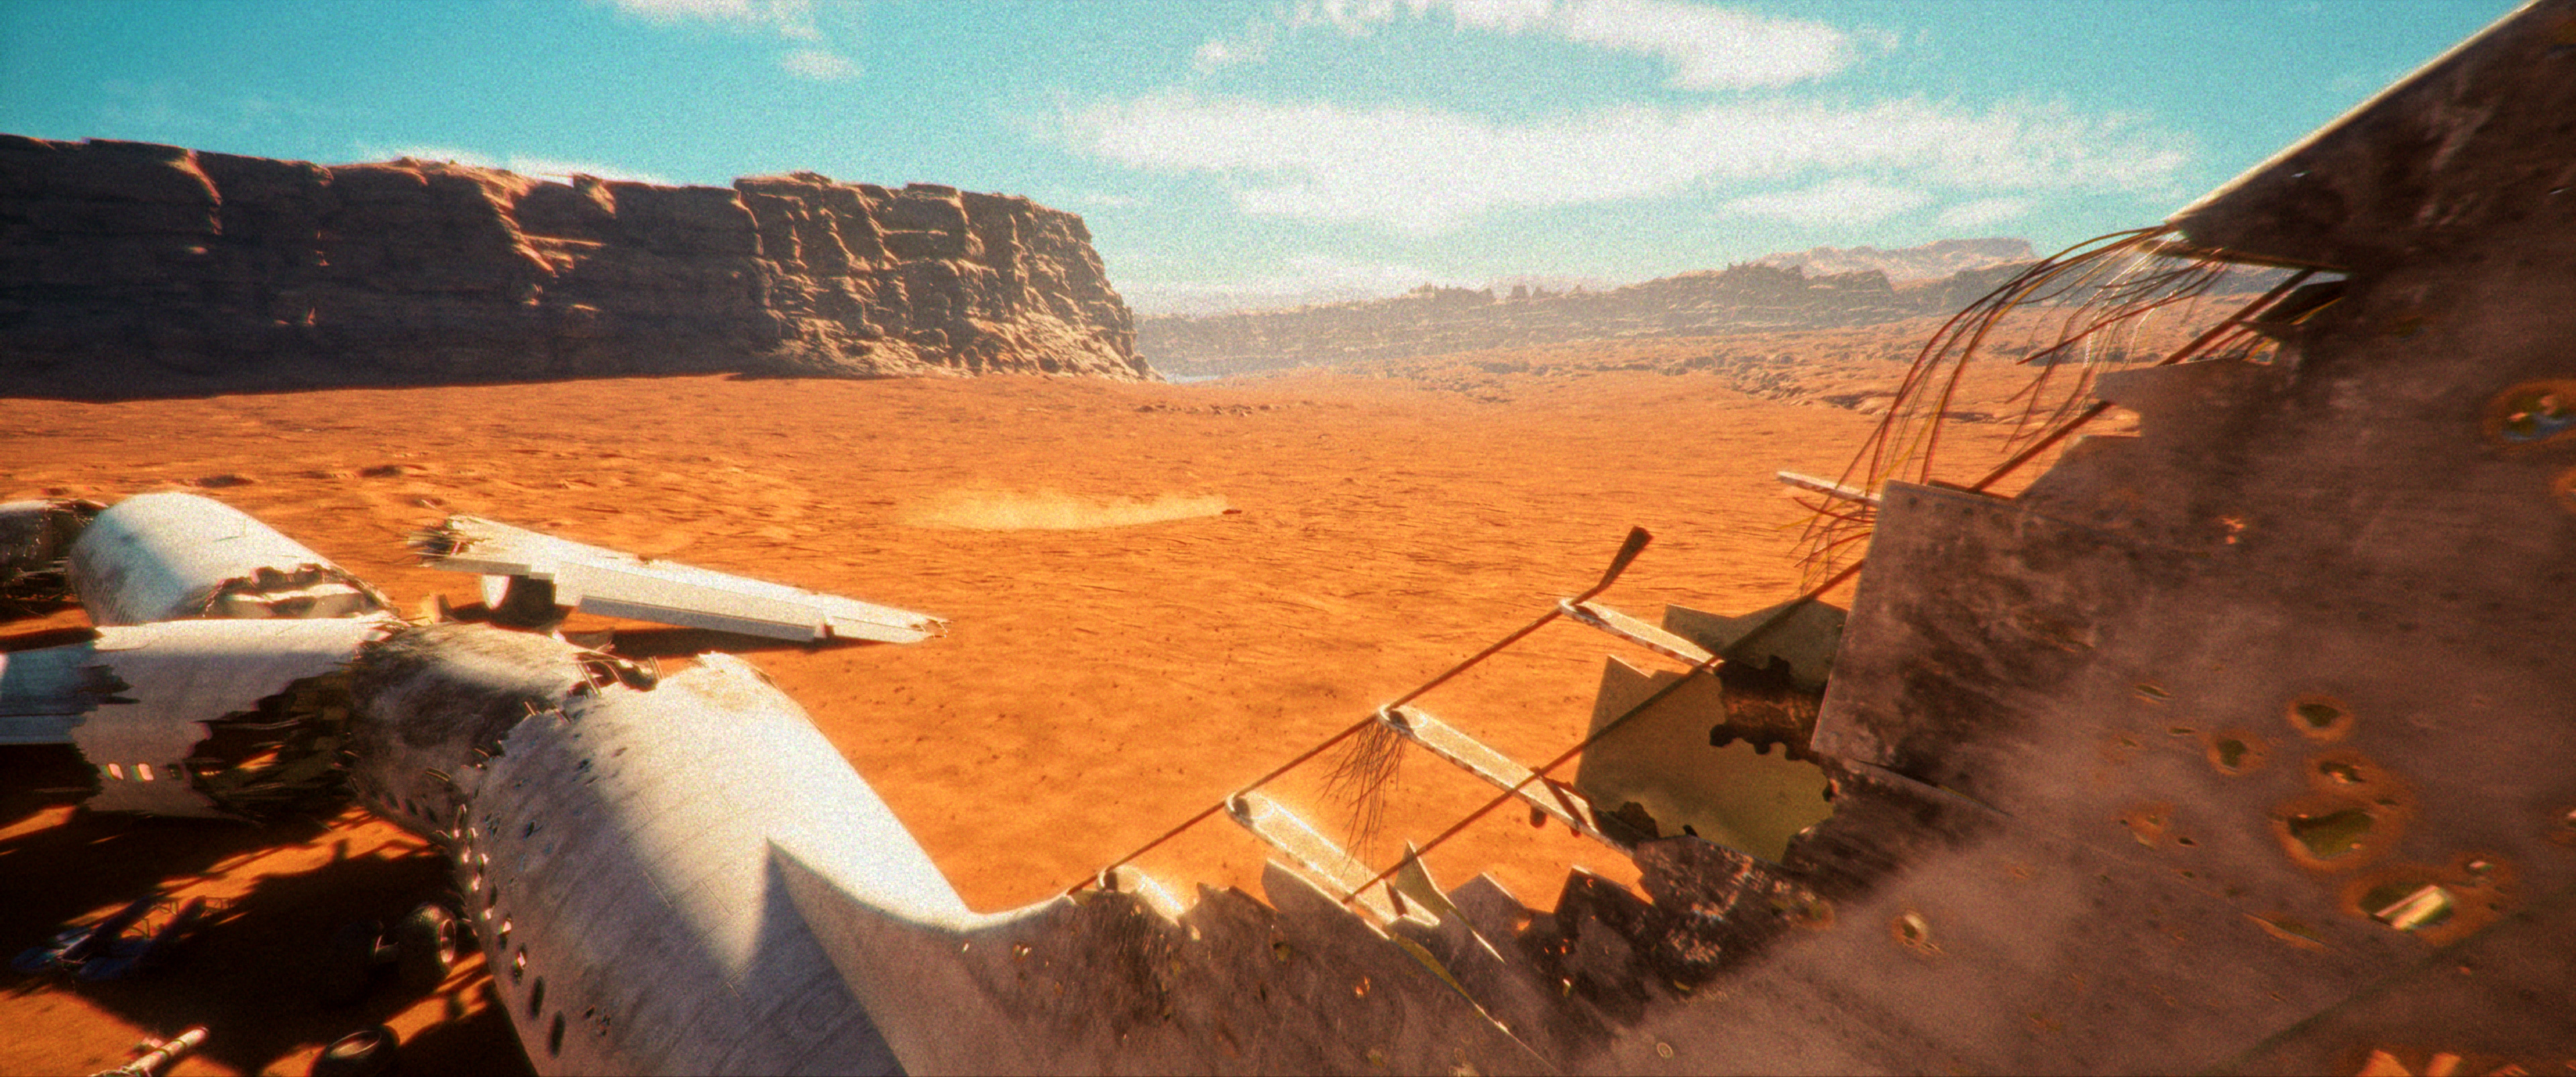
Crash Site Environment Establishing Sequence: Wide, sunny desert renders establishing the commercial plane crash site, featuring broken fuselage sections, scattered wreckage, towering canyon backdrops, and dusty atmospheric haze.
Vehicle Dynamics & Drift Animation
The drift sequences were animated with emphasis on vehicle weight transfer, steering input, body roll, pitch, tyre rotation, and suspension response rather than treating the Hoonicorn as a rigid object sliding across the terrain. After establishing the camera and basic trajectory, the vehicle was driven through manually animated drift arcs with controlled counter-steering and body tilt, while speed was maintained within the researched operating range of approximately 150–200 km/h for the high-speed sequences. Wheel rotation, chassis vibration, small directional wobbles, tyre smoke, and dust were layered afterward and parented to the corresponding wheel assemblies so the secondary effects followed the vehicle motion. The drift shots were also varied through low rear-quarter, side-profile, front-quarter, overhead, and close wheel compositions, allowing the same physical animation principles to communicate different levels of velocity and lateral load. Particular attention was given to maintaining believable contact with the terrain during transitions, especially when the vehicle changed direction, entered a slide, or recovered into straight-line acceleration.
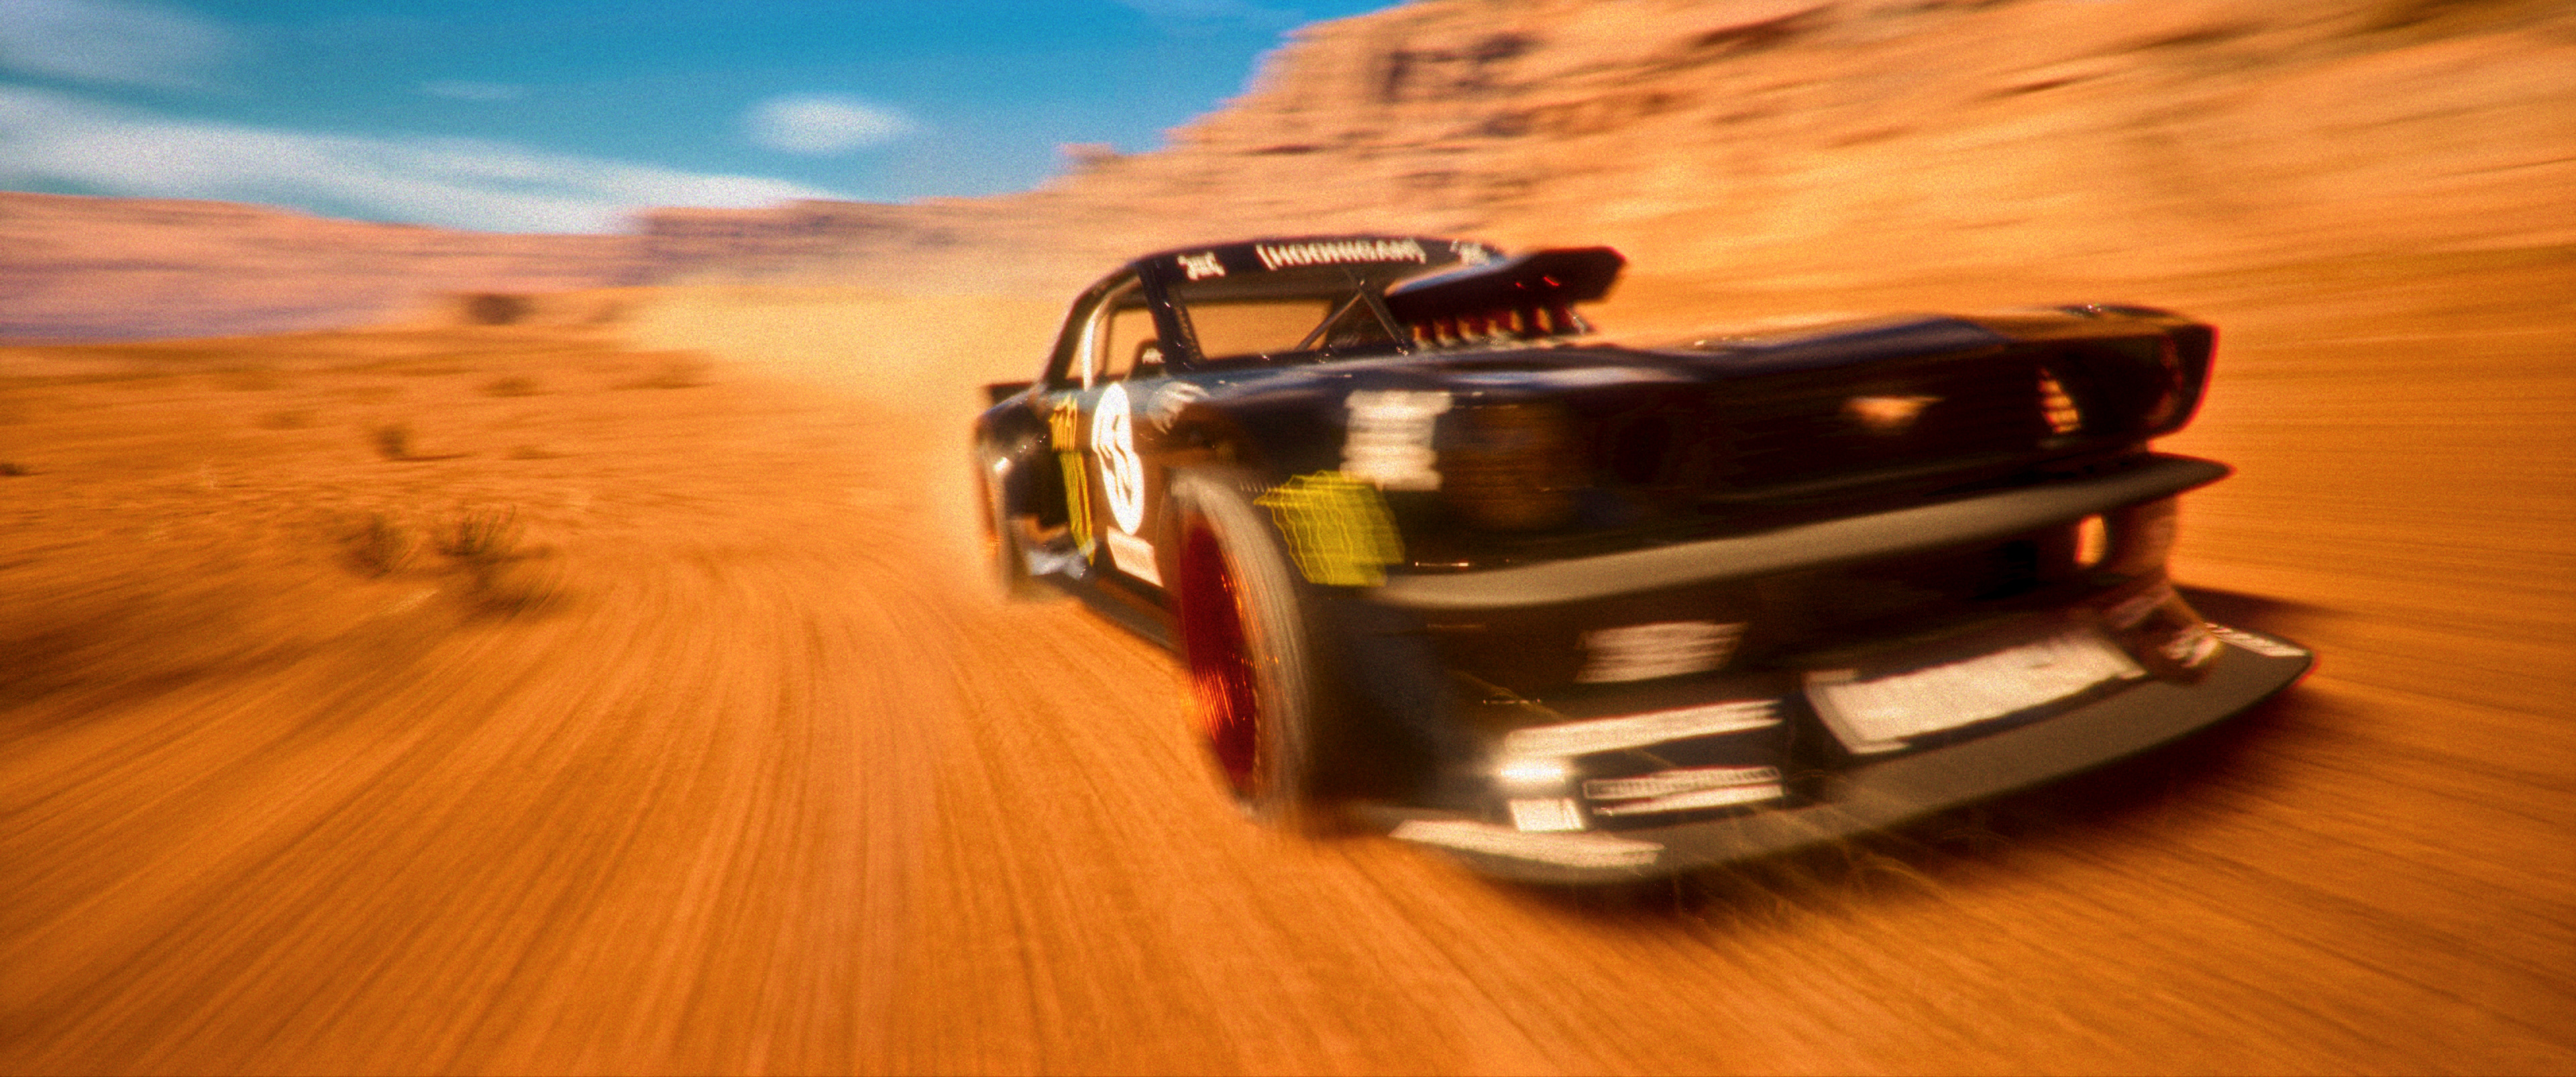
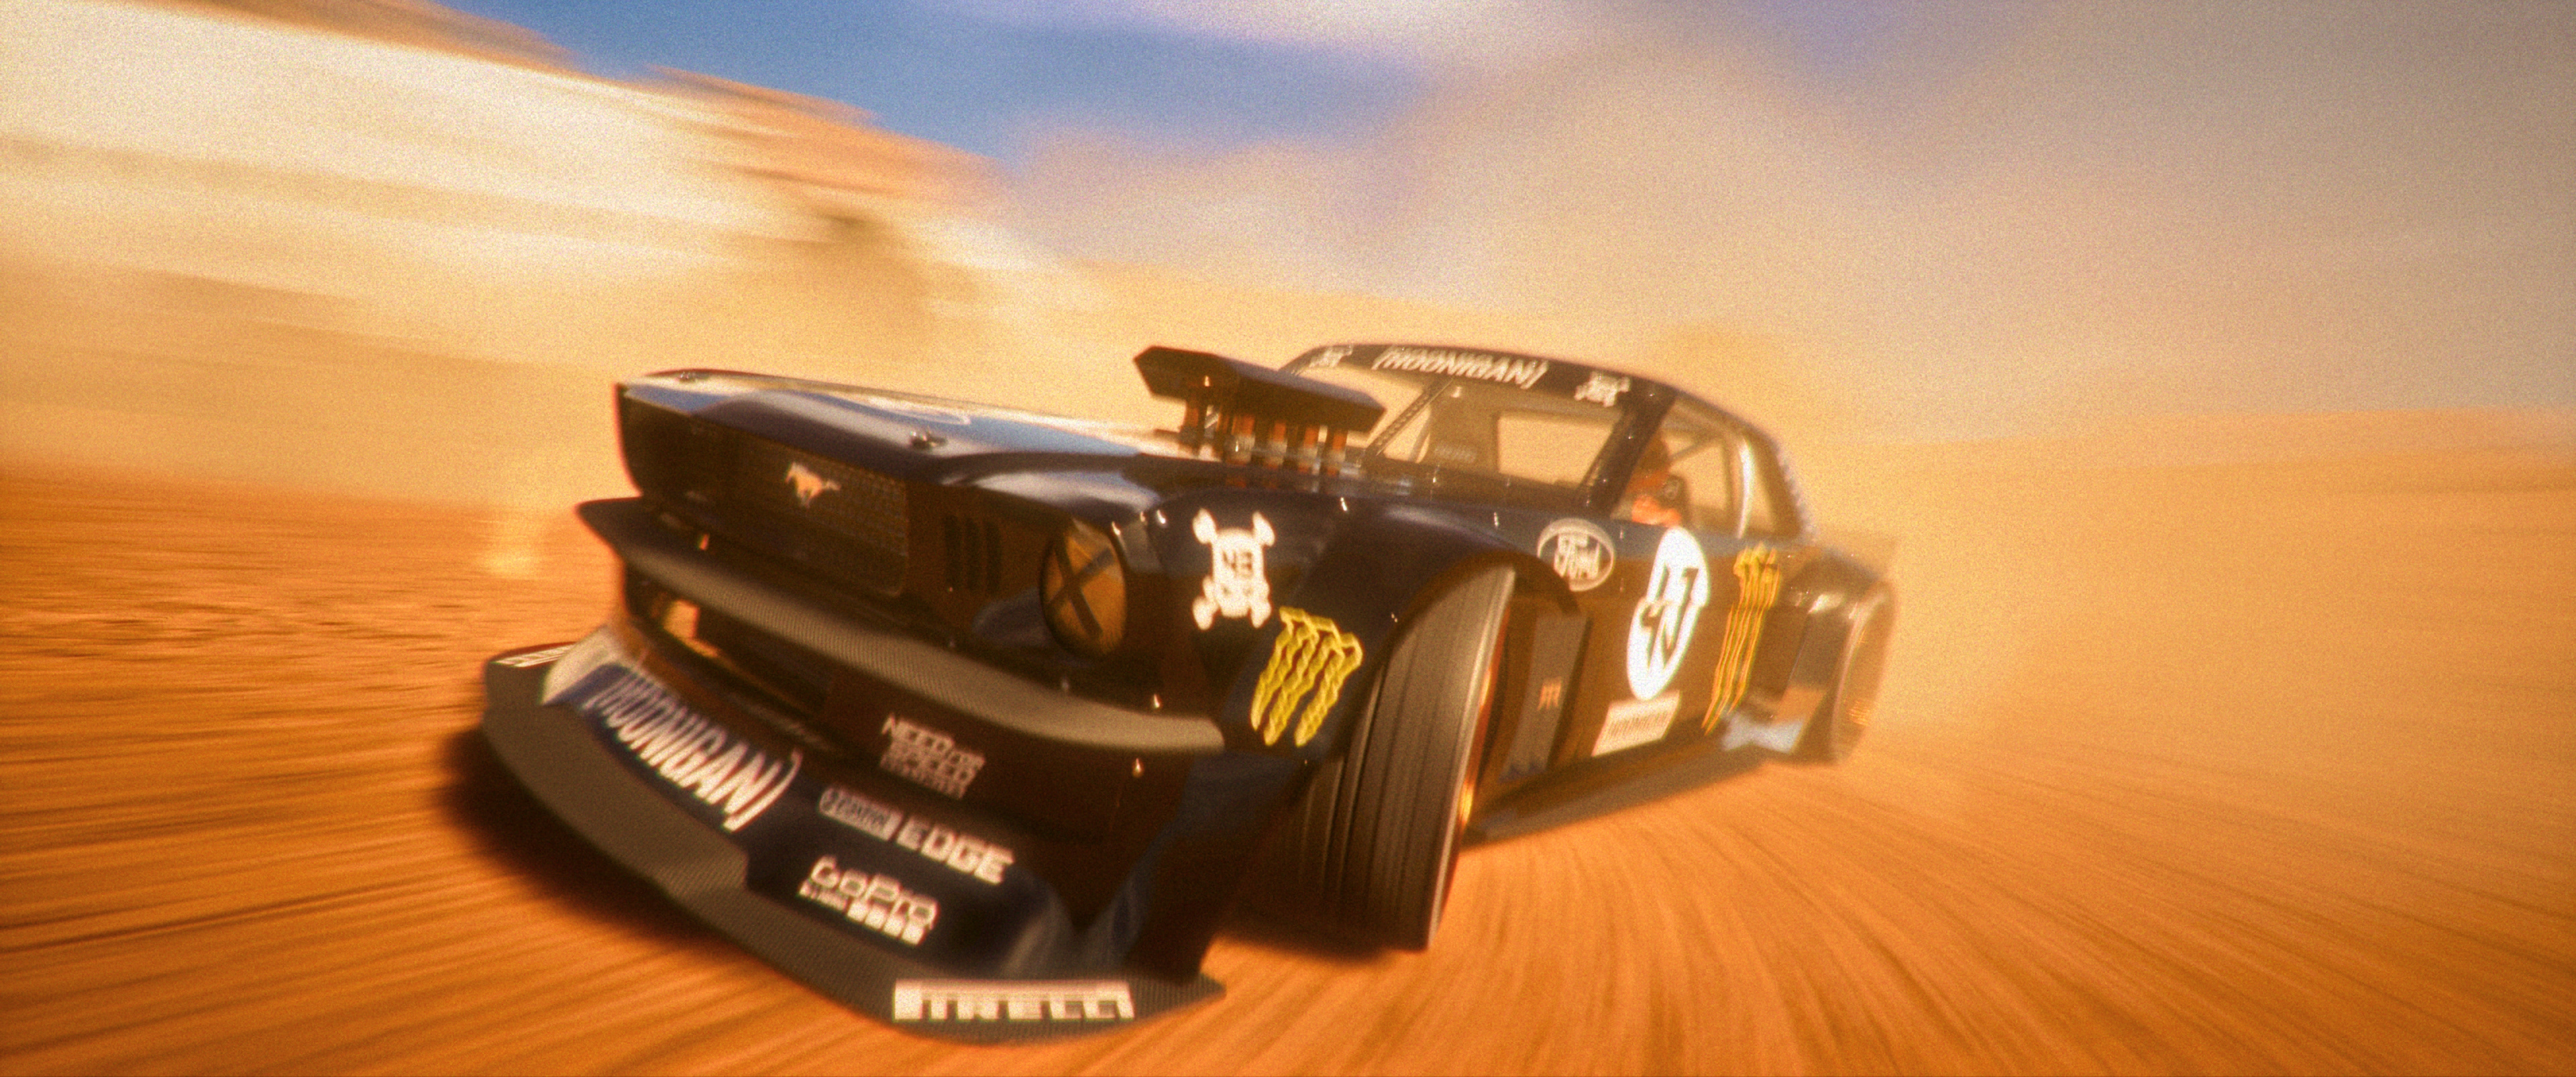
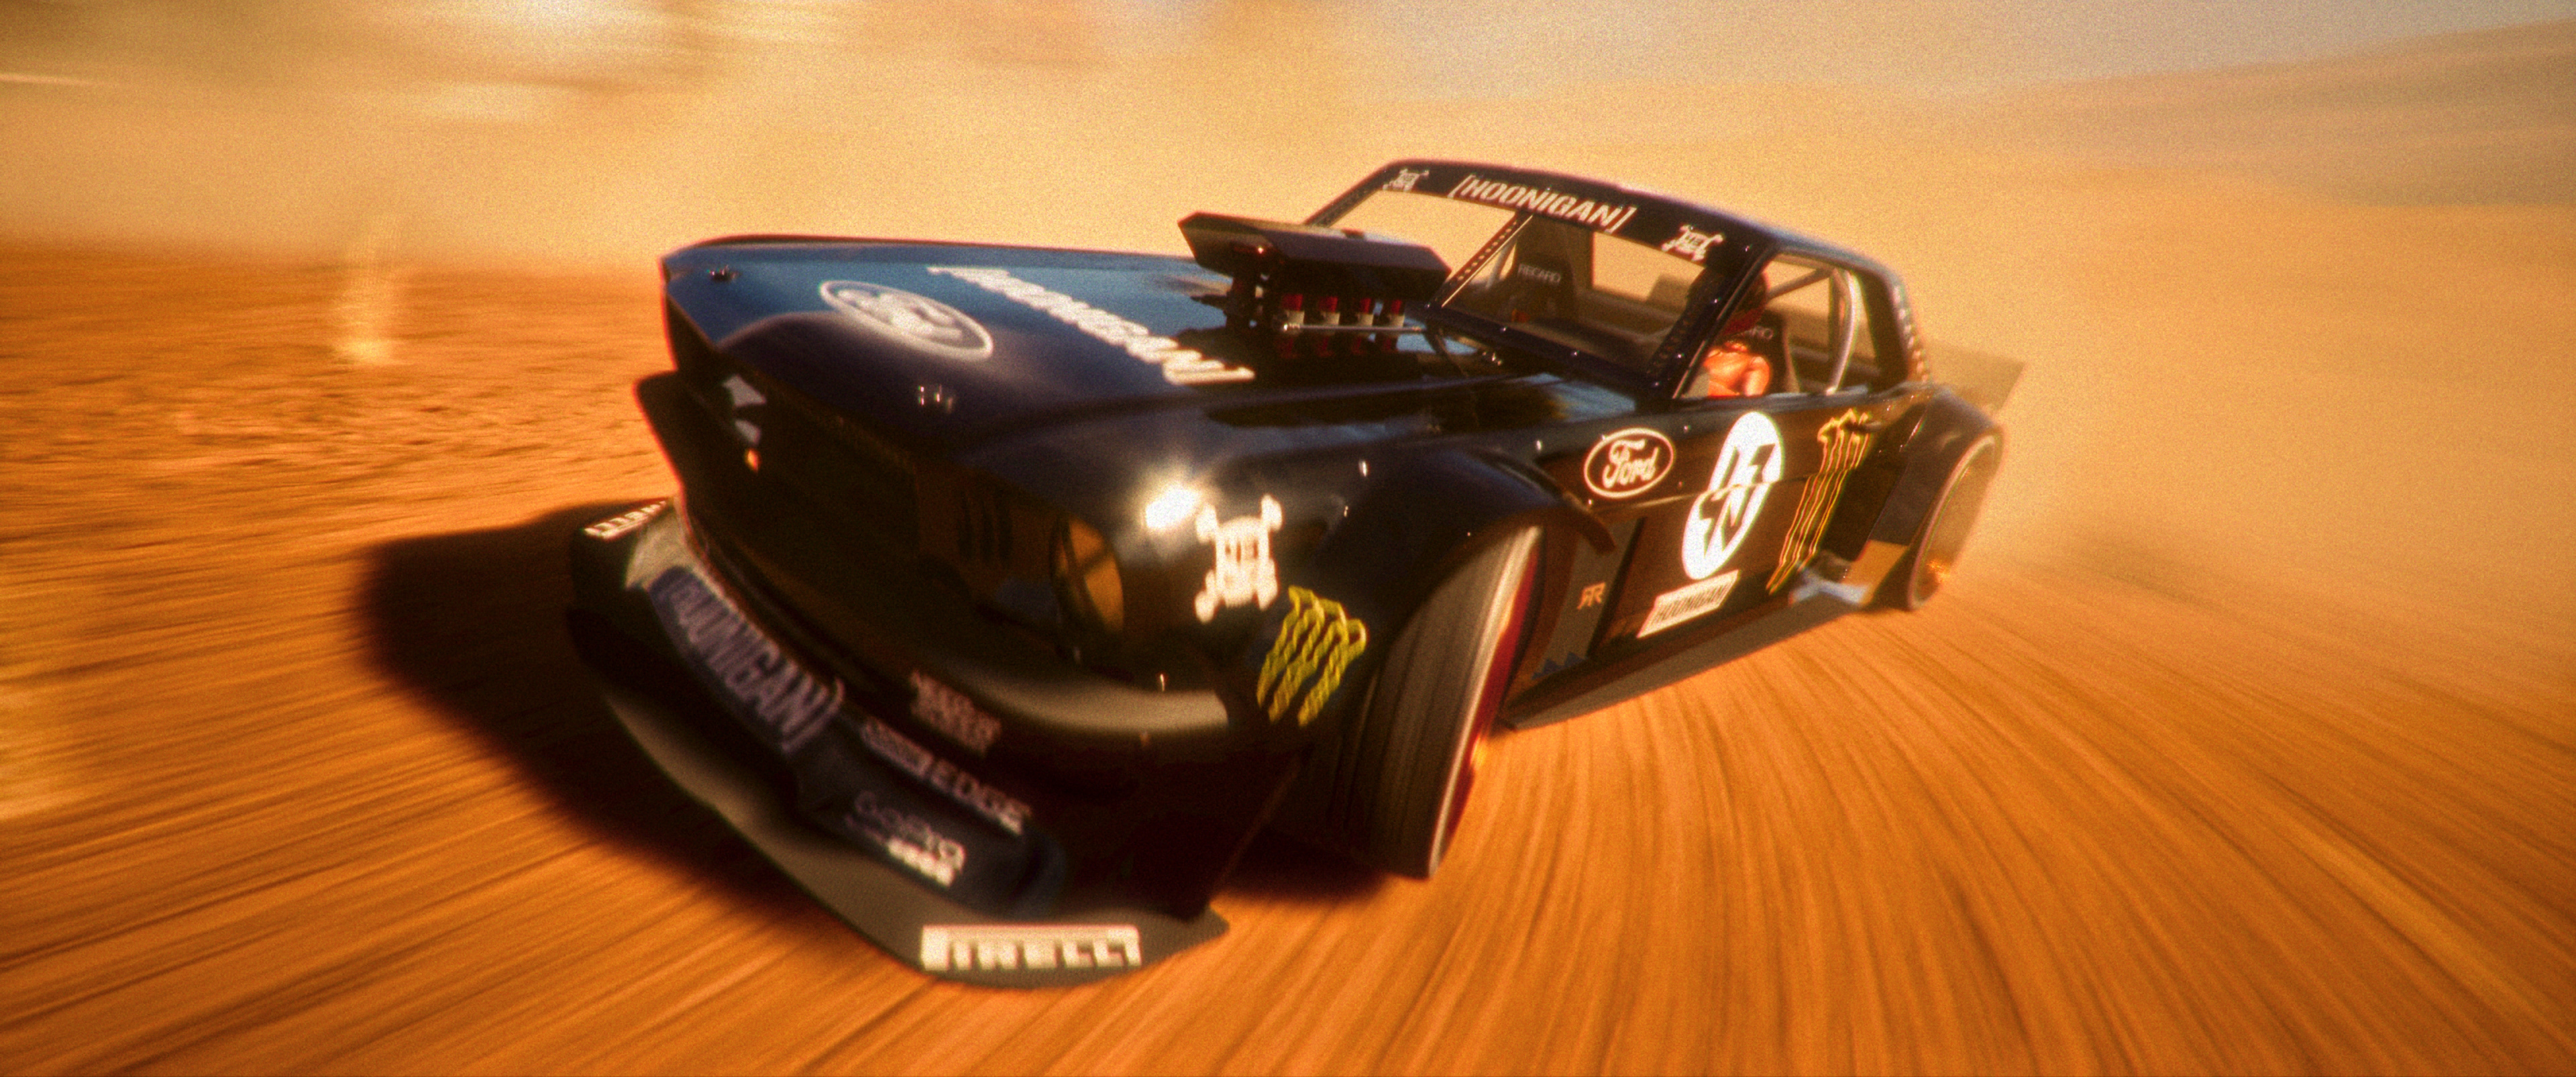
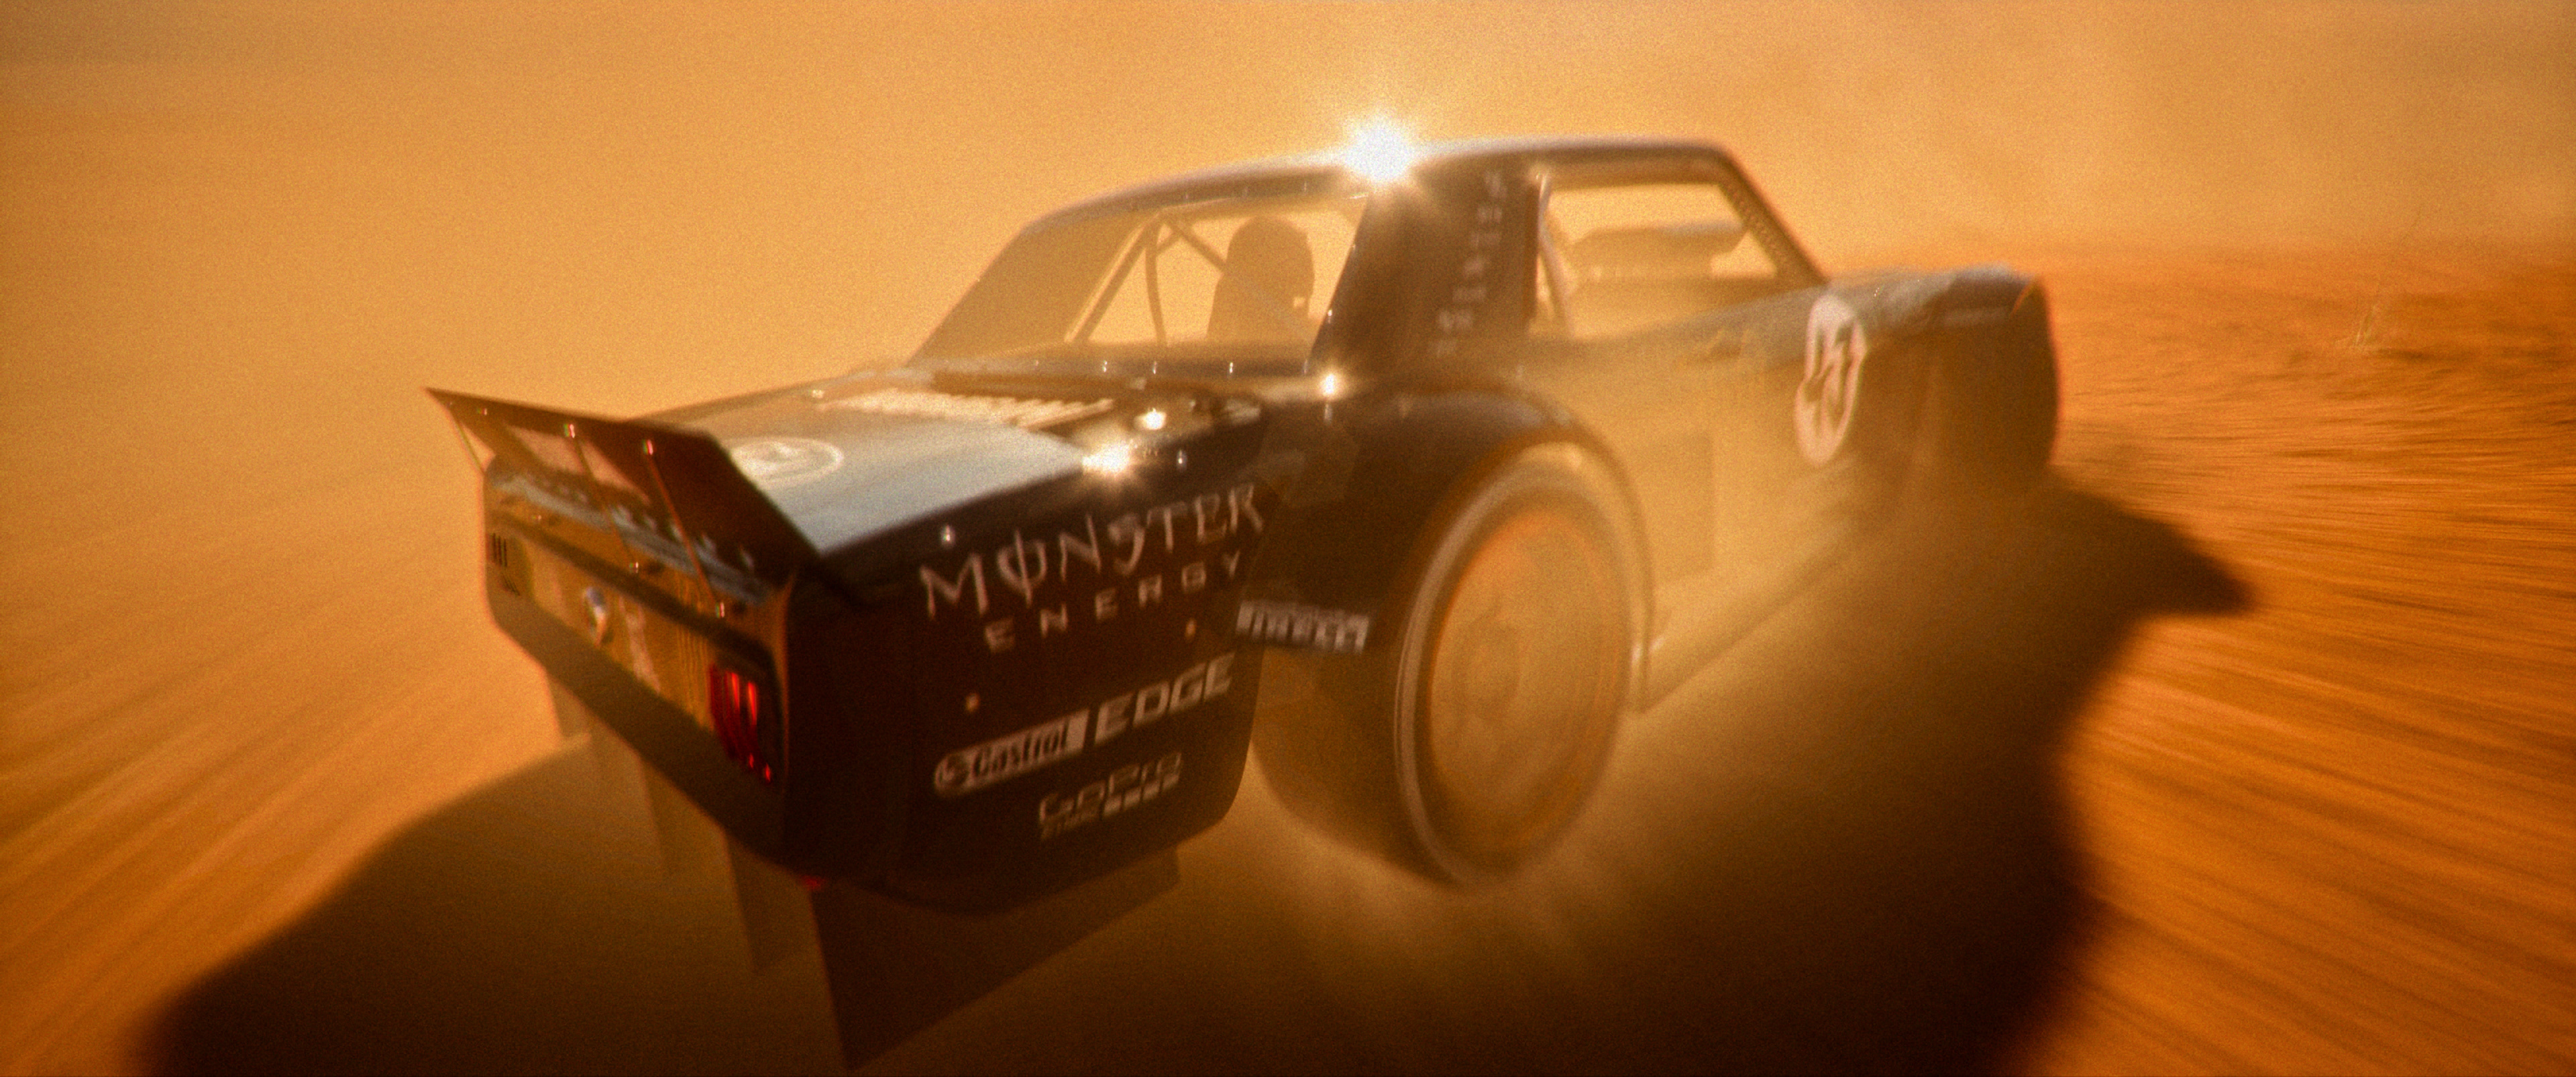
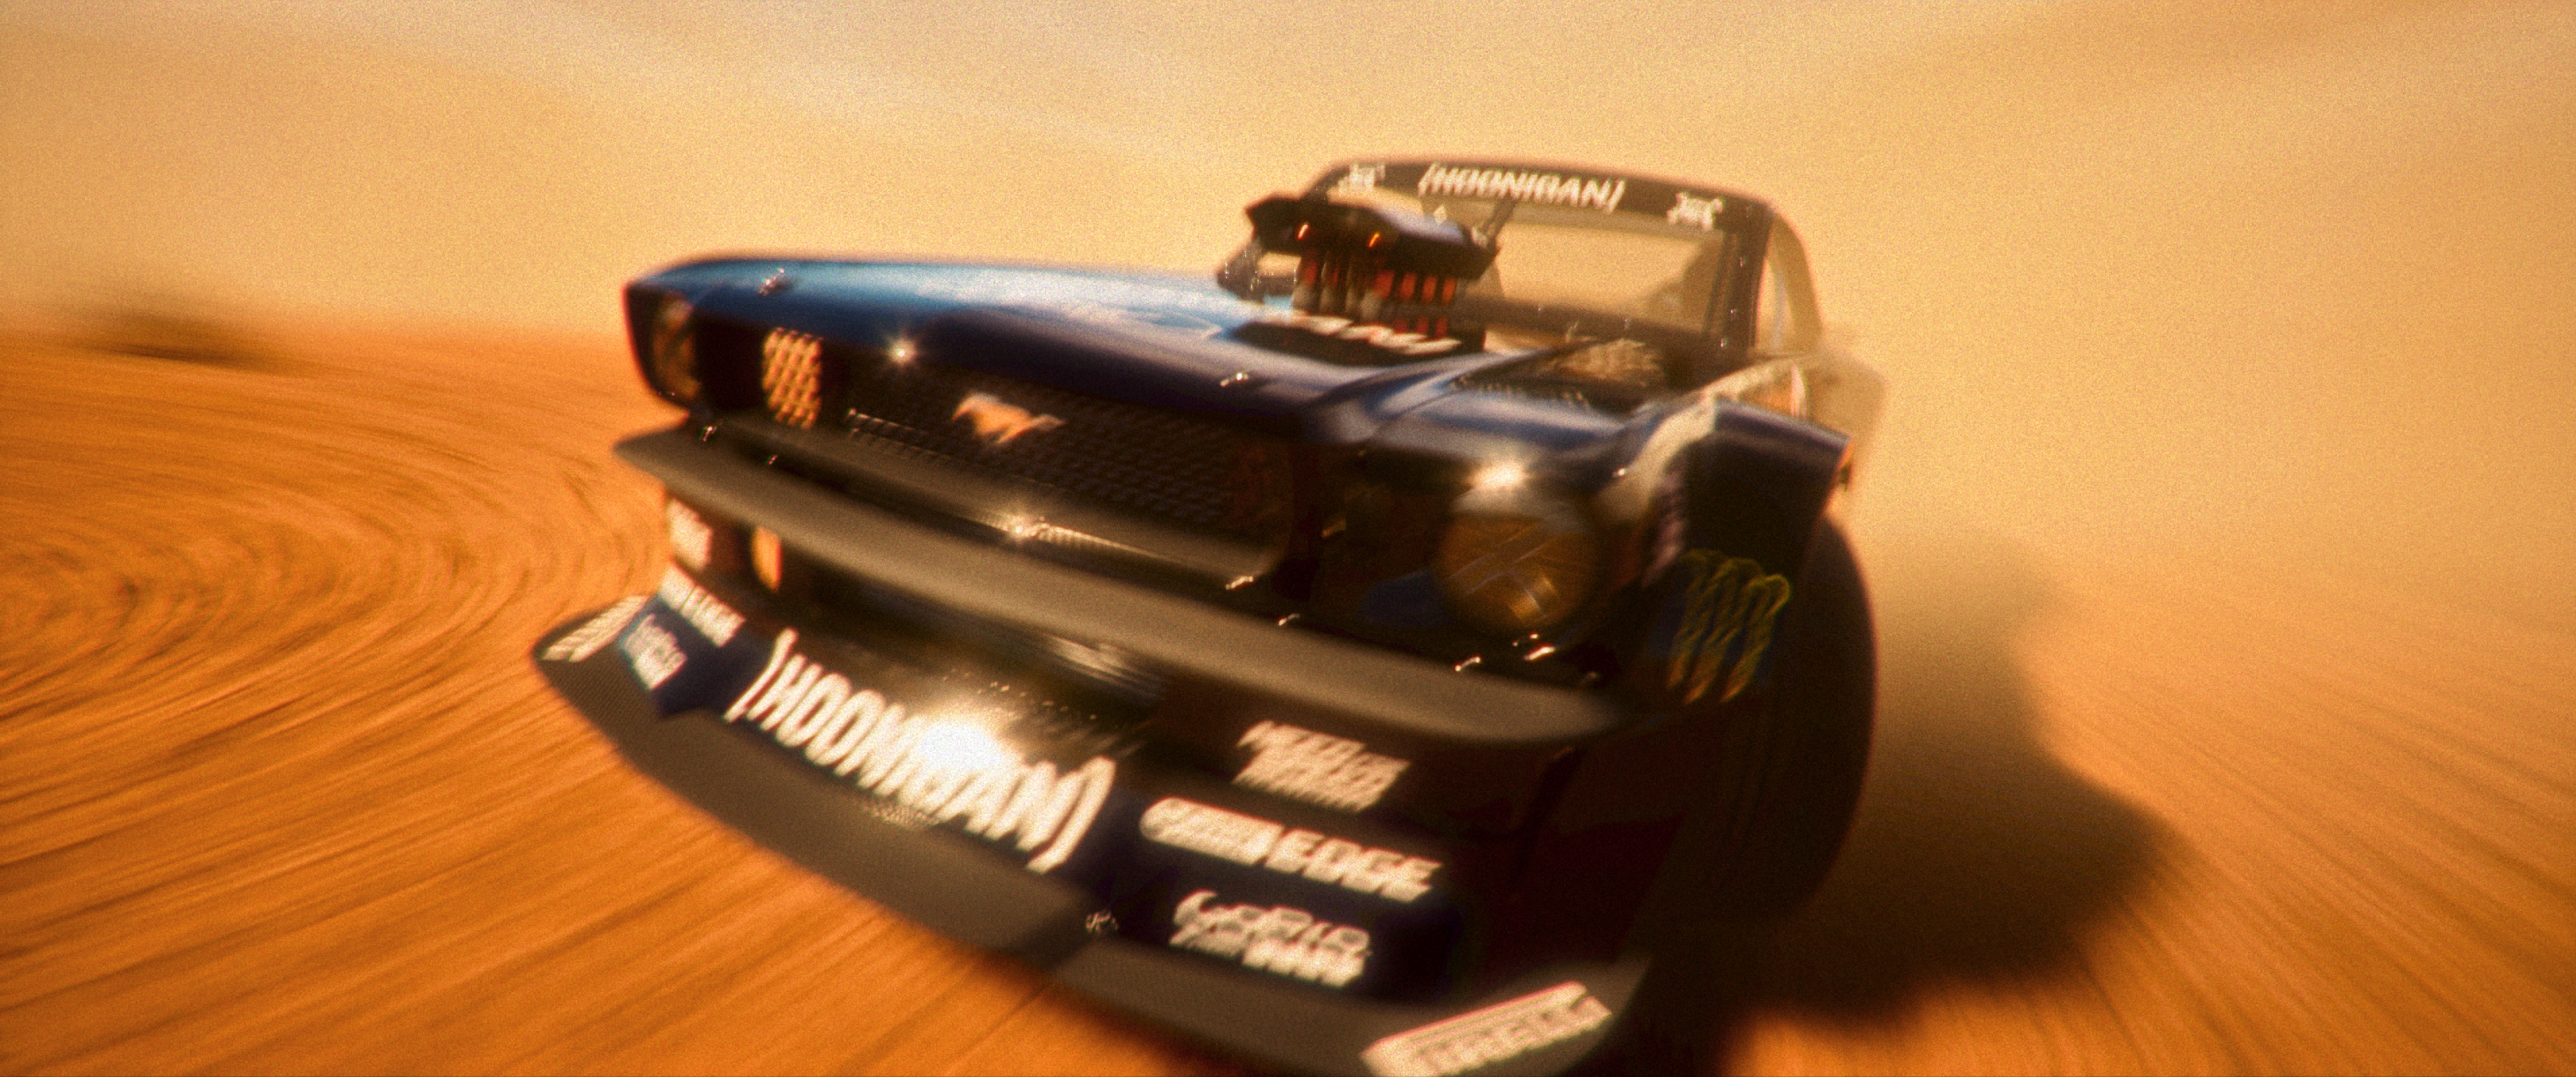
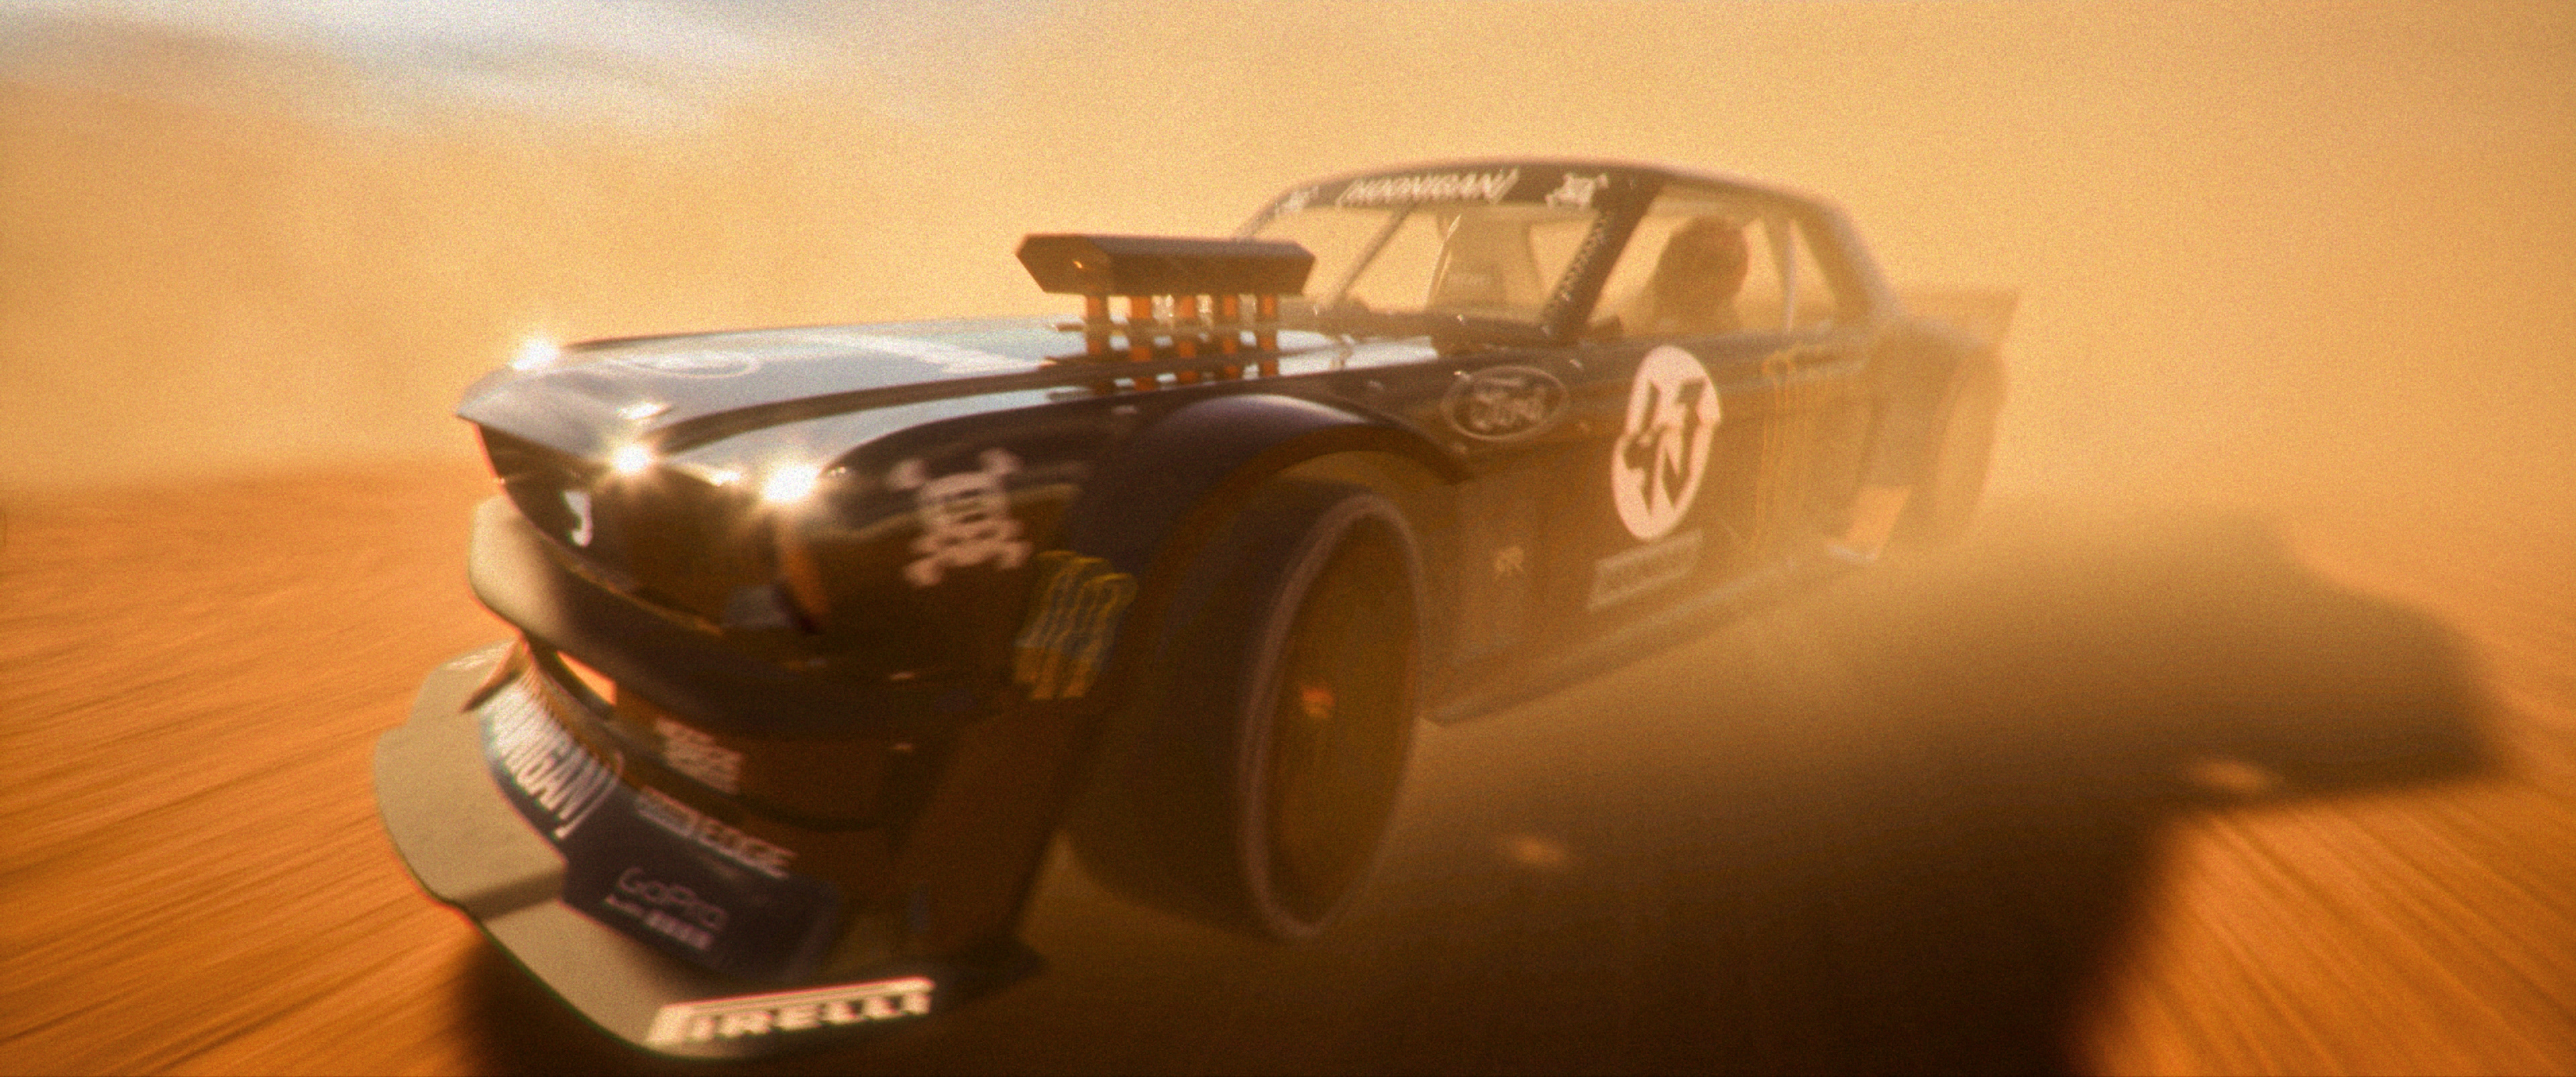
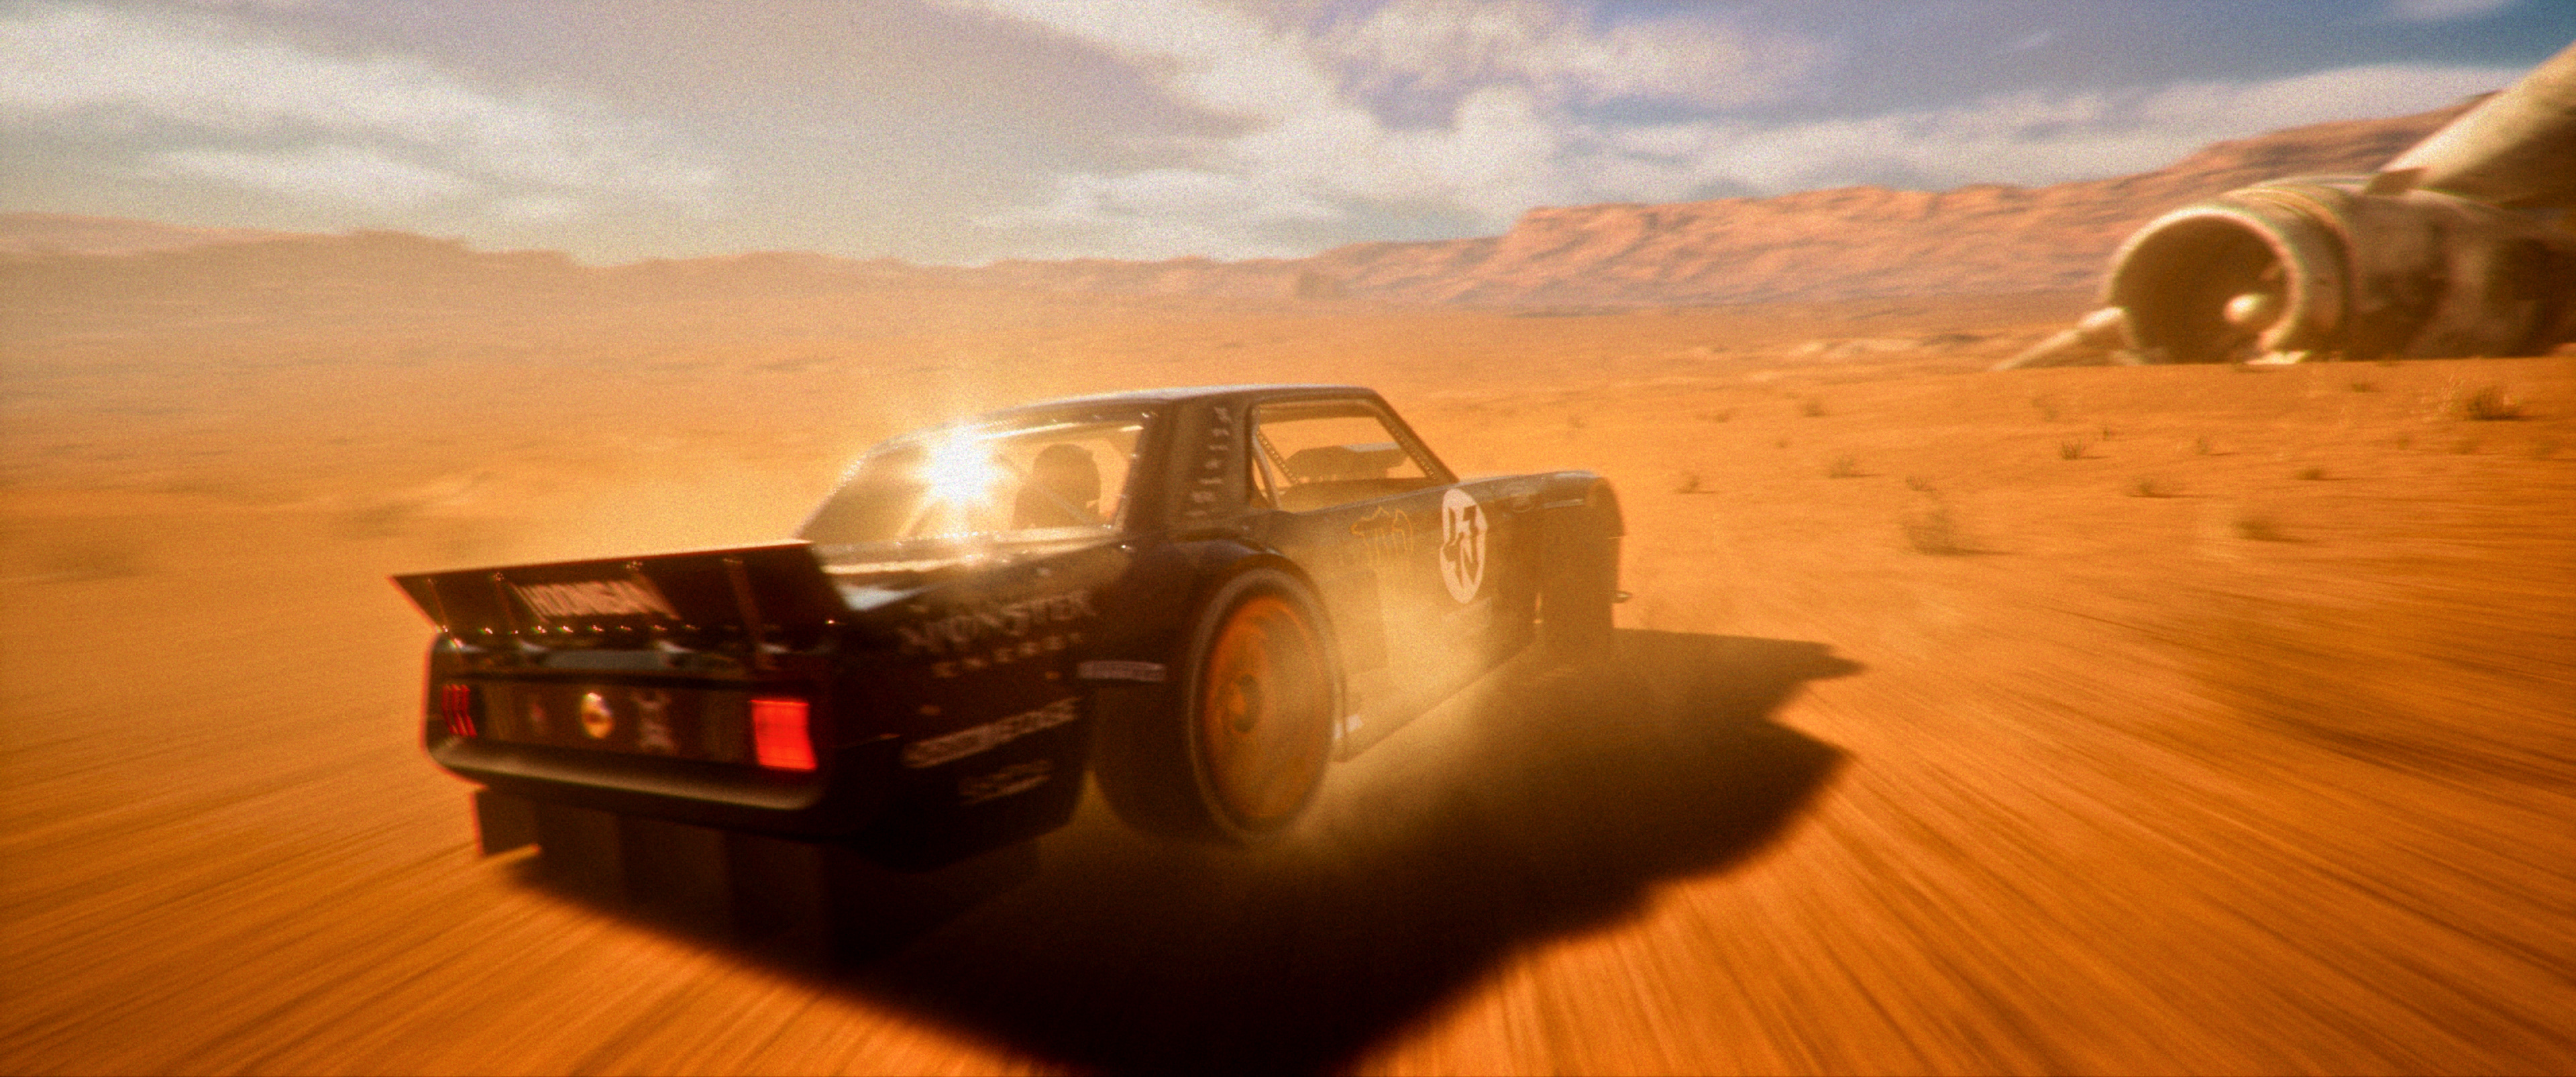
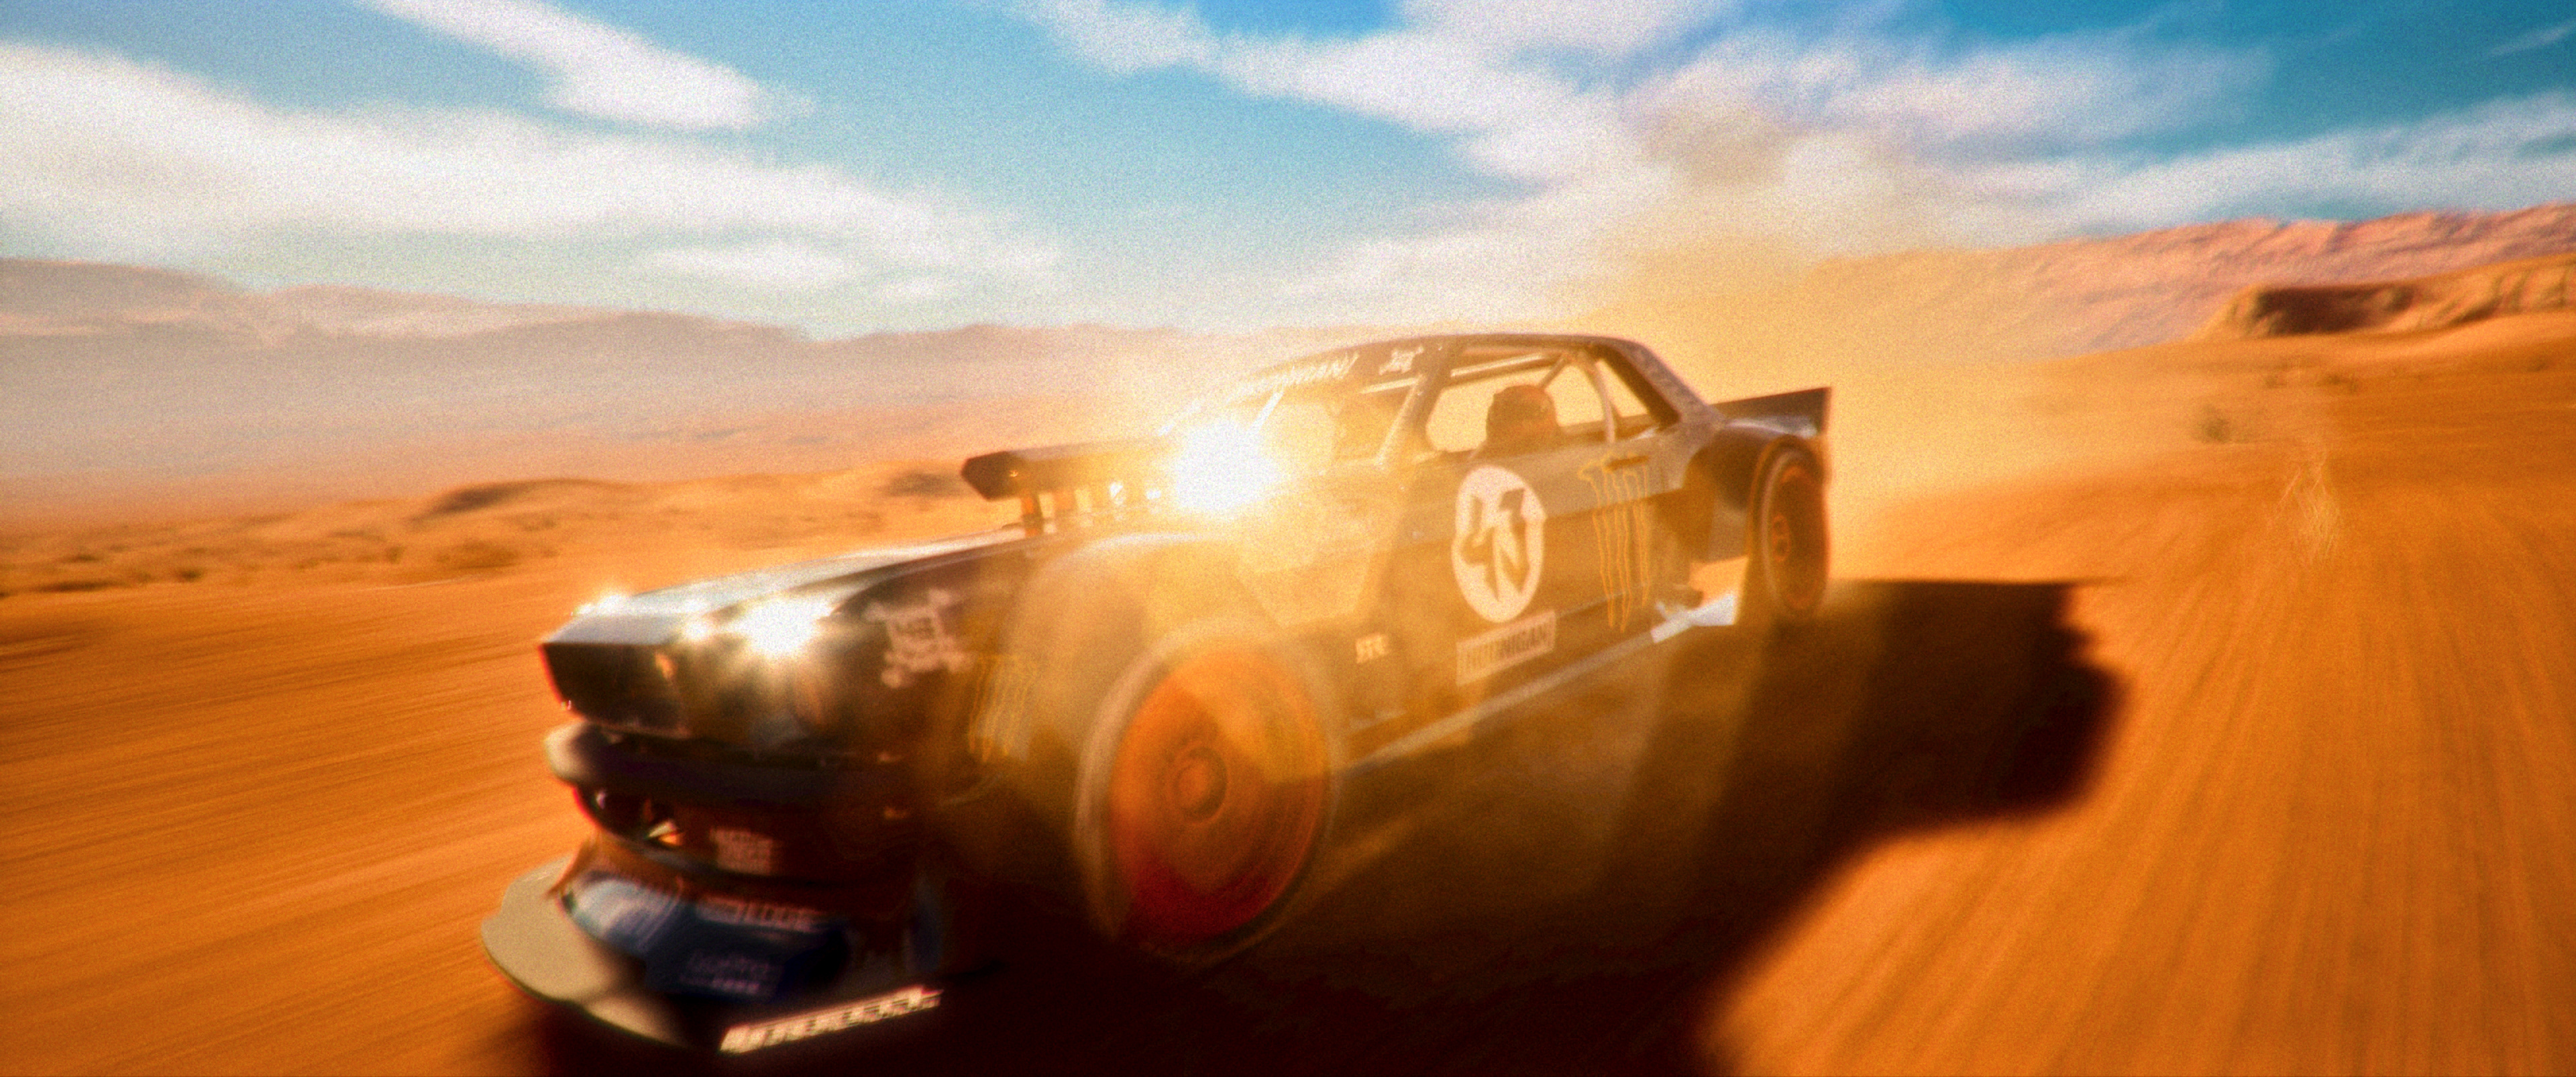
Desert Drift Sequence: Dynamic, wide-angle tracking renders showcasing the Hoonicorn drifting through open sand, kicking up dense dust trails with harsh golden sunlight and dramatic anamorphic lens glares.
Brake Thermal Behavior
A dedicated brake thermal pass was developed to visualise heat buildup during repeated high-speed braking and drifting. The effect was centred on the brake rotor and pad interface, progressively shifting the rotor from its normal metallic appearance into a dark red, orange, and eventually hotter emissive state as braking load increased. The thermal animation was driven as a shot-specific visual effect rather than treated as a static material change, with the glow intensifying during peak deceleration and then gradually reducing as the brakes cooled. The emissive response was carefully balanced against the surrounding caliper, wheel barrel, and suspension components so the thermal state remained physically readable without overpowering the vehicle lighting. Fine dust and motion detail around the wheel assembly were retained to reinforce the relationship between braking heat, tyre activity, and the harsh desert environment. This pass was particularly useful for communicating mechanical stress, vehicle speed, and braking intensity through a close-up visual effect rather than relying solely on animation.
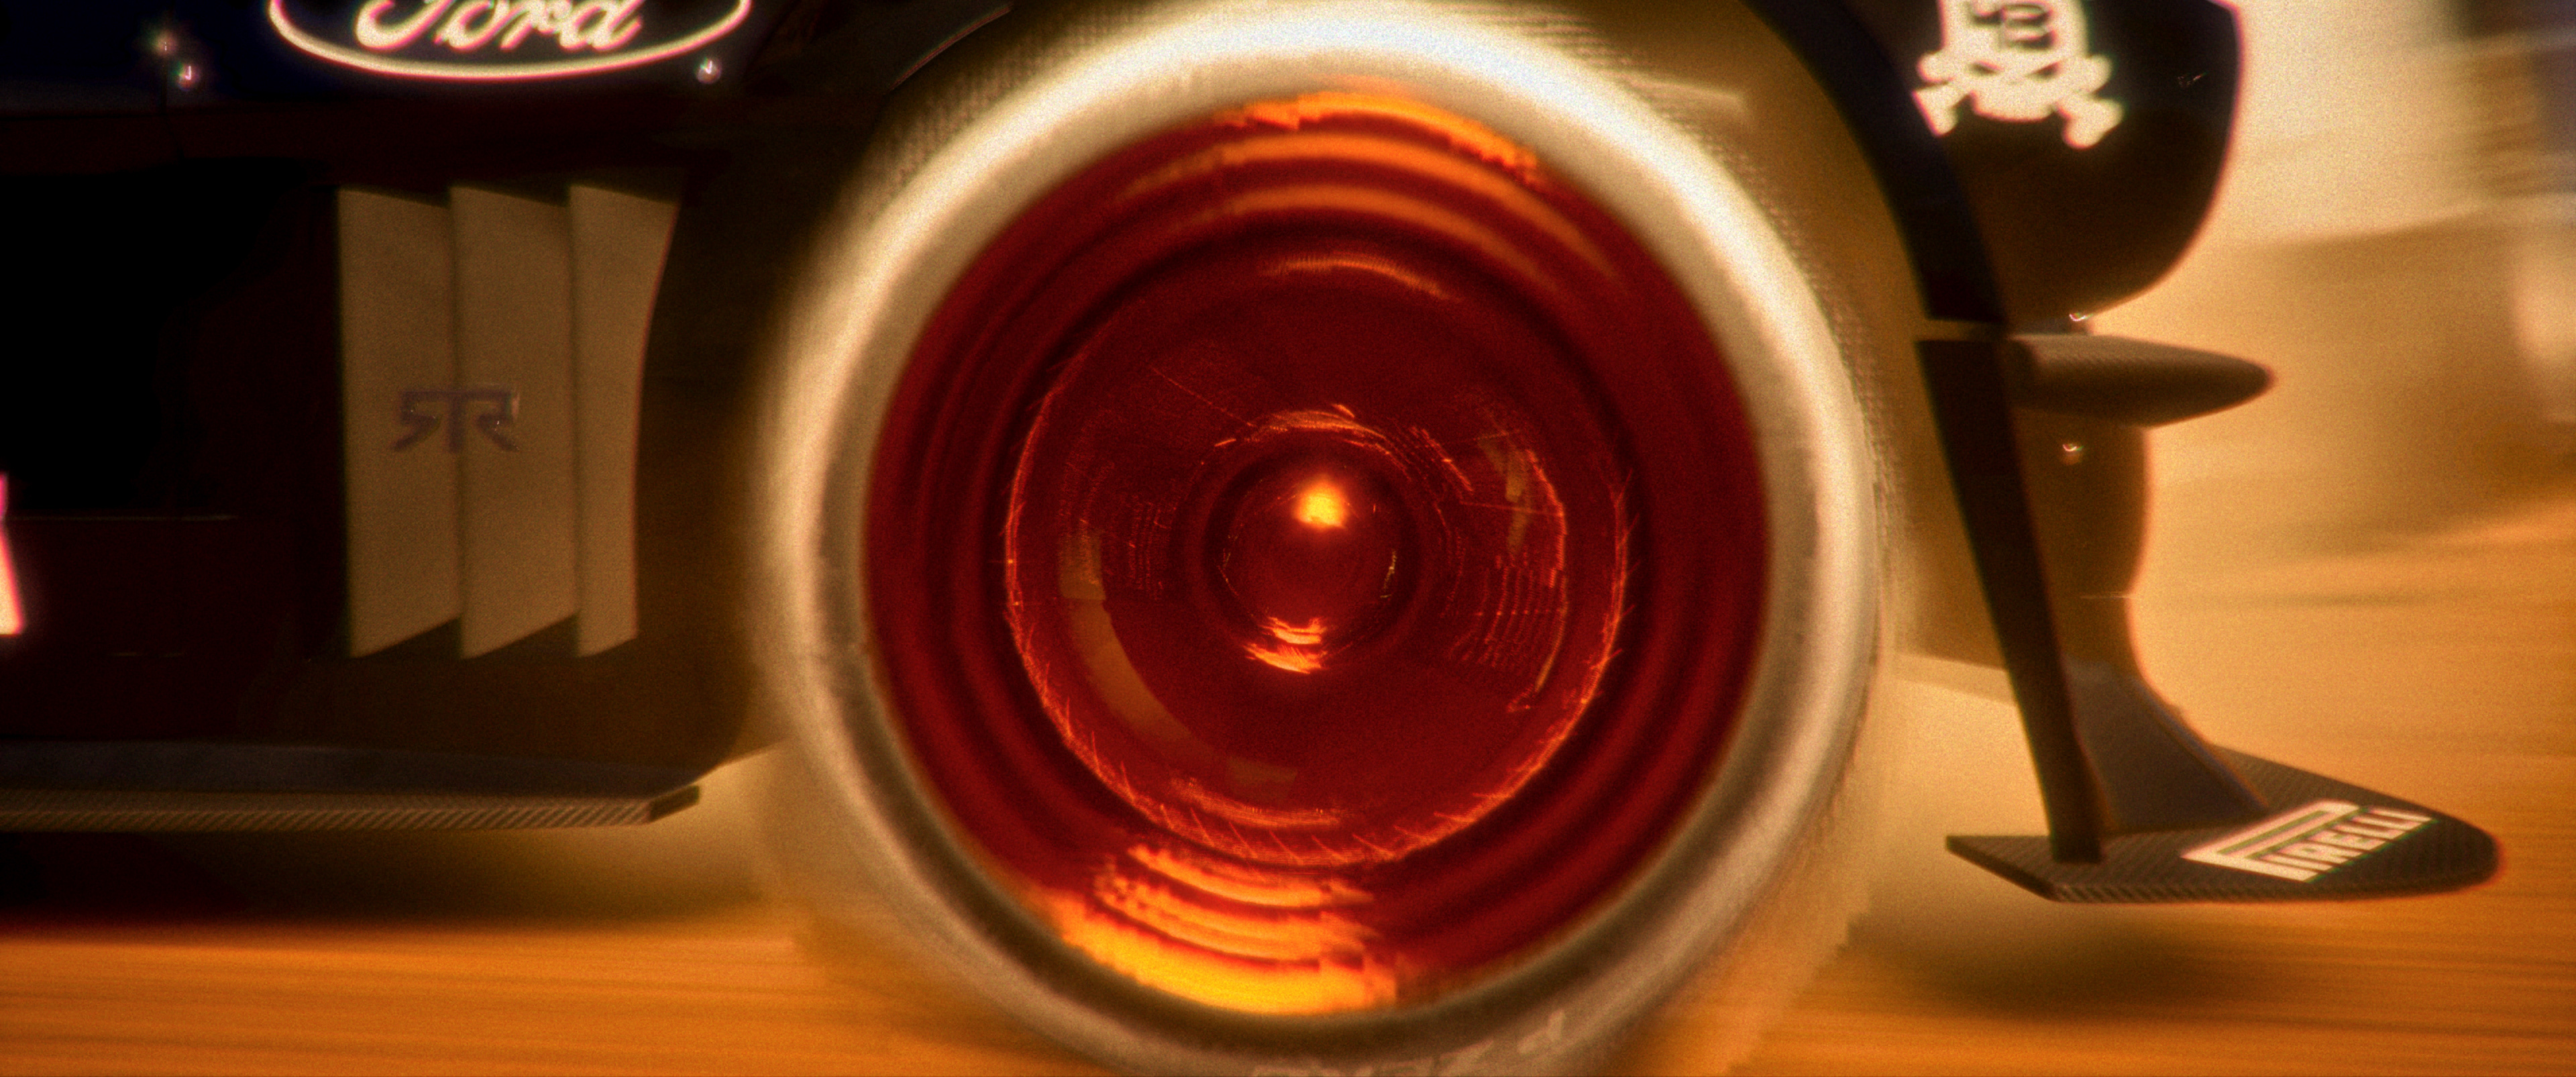
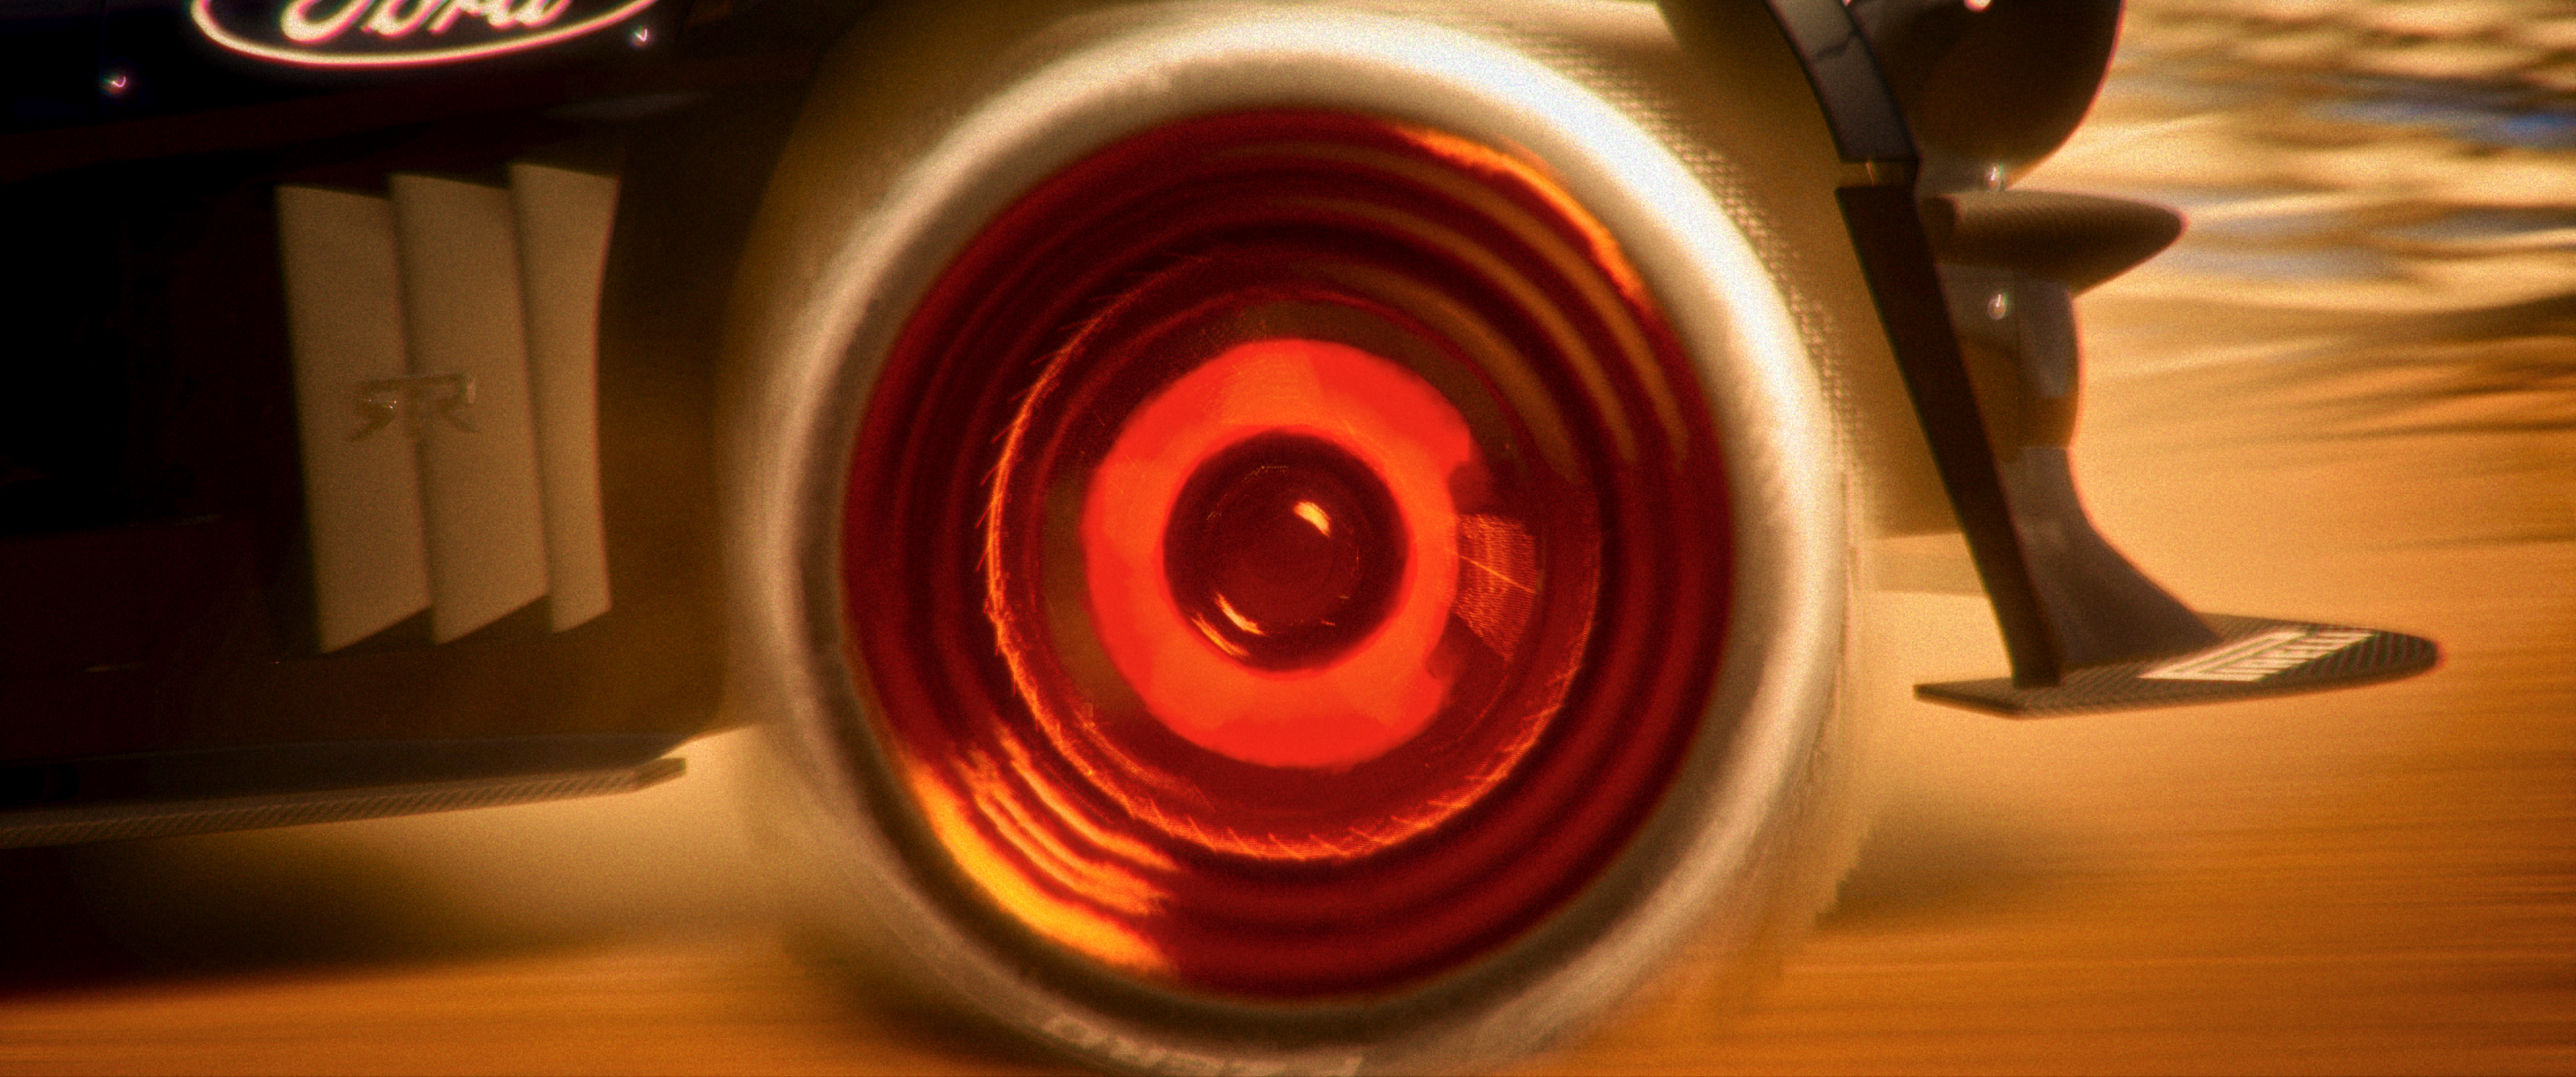
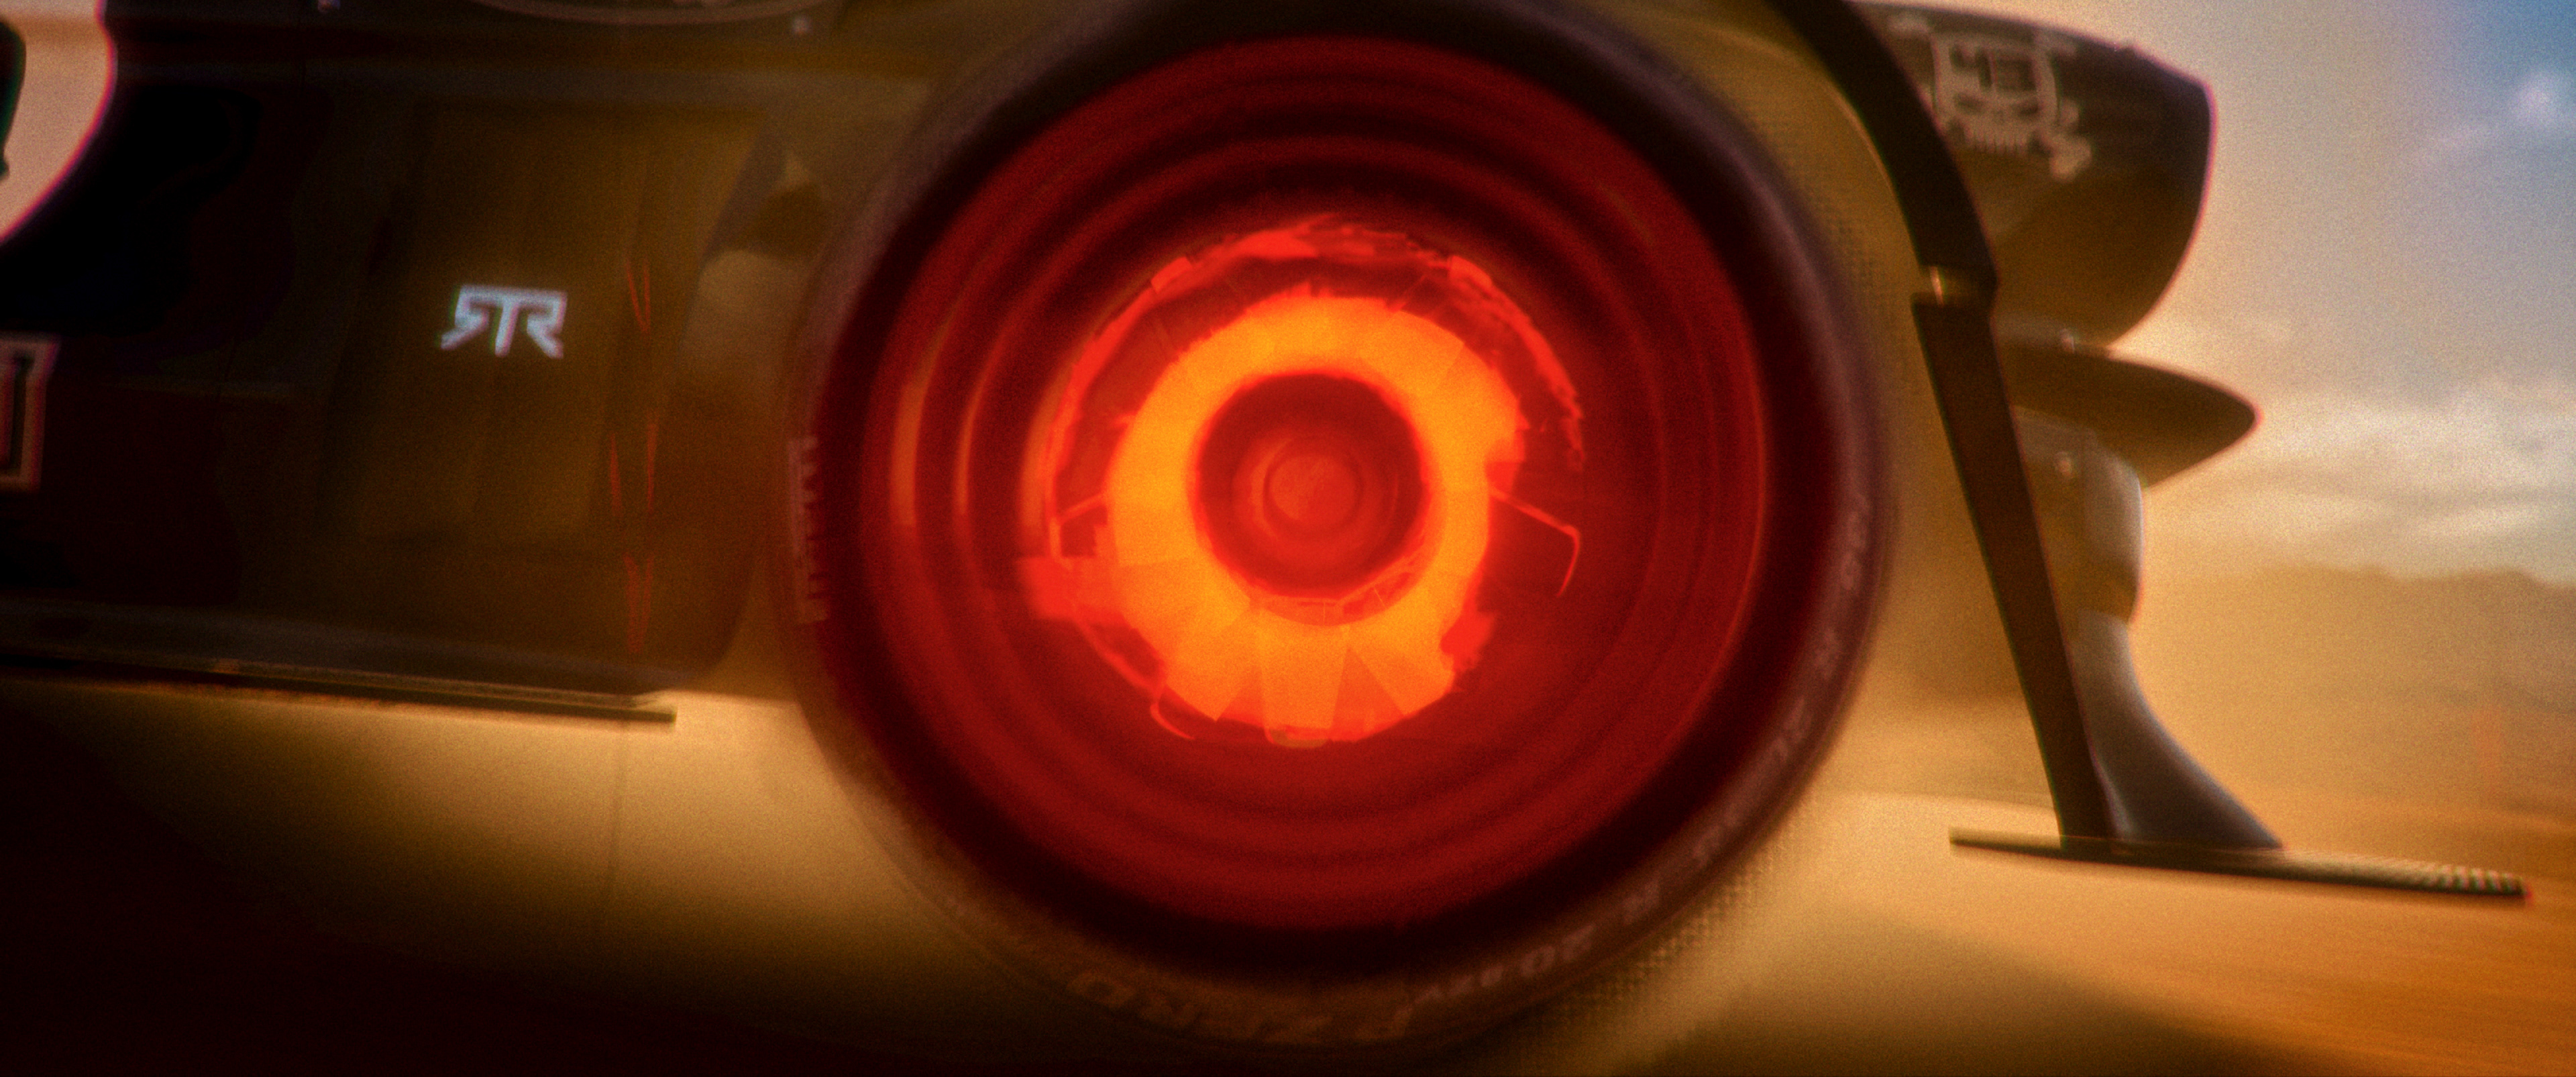
Wheel Spin & Glowing Brake Disc Sequences: Extreme low-angle close-ups highlighting high-rpm wheel rotation, dramatic motion blur, and red-hot glowing brake calipers during heavy braking and drift maneuvers.
Vehicle Animation & Driving Dynamics
Animation was developed around the physical behaviour established during the vehicle research stage. Each shot began with either a rough camera frame, static composition, or preliminary camera move. The vehicle animation was then developed according to believable terrain speed, with many sequences operating around 150–200 km/h. Secondary motion was added through body vibration, suspension wobble, pitch changes, roll, steering input, and manually animated drifting. The intention was to avoid a mechanically perfect vehicle motion and instead reproduce the weight transfer and instability associated with high-speed off-road driving.
Environment Build — Sandstorm
The Sandstorm sequence required the environment to function primarily as an atmospheric effects stage. Tornado columns were manually placed and art-directed after the camera animation was established, with their number and position changing according to individual compositions. Lightning elements were similarly positioned manually so that electrical flashes would interact with the vehicle and surrounding environment from useful camera angles. The base directional illumination was reduced substantially, allowing the lightning and warm atmospheric sources to become the dominant illumination events.
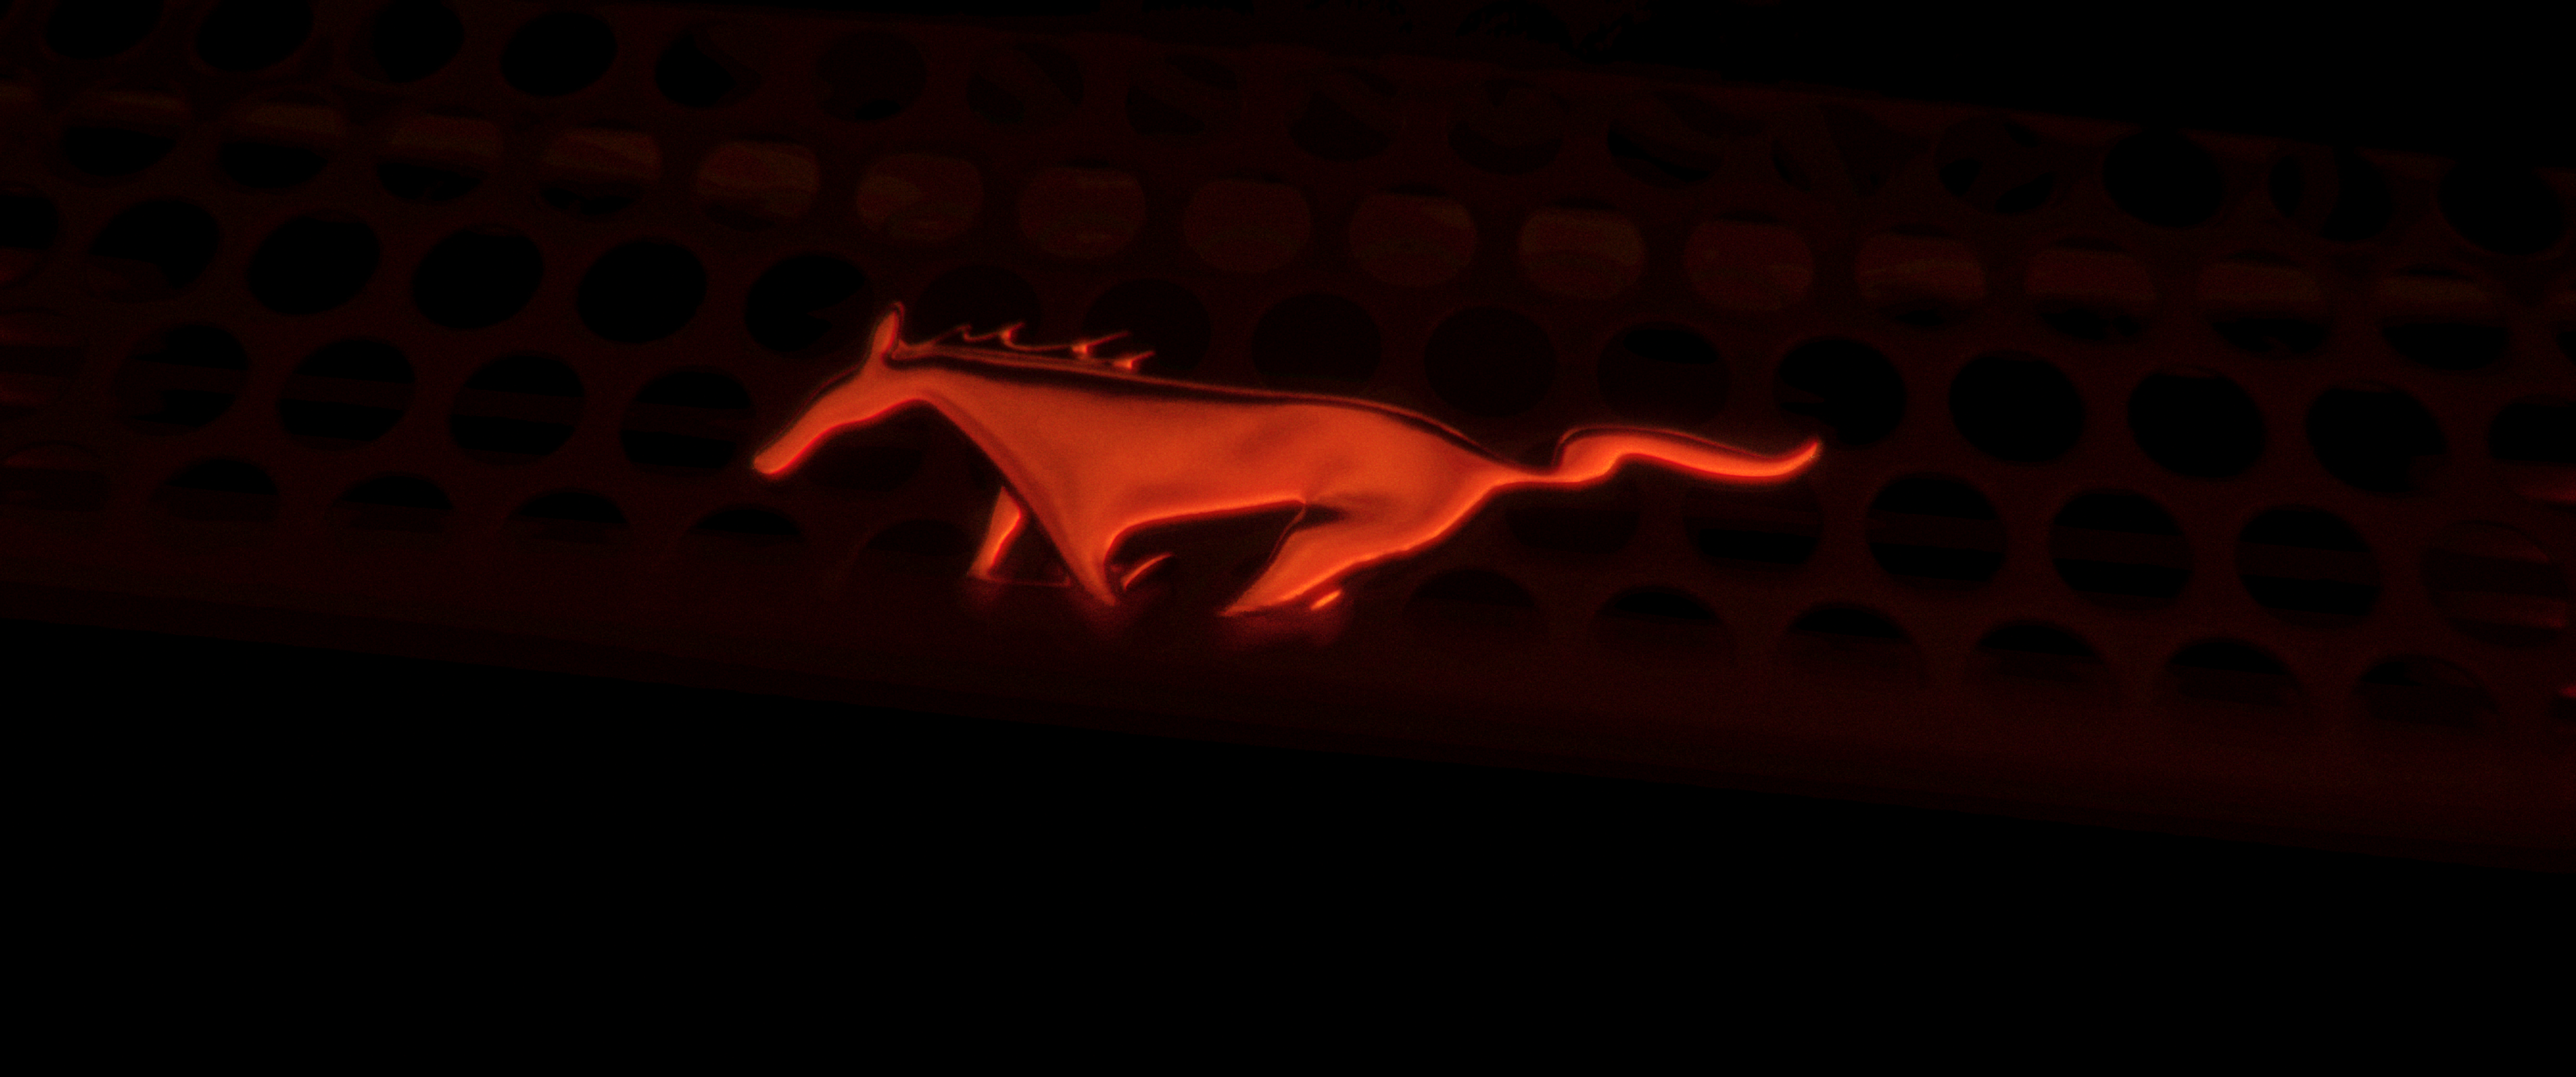
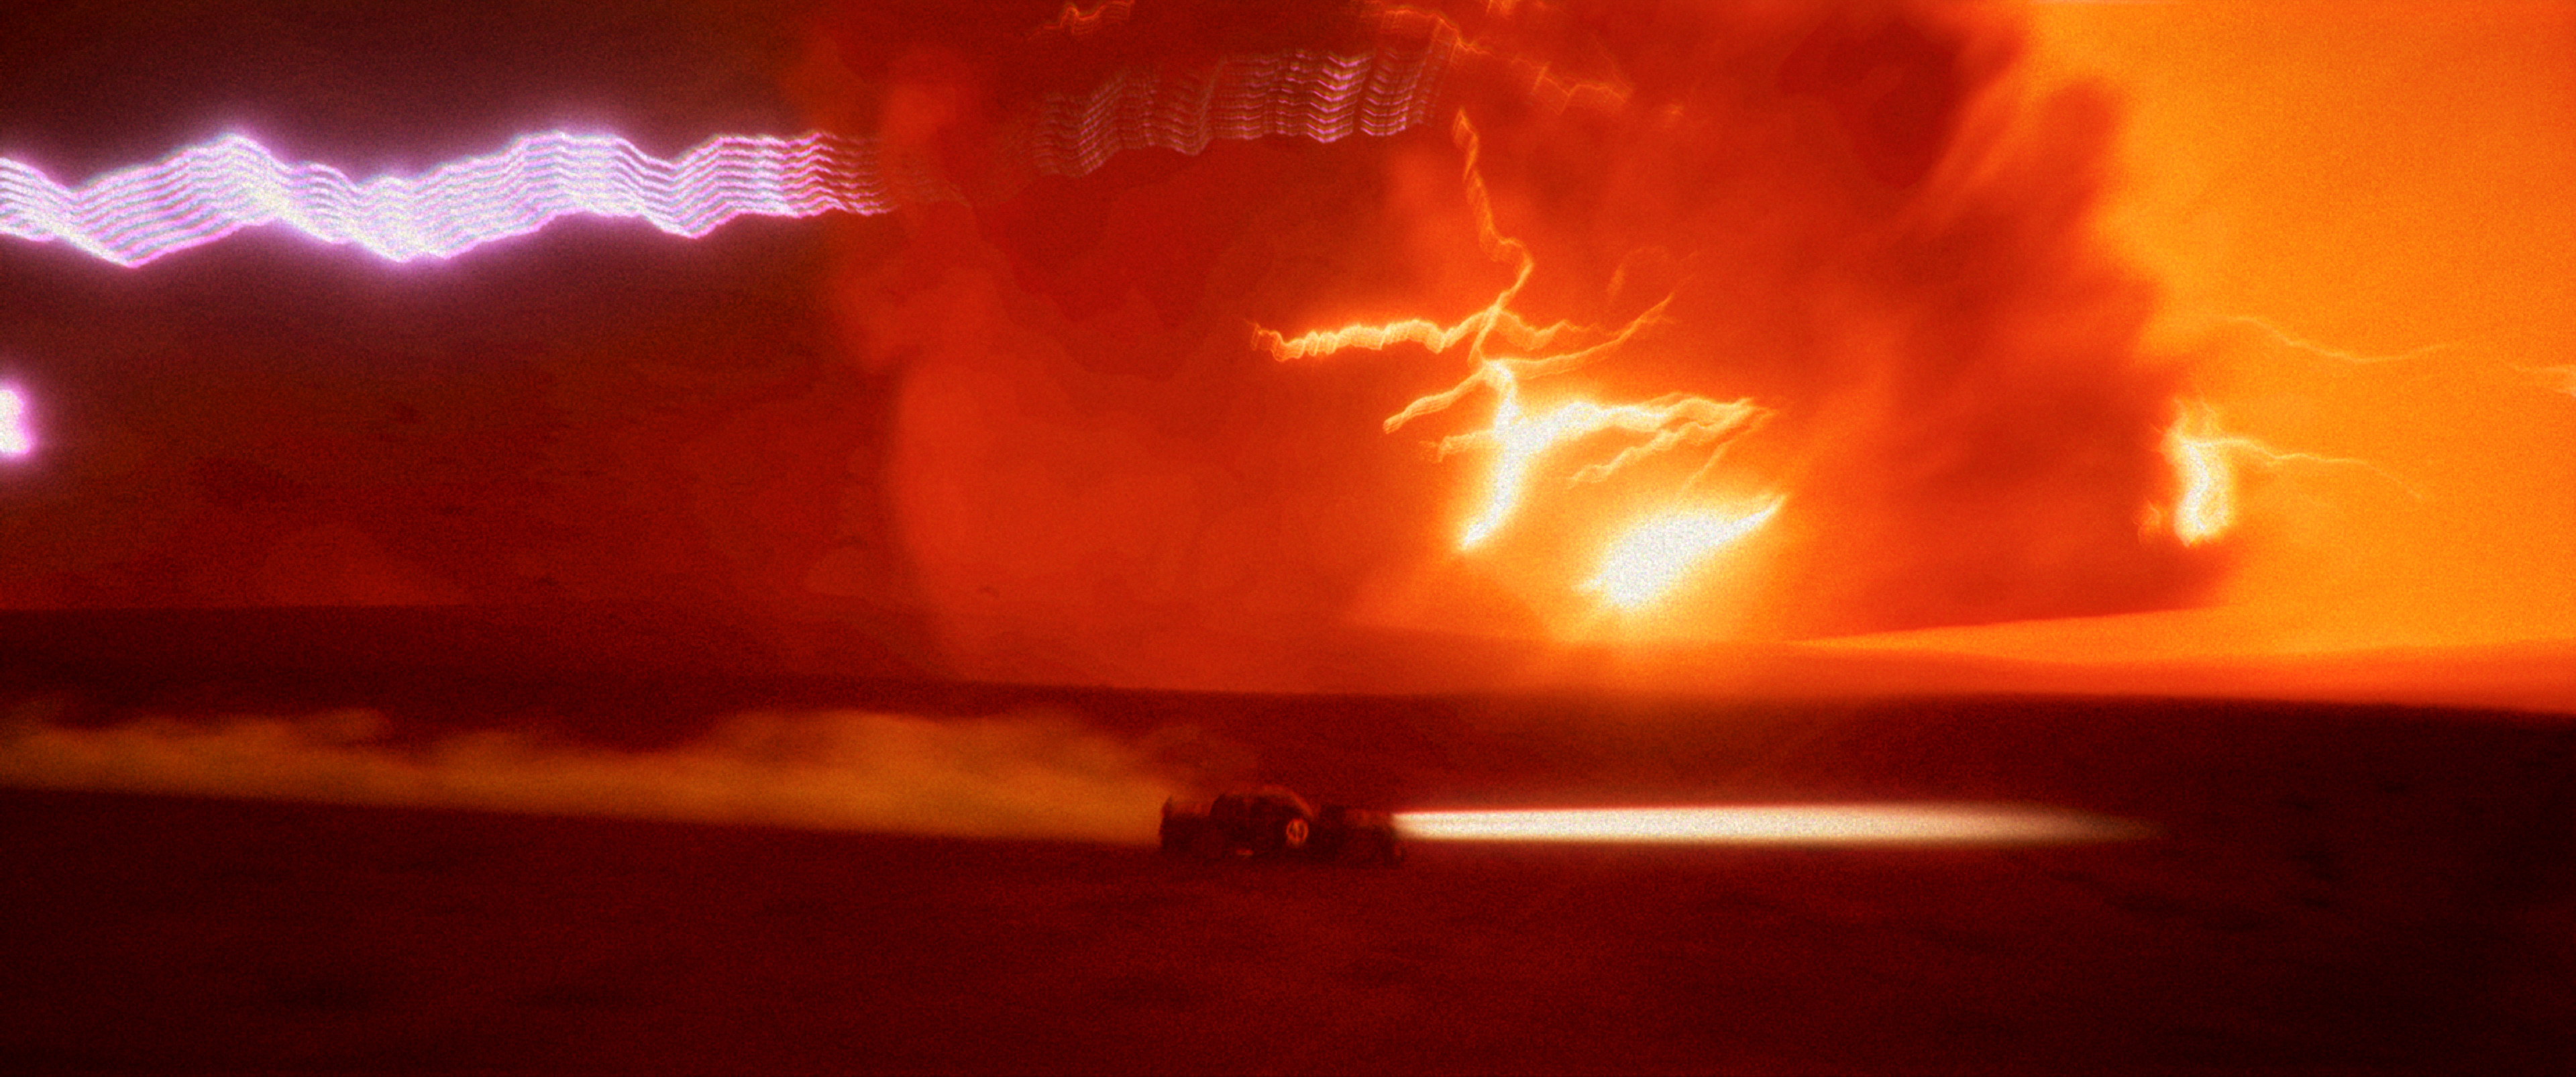
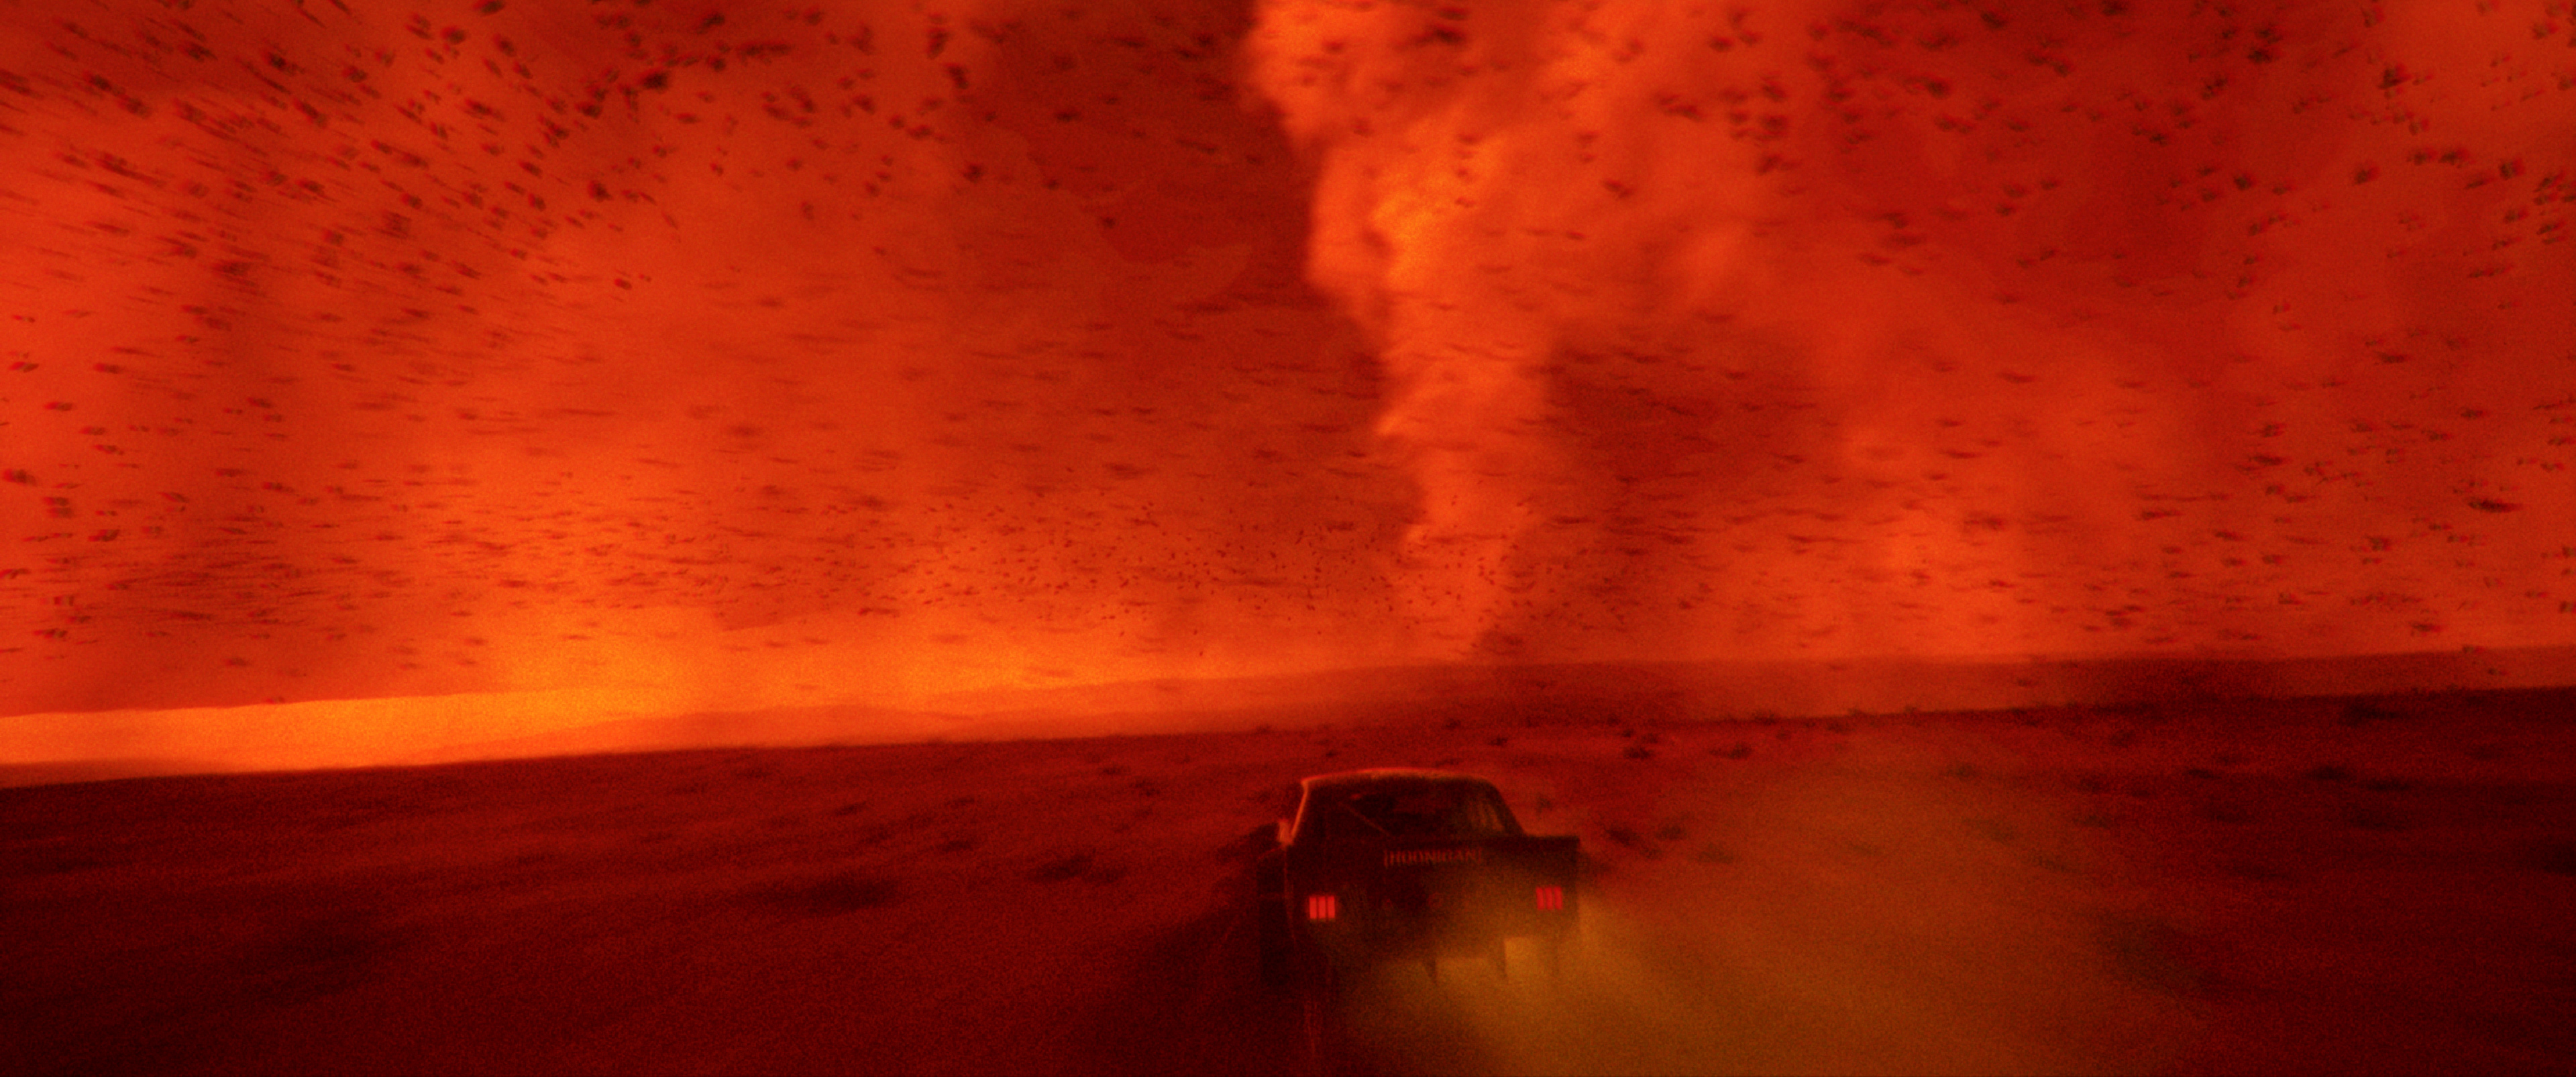
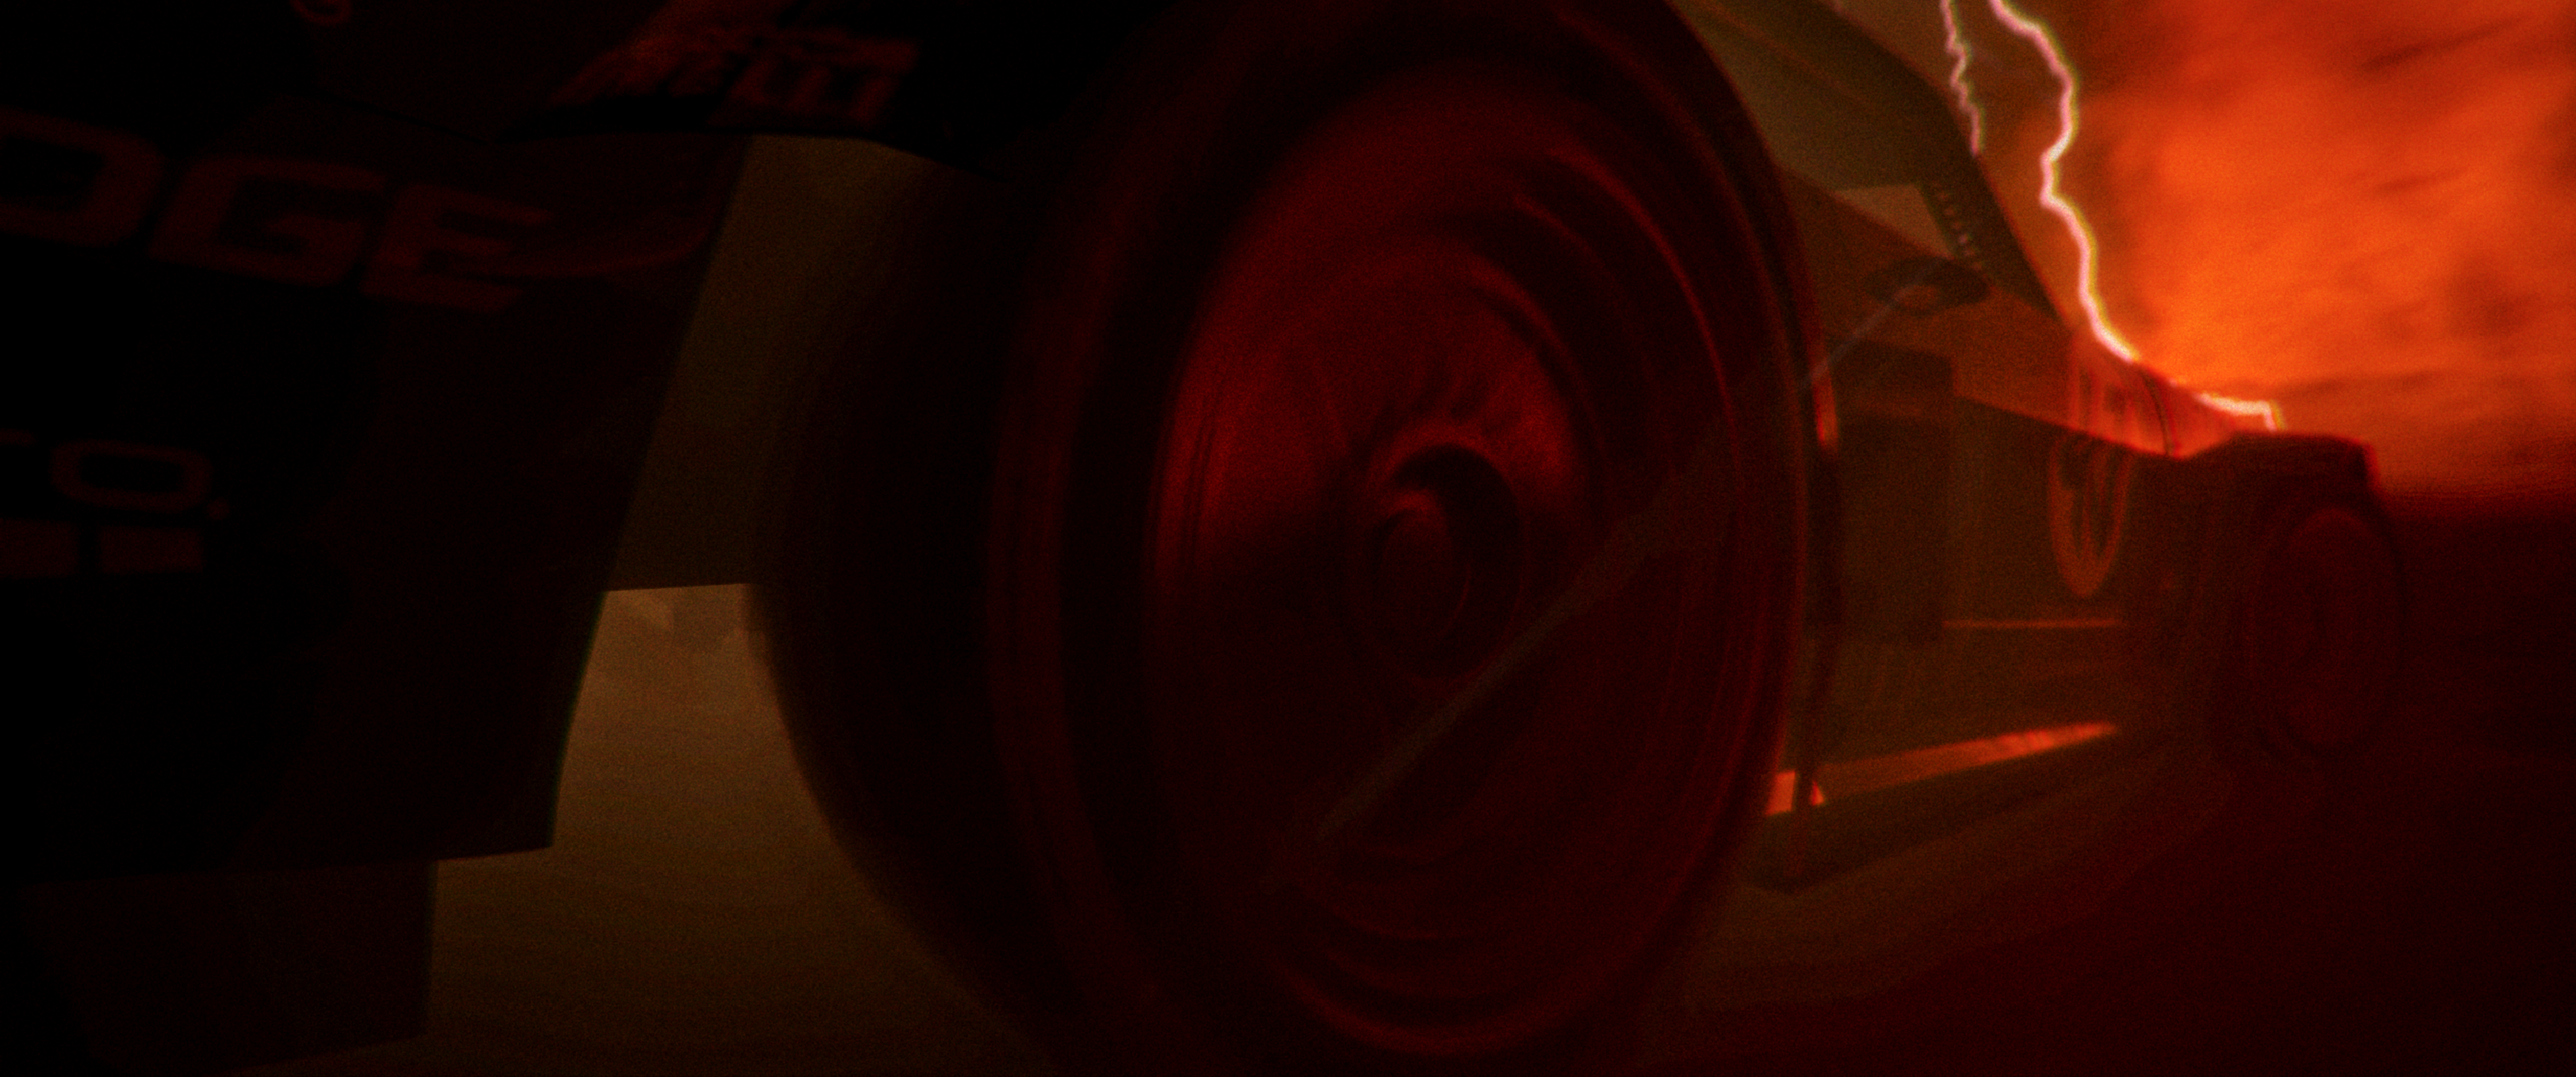
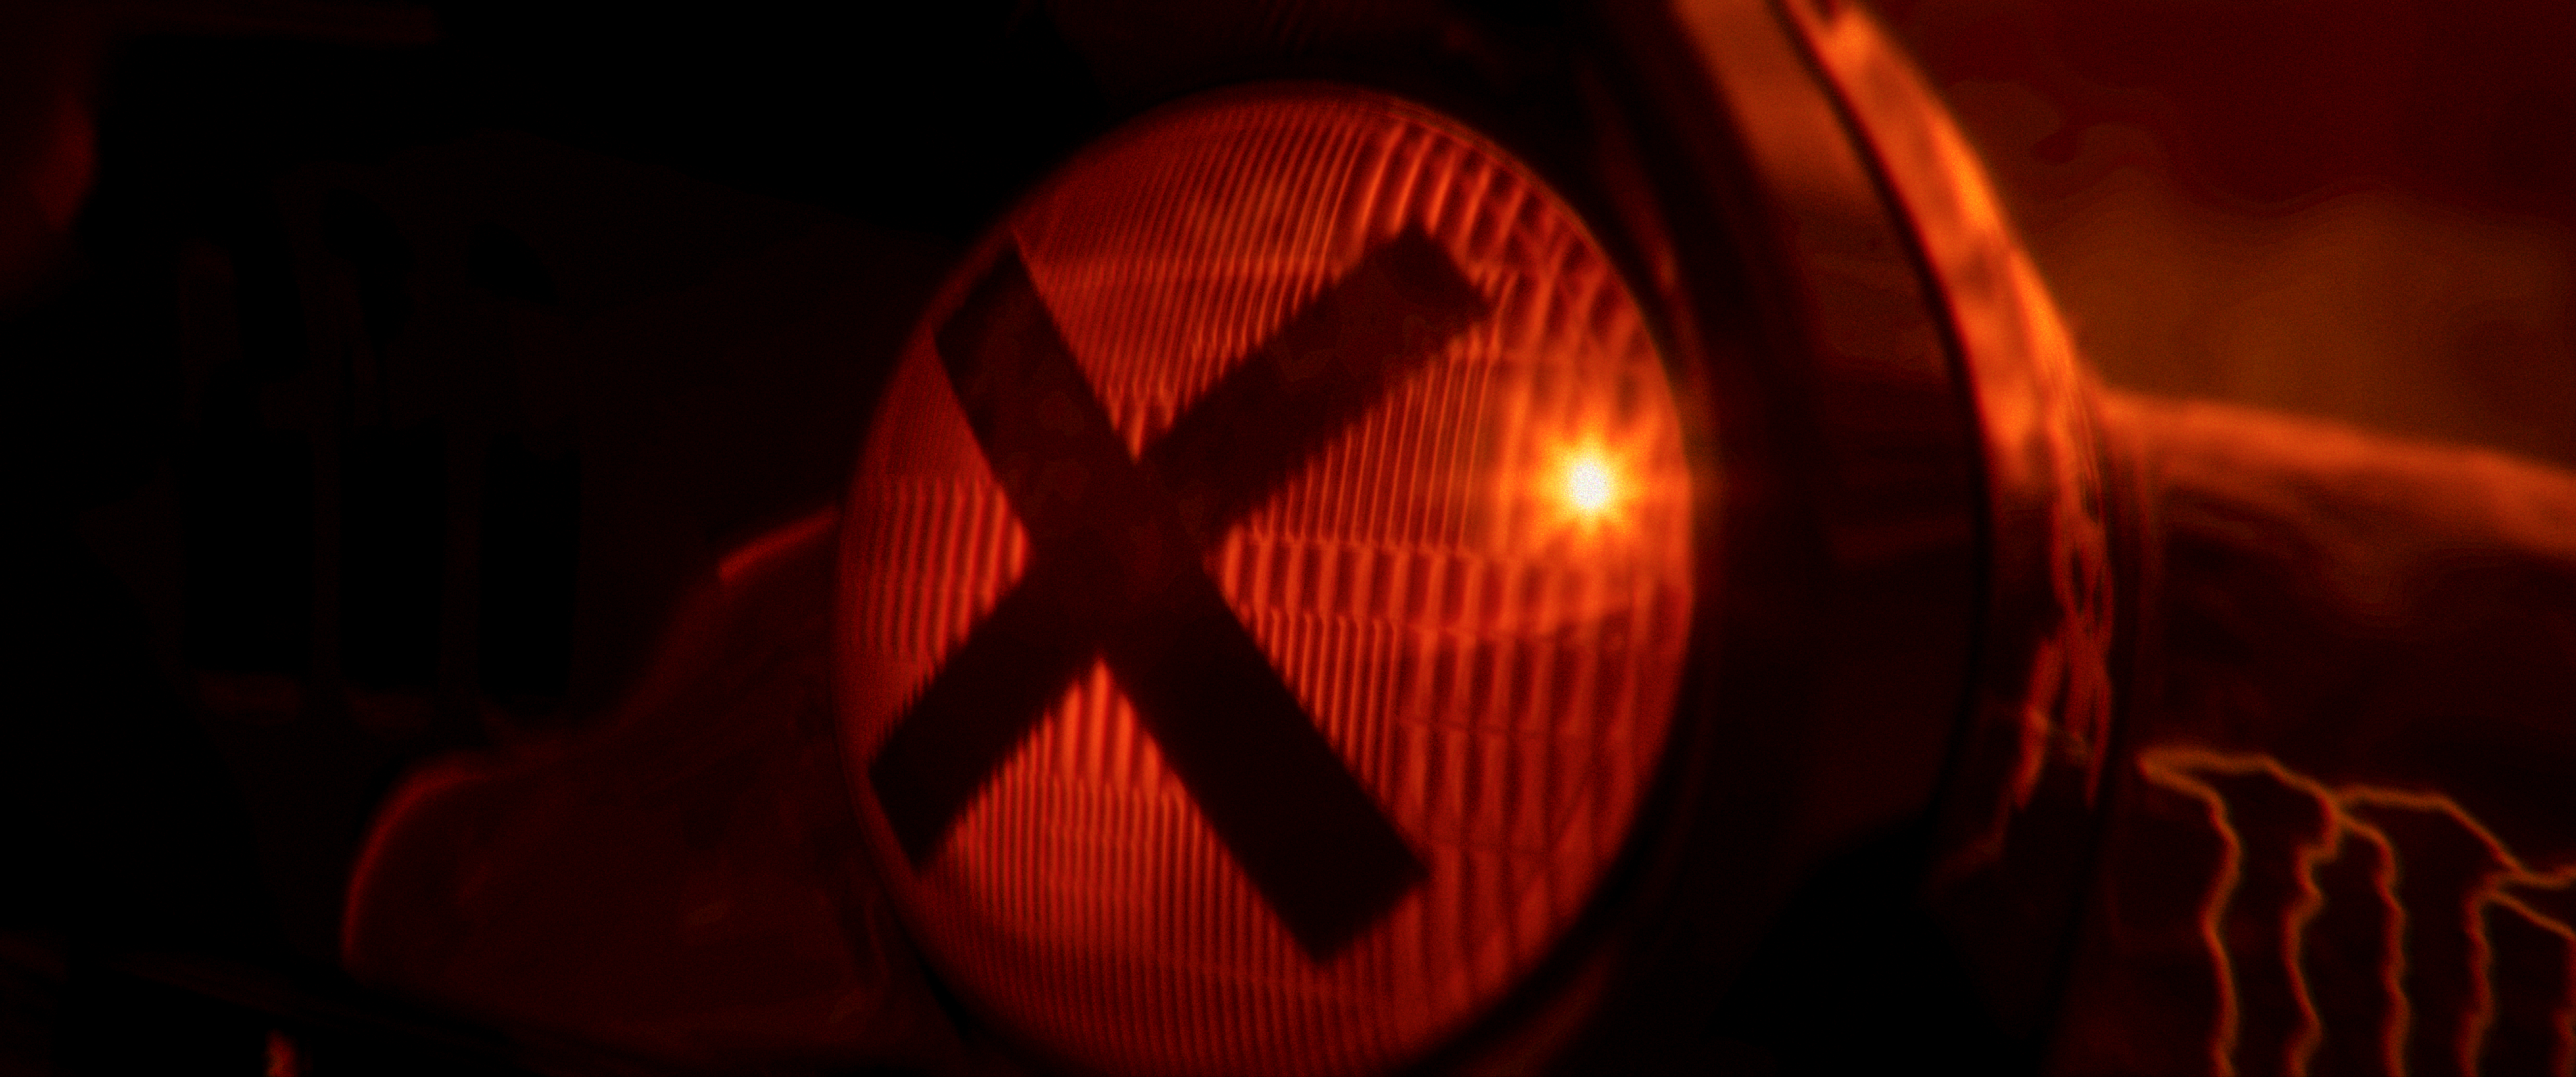
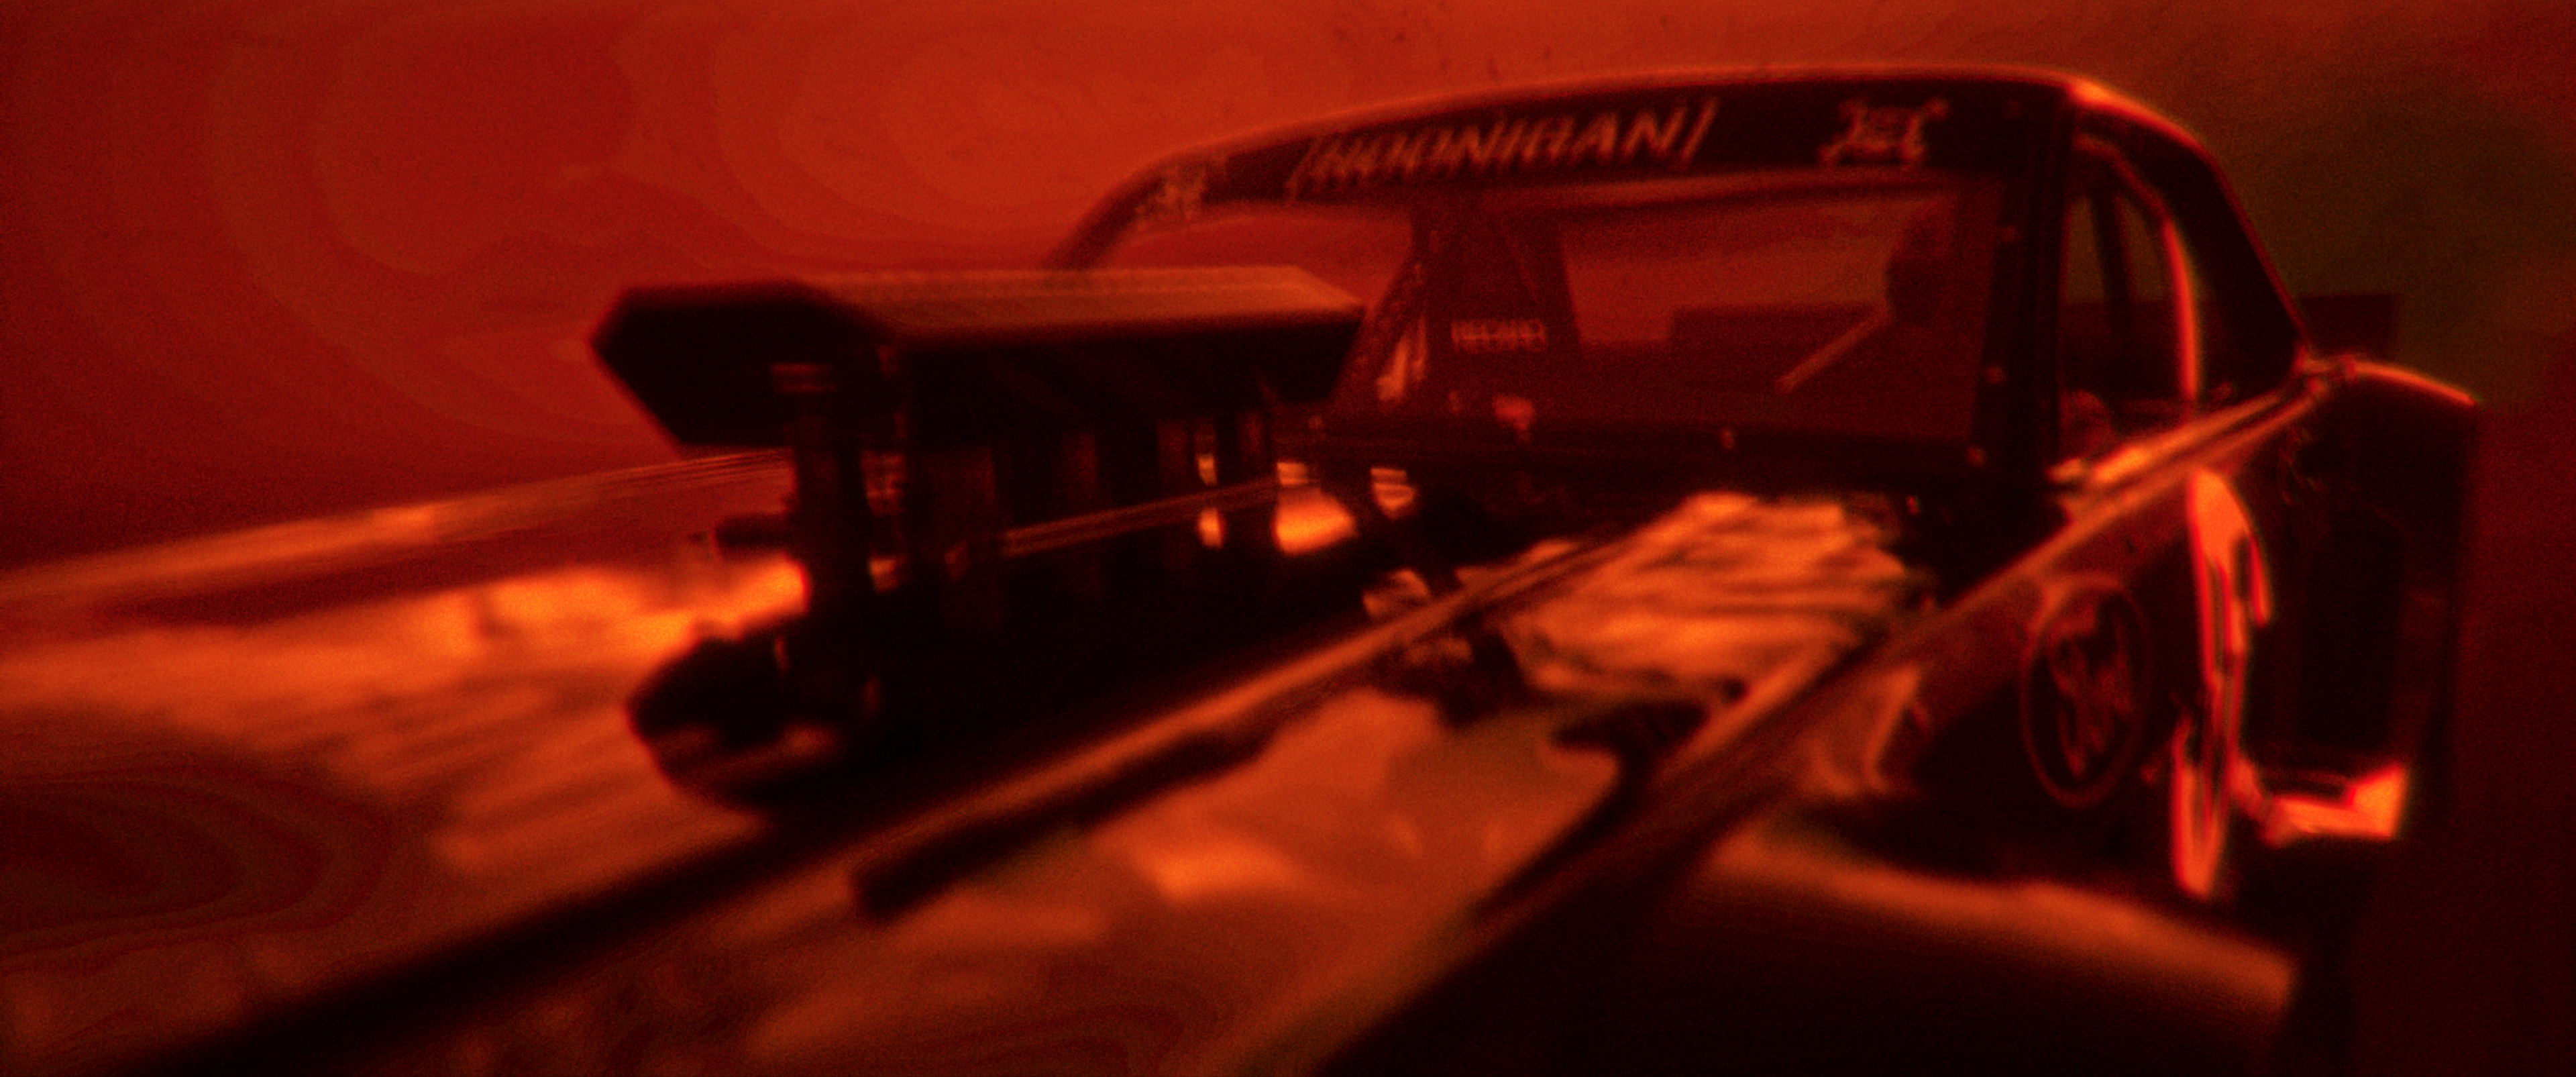
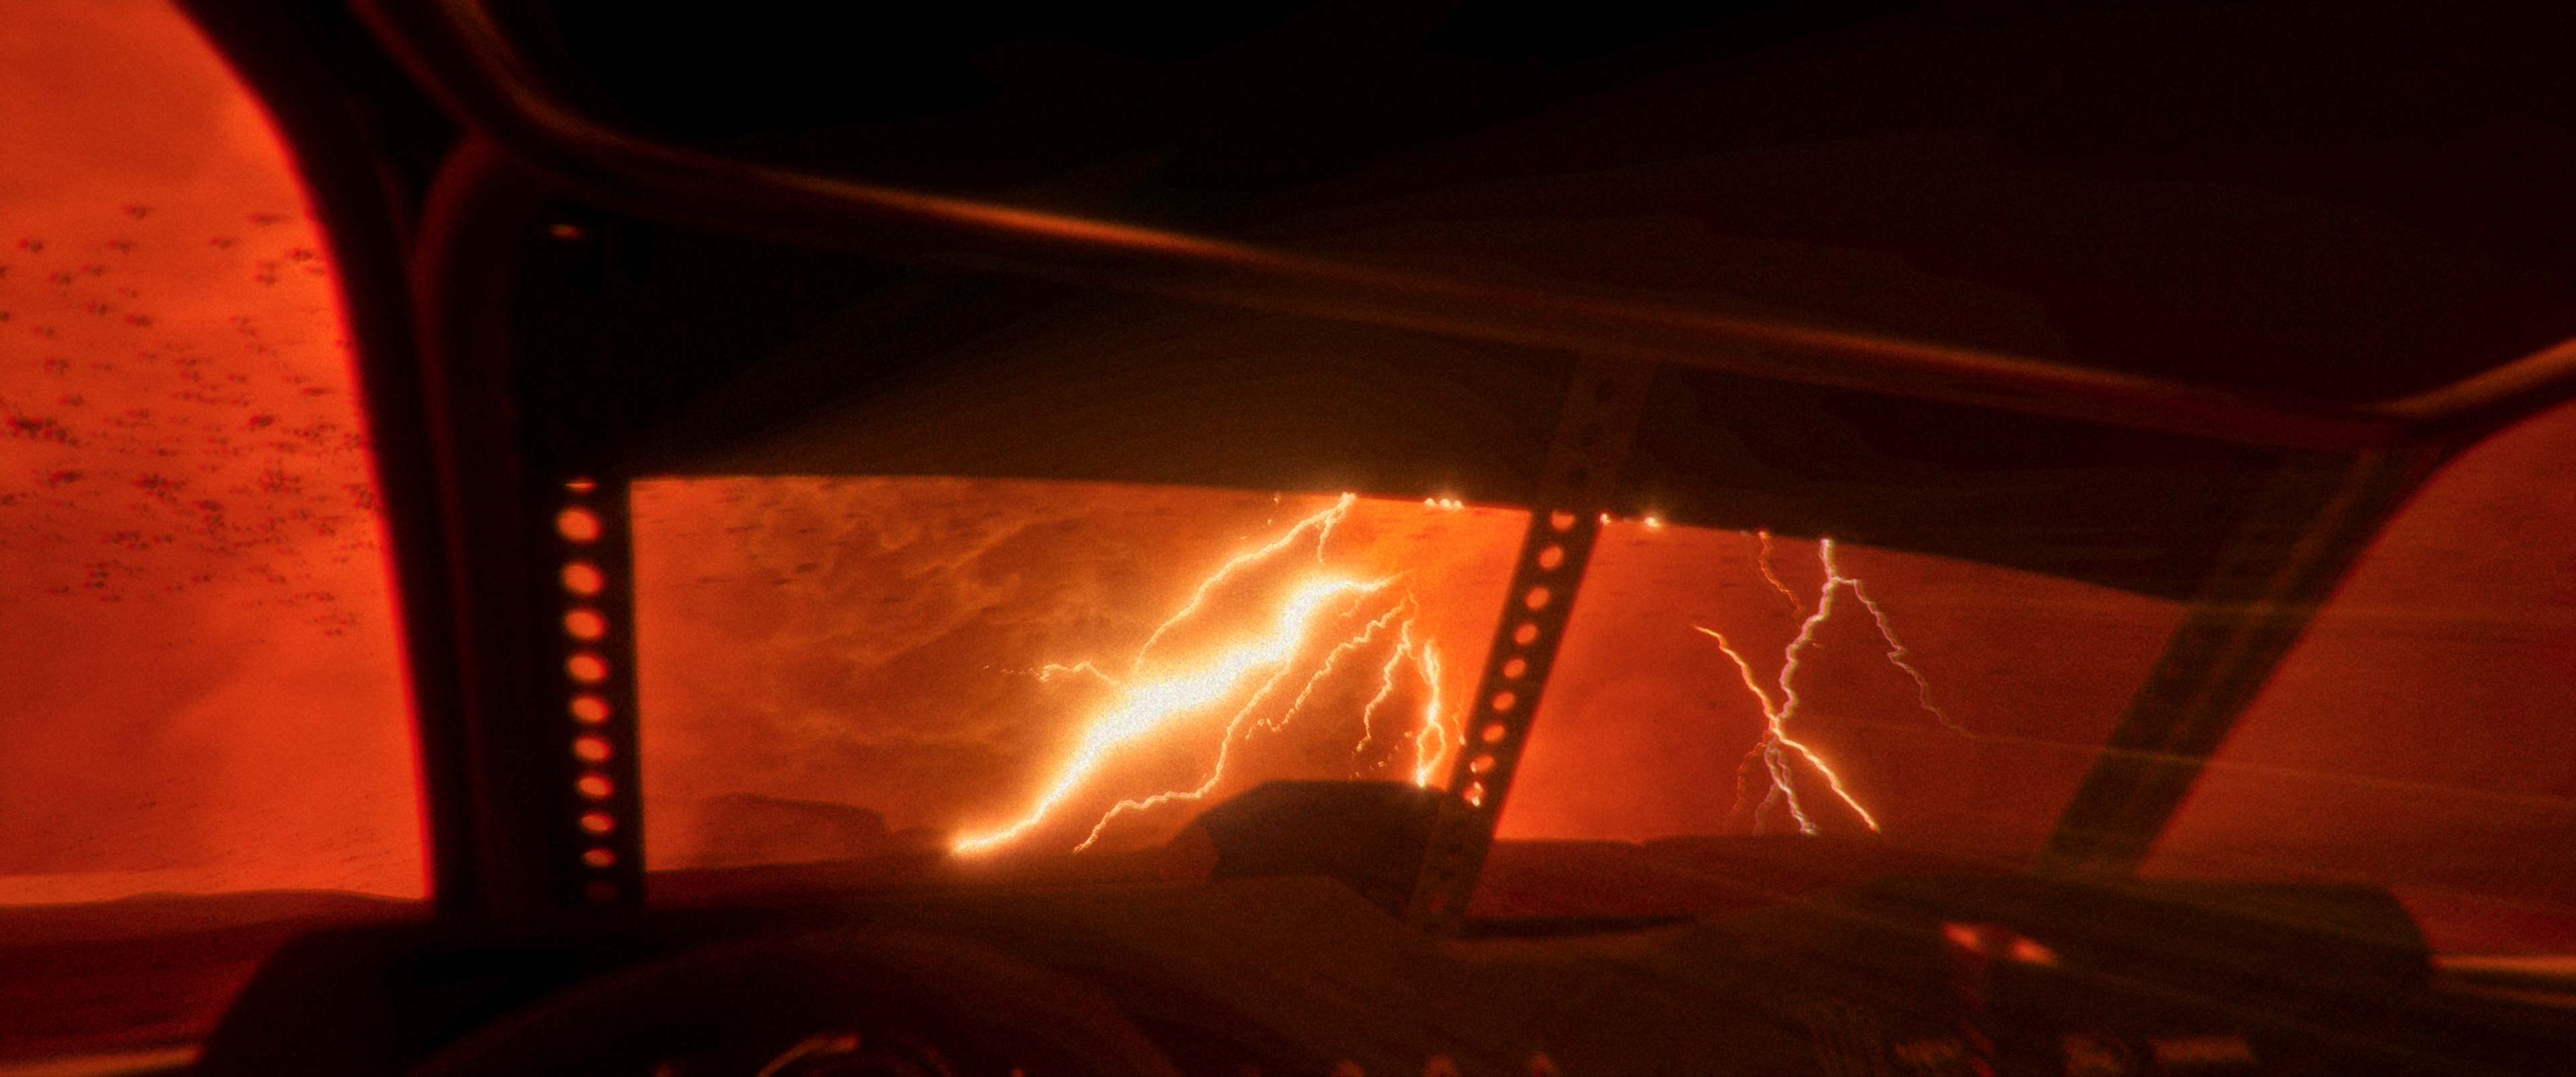
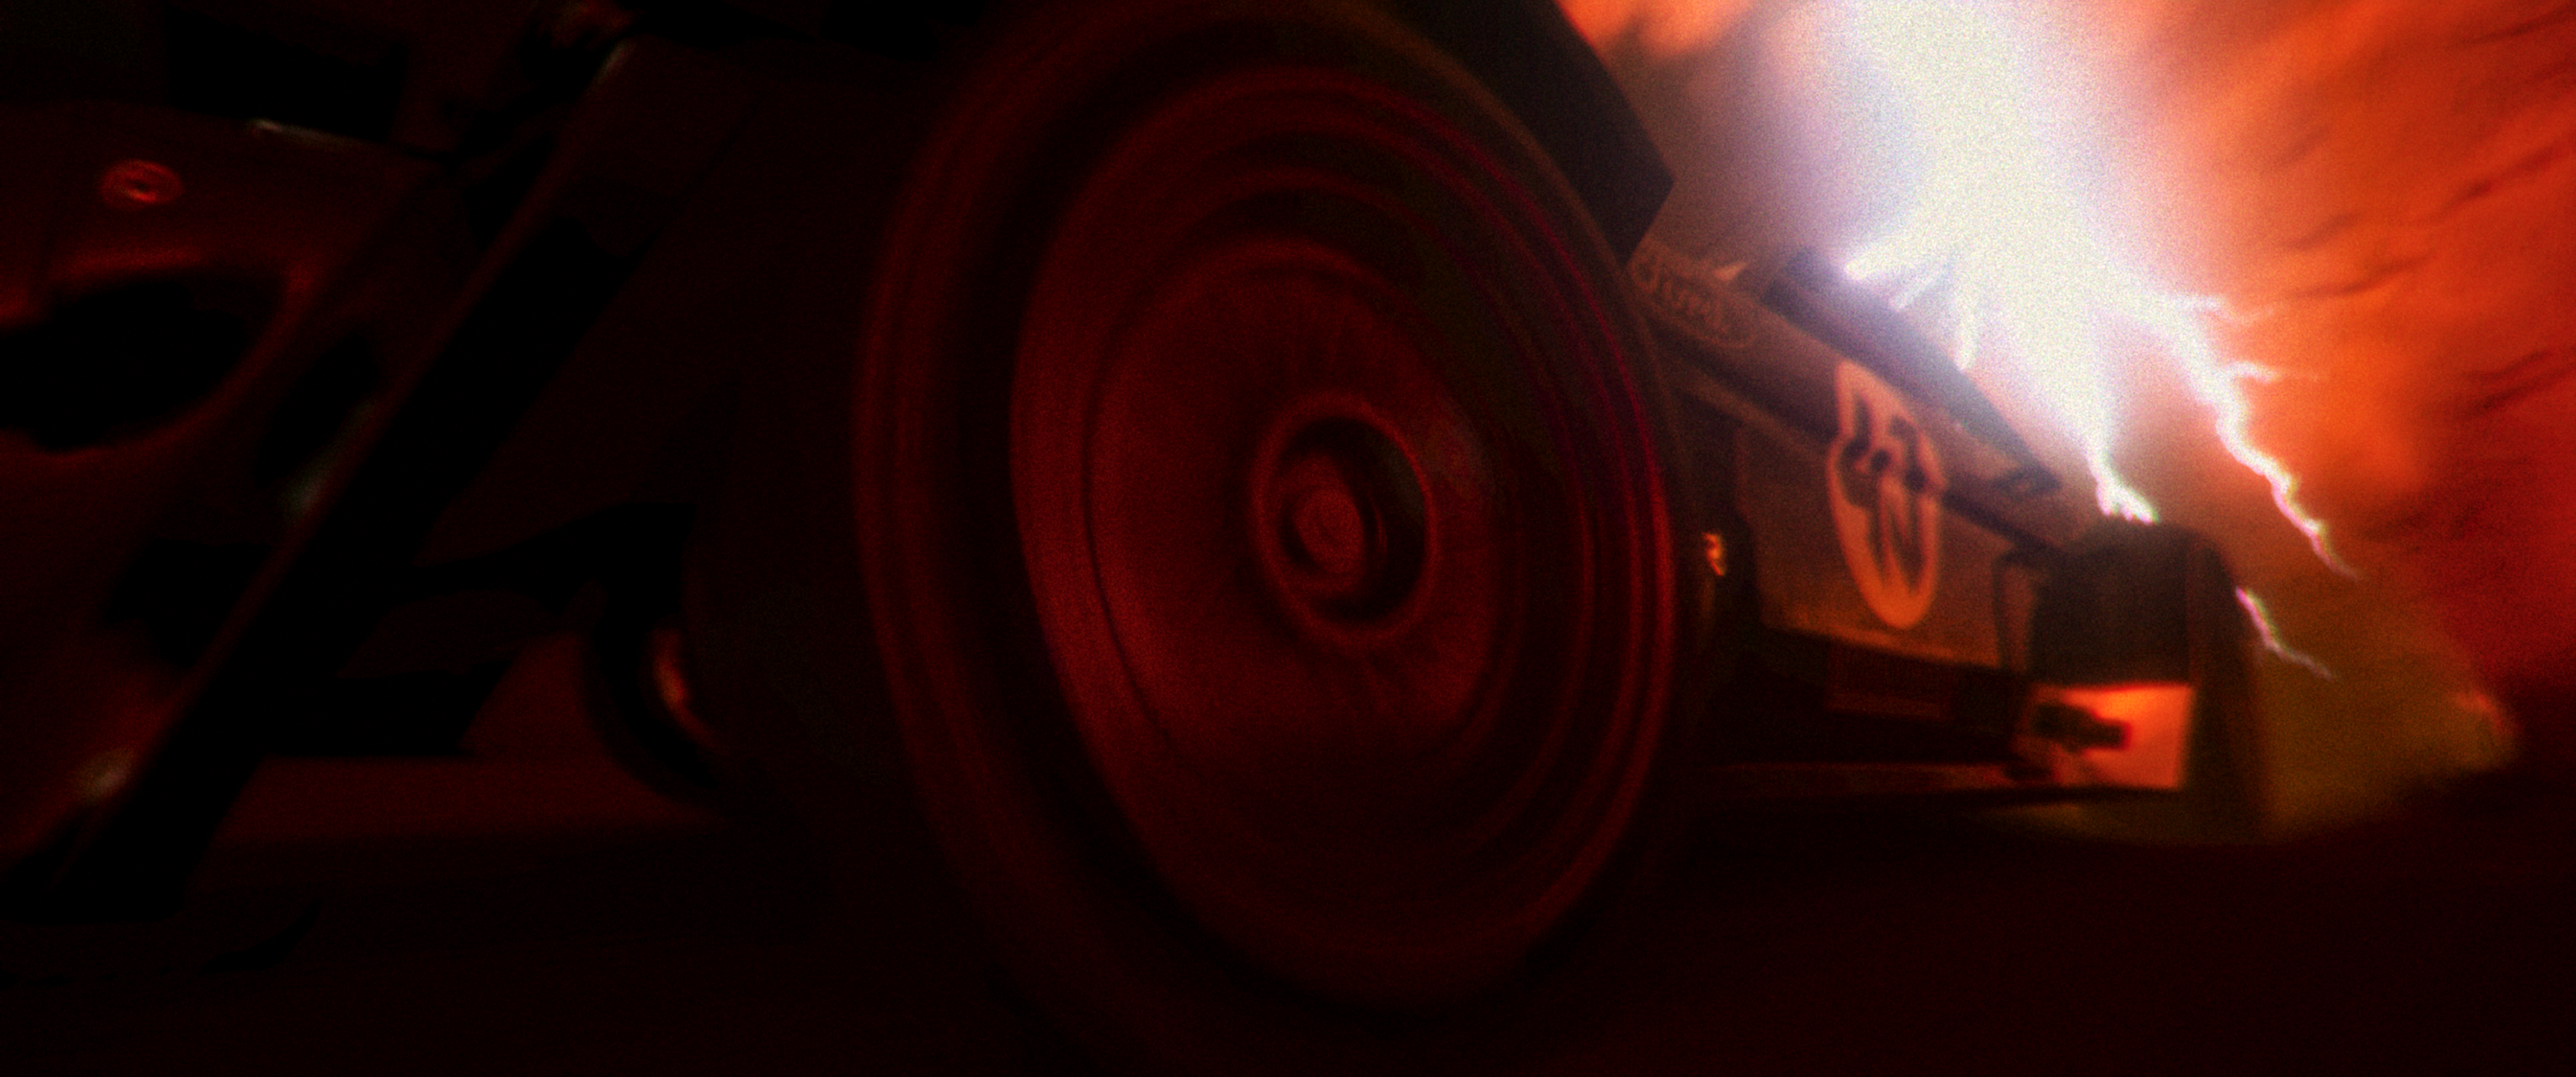
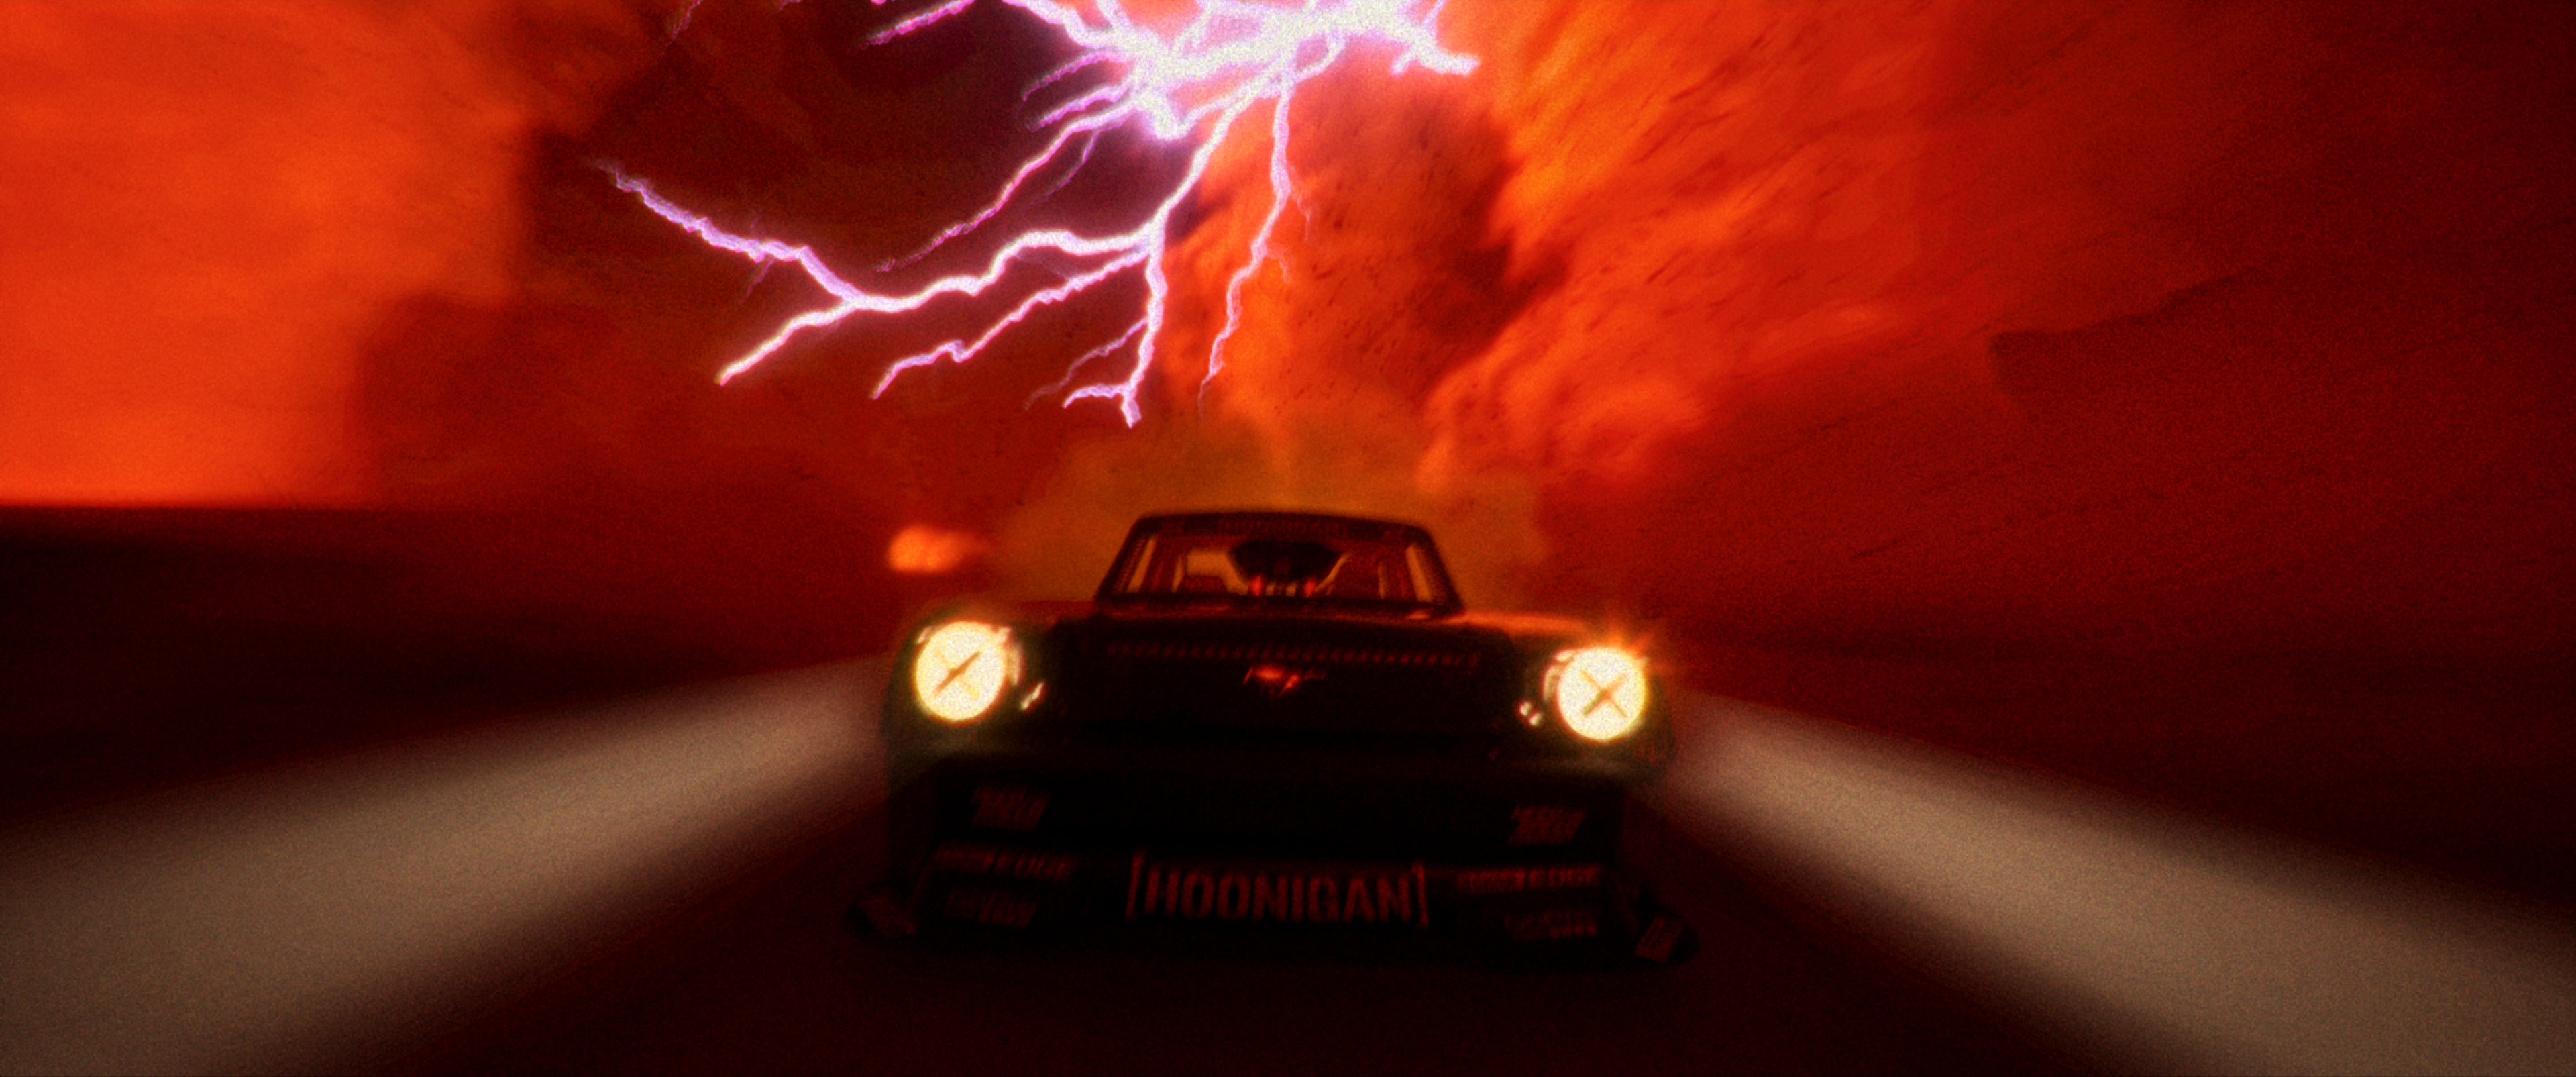
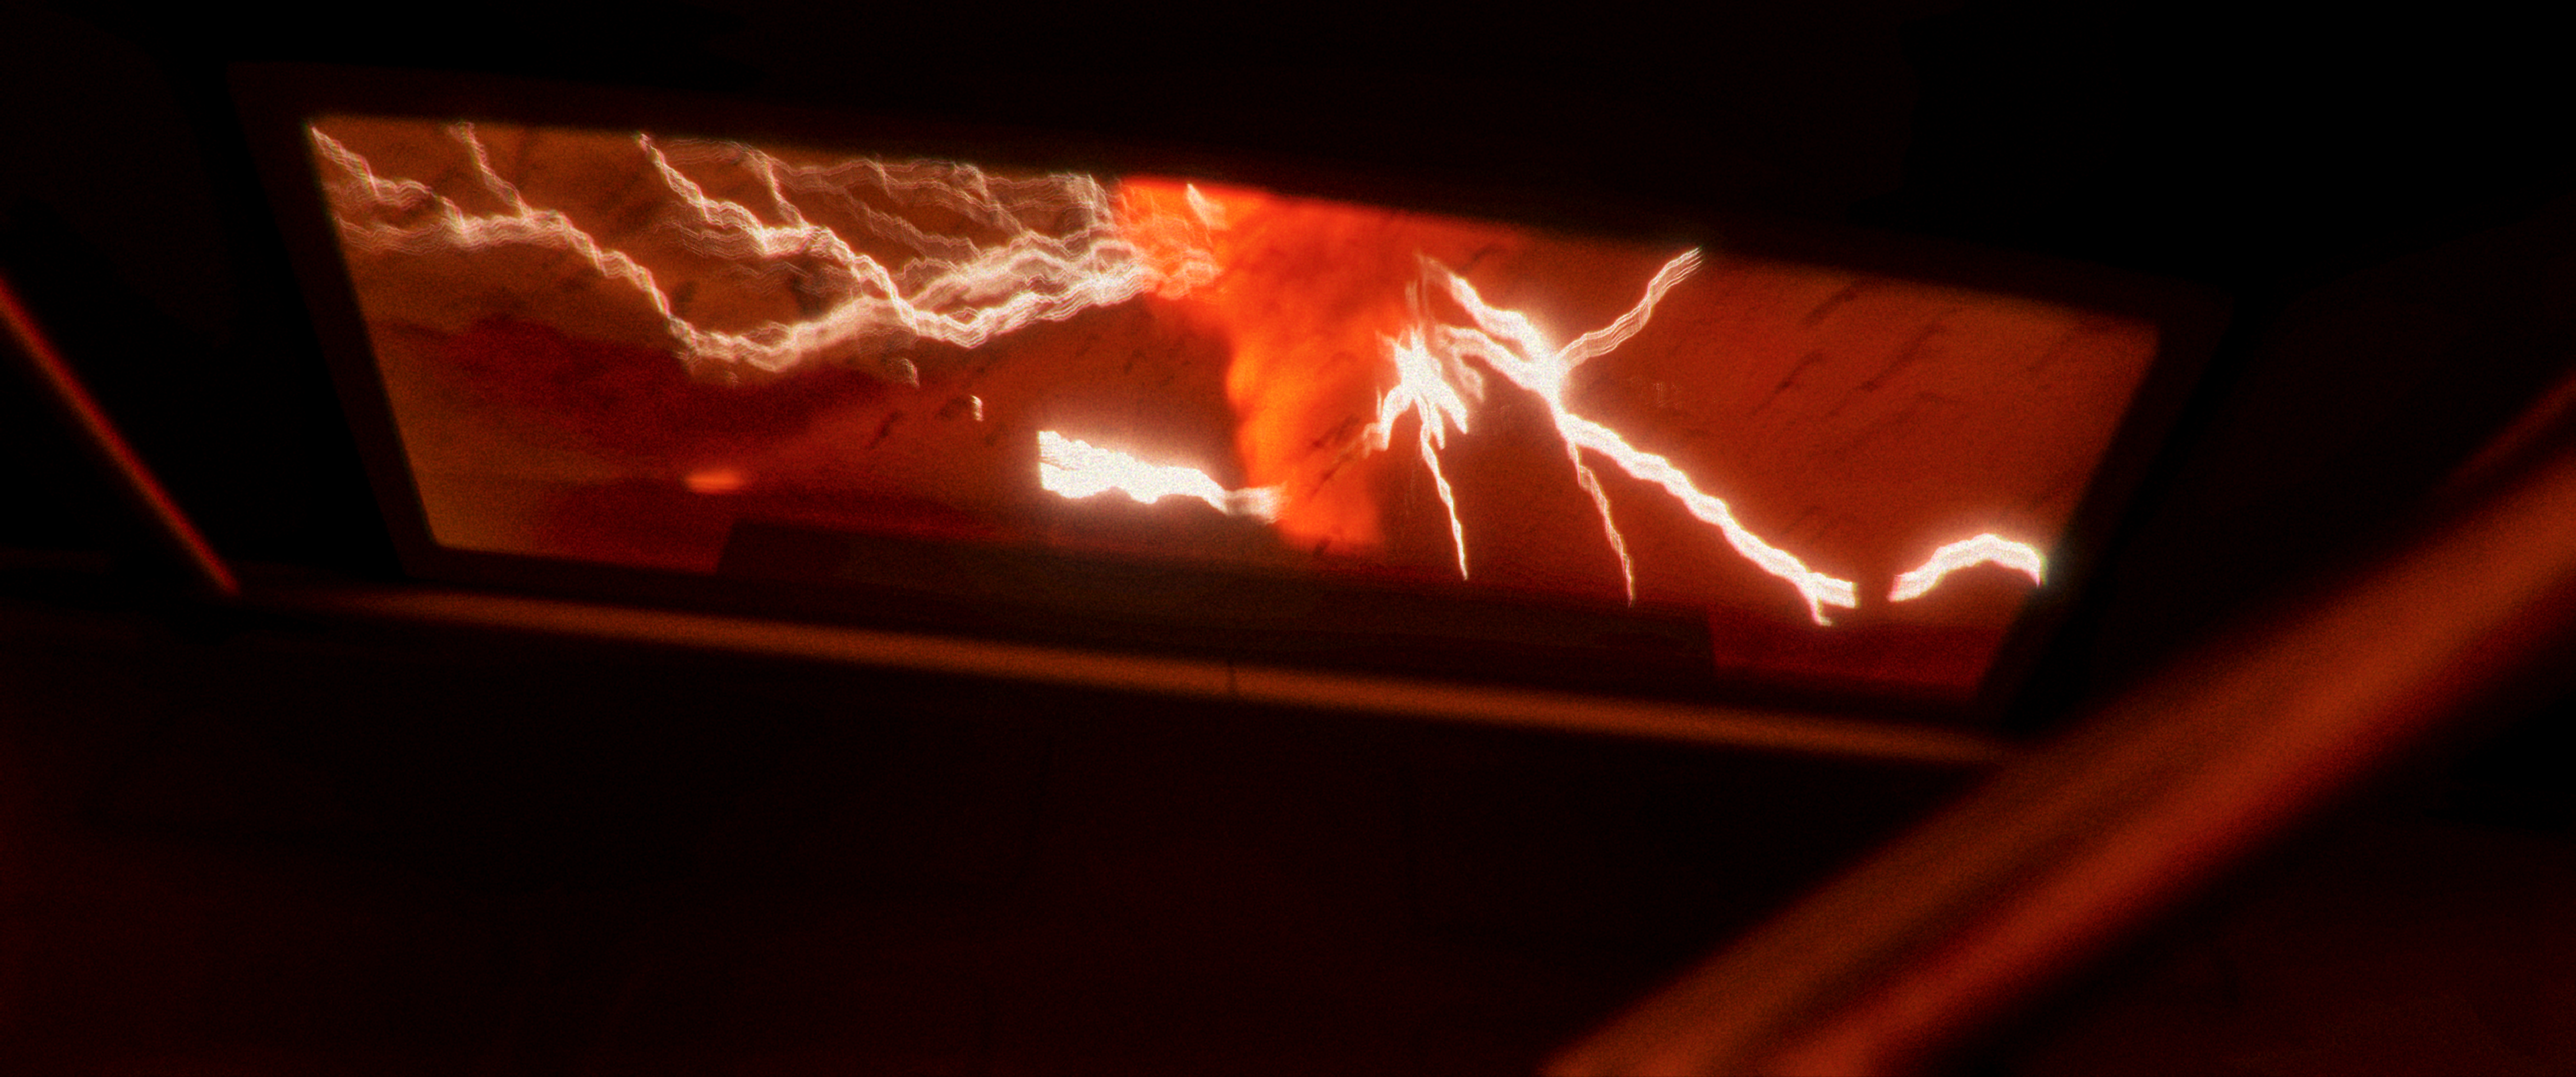
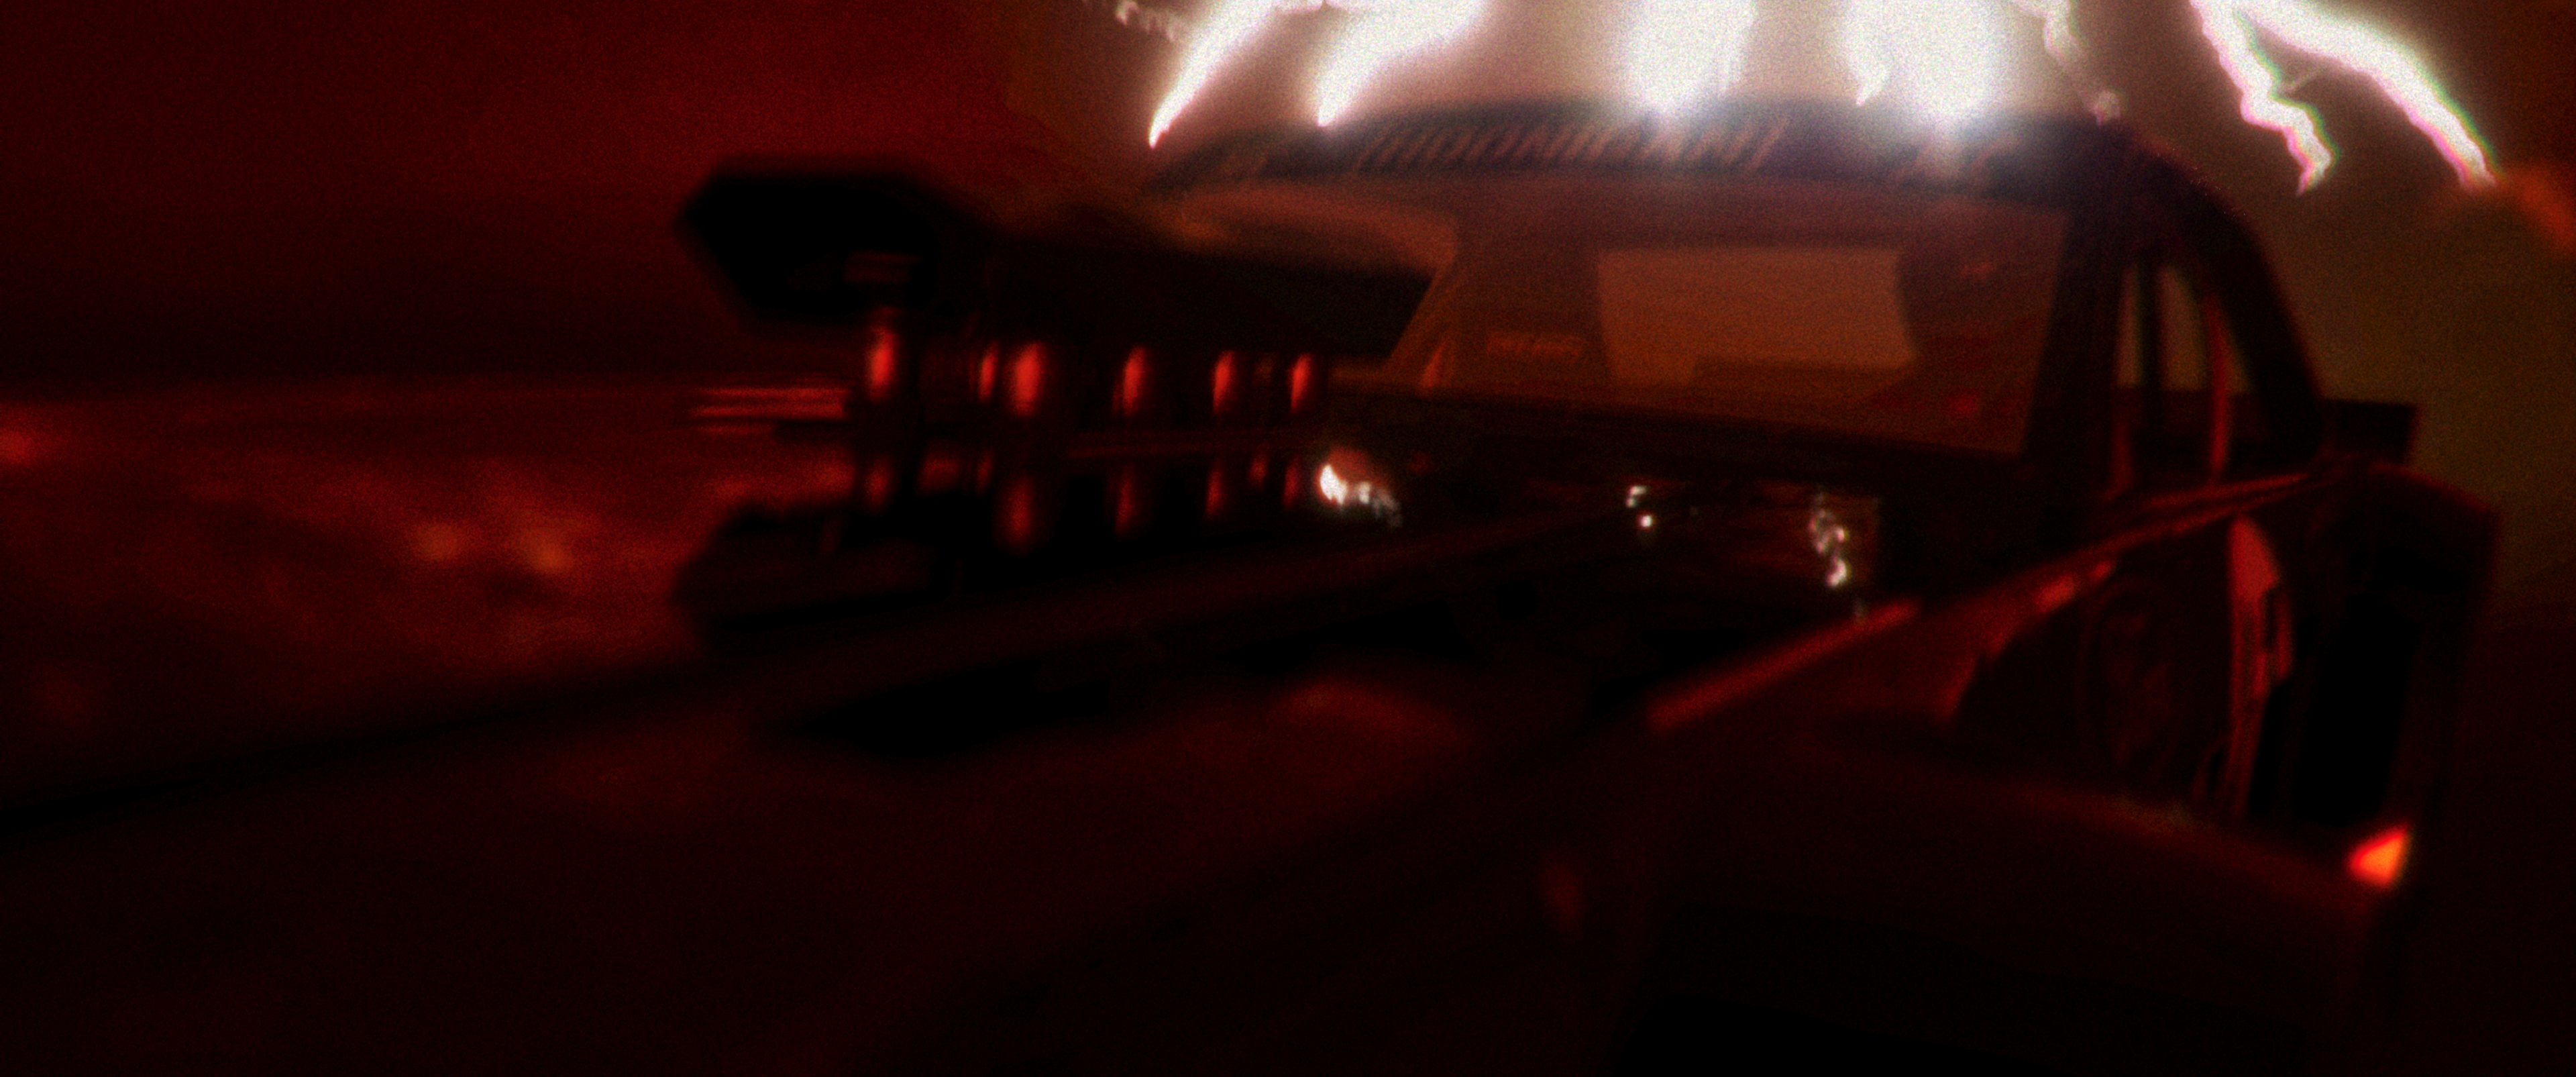
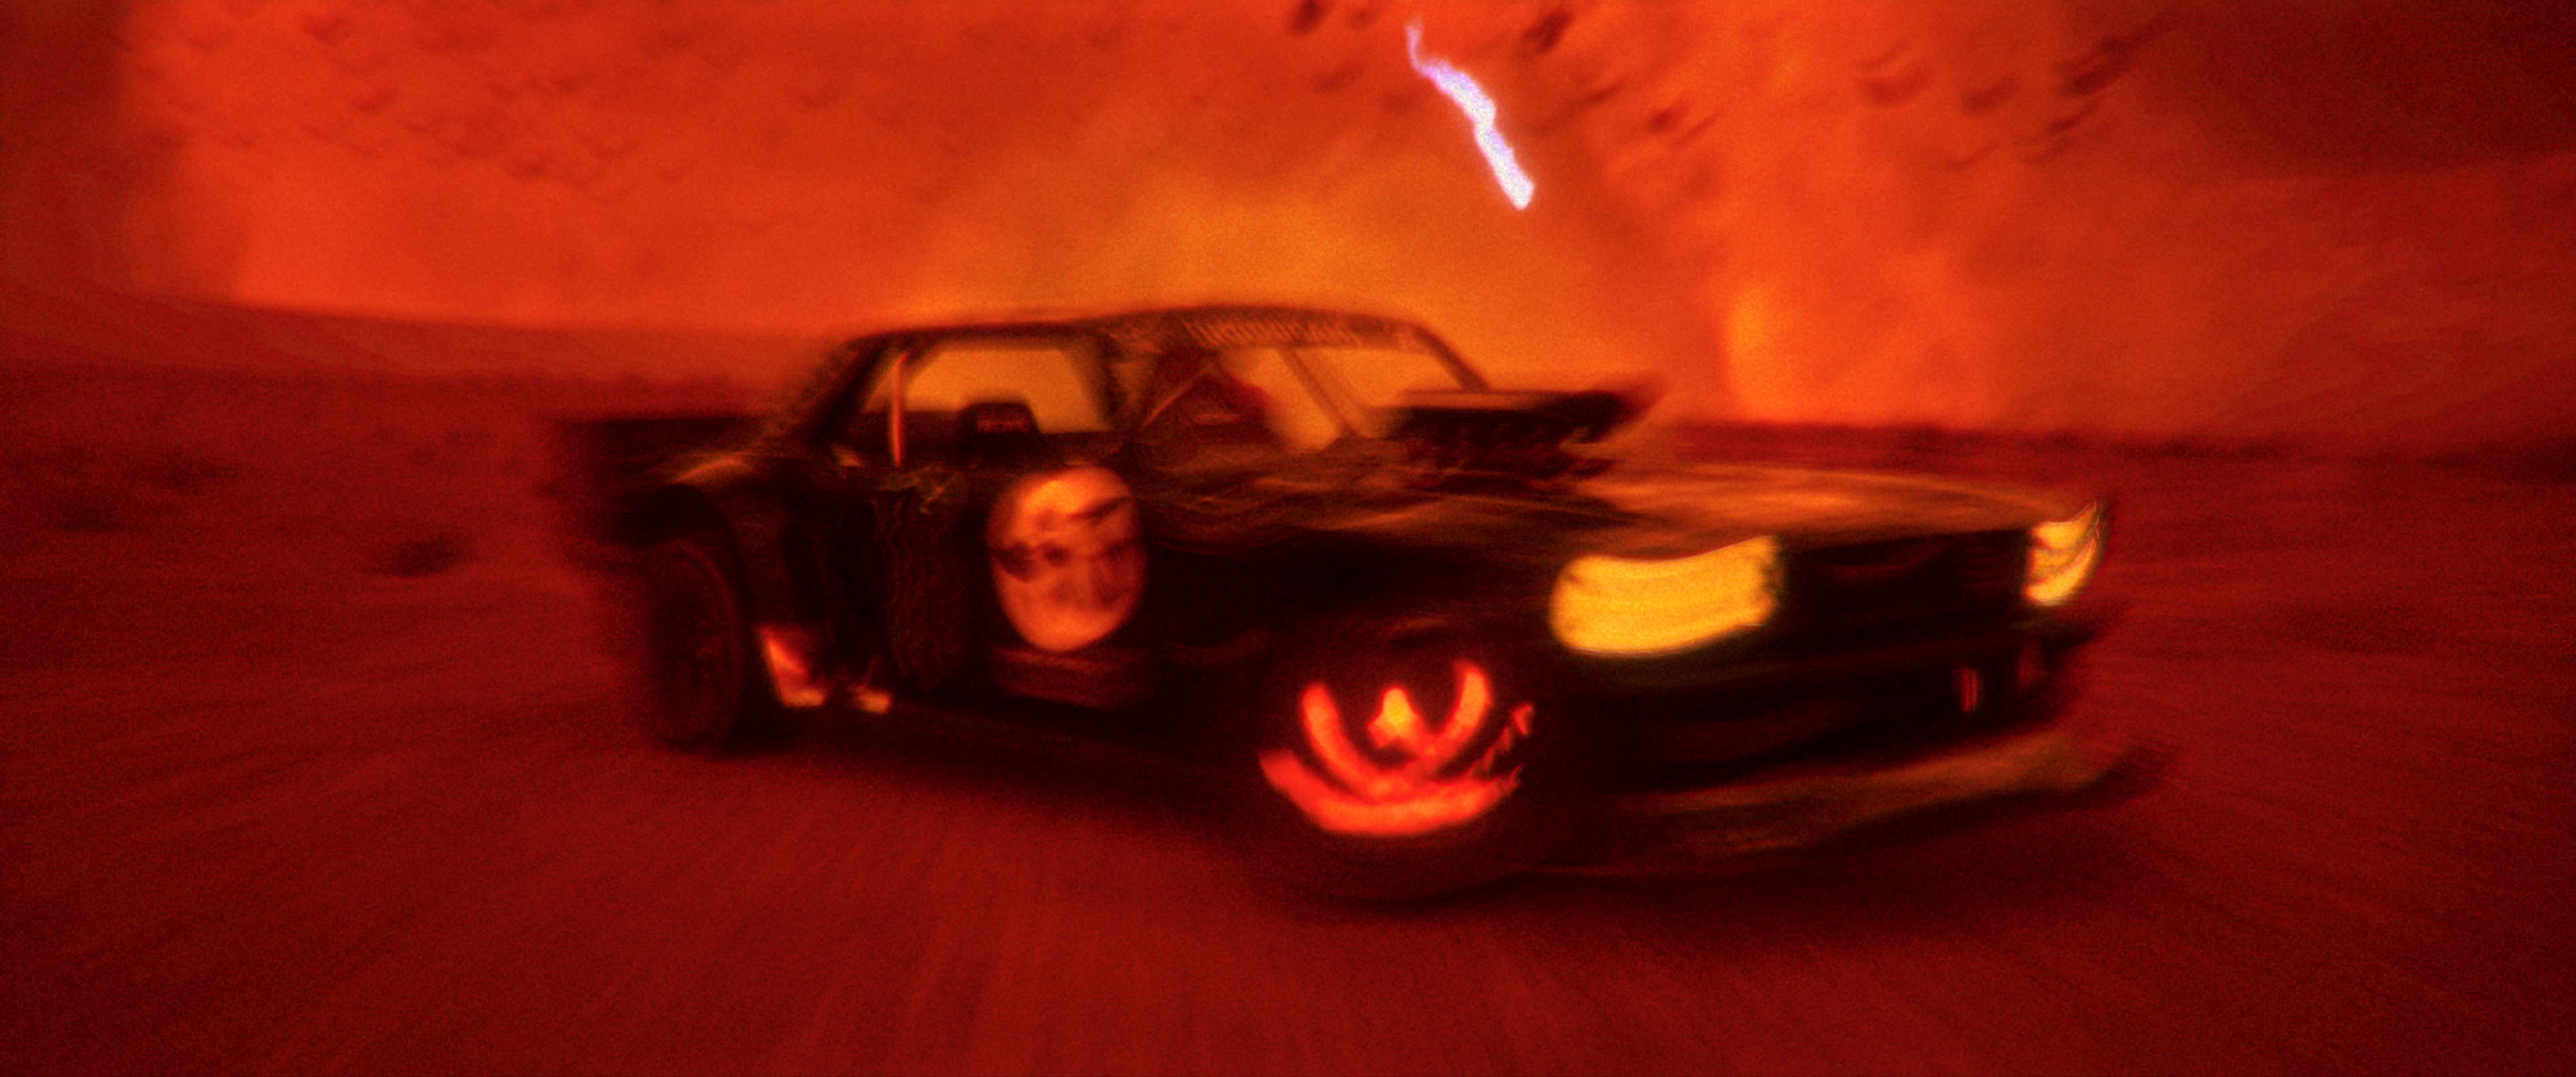
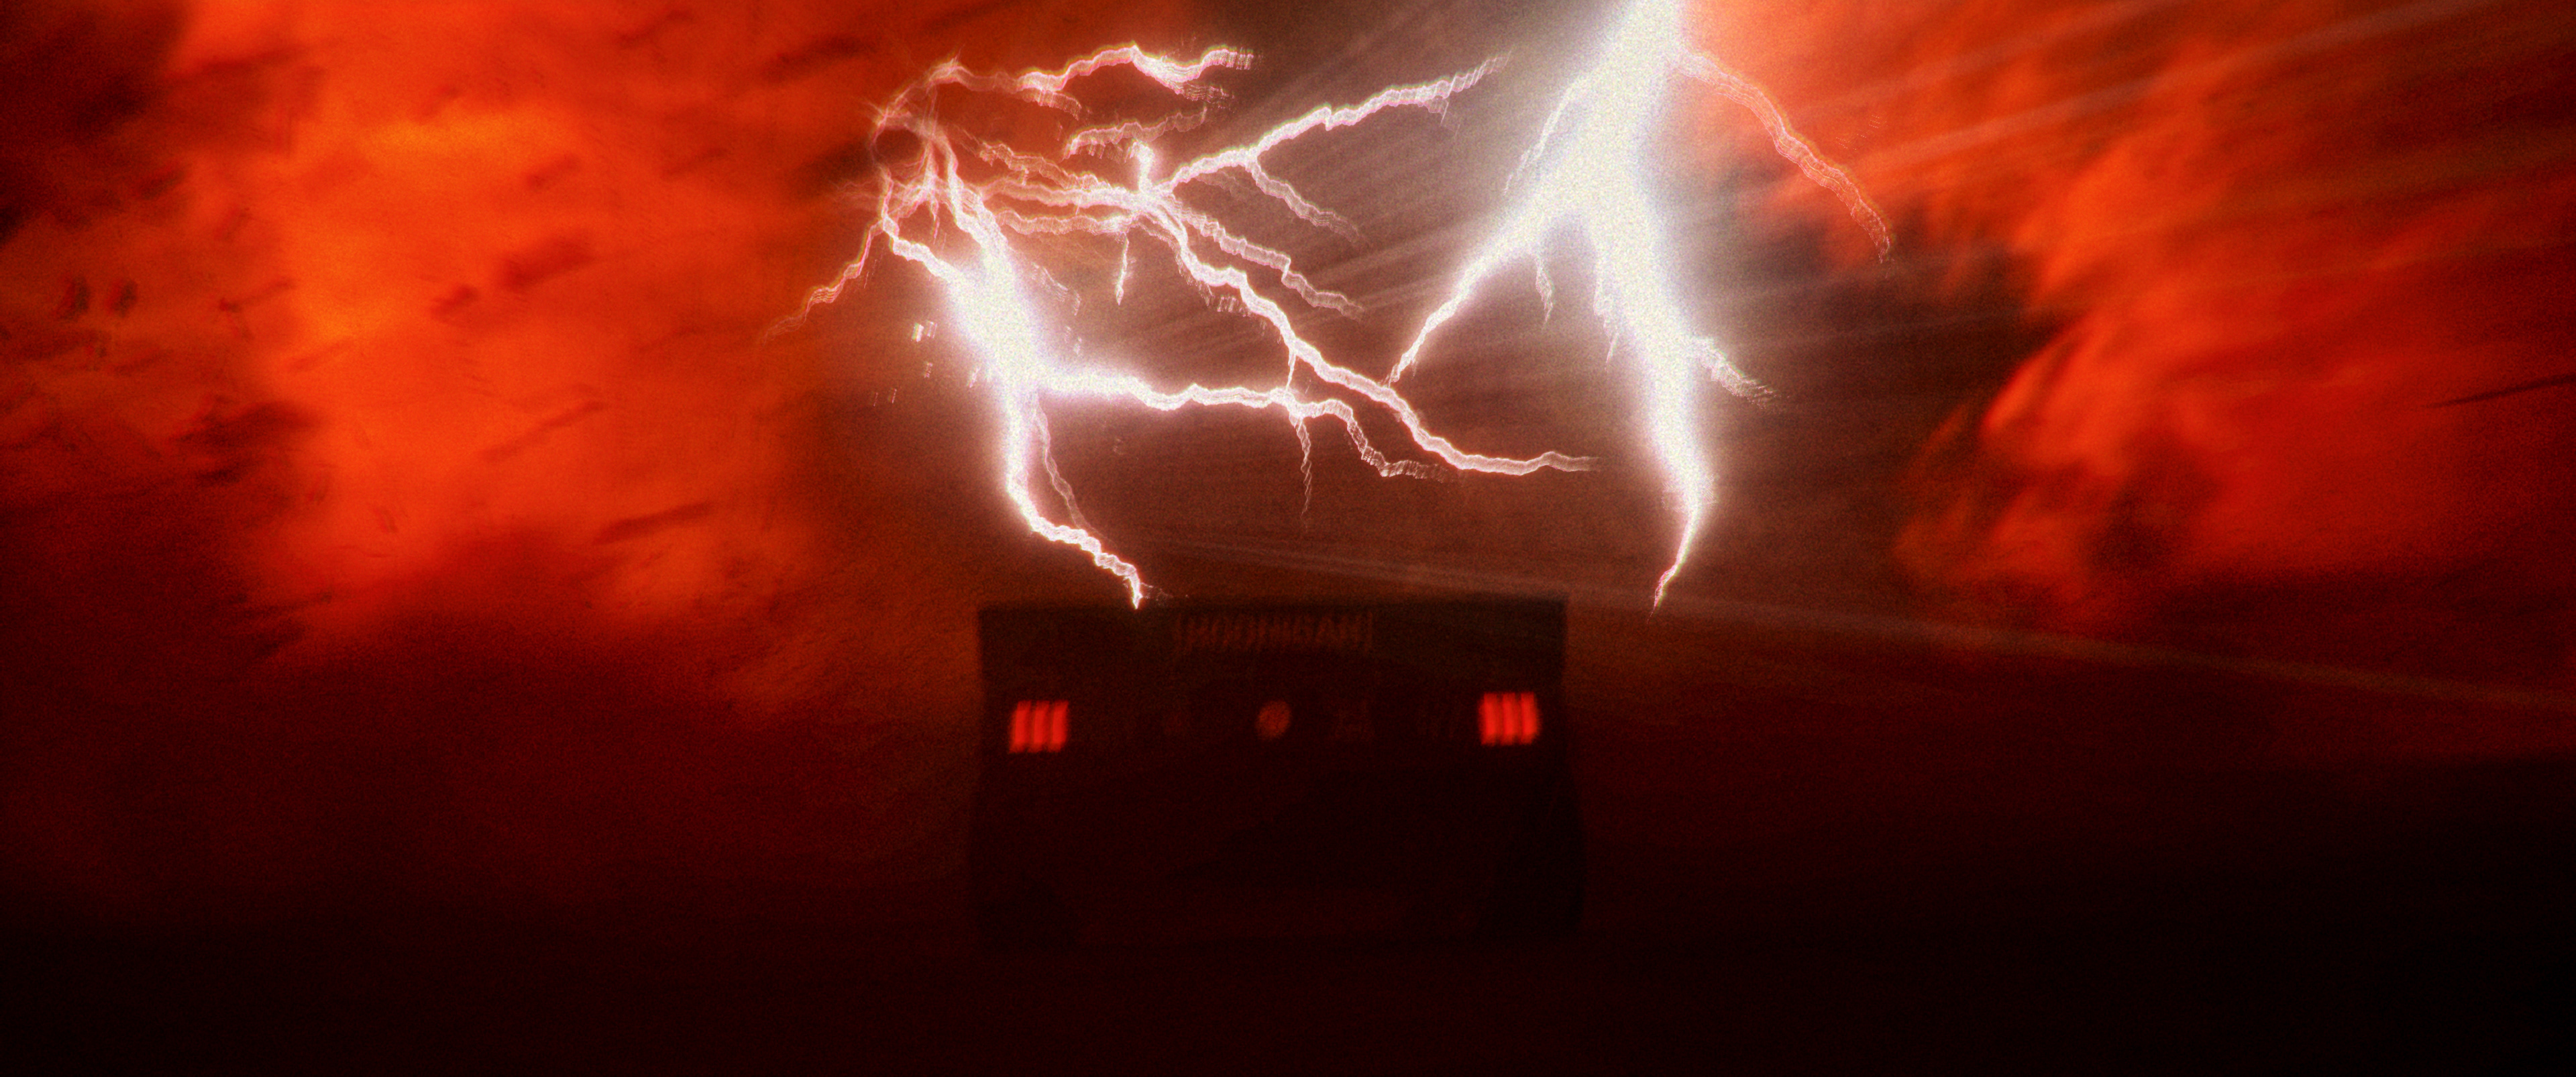
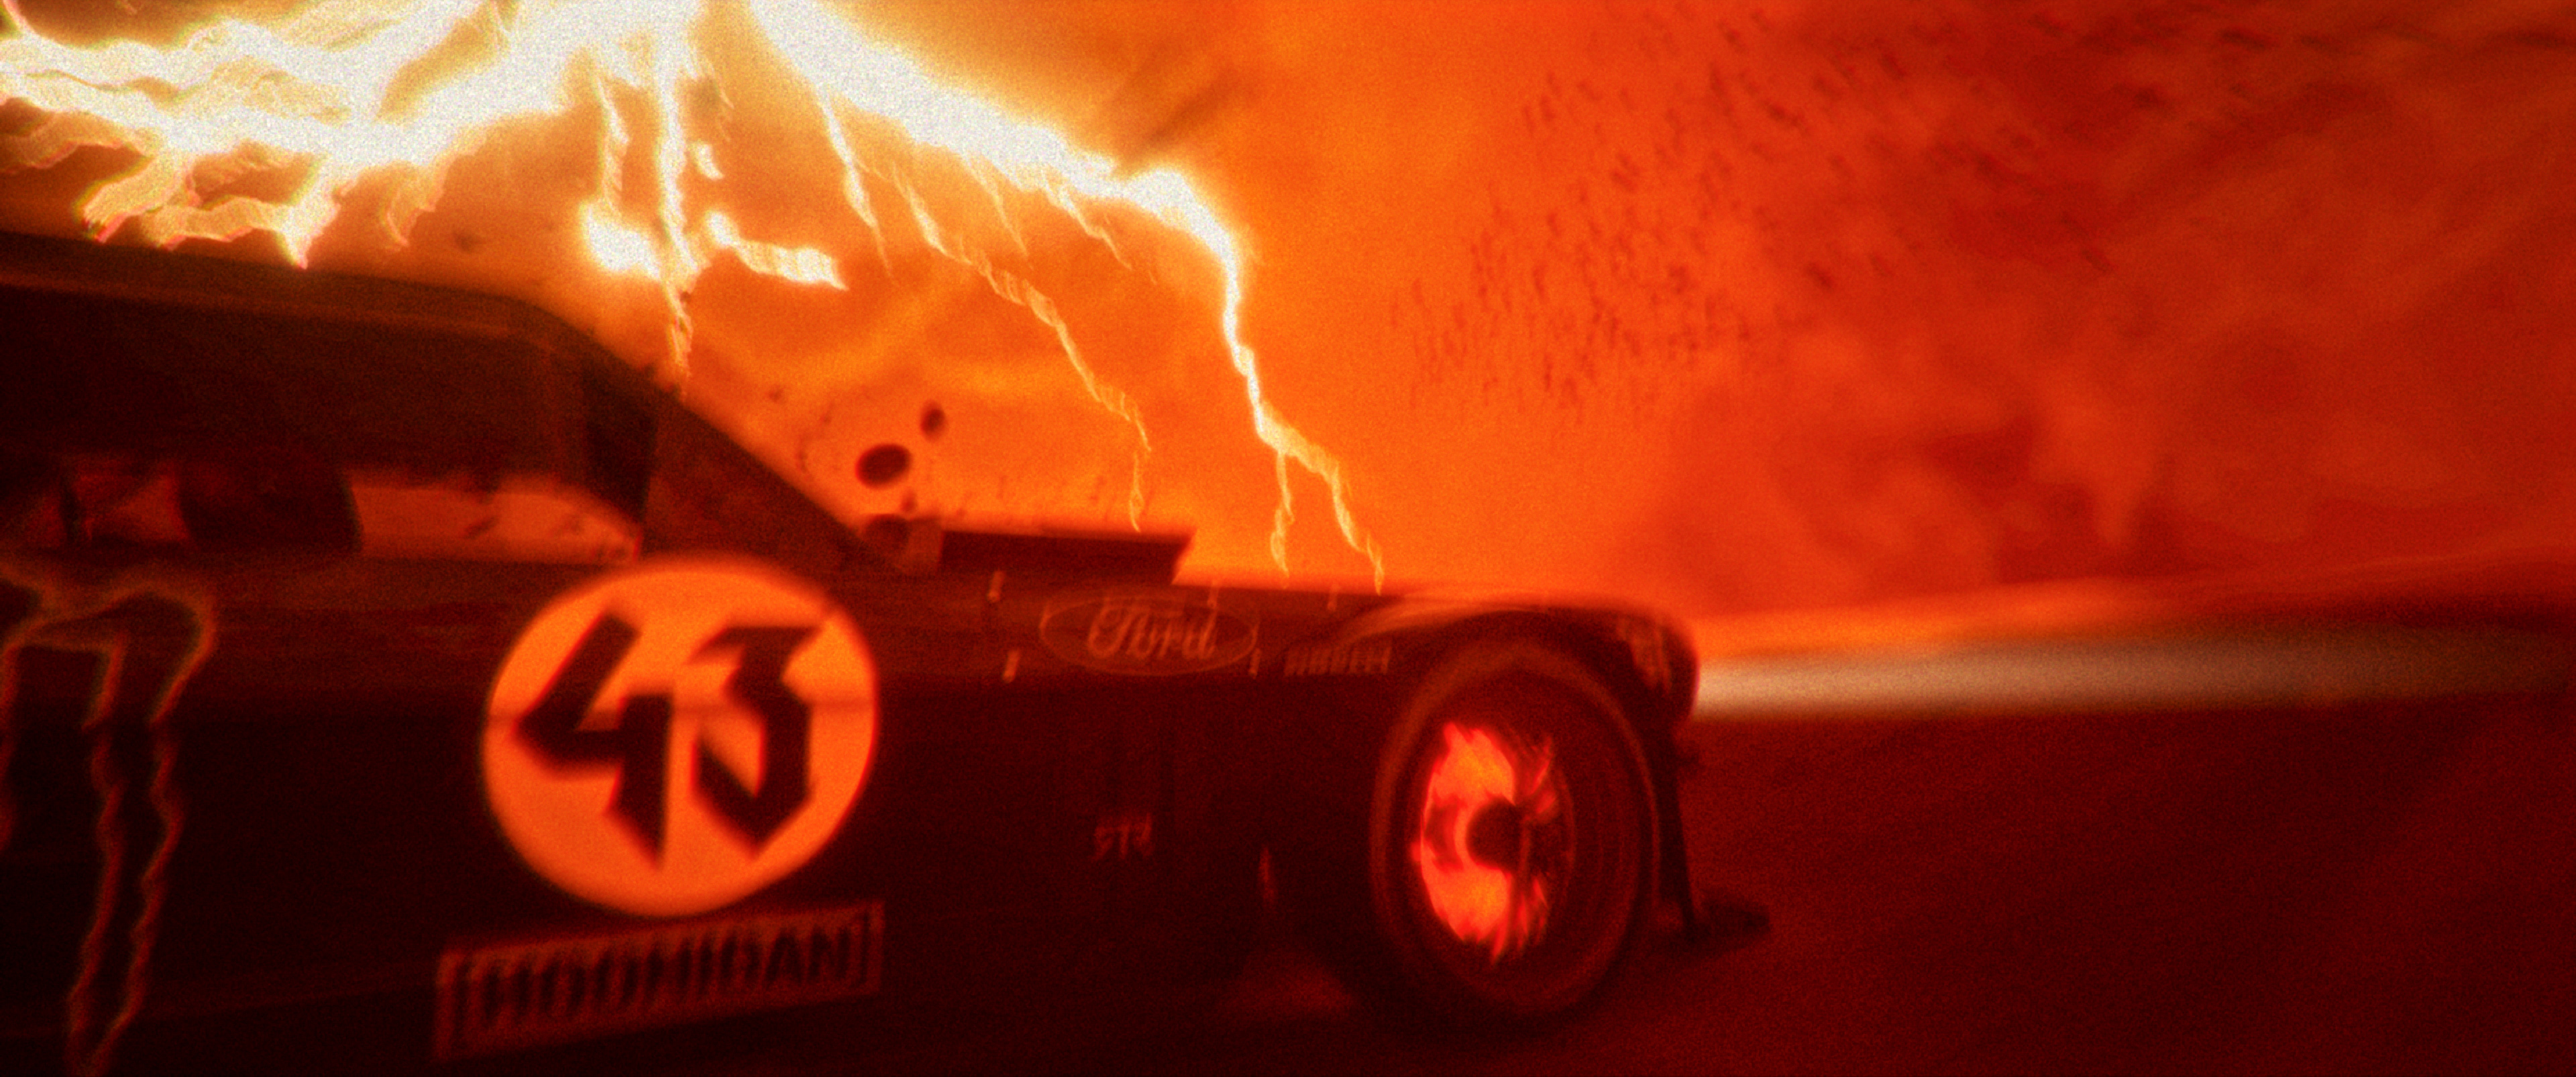
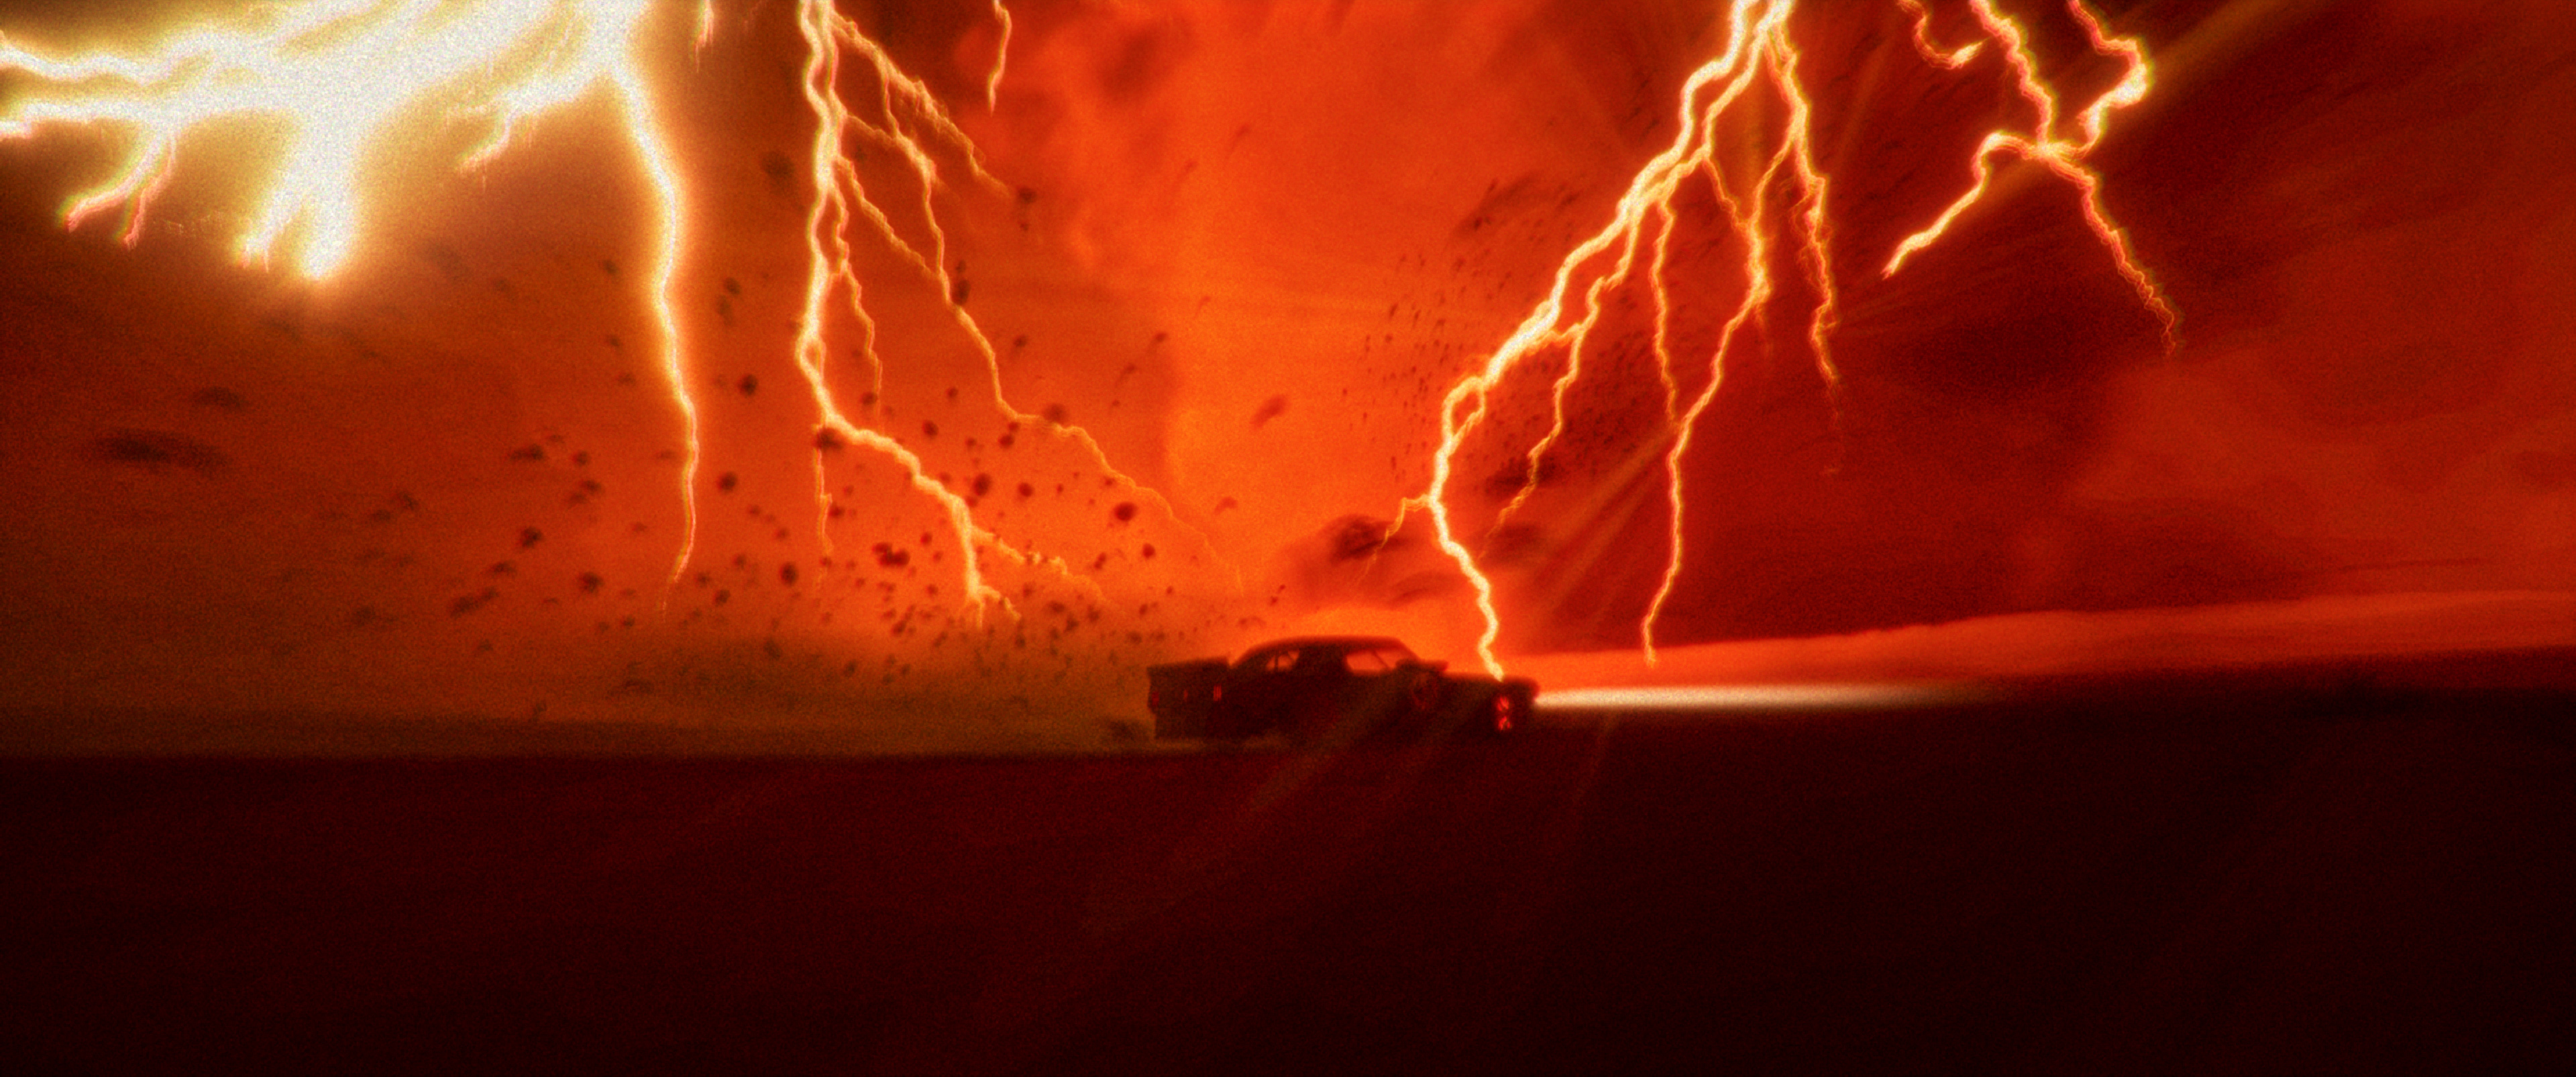
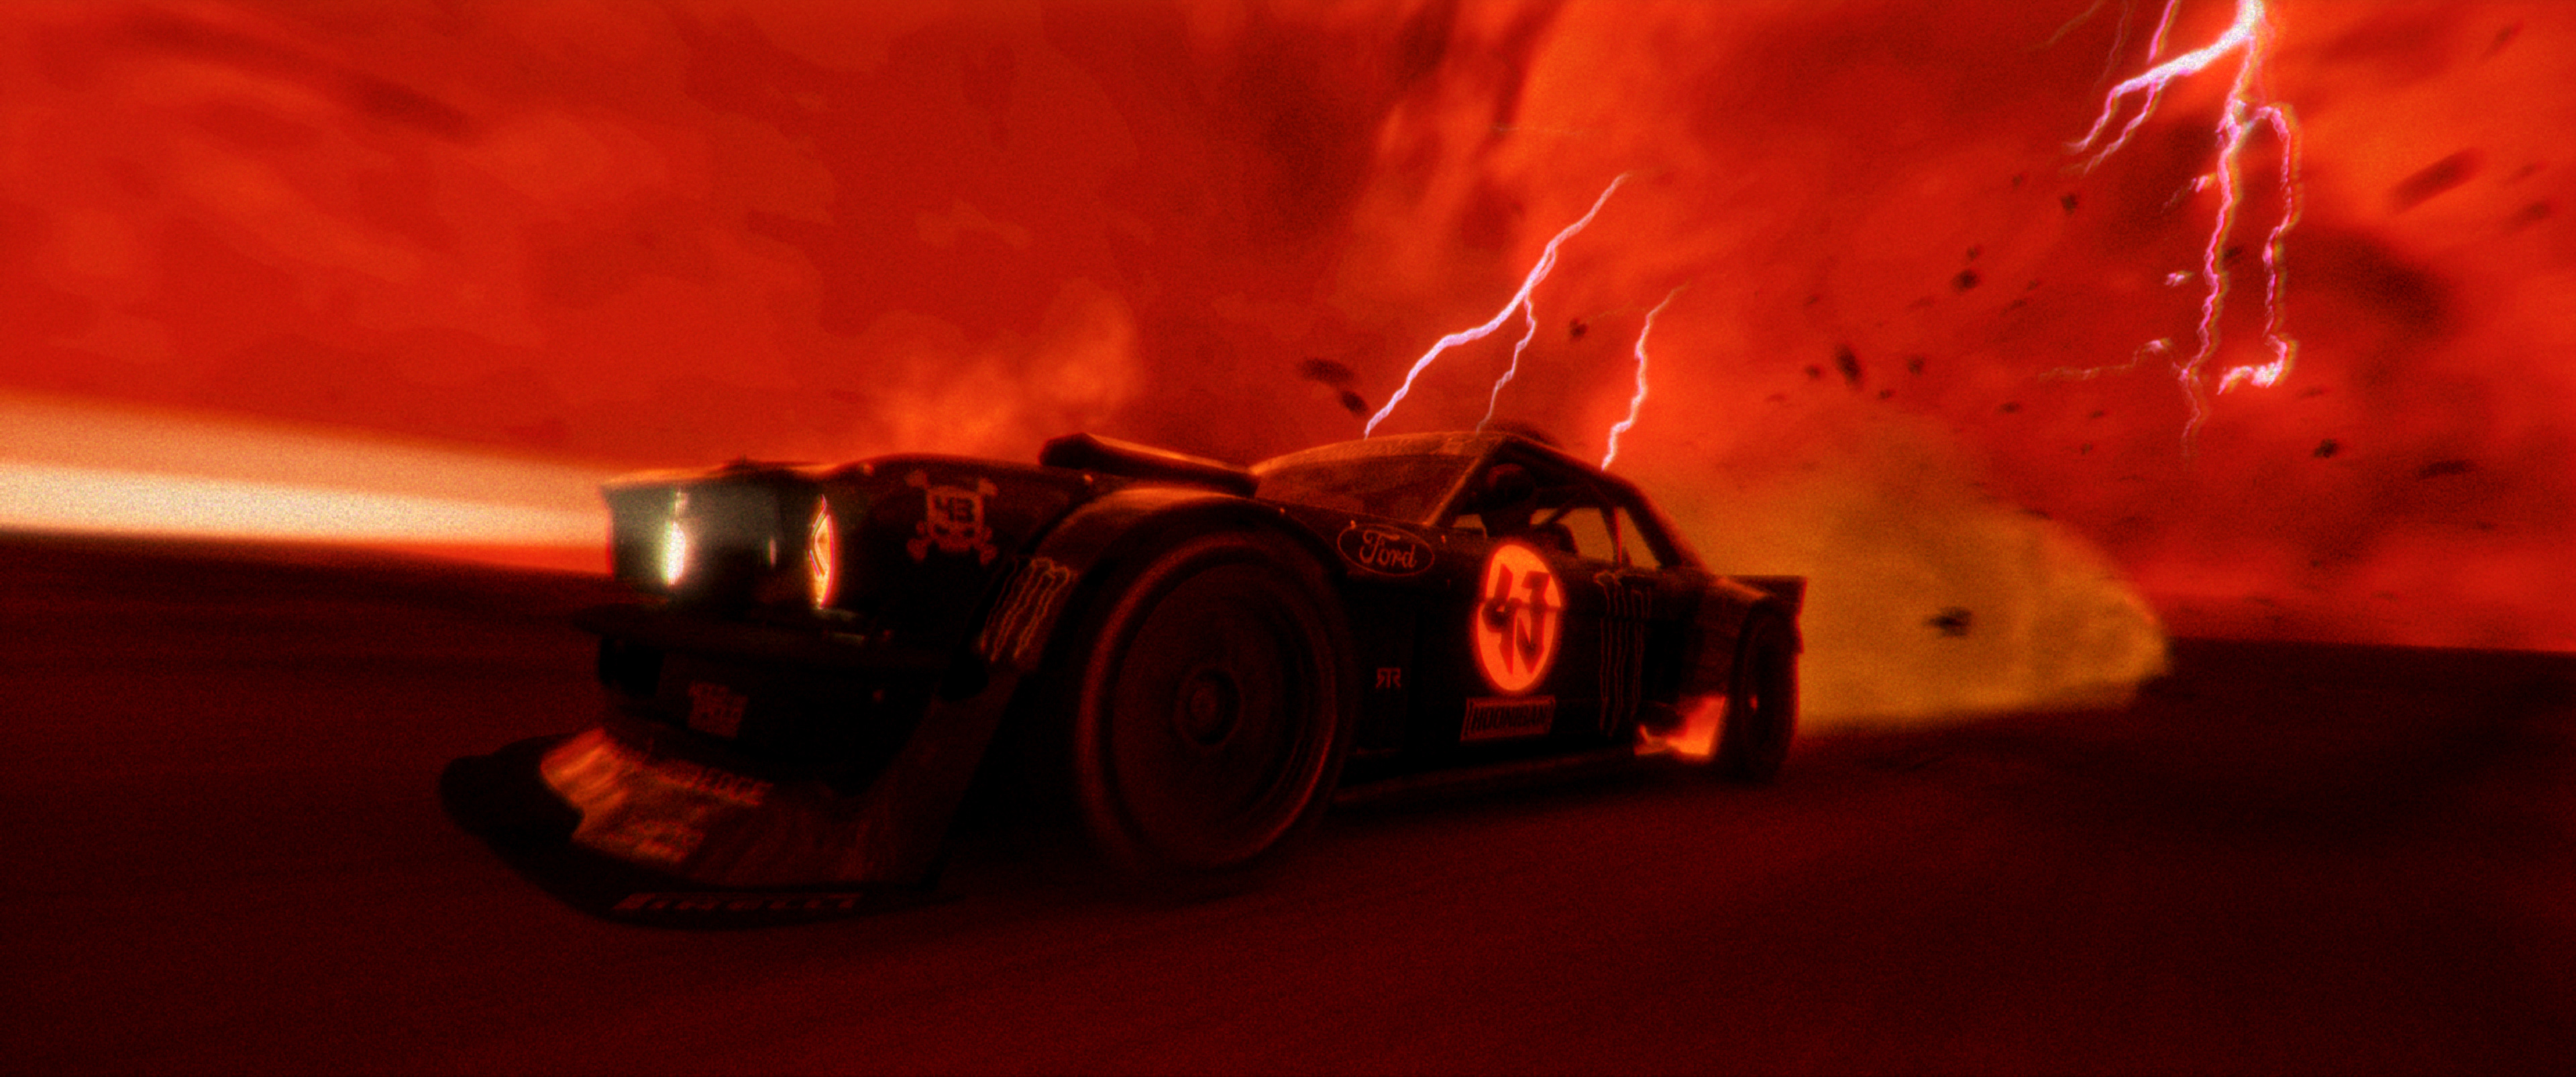
Desert Sandstorm & Electrical Lightning Sequence: Apocalyptic renders showcasing the Hoonicorn navigating towering tornadoes, intense fiery red atmospheric lighting, jagged electrical lightning strikes, and high-speed evasive drifts inside the storm.
Conclusion Sequence — Post-Storm Lighting & Atmosphere
The conclusion sequence deliberately shifts the visual treatment from the dense, high-contrast sandstorm into a post-storm atmospheric state, using a low-angle directional sun to create broad shafts of warm light through the remaining suspended dust and haze. The environment was lit with a softer, lower-contrast solar response, allowing the airborne particulate to catch the light and produce visible god rays, volumetric beams, bloom, and atmospheric scatteringacross the canyon. The dust layer was retained at reduced density to create a gradual transition from the storm rather than an abrupt return to clear daylight, while the sun position was composed to generate controlled lens flare and backlight around the protagonist and vehicle. This lighting approach was used to visually communicate environmental recovery and provide a calmer tonal reset before the final full-throttle sequence, while maintaining continuity with the canyon's established material, colour, and atmospheric response.
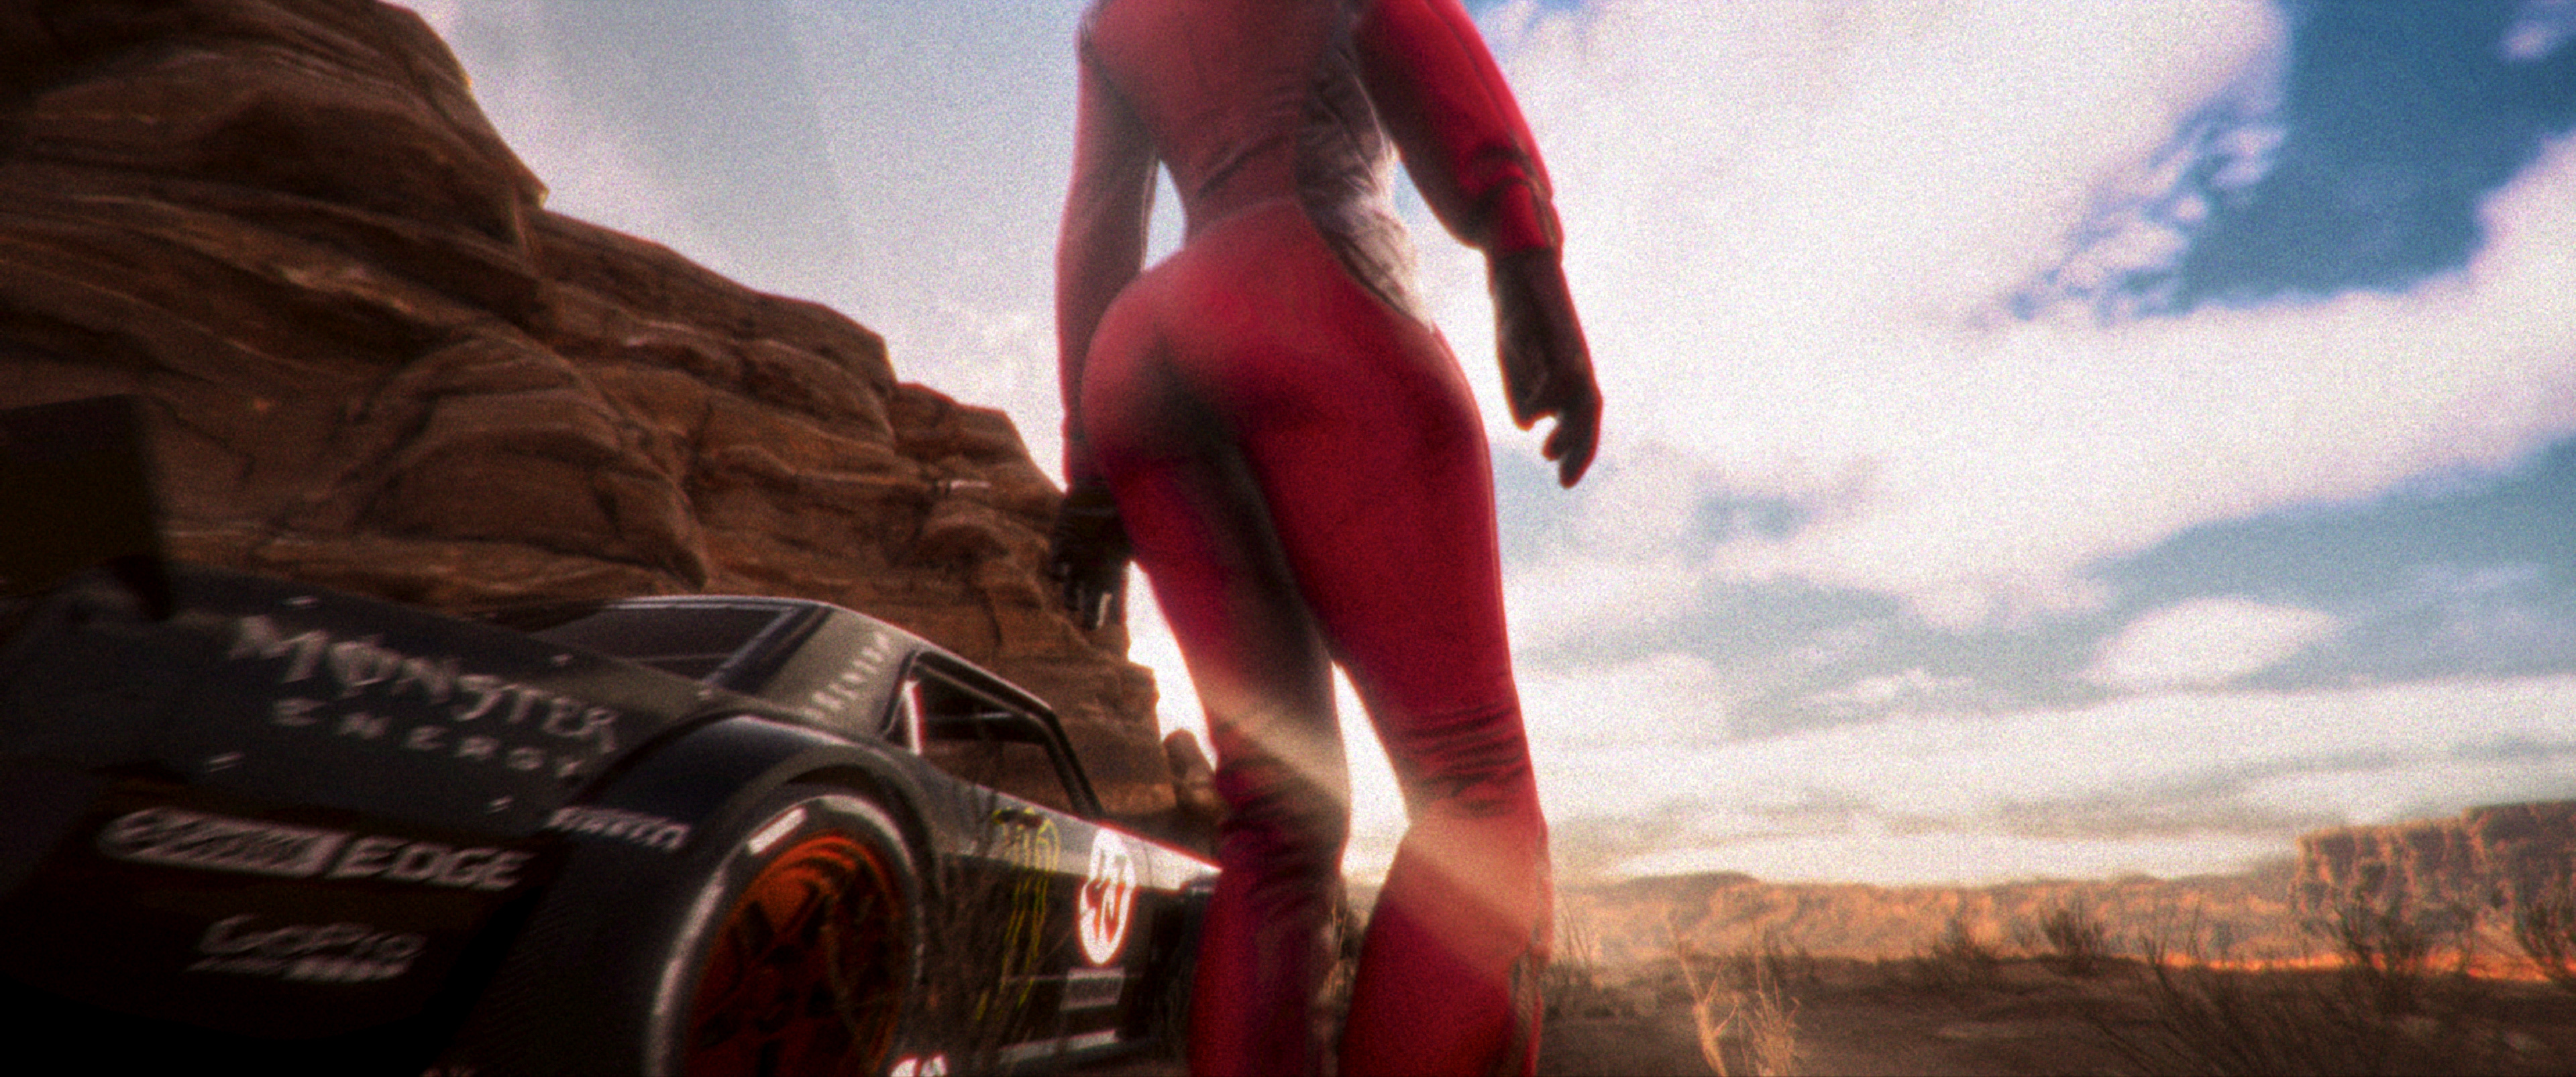
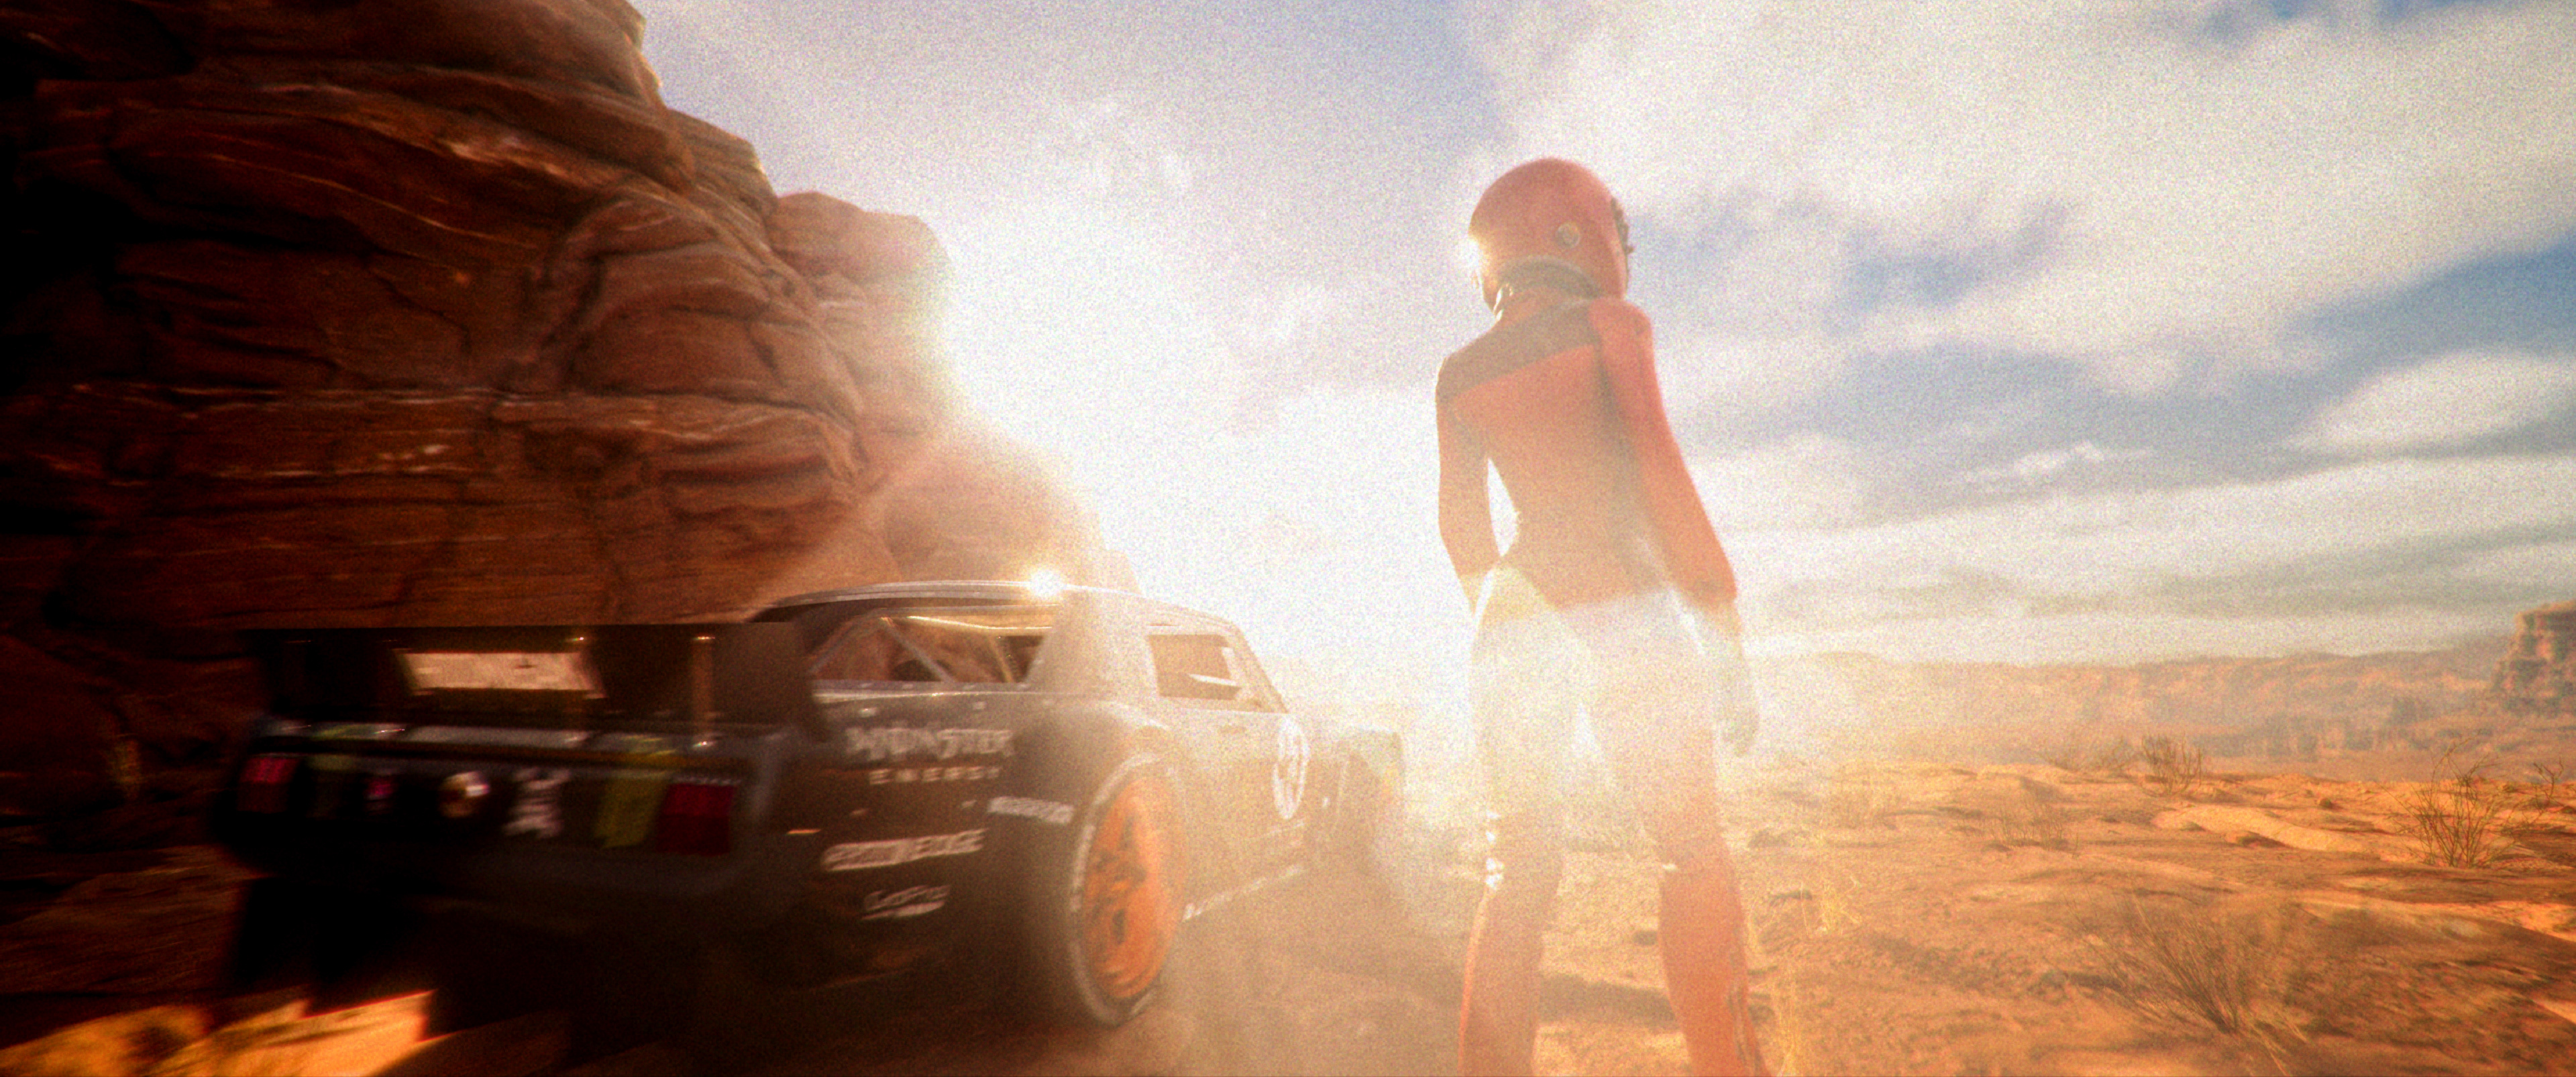
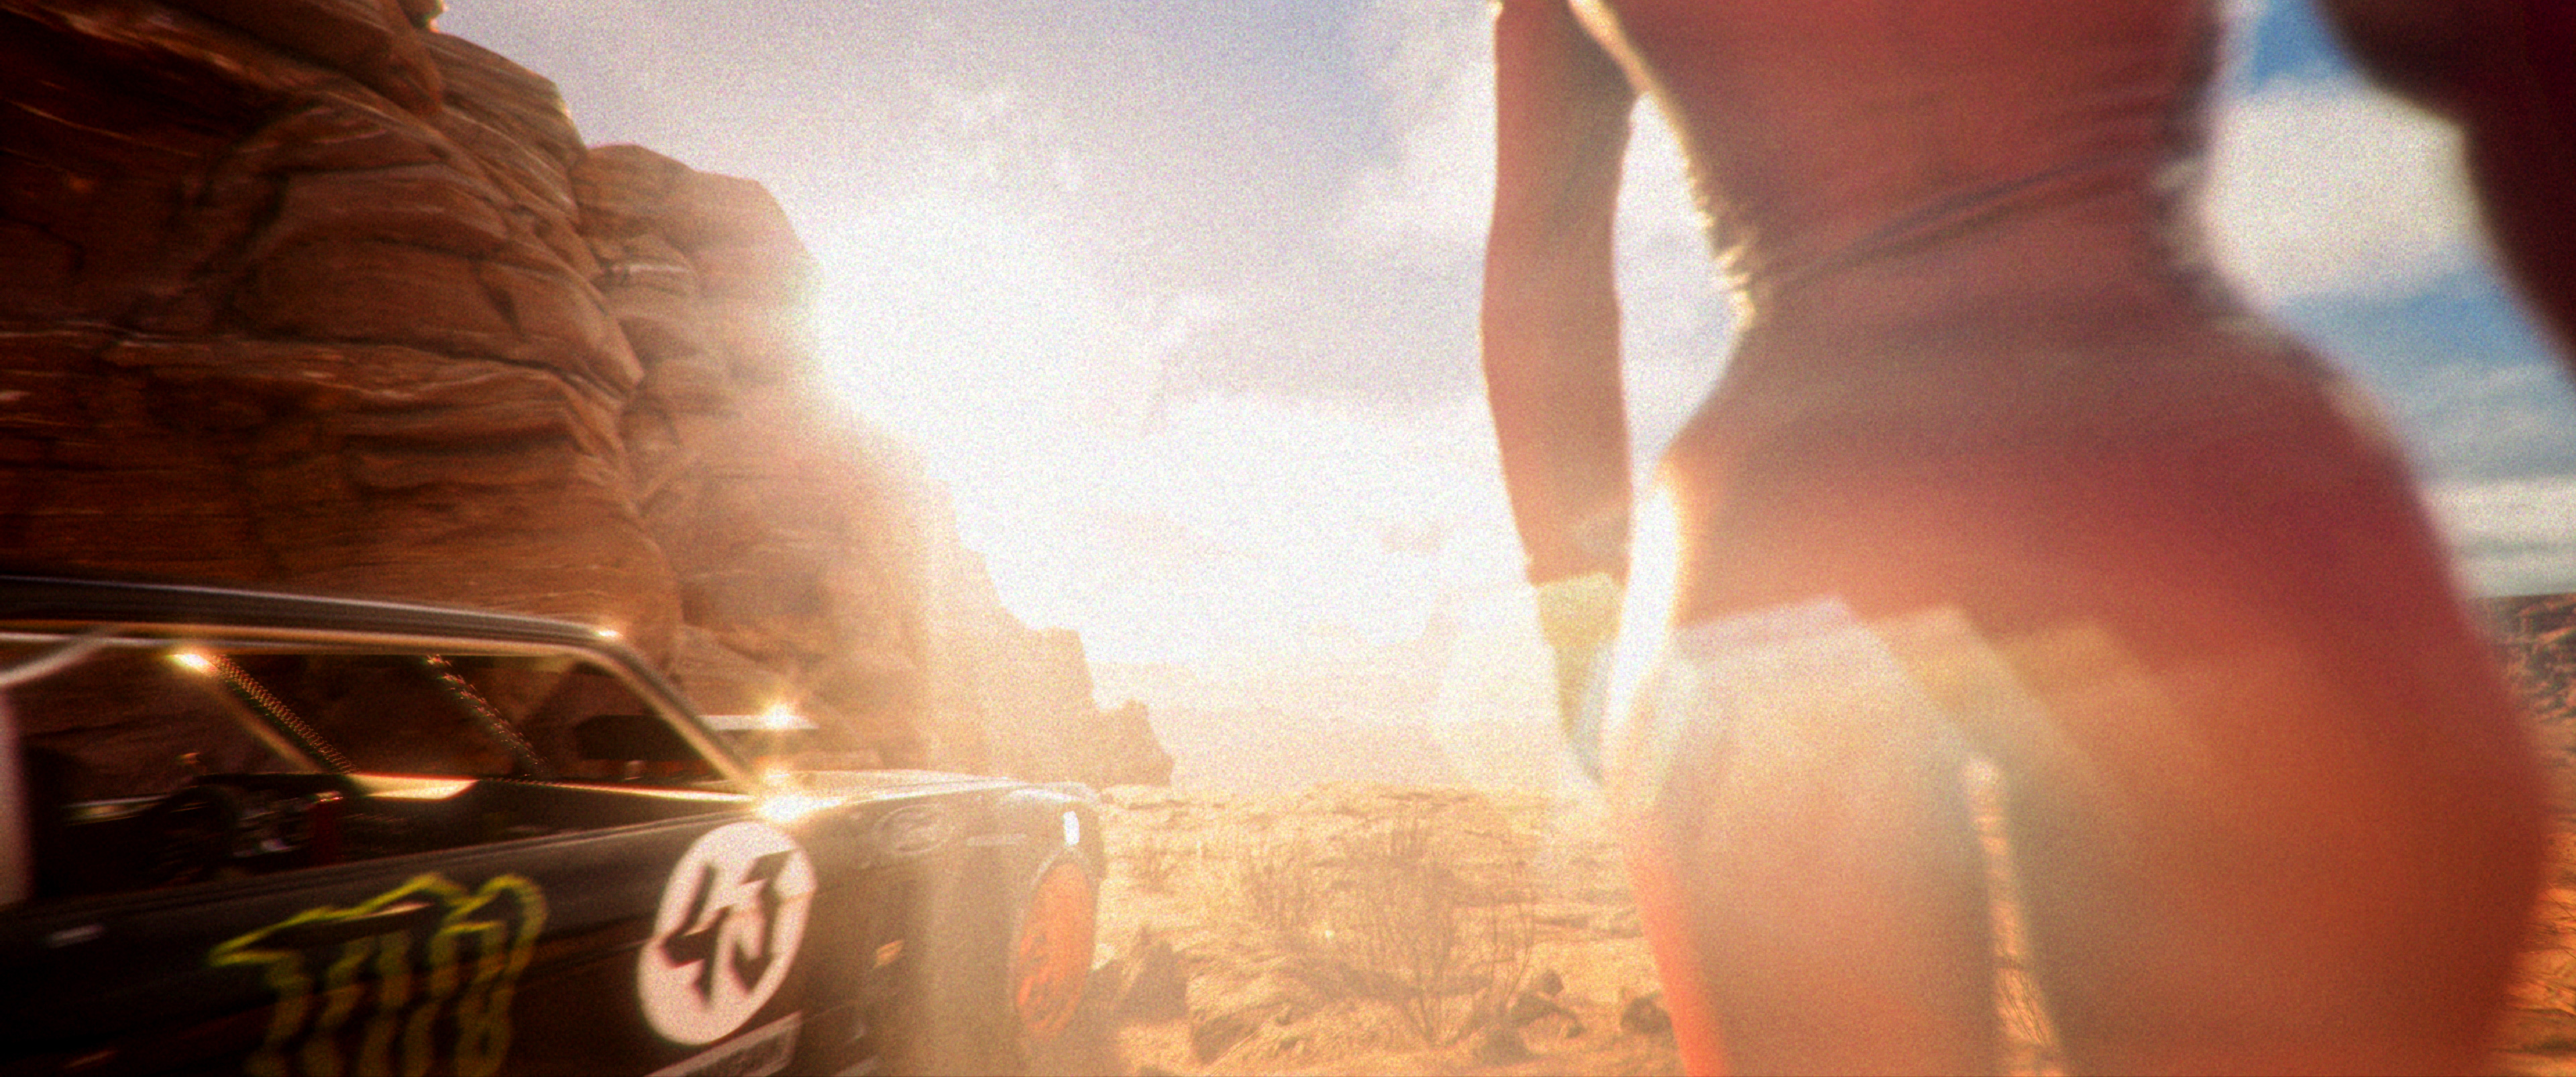
Final Scene & Post-Credit Sequence: Wide low-angle renders revealing the driver in a red suit standing alongside the parked Hoonicorn, backlit by bright desert lens flare through towering canyon walls.
Tyre, Dust & Character Animation
Tyre smoke and sand were positioned and parented to the wheel assemblies so that their motion remained consistent with vehicle rotation and movement. The protagonist was animated separately and then parented into the driver seat, preserving a consistent spatial relationship with the vehicle rig during driving sequences. Focus tracking was then established relative to the Hoonicorn, with offsets retained where required and manual focus-plane animation used for selected shots.
Camera Animation & Motion Design
After the vehicle movement was established, the camera animation was refined against the action. Once framing and focus were locked, multiple layers of camera shake were added with different amplitudes and frequencies rather than applying a single generic shake to every shot. This allowed impacts, acceleration, drifting, and environmental events to produce different camera responses. The complete production contained approximately 90 rendered shots, produced at 4K, 24 fps through Unreal Engine's Movie Render Queue.
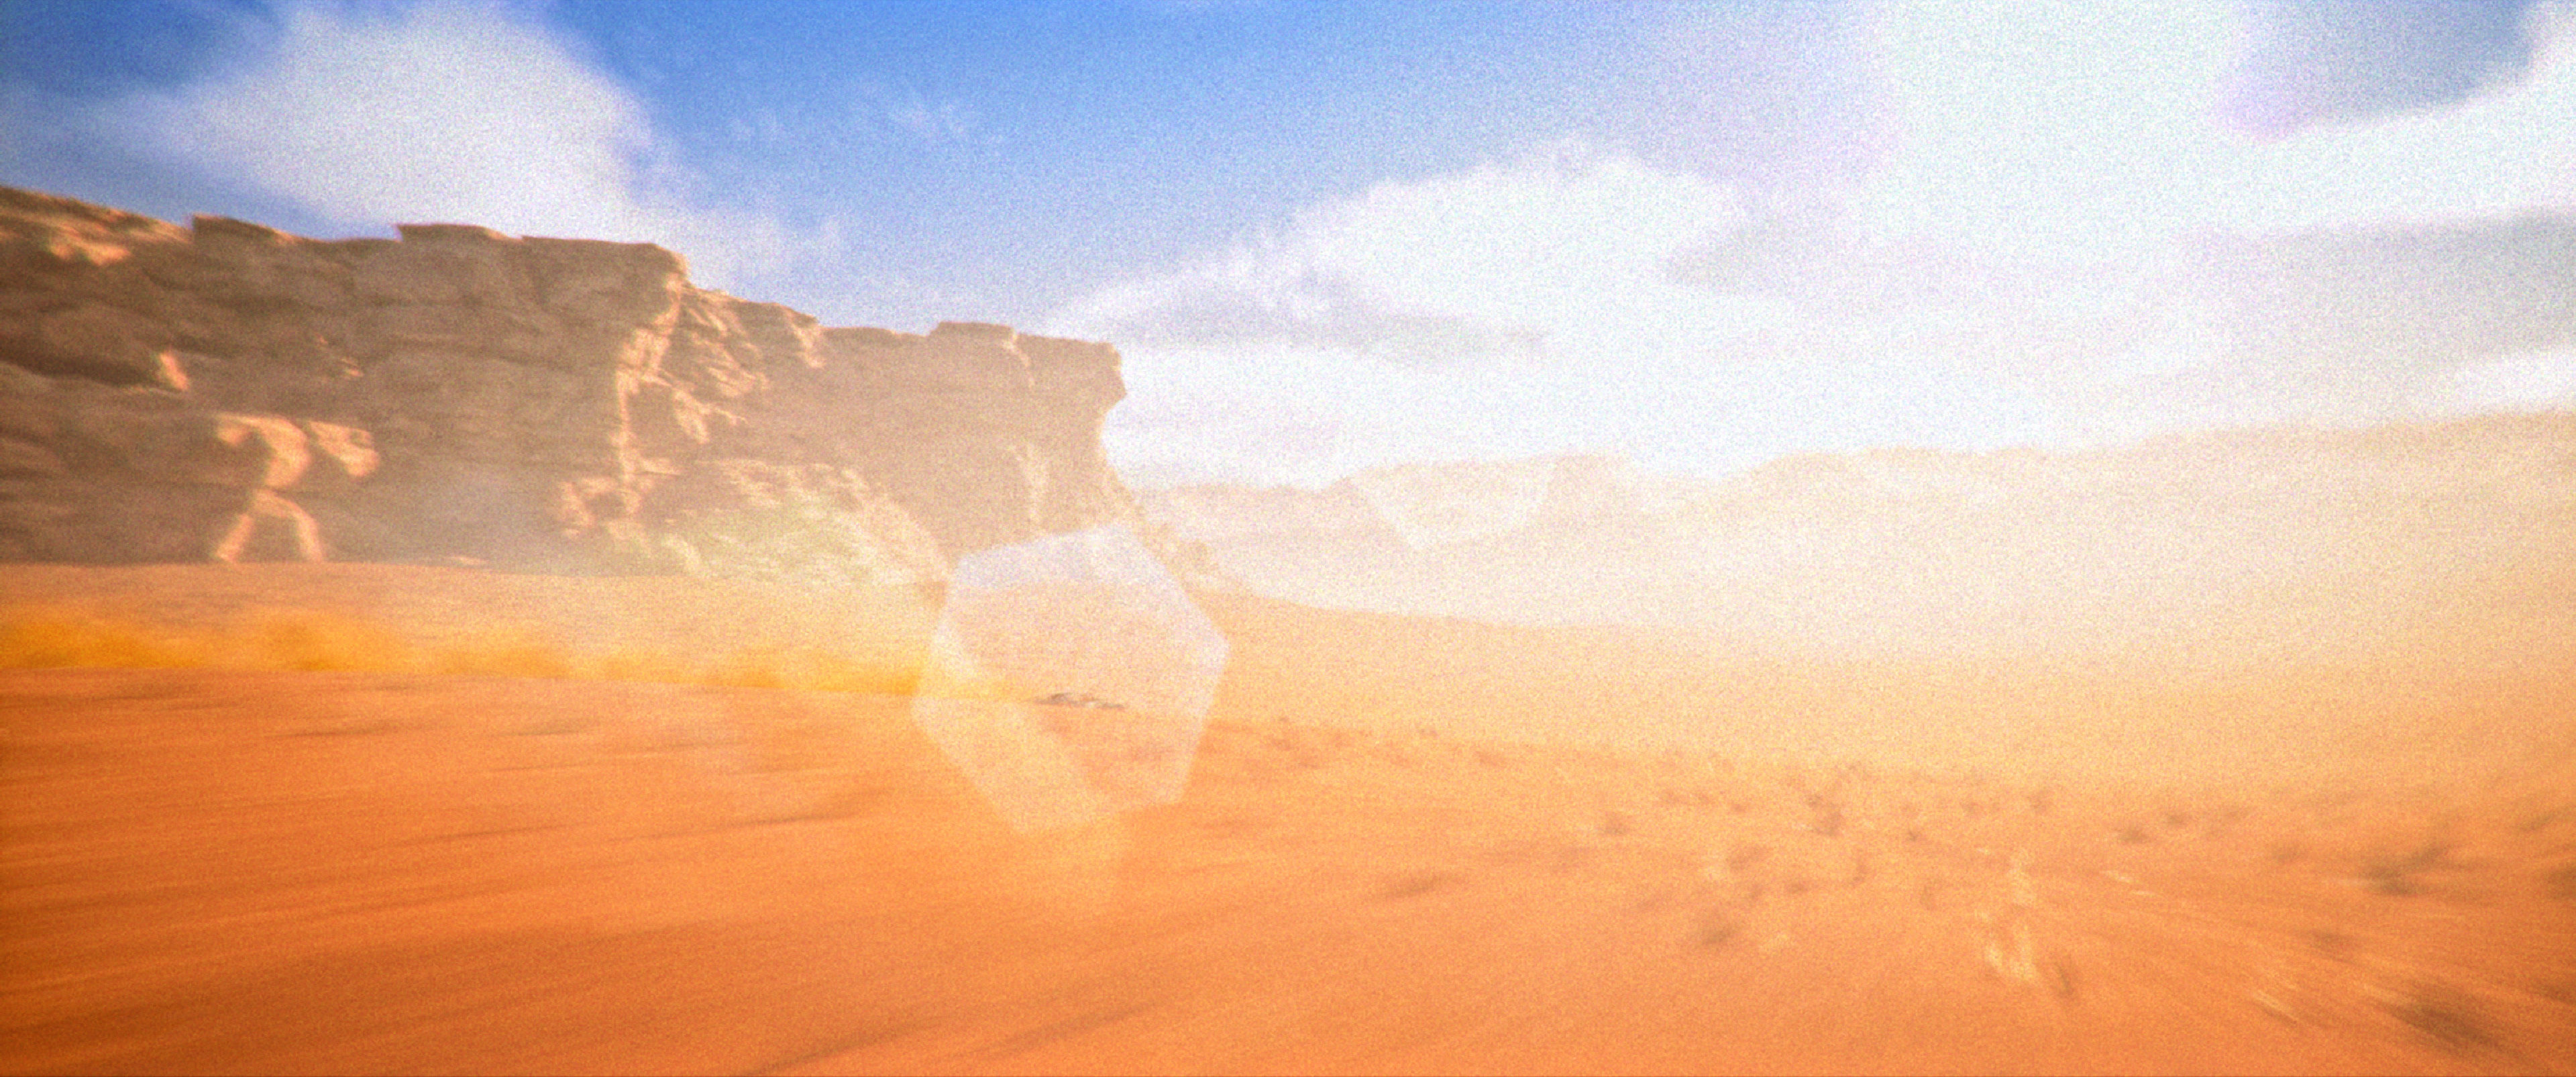
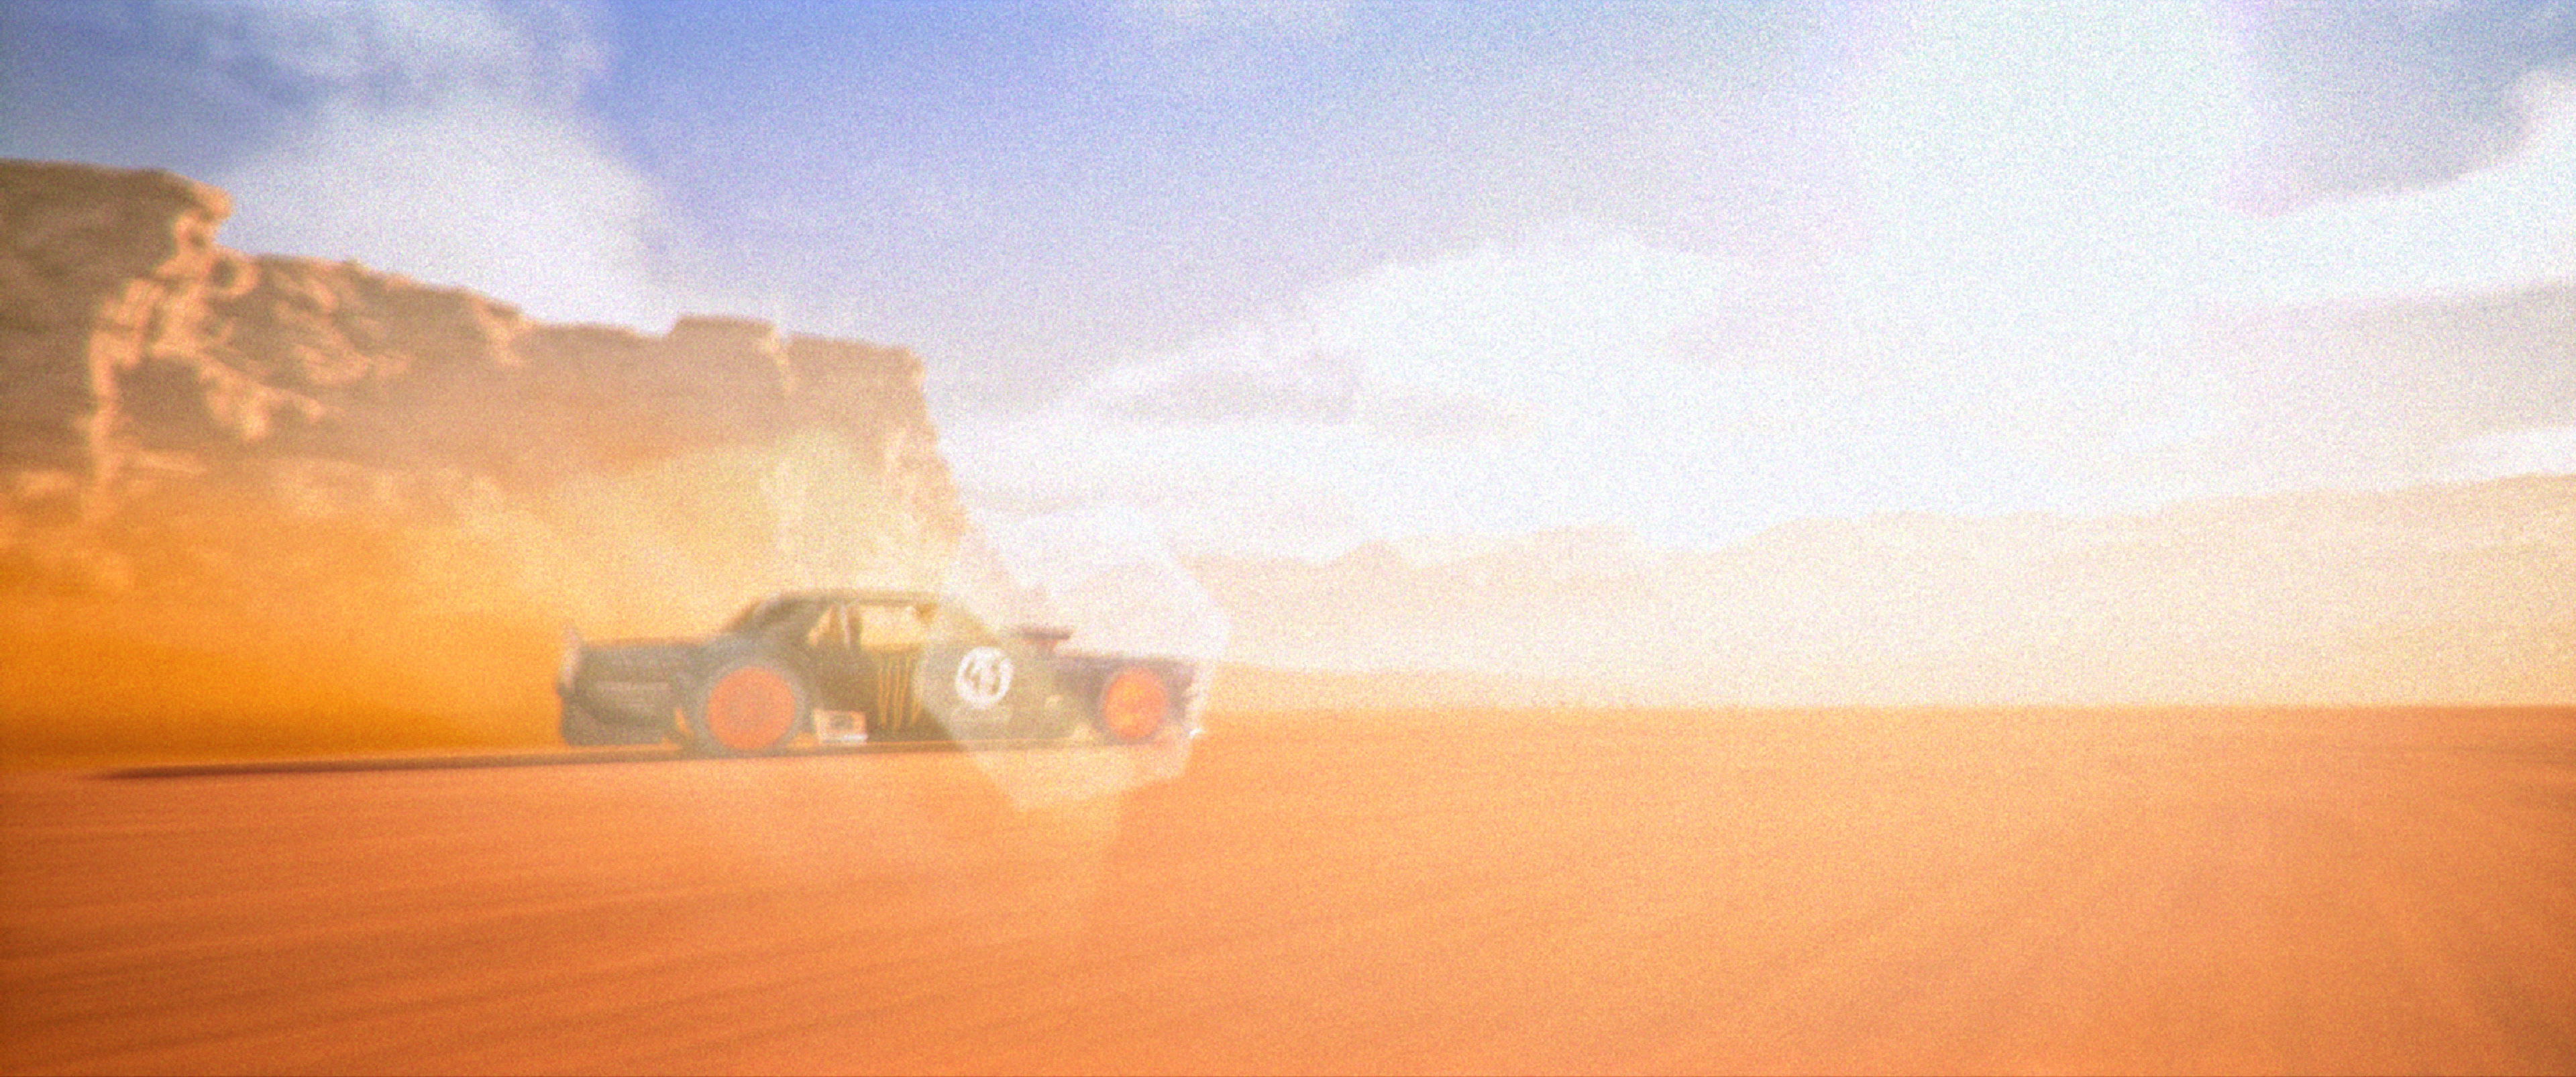
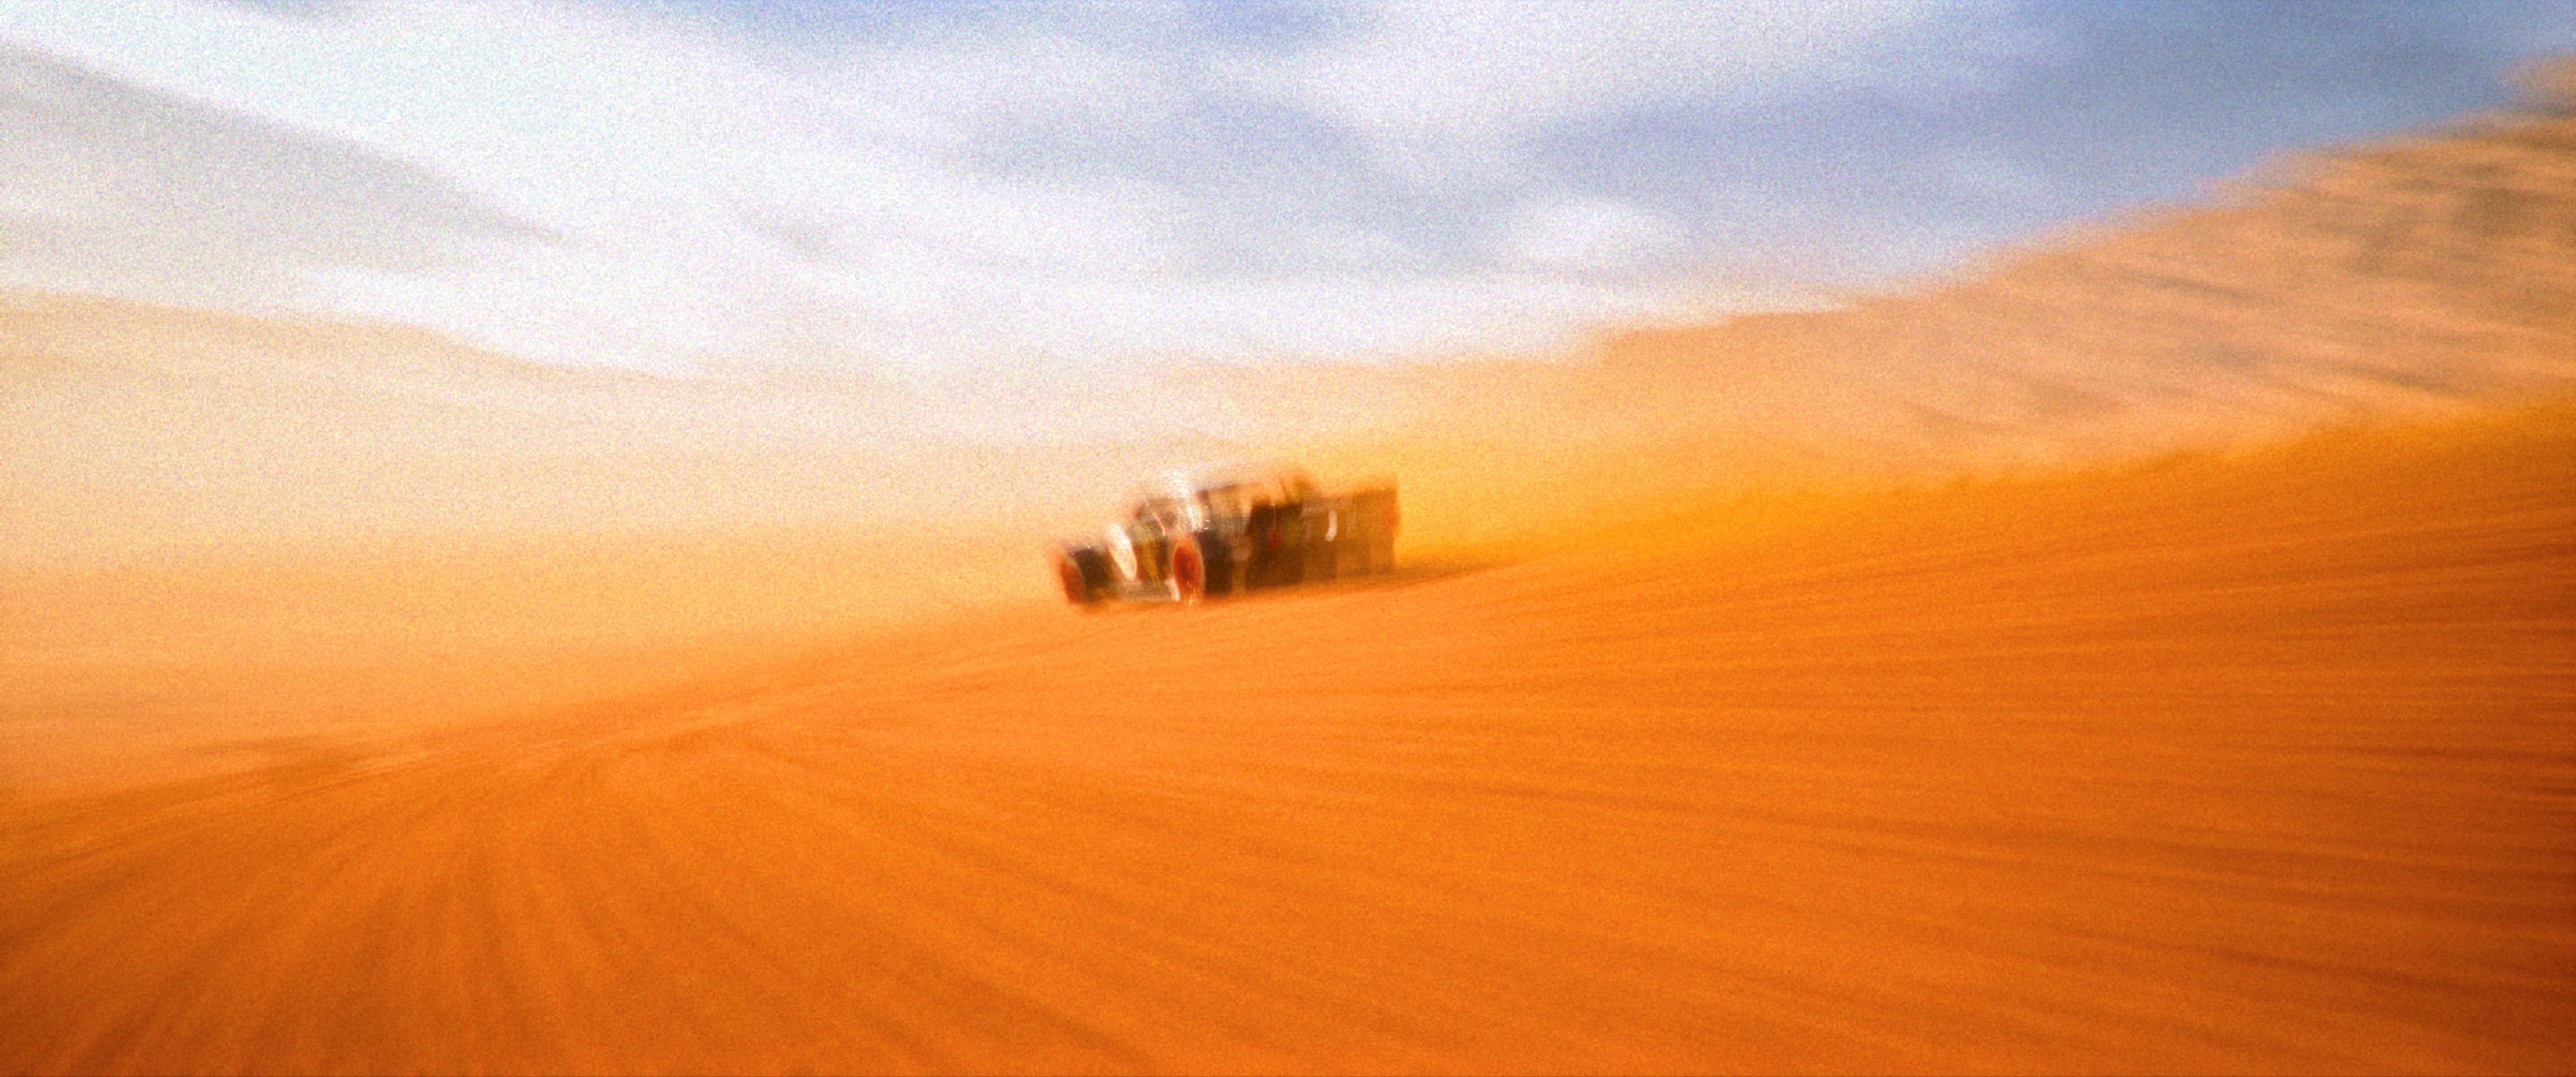
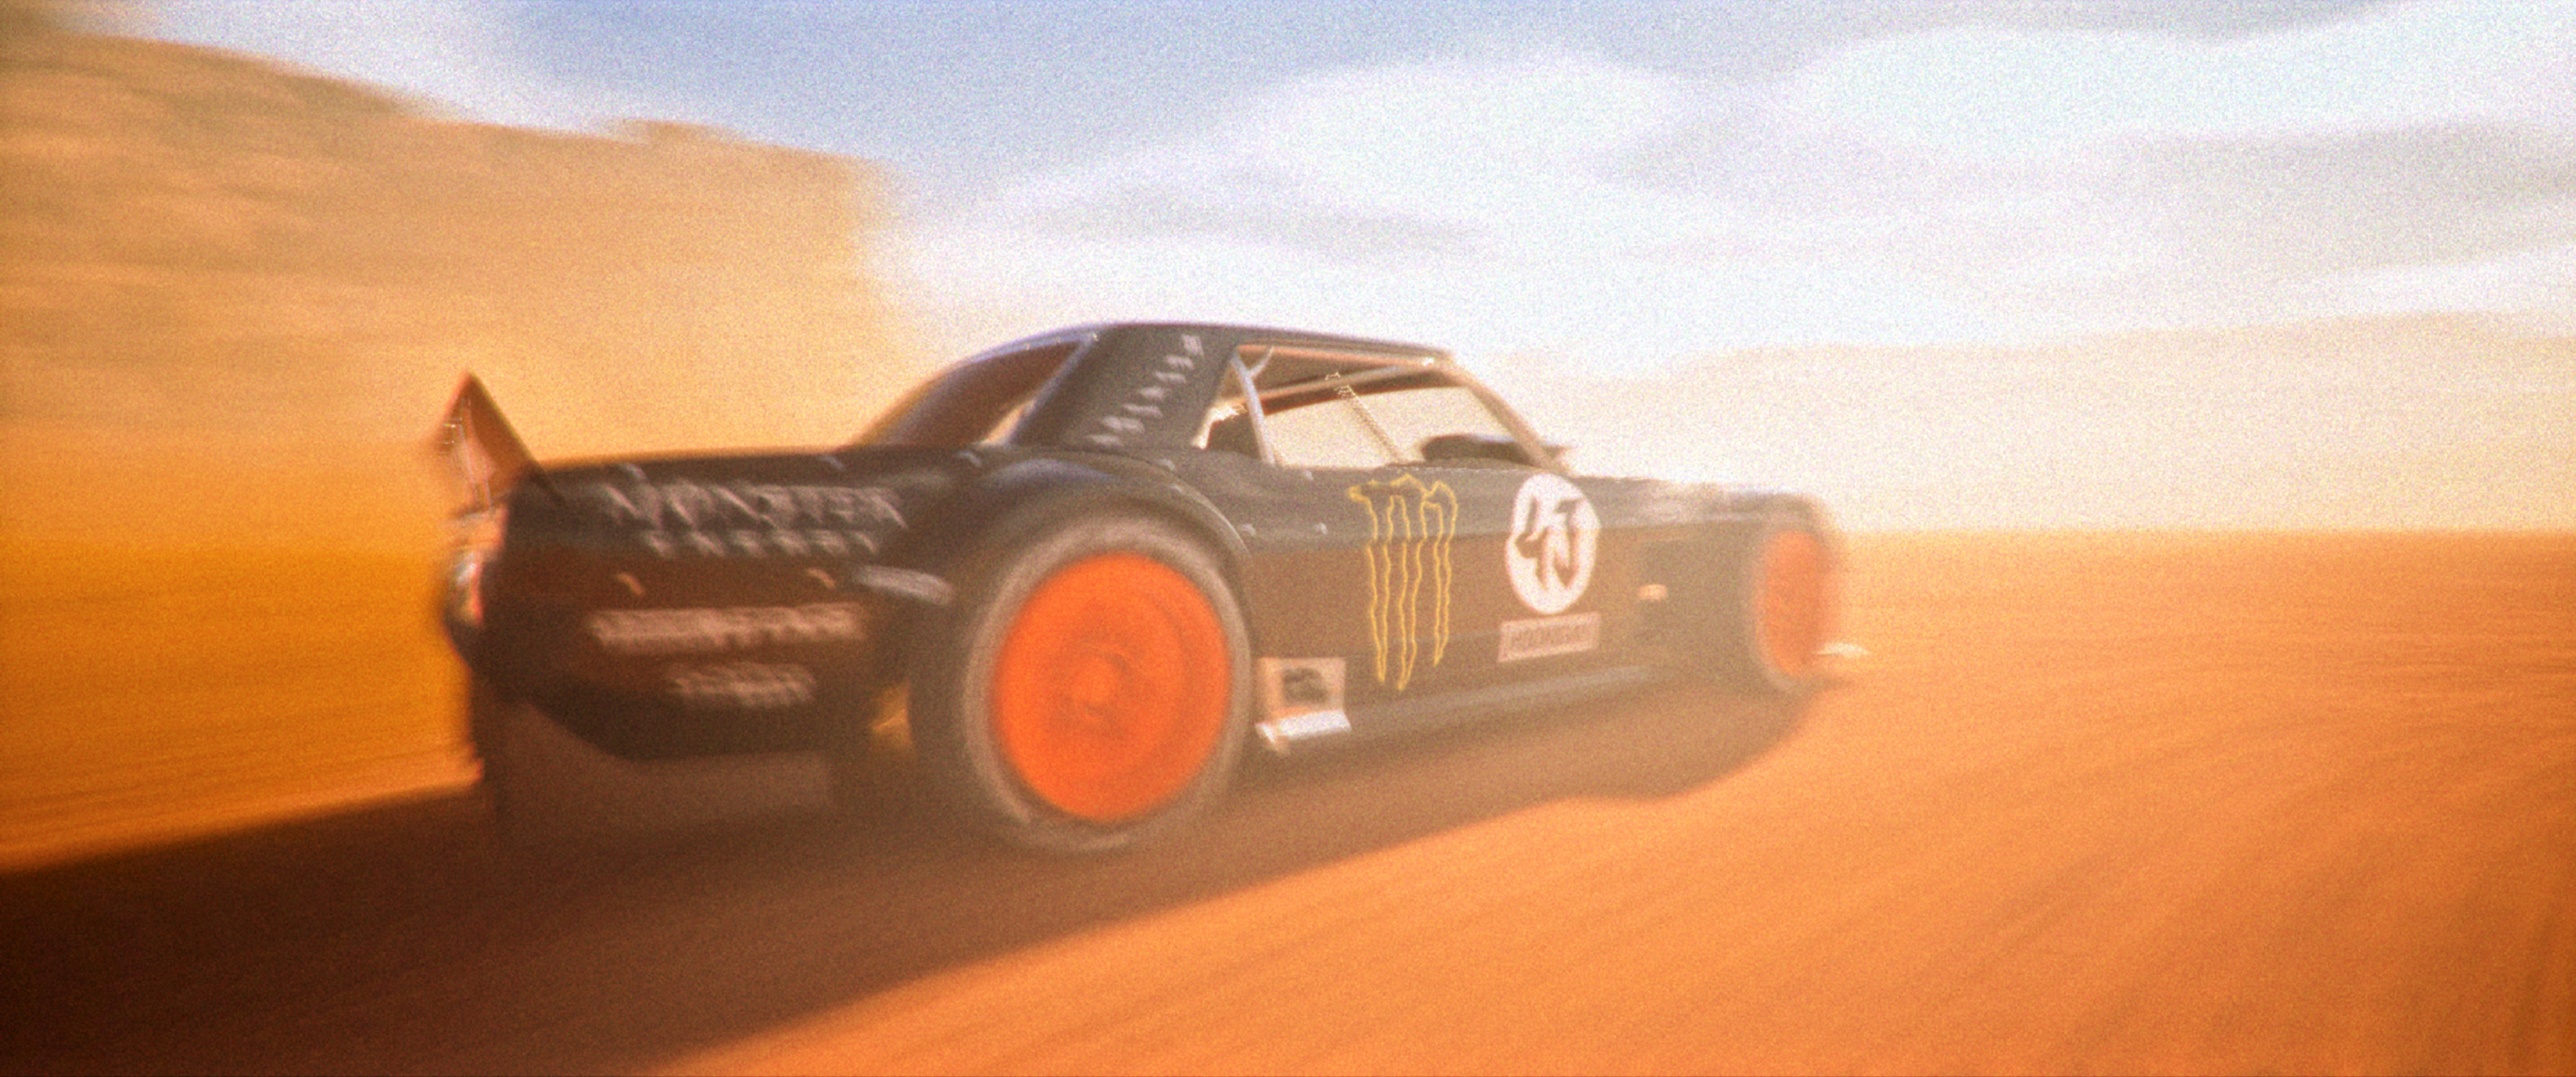
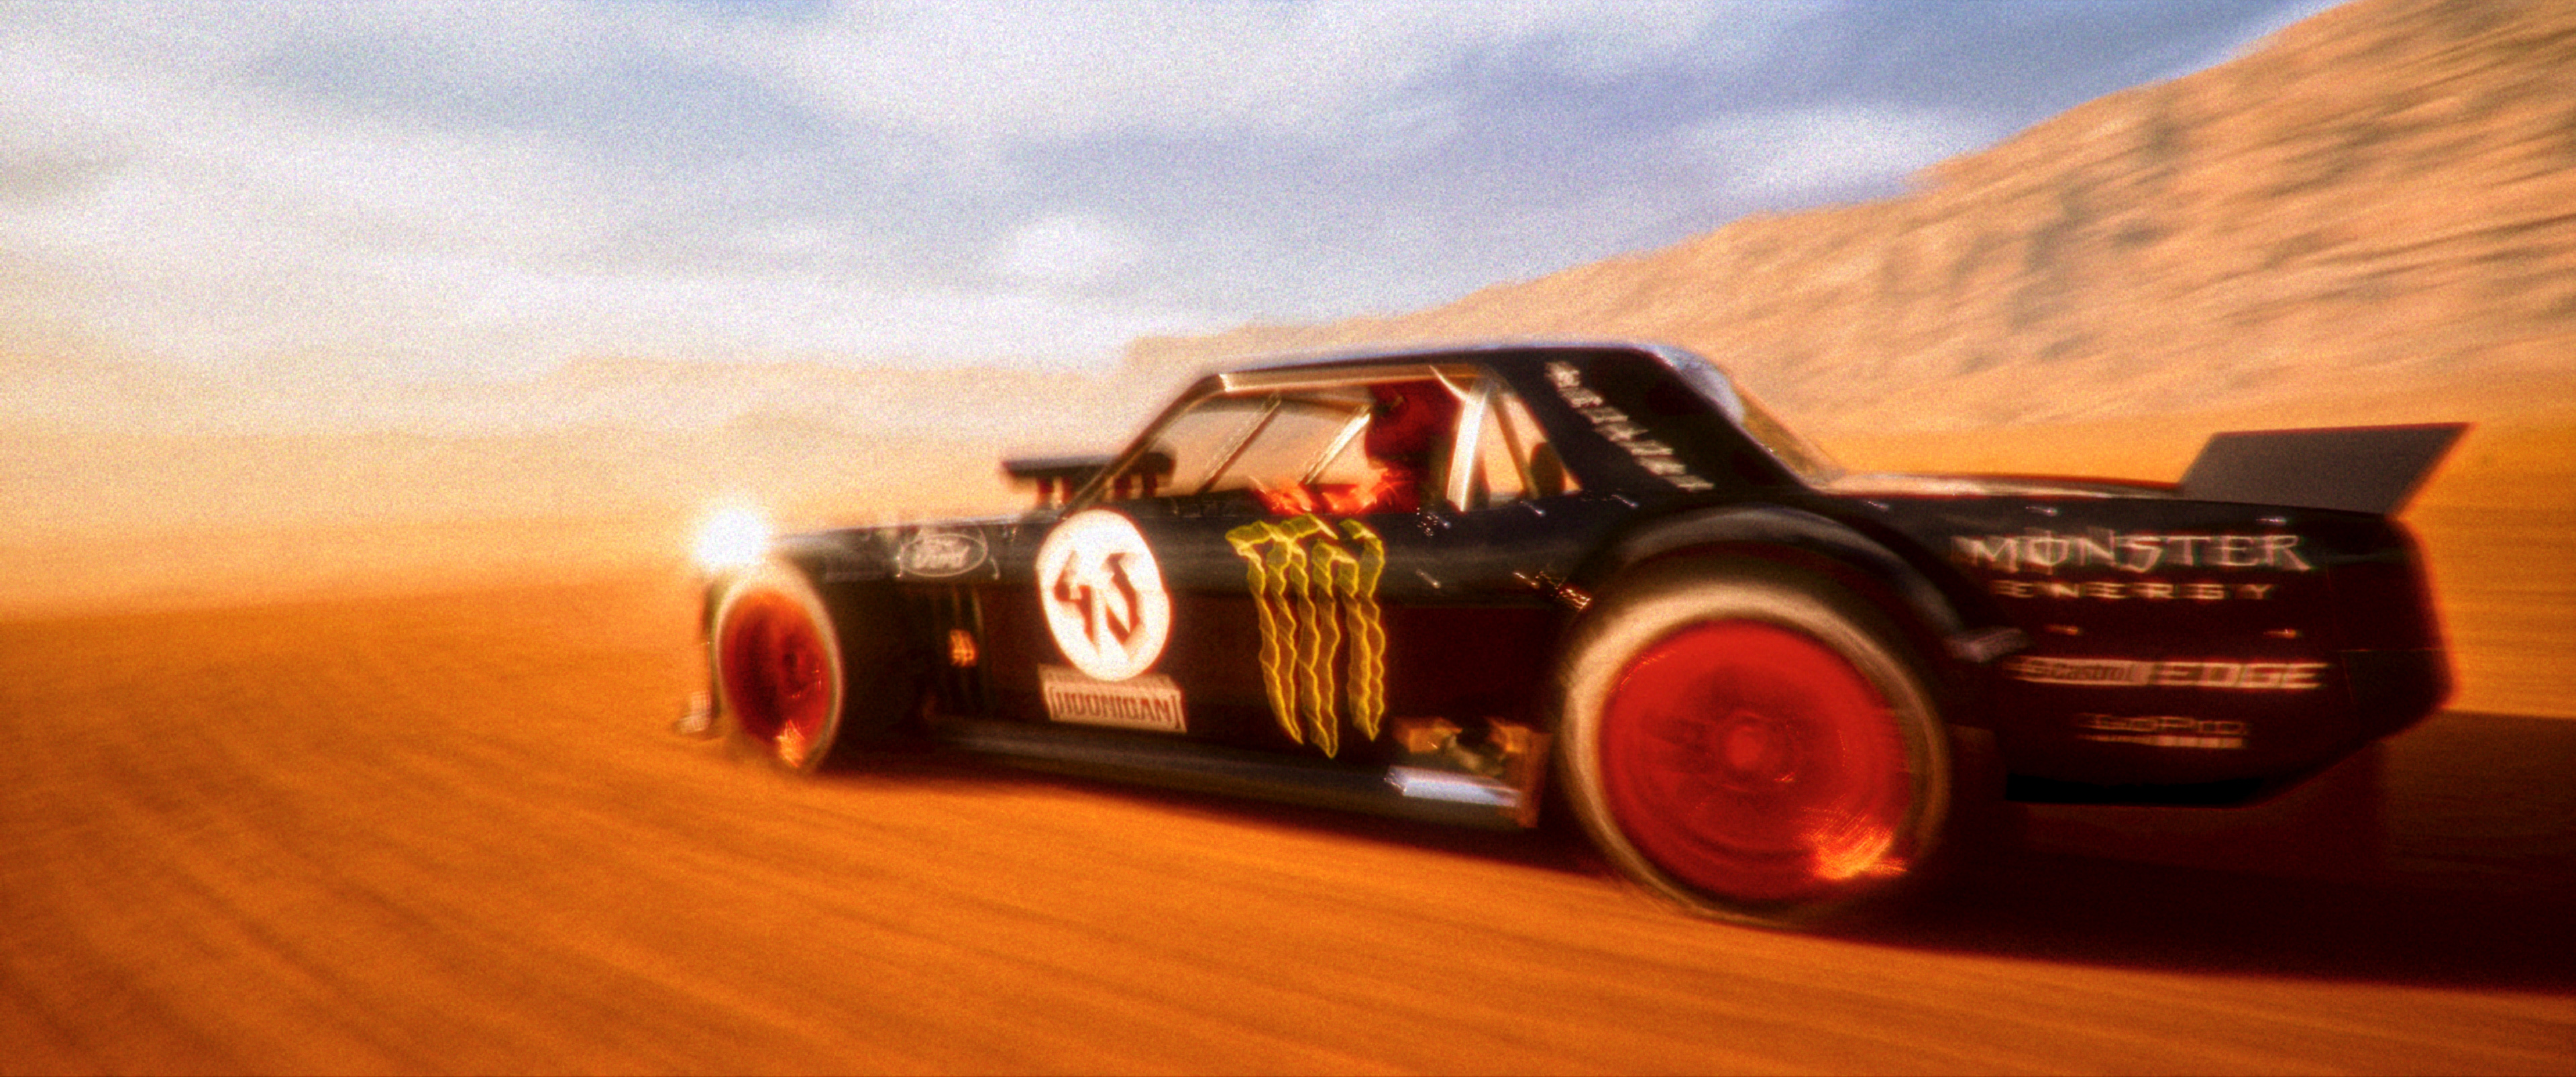
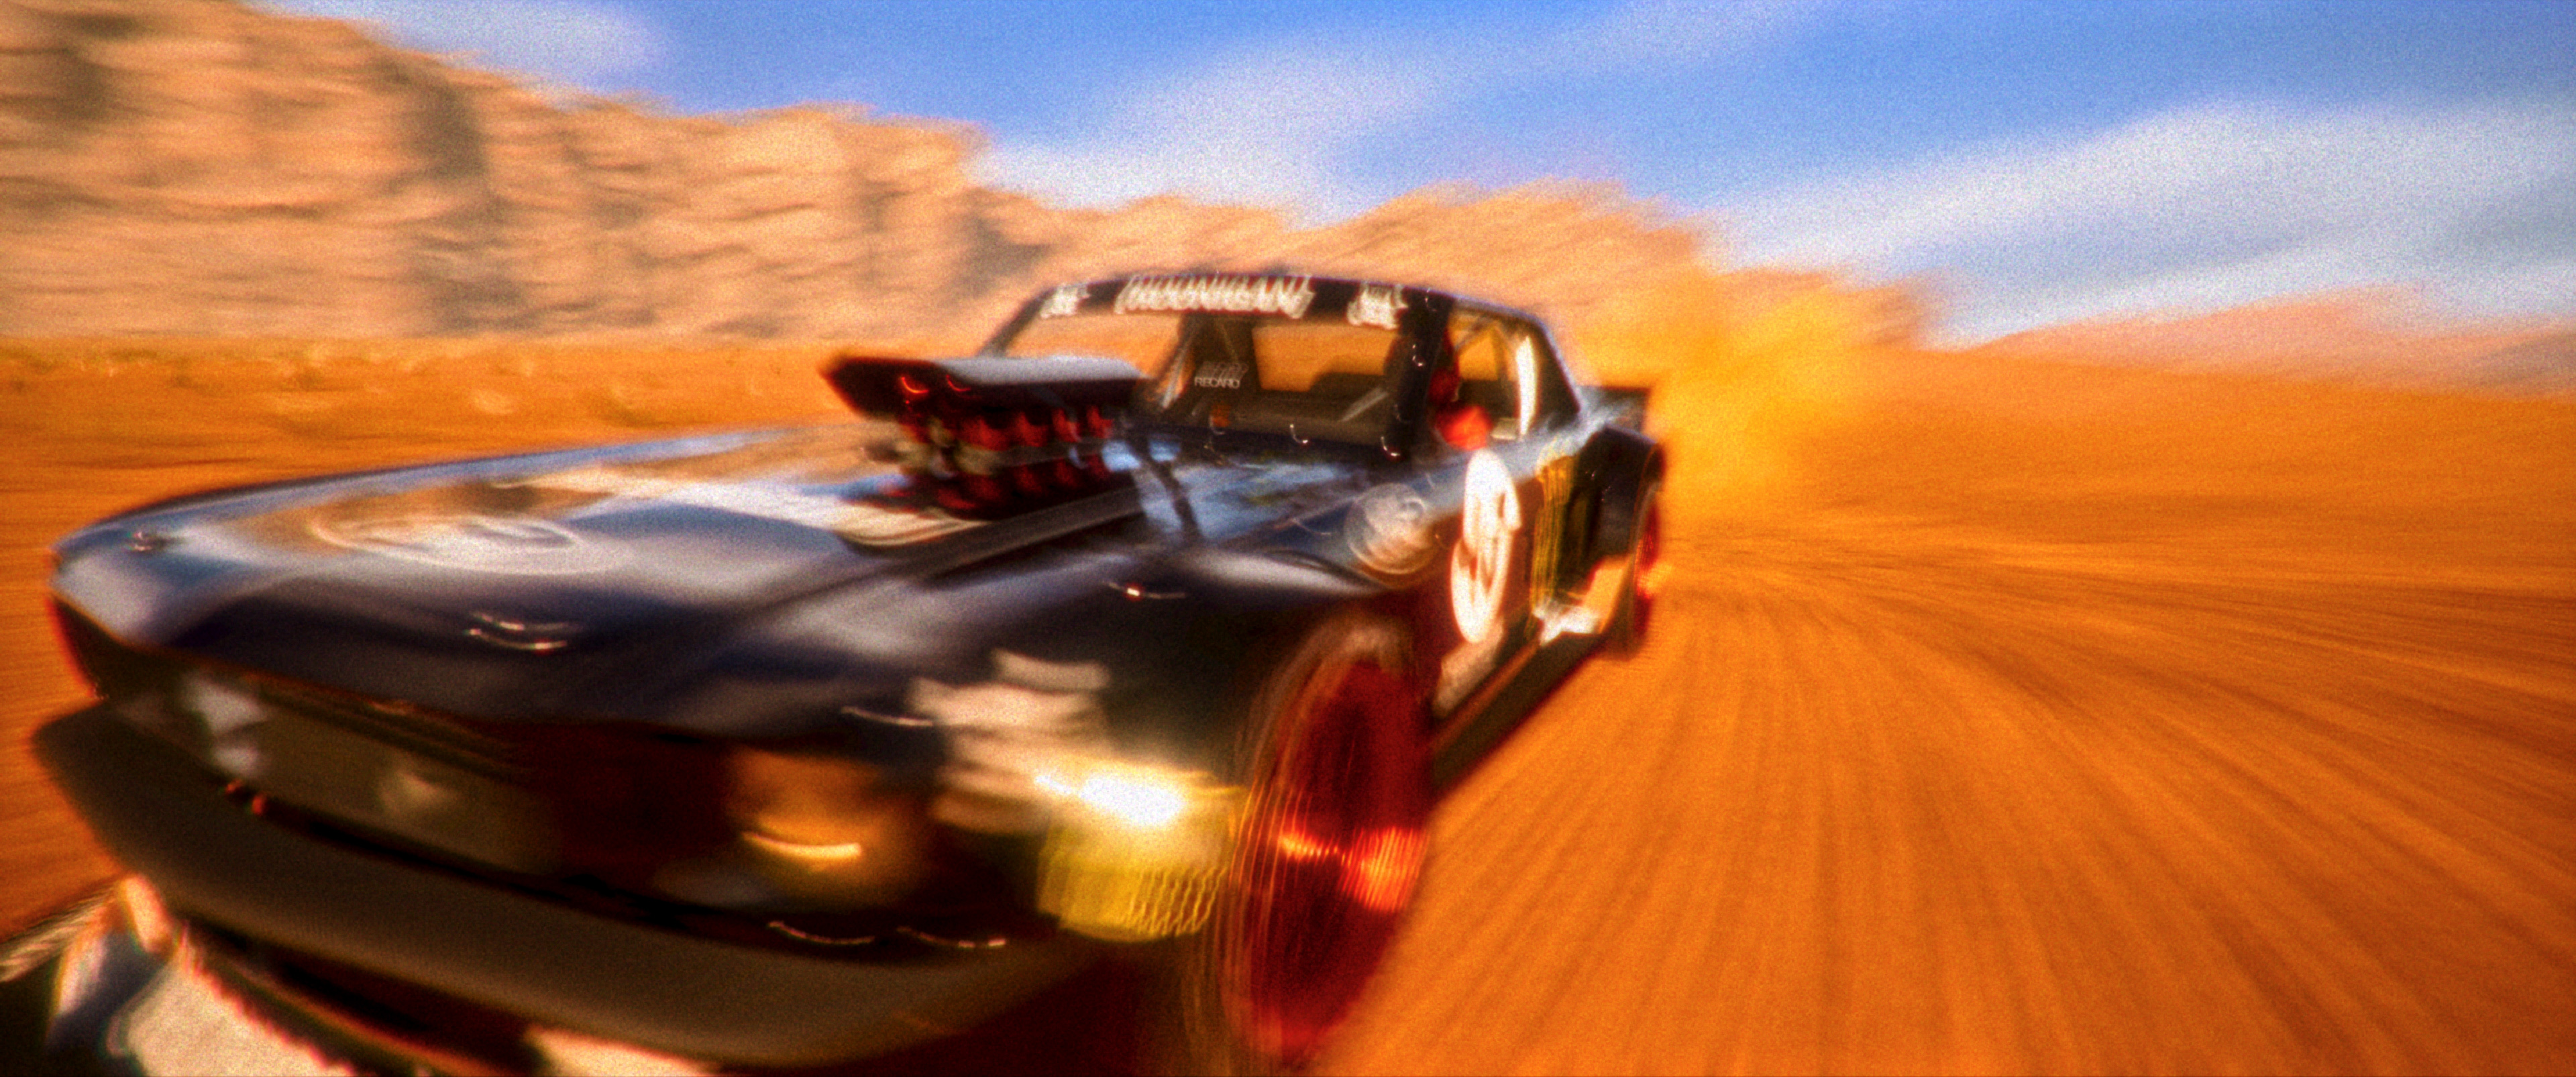
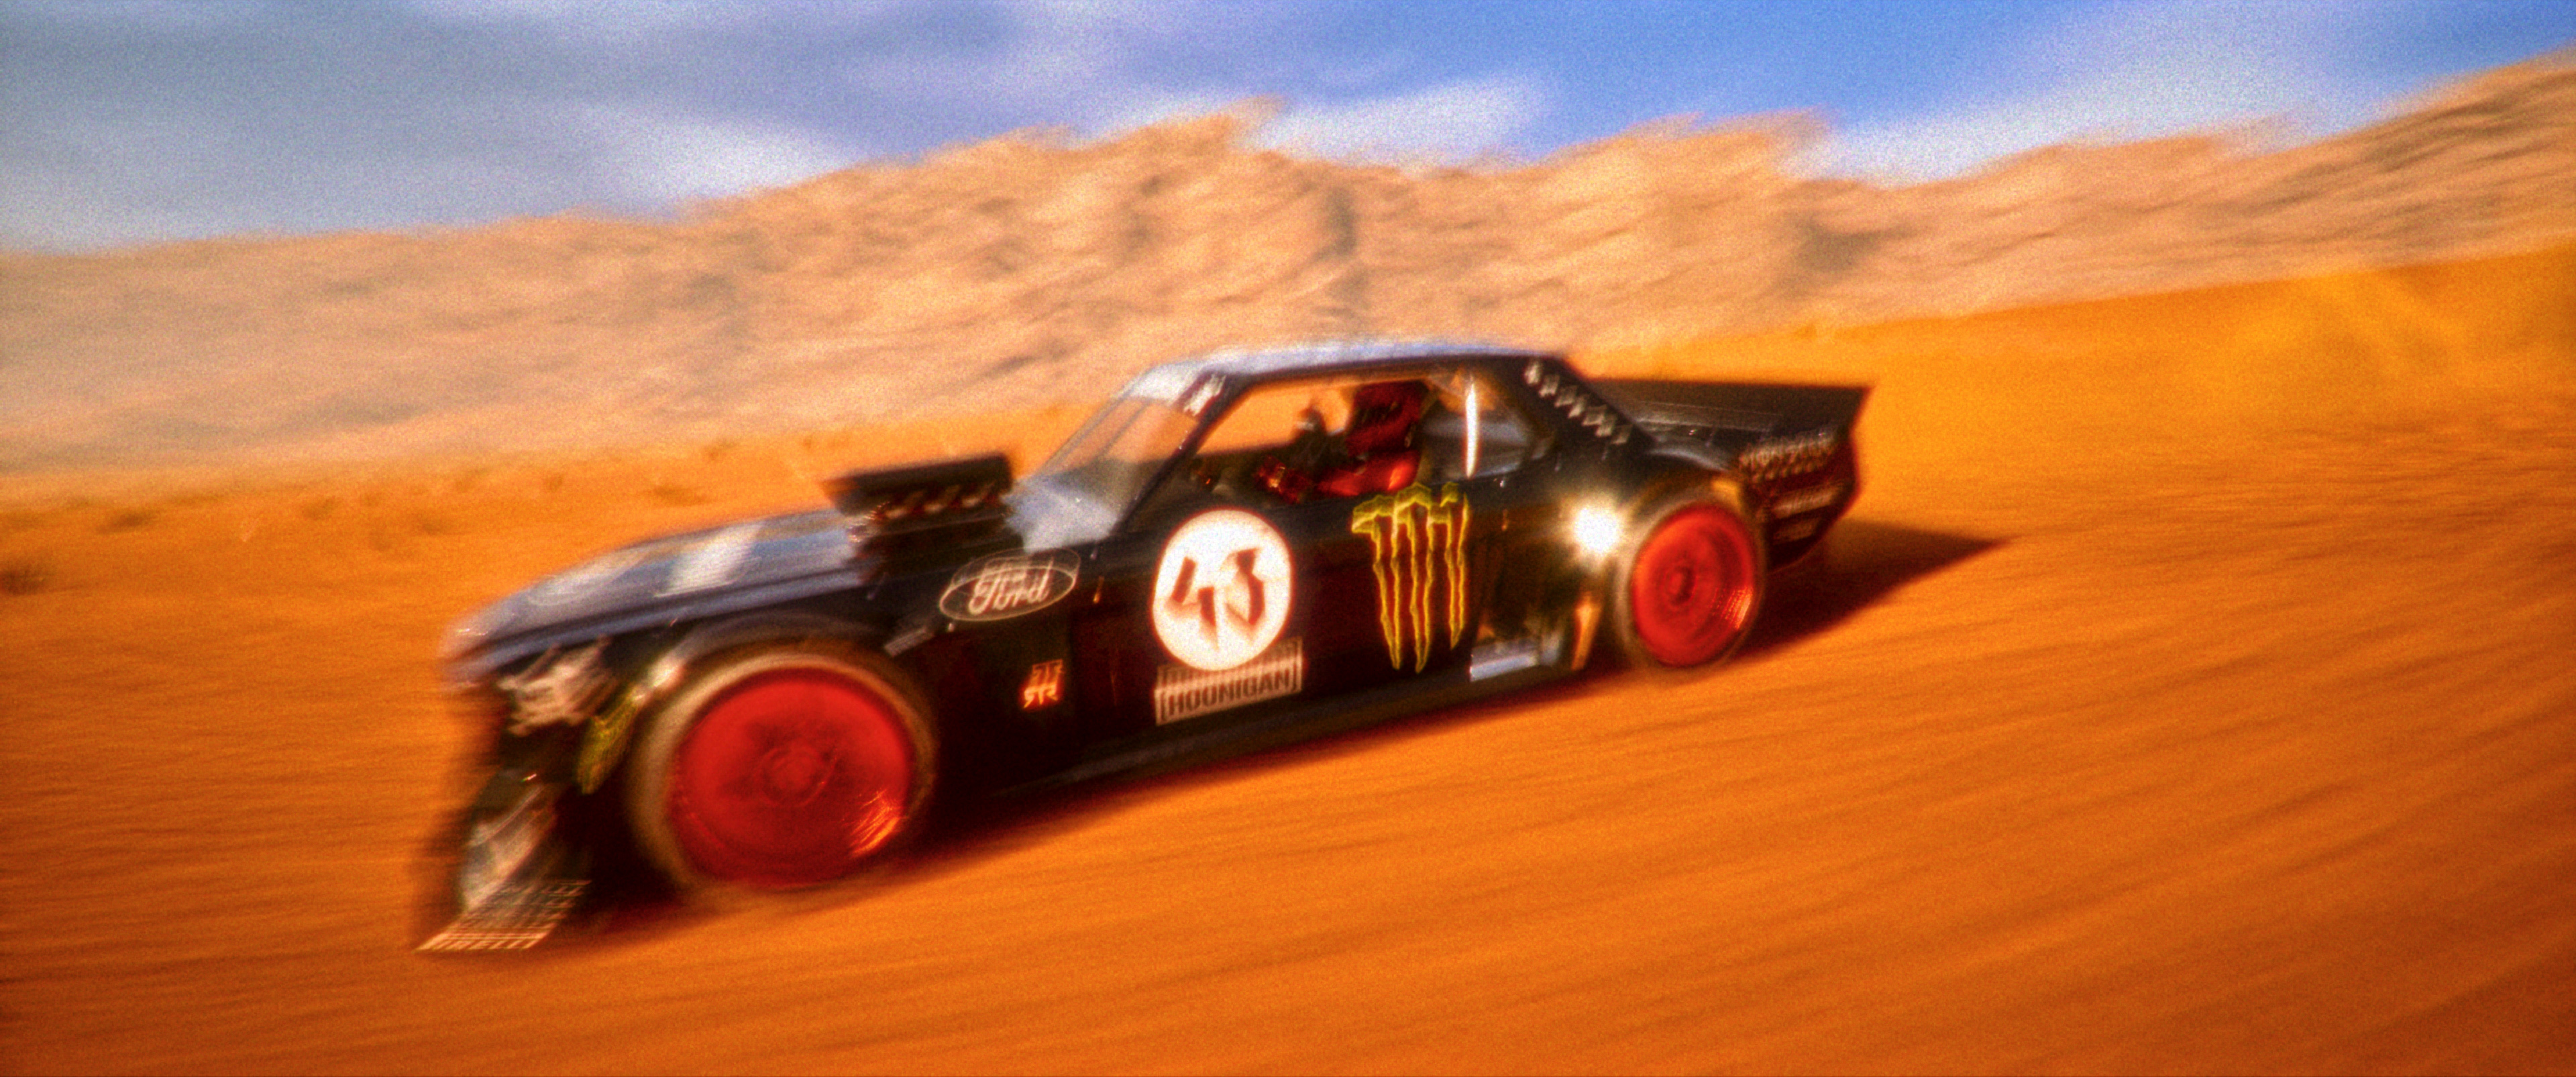
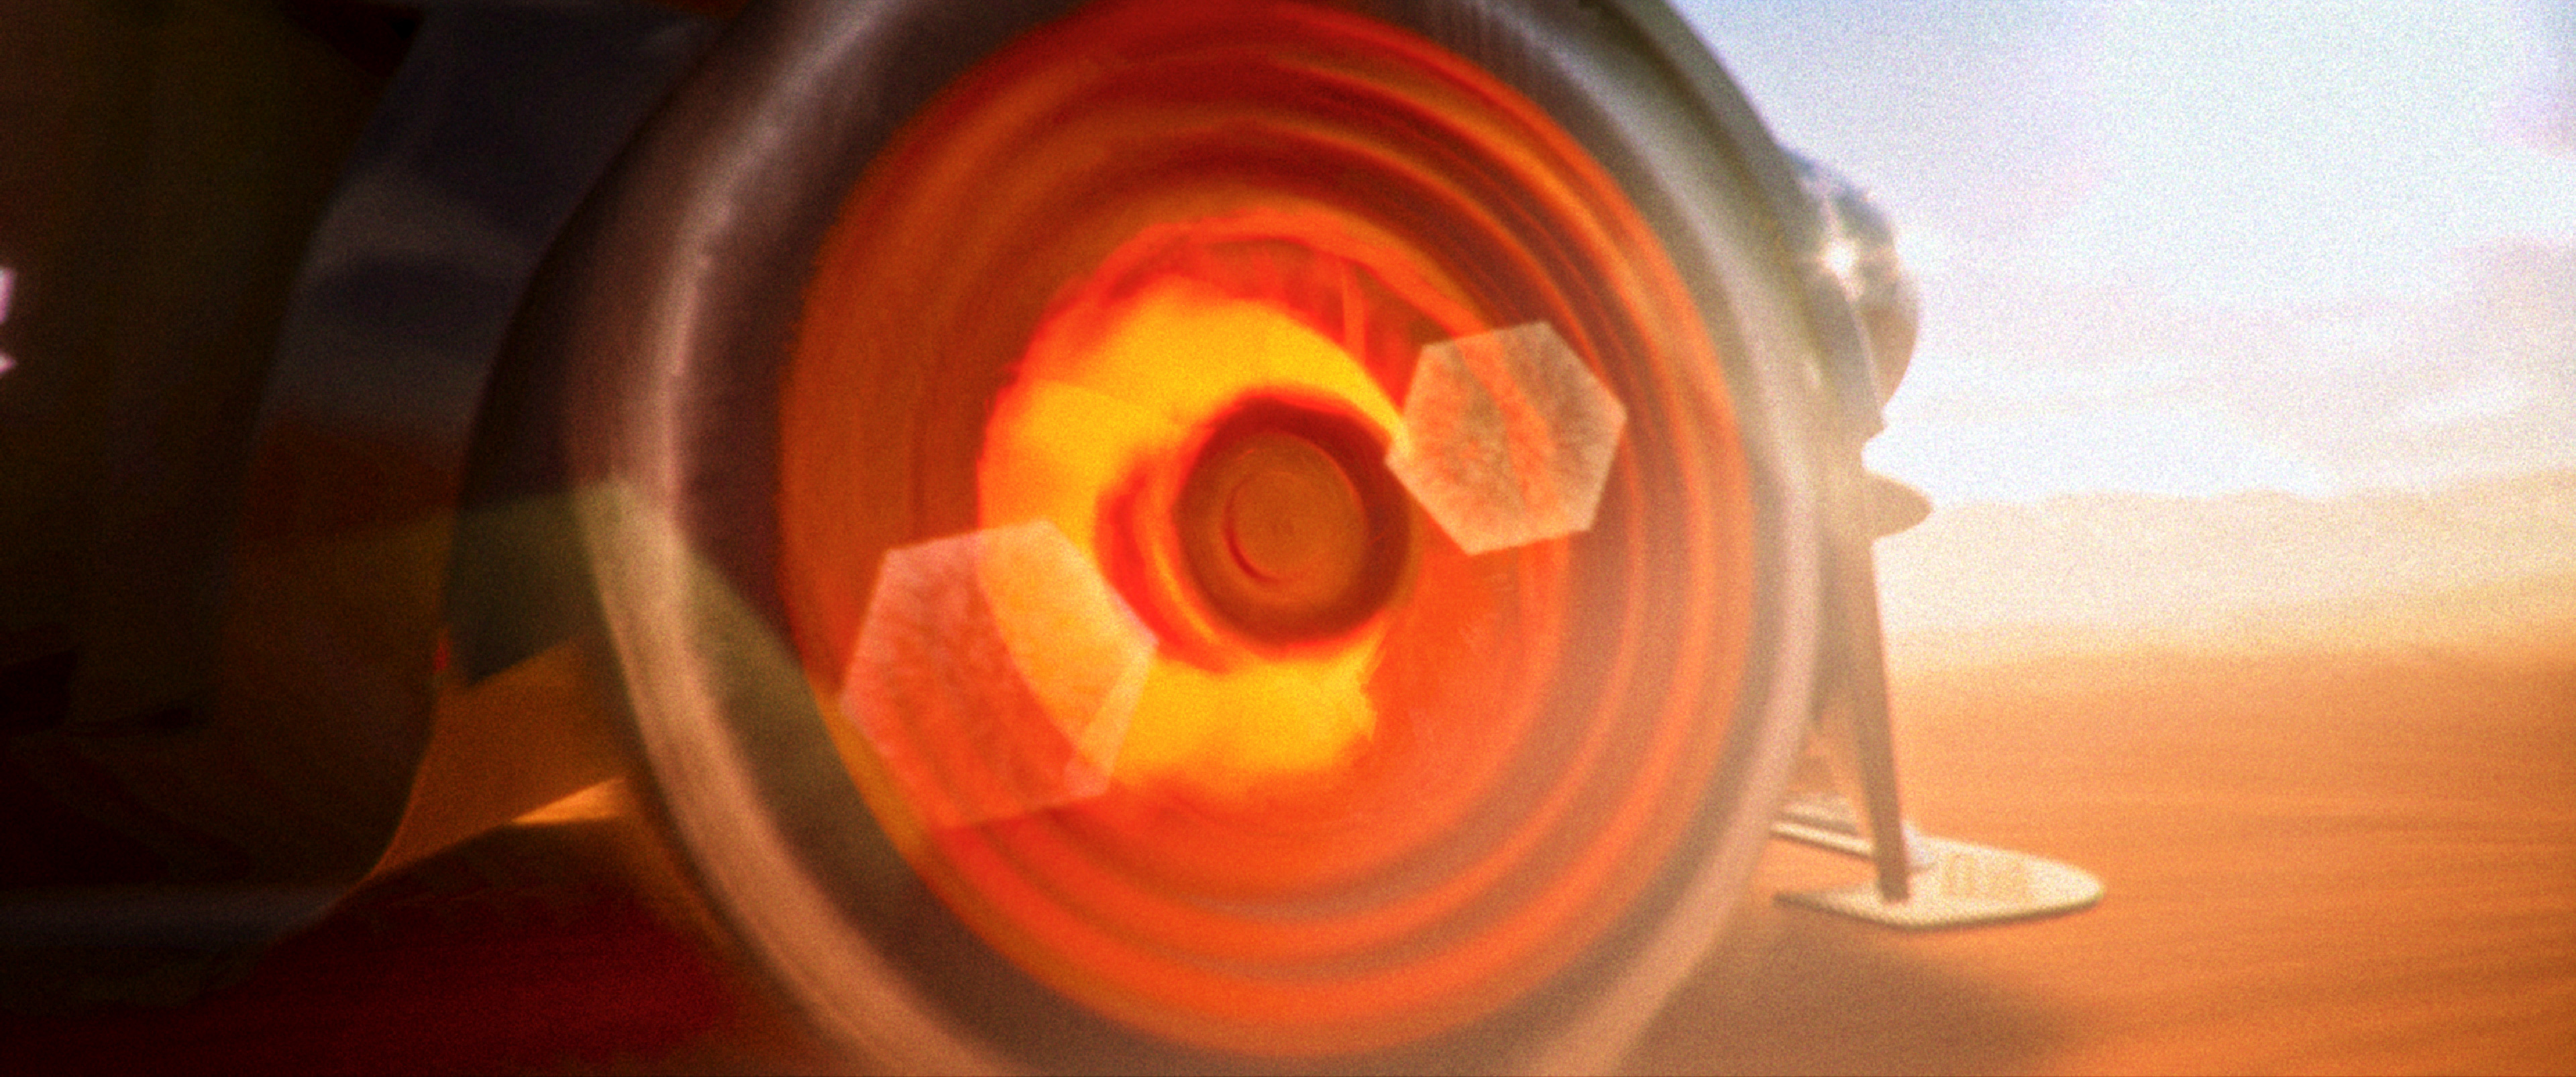
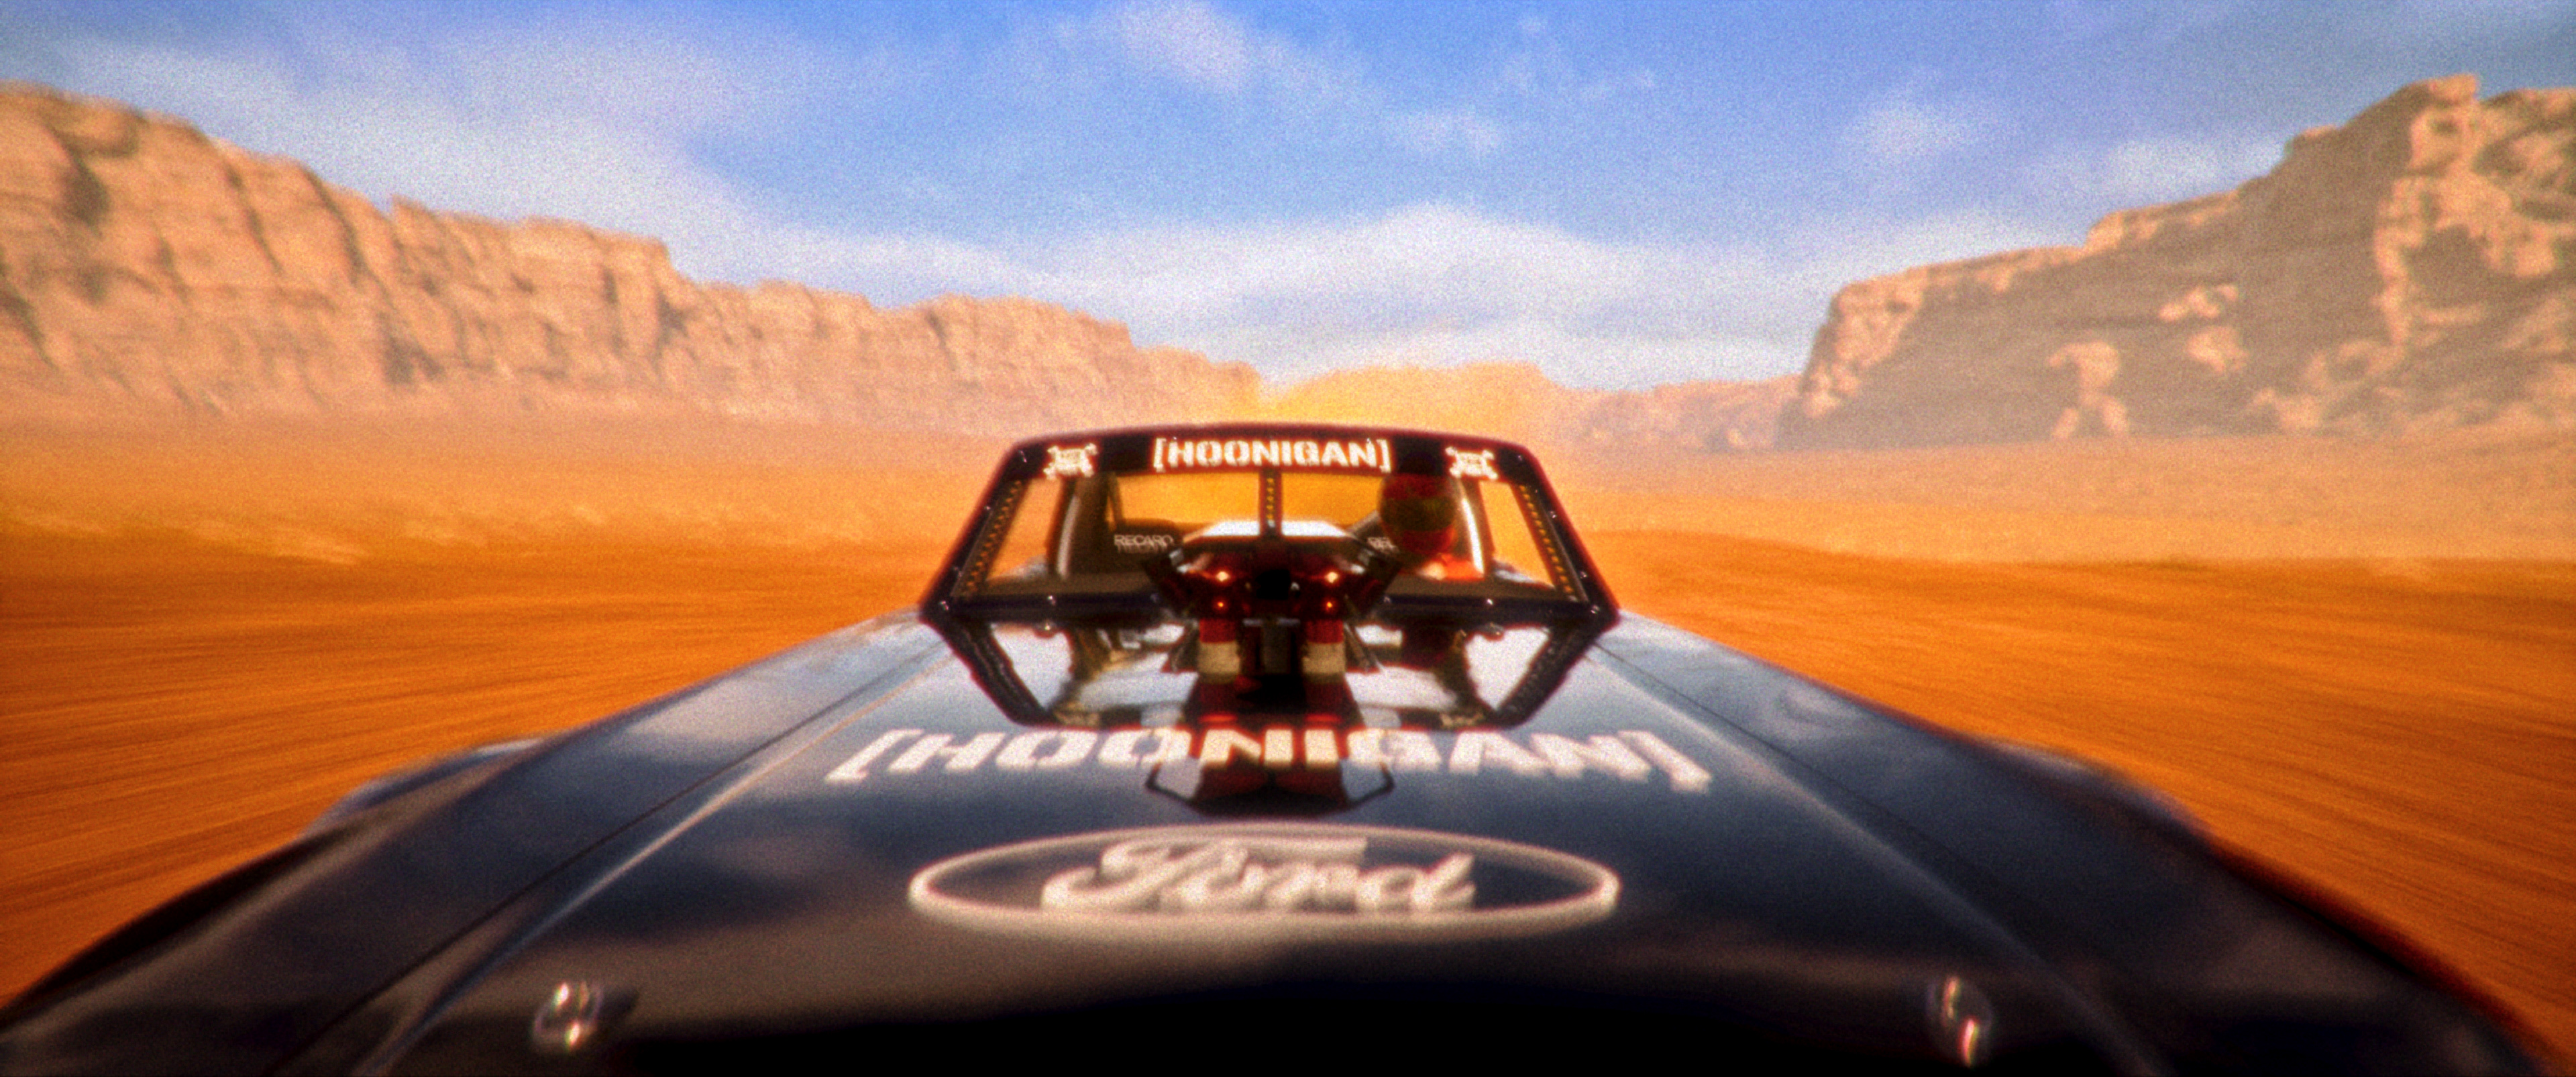
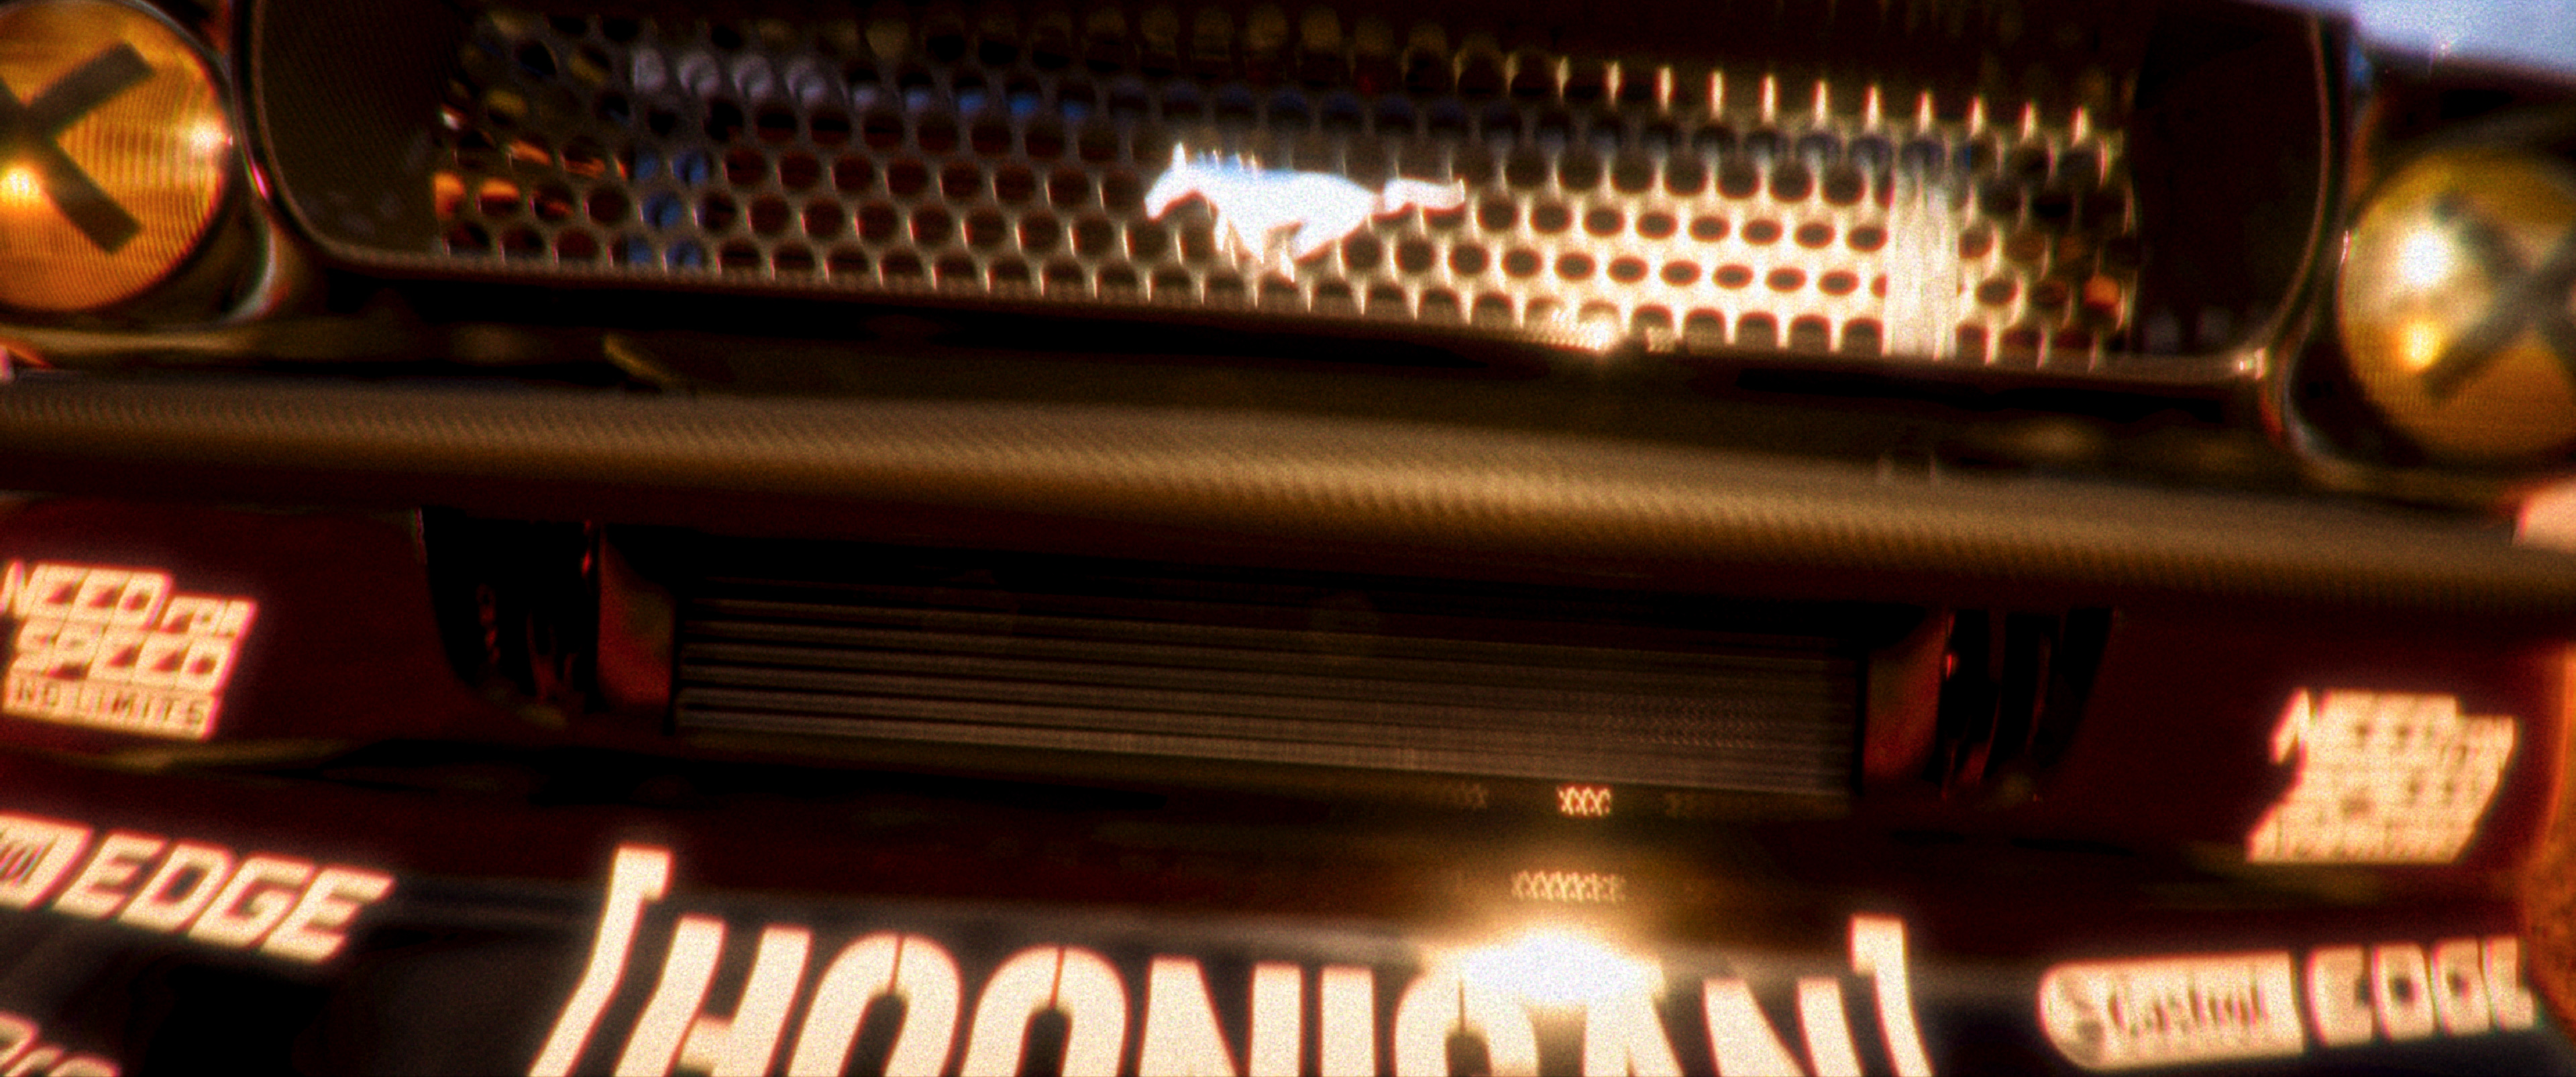
High-Speed Desert Pursuit Sequence: Wide tracking renders featuring the Hoonicorn drifting through open sands, extreme wheel spin macro shots, and bonnet-mounted POV views heading toward distant canyon walls.
DI — Color Management
The project used an ACES workflow for both Unreal Engine and DaVinci Resolve. The rendered CG sequences and miniature composites were conformed into the ACES-managed Resolve pipeline. The miniature footage required additional correction primarily to bring its exposure, contrast, and colour response onto the same image basis as the Unreal renders, while the CG material required comparatively little corrective work. This allowed live-action miniature photography and fully digital environments to exist within a common colour-managed pipeline.
Look Development
The final look was intentionally kept warm, vibrant, and high-energy, avoiding the heavily desaturated post-apocalyptic treatment commonly associated with the genre. A significant portion of the look was established directly in Unreal Engine through sky colour, environmental material tint, lighting, and atmospheric direction. The main DI responsibility was therefore to reproduce that visual relationship across the miniature photography and unify it with the CG renders. The grade was structured around exposure, contrast, primaries, selective vibrance, film emulation, optical treatment, and final desaturation.
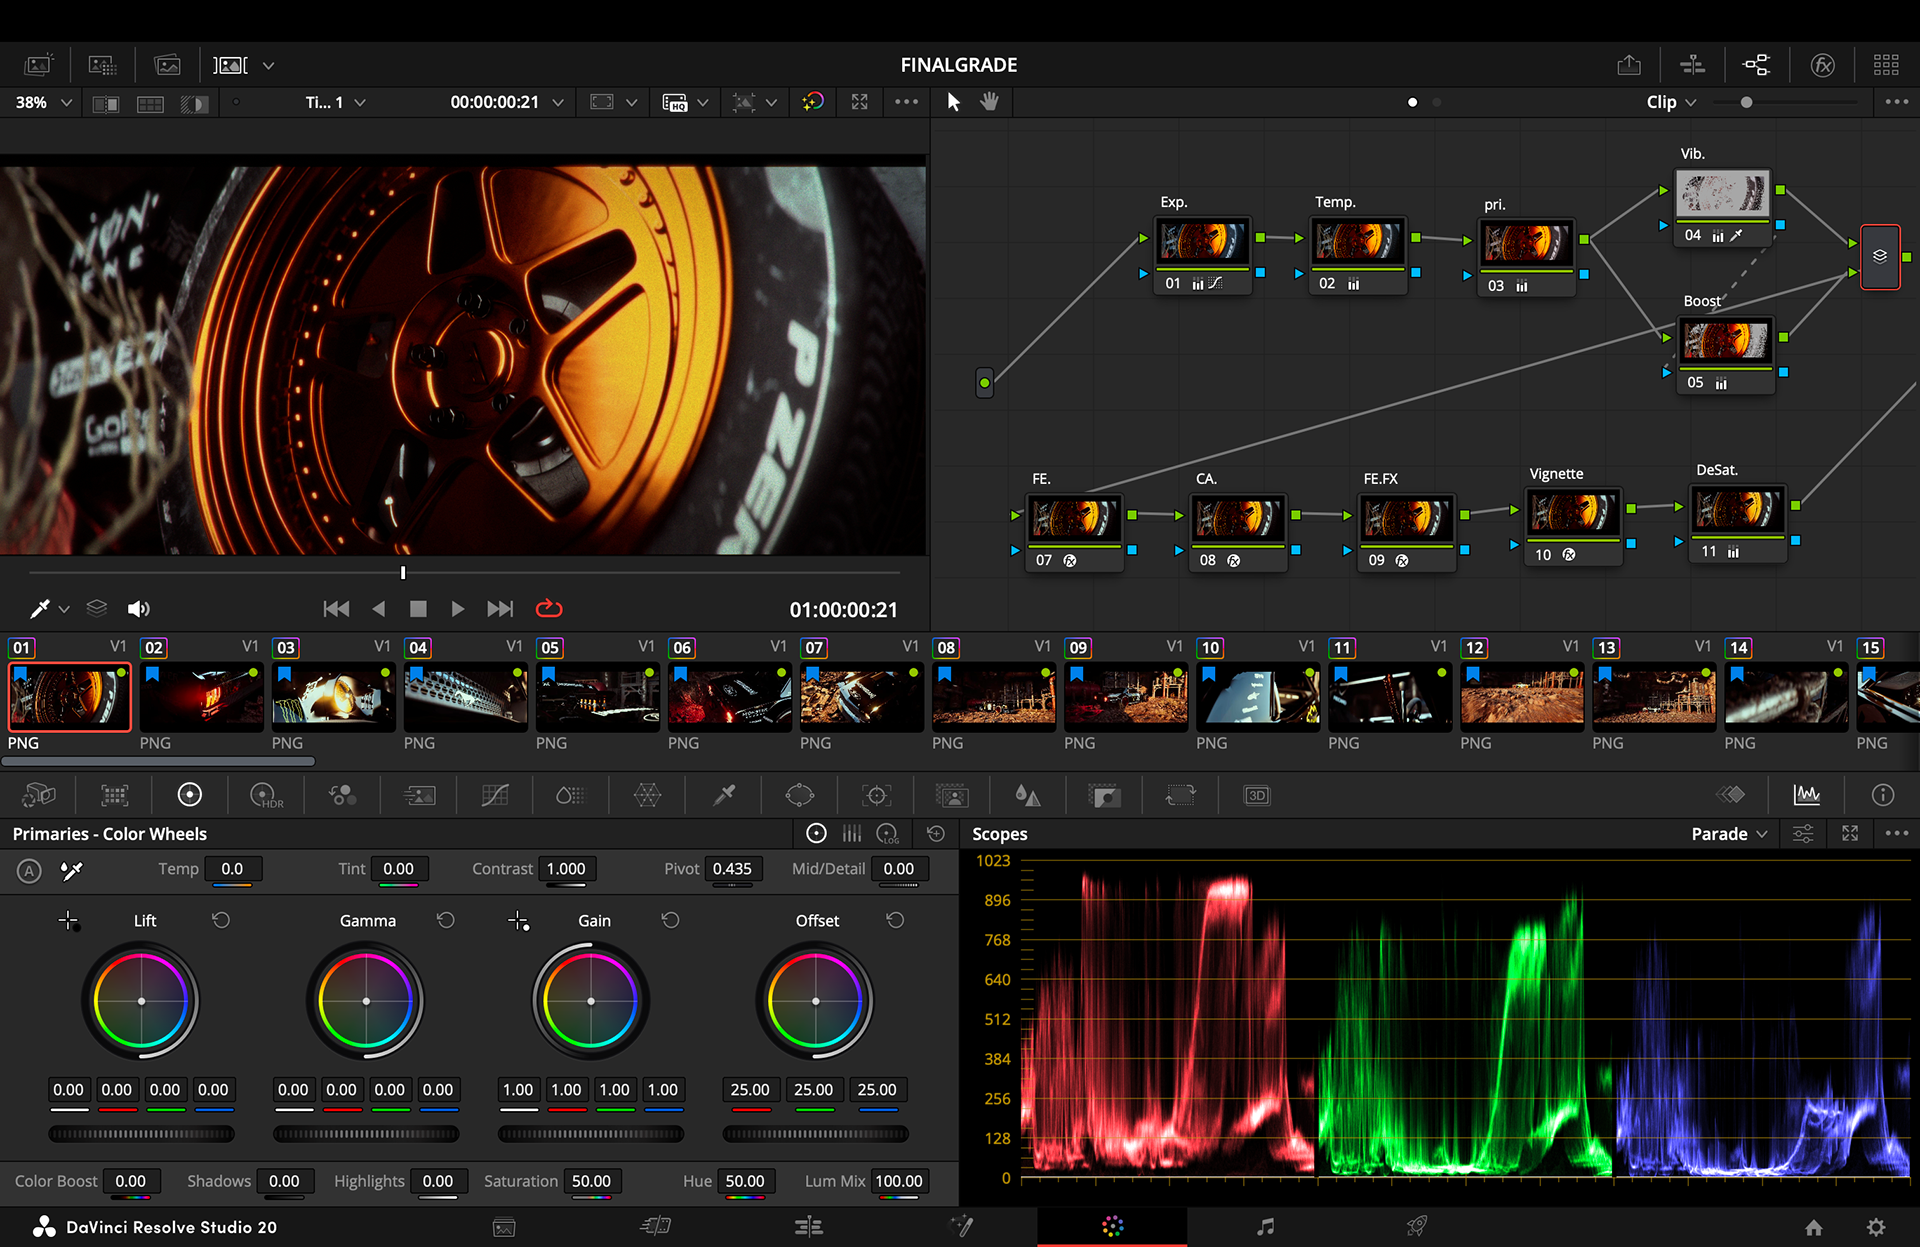
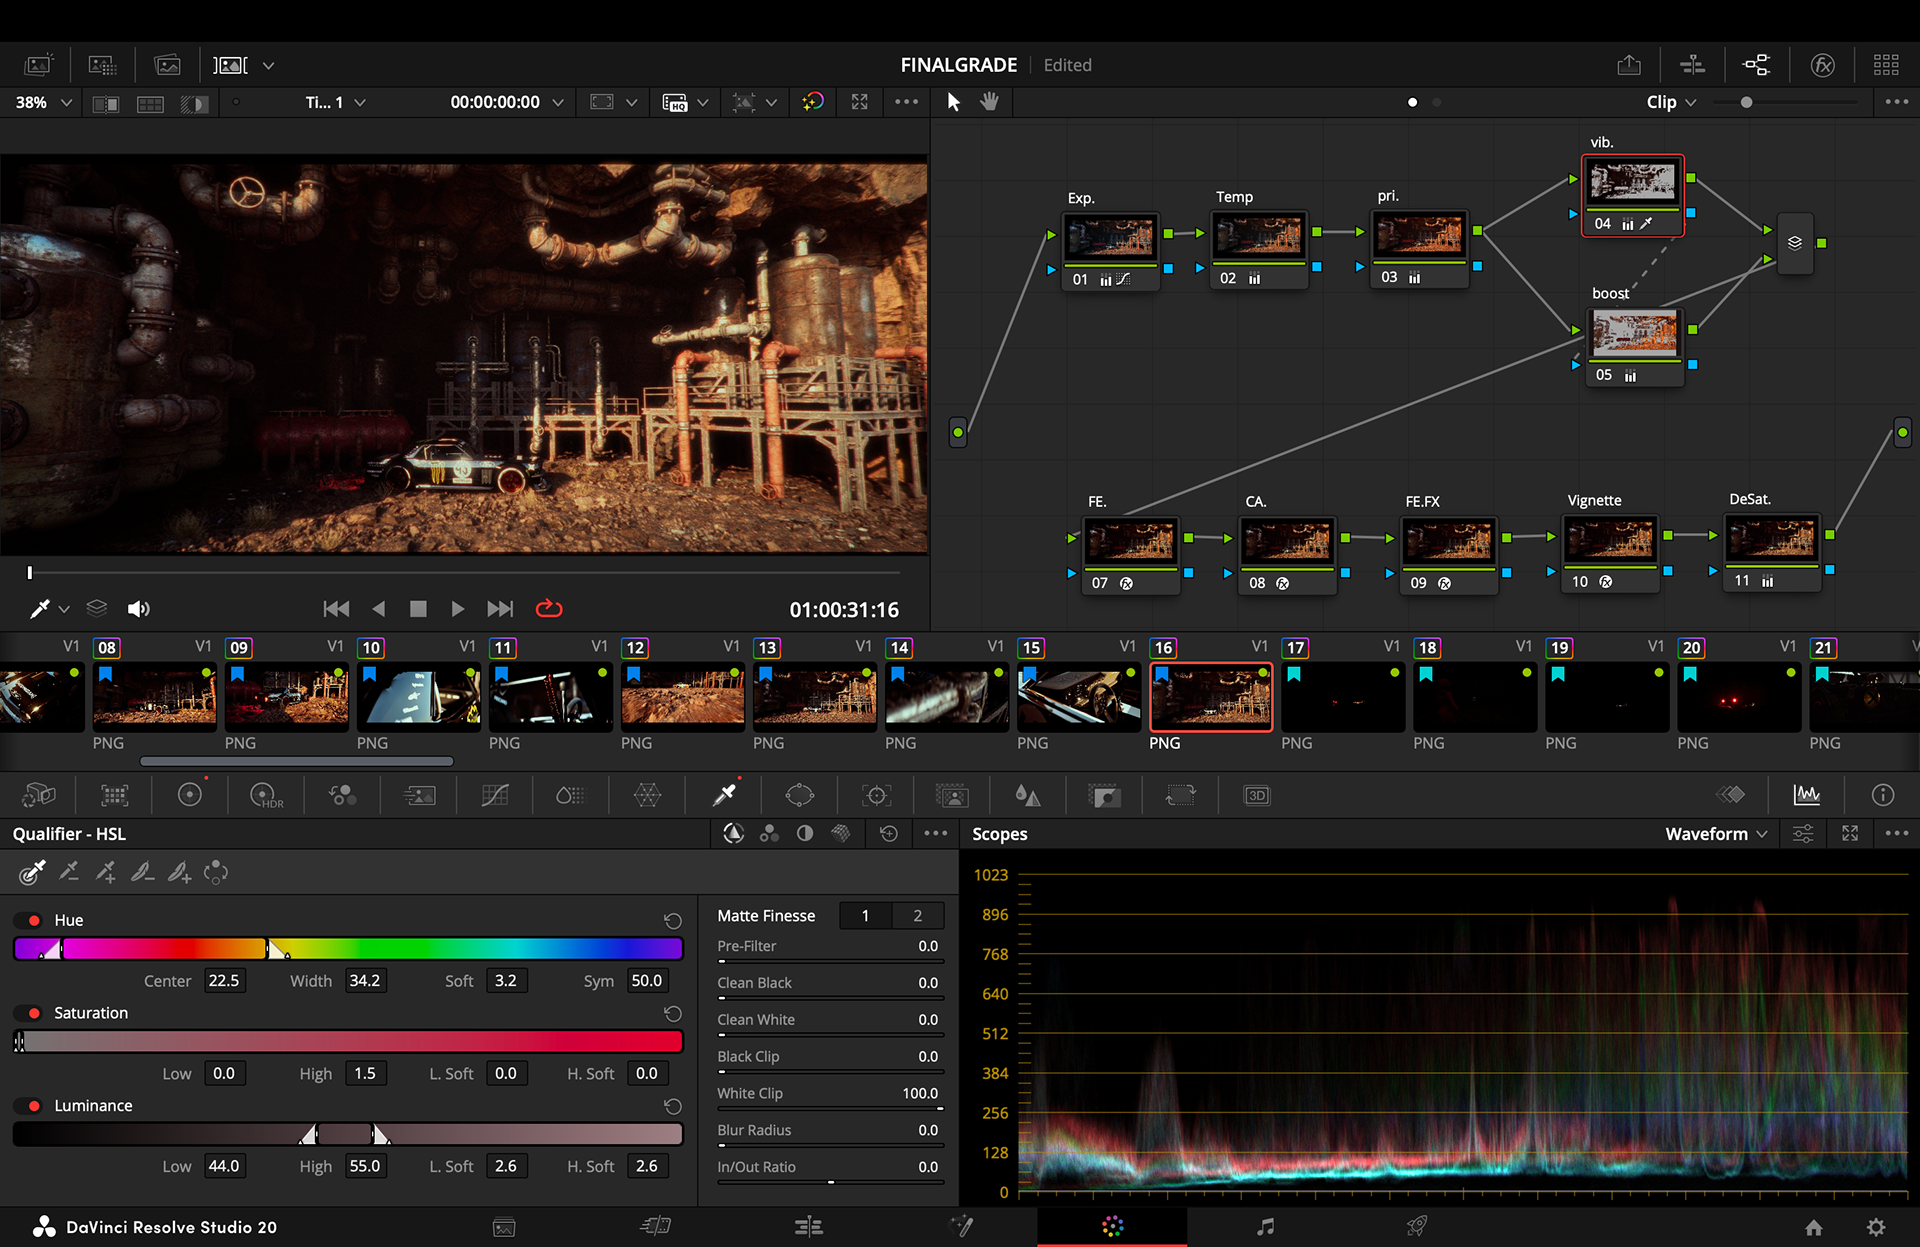
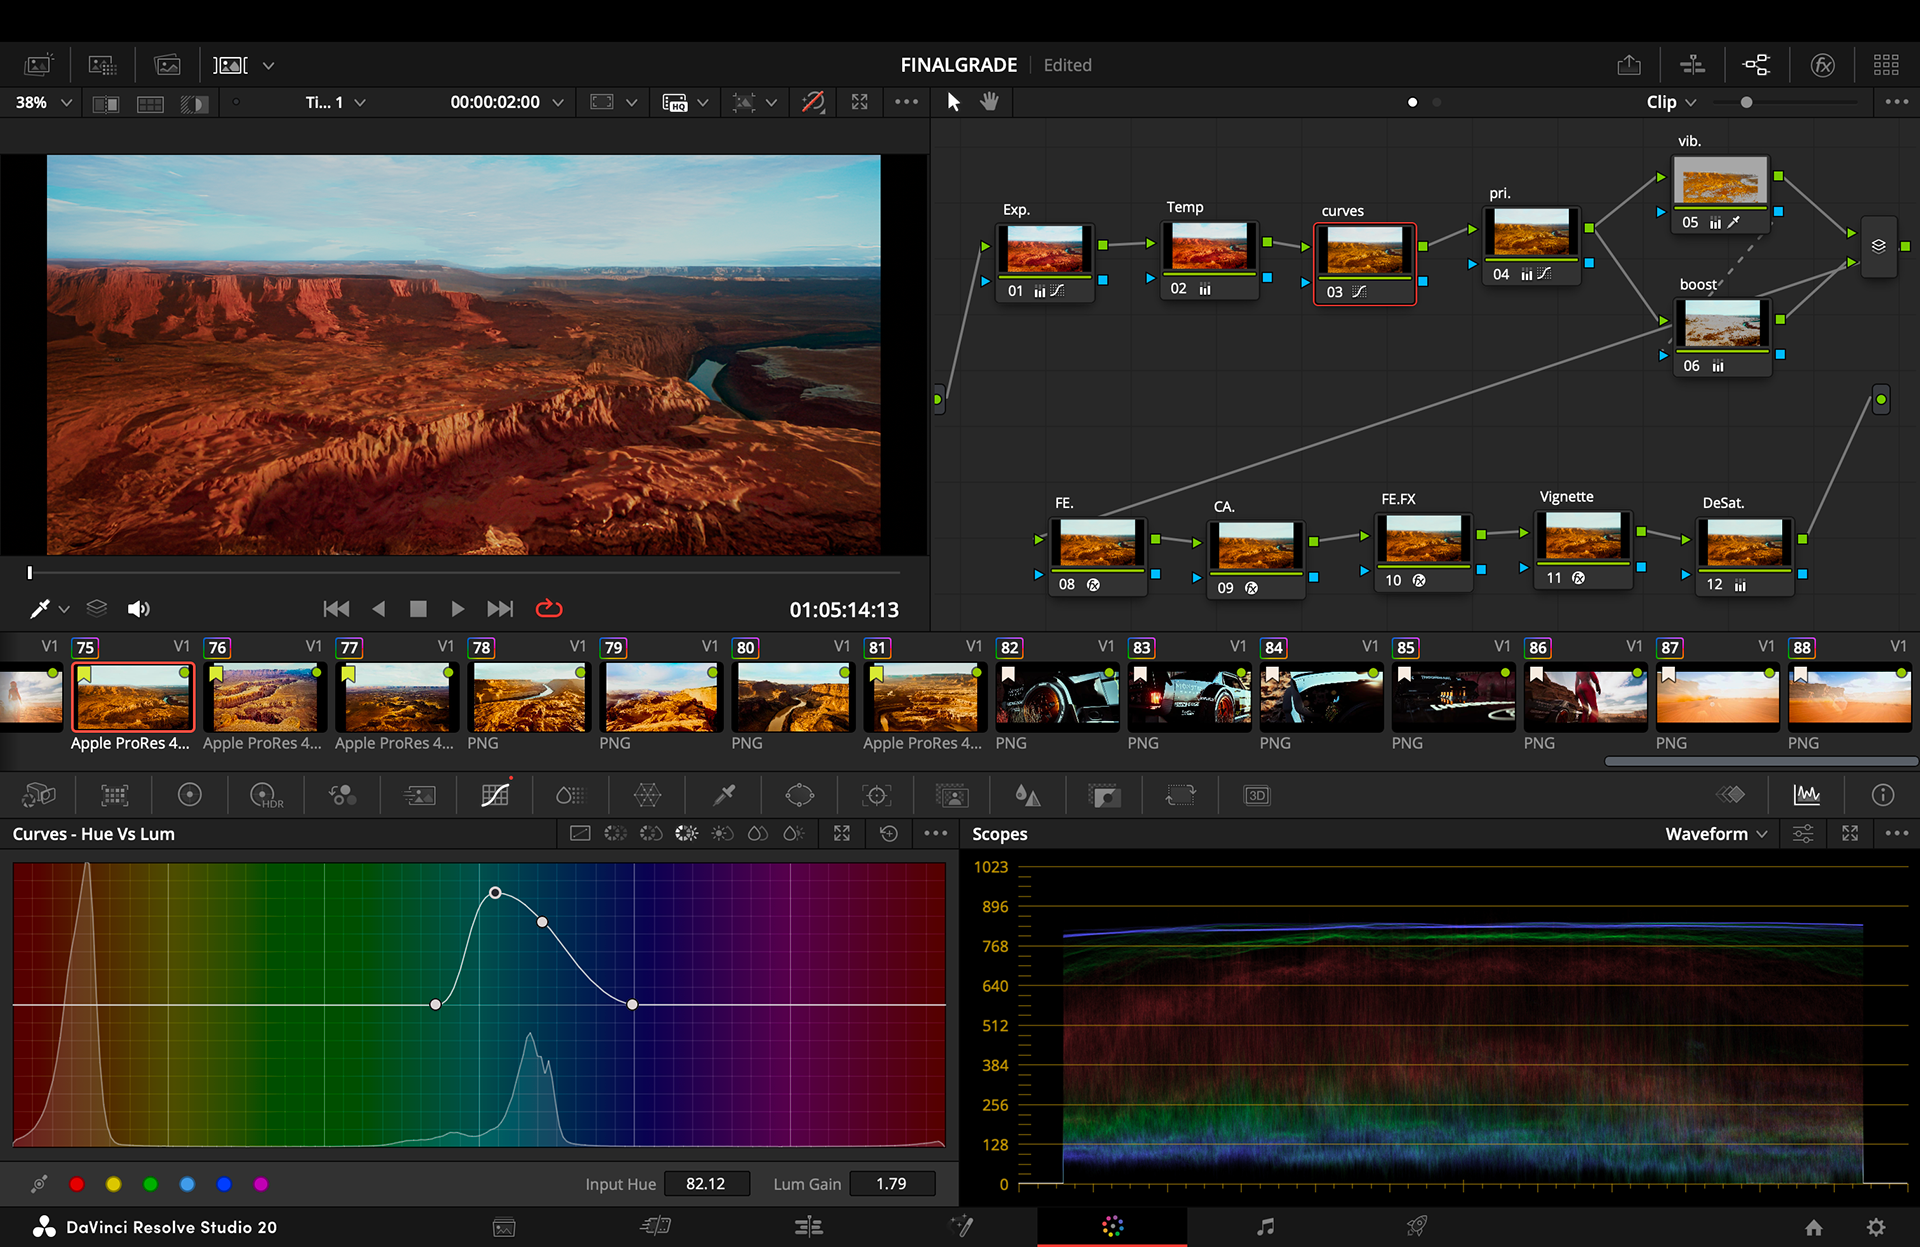
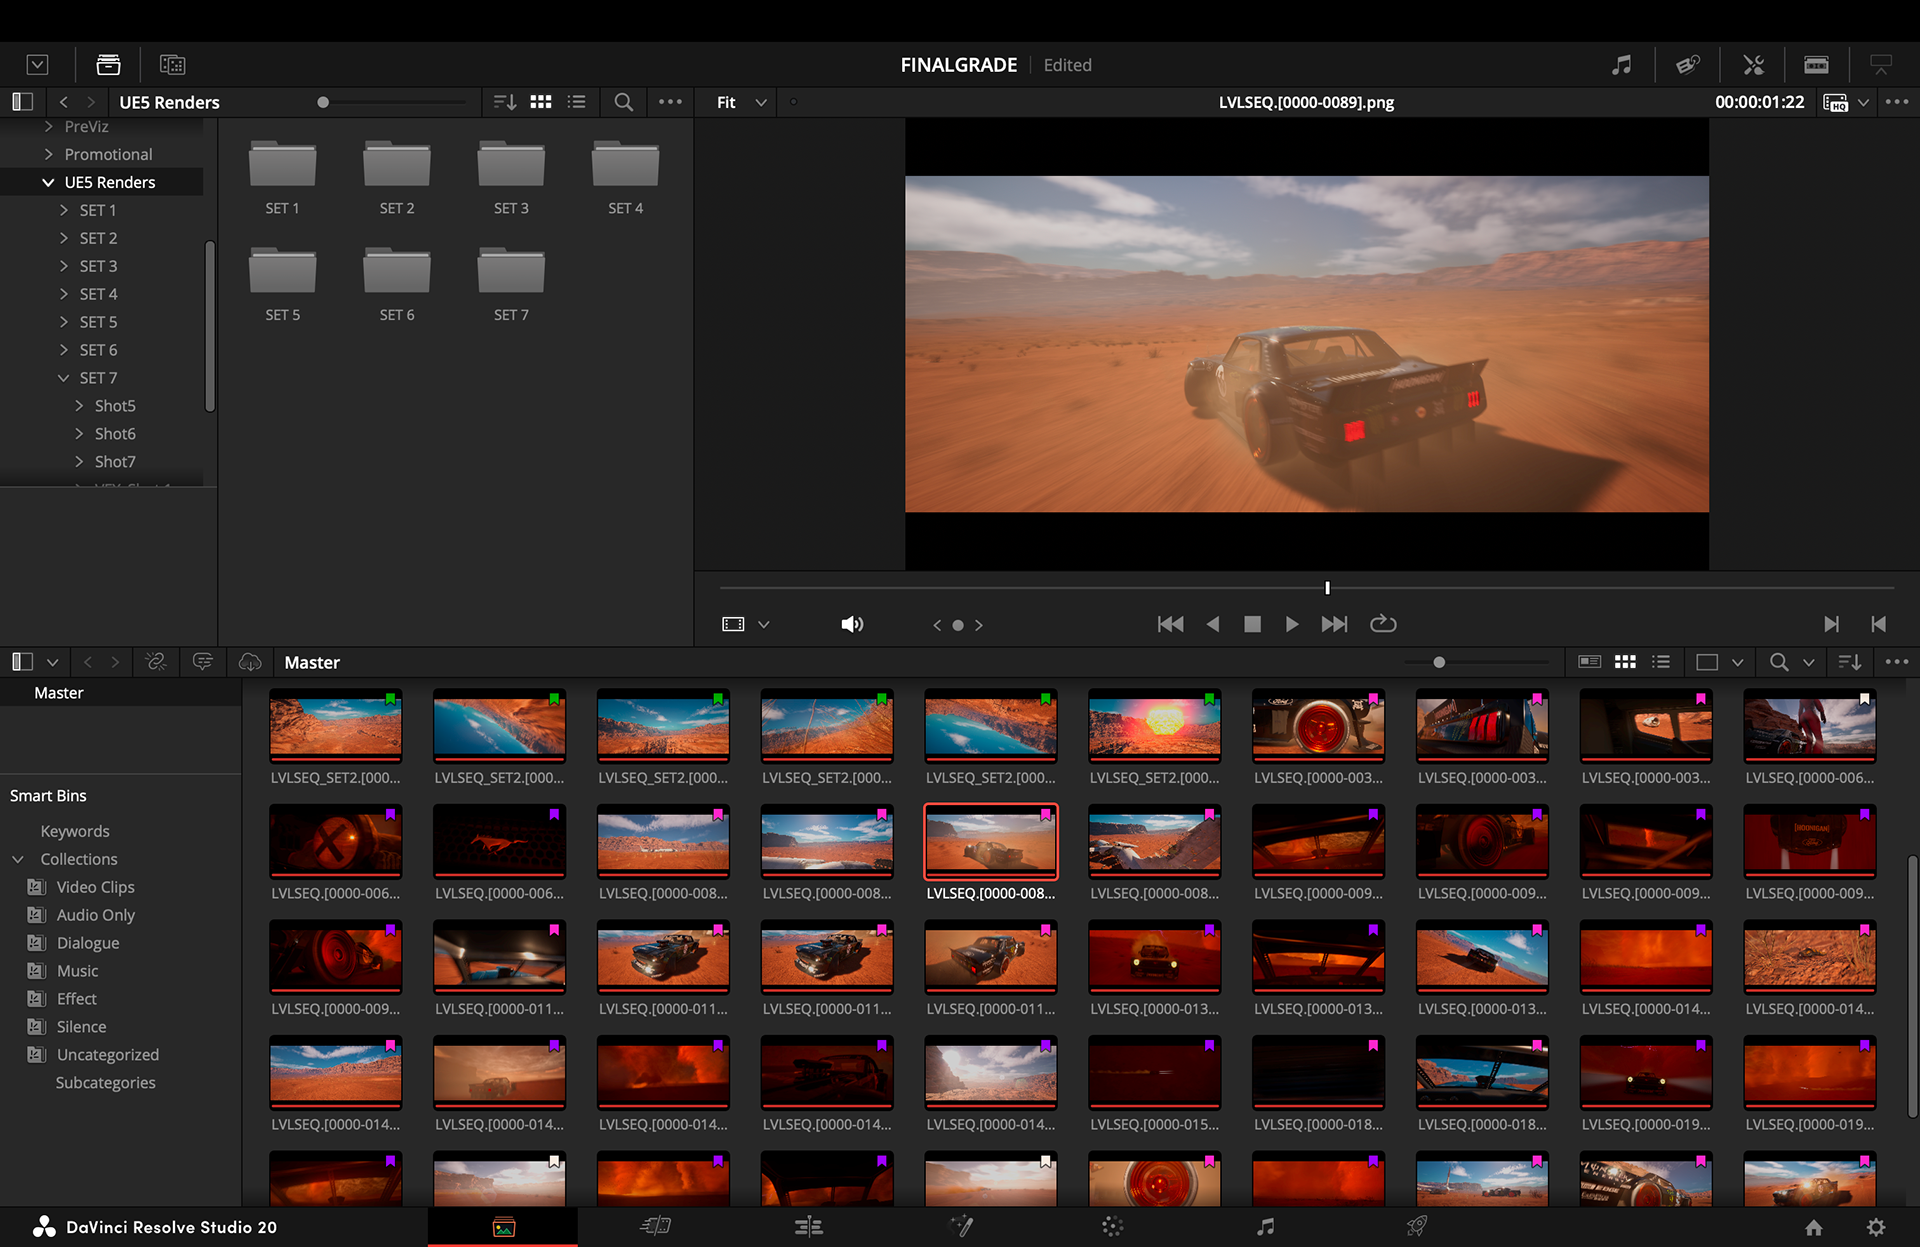
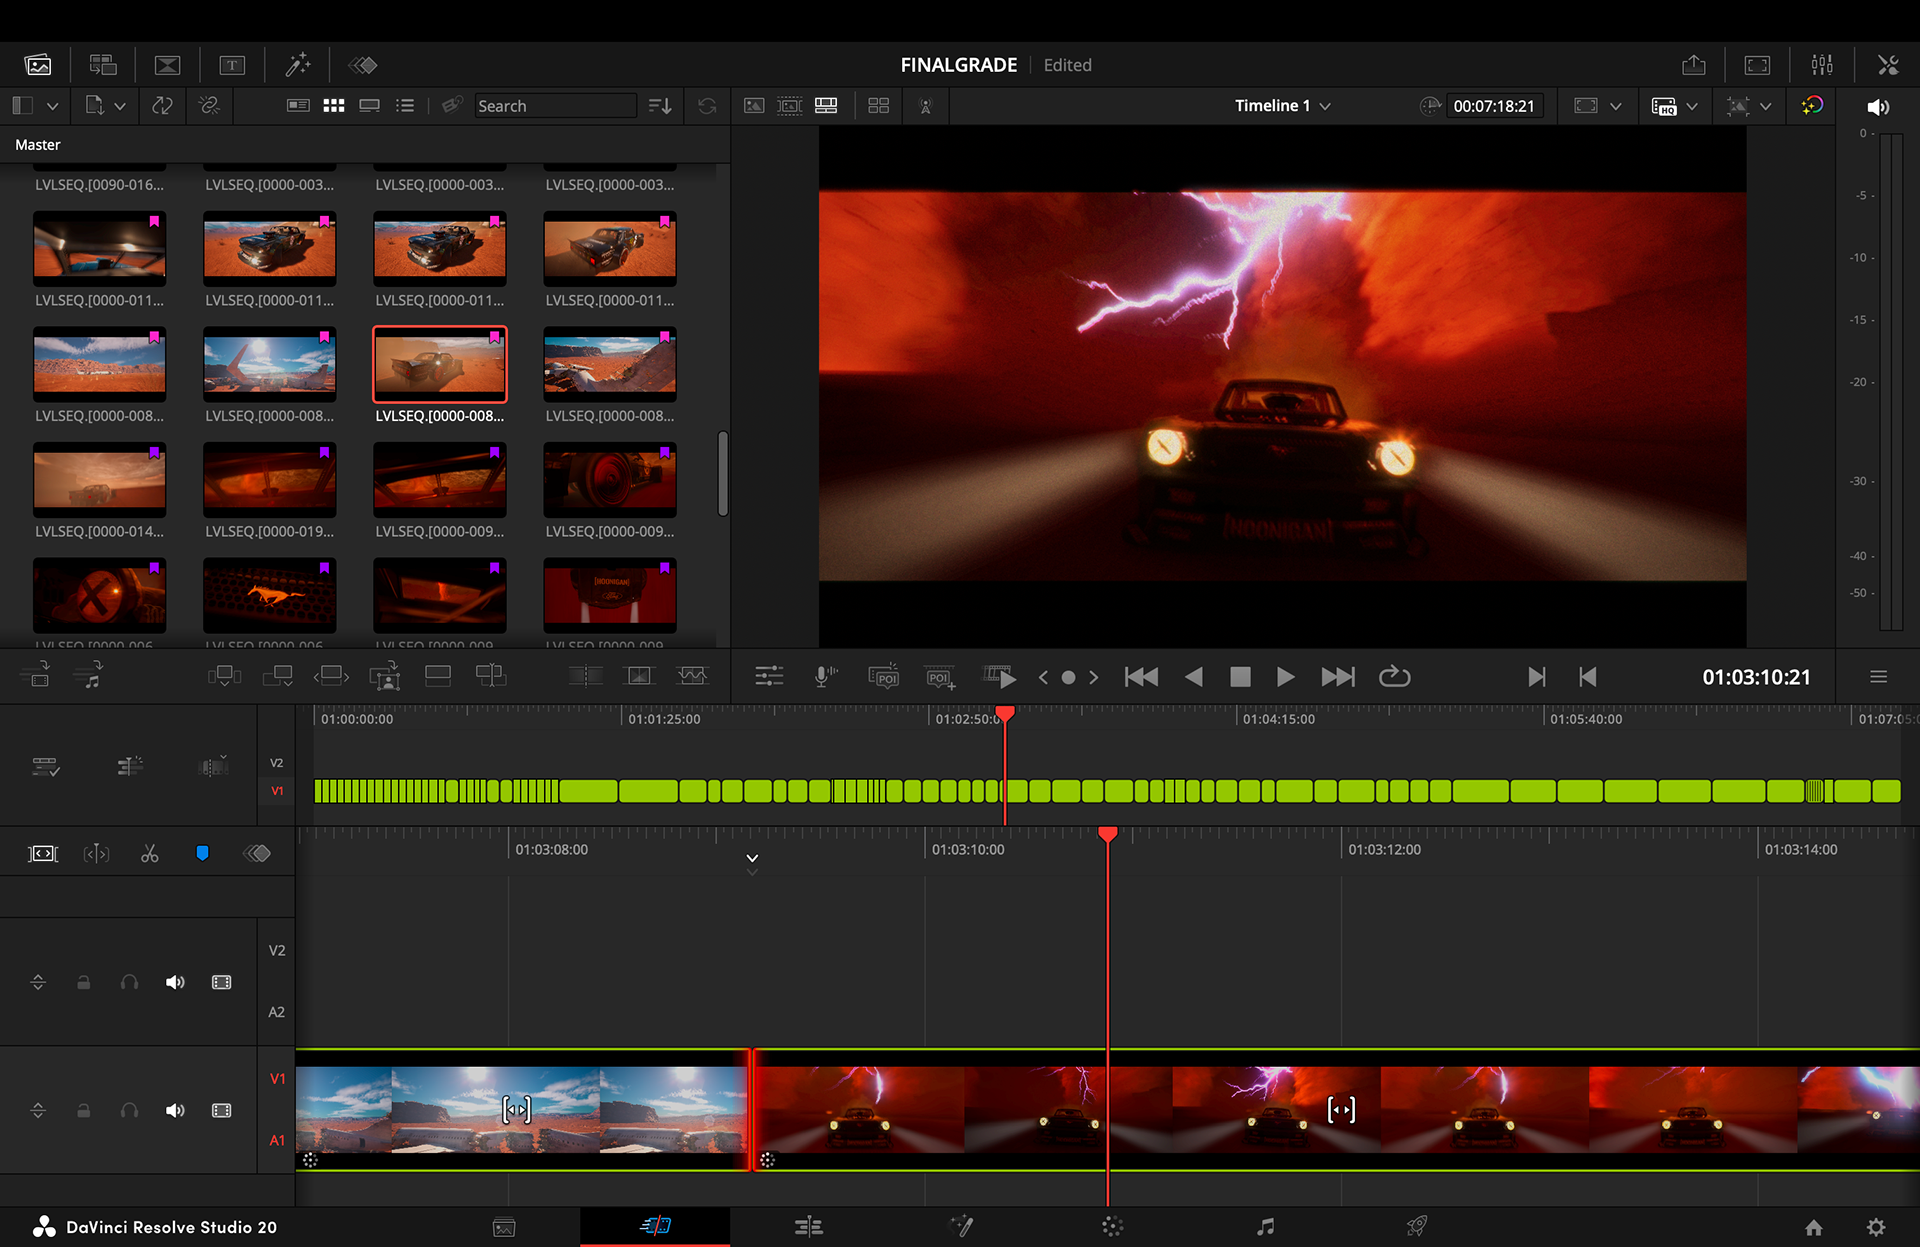
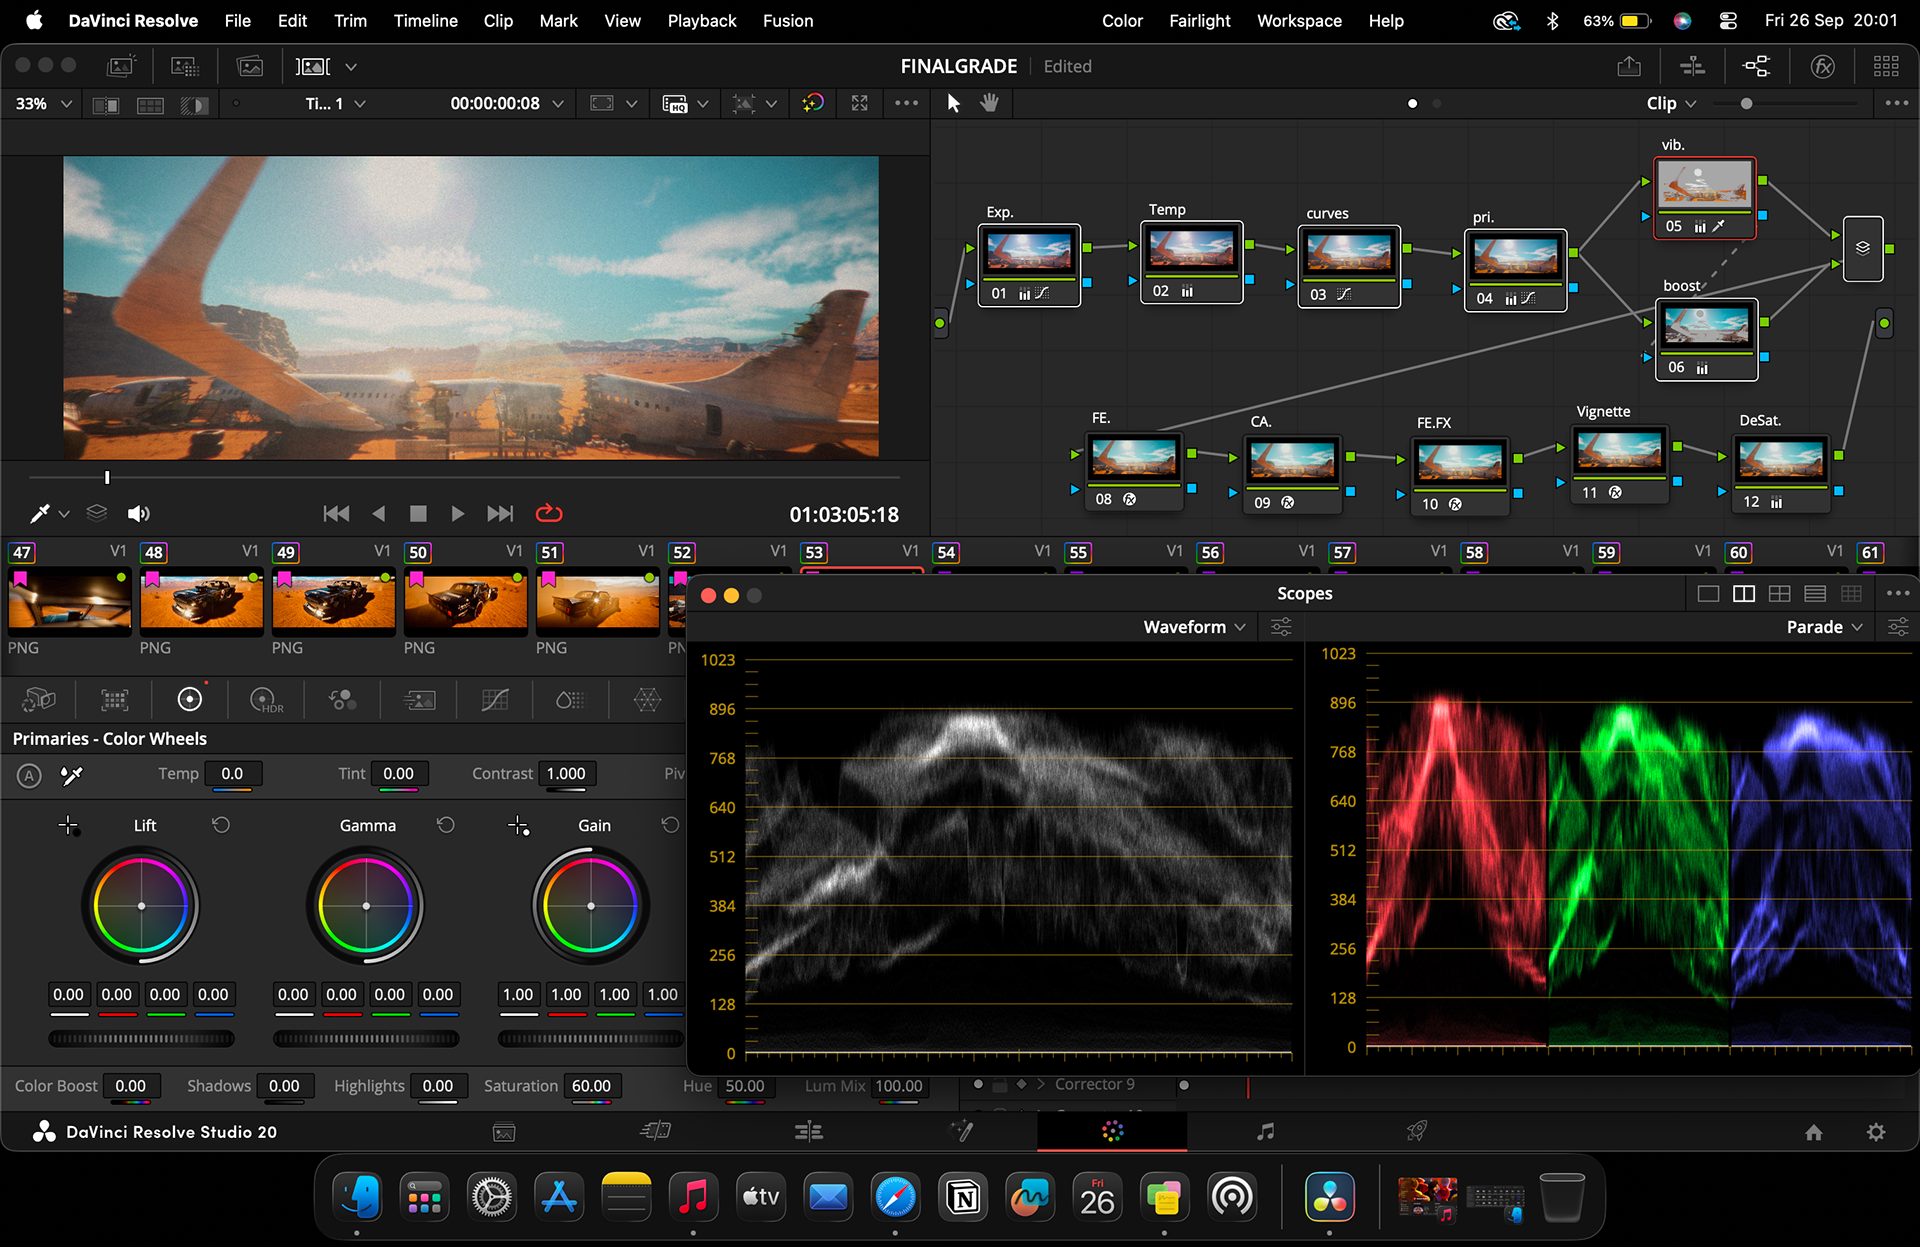
Color Grading & Final Finishing Interface: DaVinci Resolve Studio workflow displaying node-based color pipelines, RGB parade scopes, HSL curves, primary wheels, and asset media bins for stylized cinematic look development.
Film Emulation & Optical Finish
Film-emulation treatment was introduced after primary correction, with halation, bloom, lens characteristics, and grainadjusted individually for each shot. The purpose was not to disguise the CG or aggressively stylise the image, but to give both miniature photography and Unreal renders a common optical response and reduce the overly clean characteristics of digital imagery. A restrained desaturation node completed the grade.
Editorial
Editorial remained close to the approved pre-production structure because the final shoot did not generate additional narrative coverage beyond the planned sequence. The final timeline assembled the approved shots, title card, logos, credits, and production cards, followed by final trimming and picture lock. The edit was primarily responsible for maintaining the intended escalation from industrial sabotage through explosion, vehicle escape, aircraft wreckage, sandstorm, impact, recovery, and continuation of the journey.
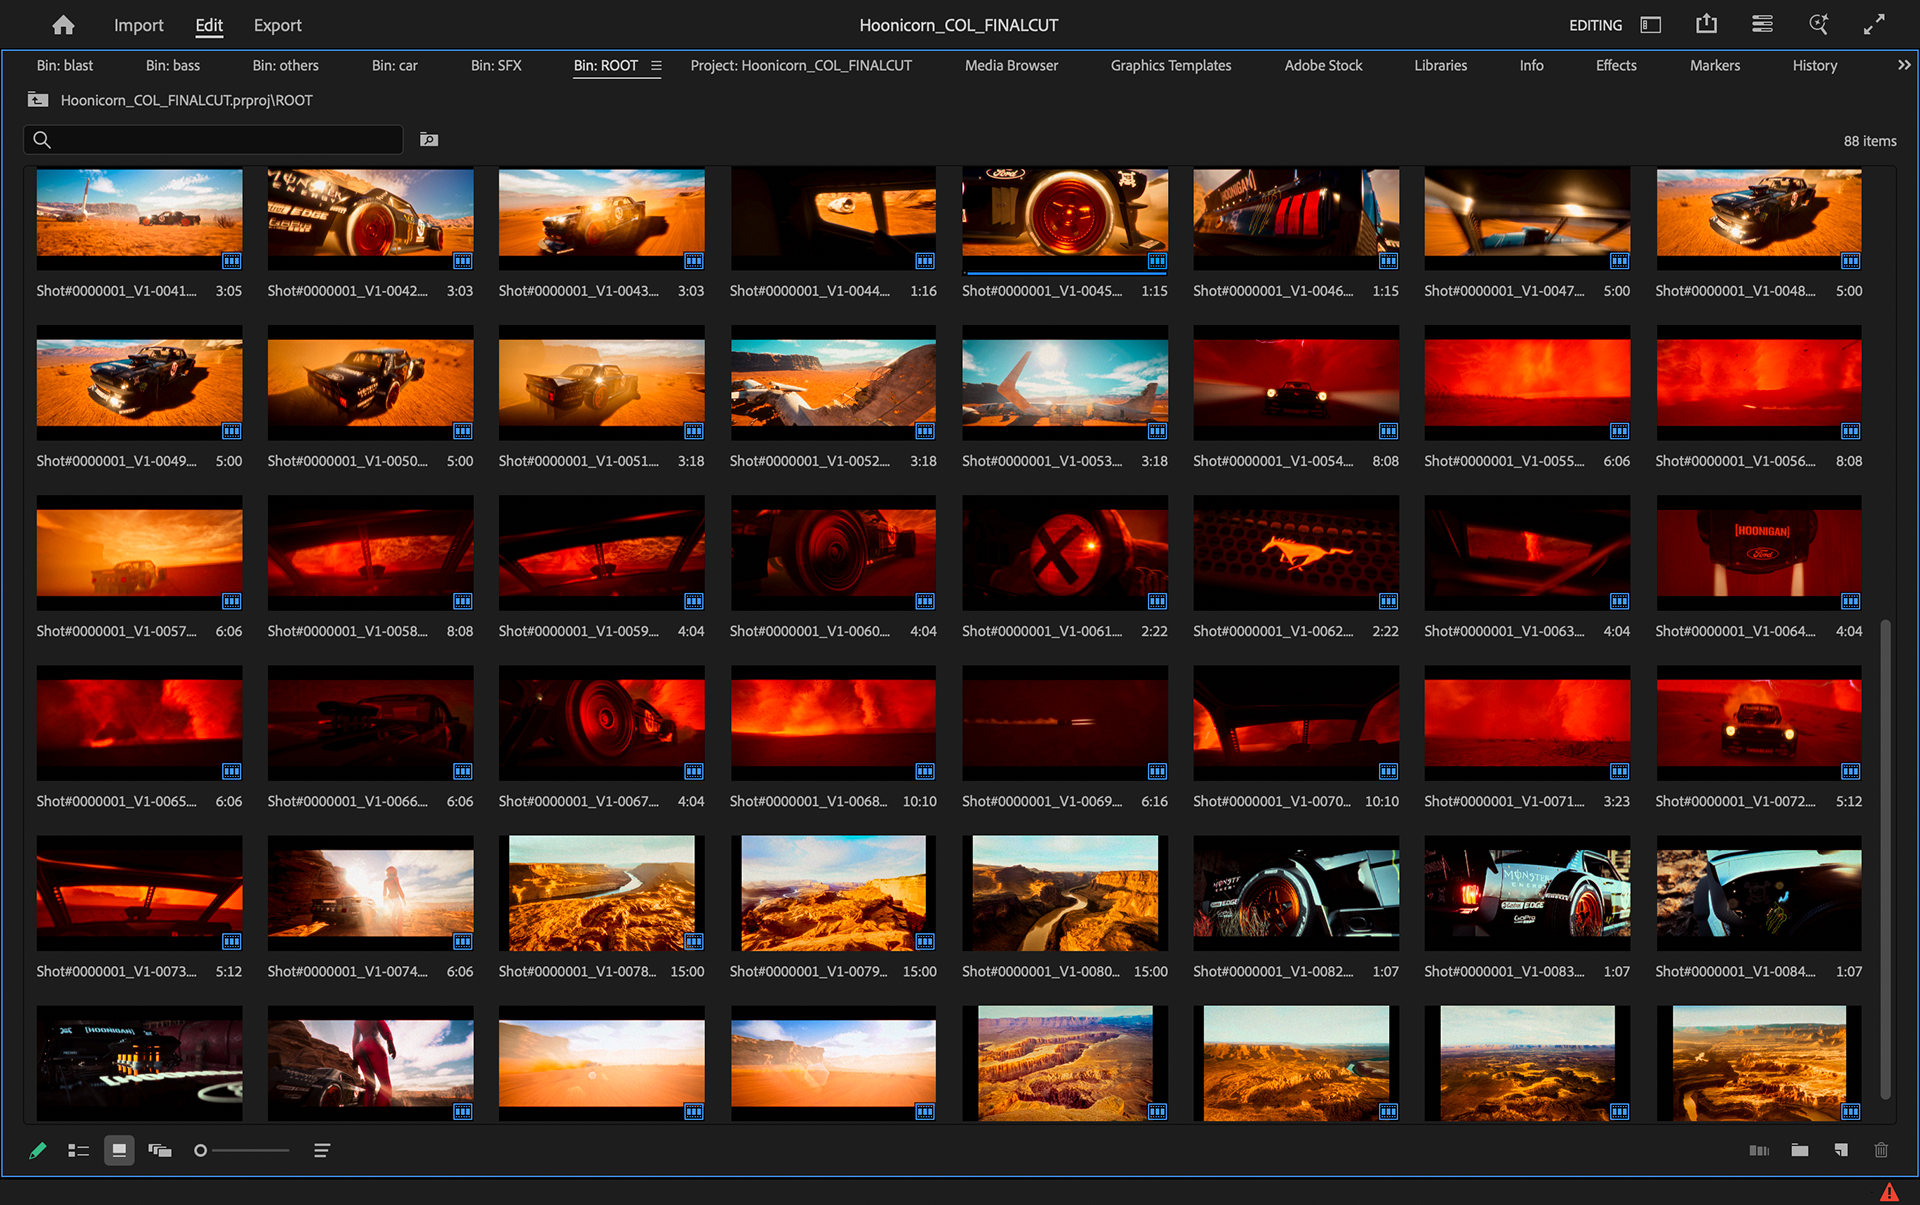
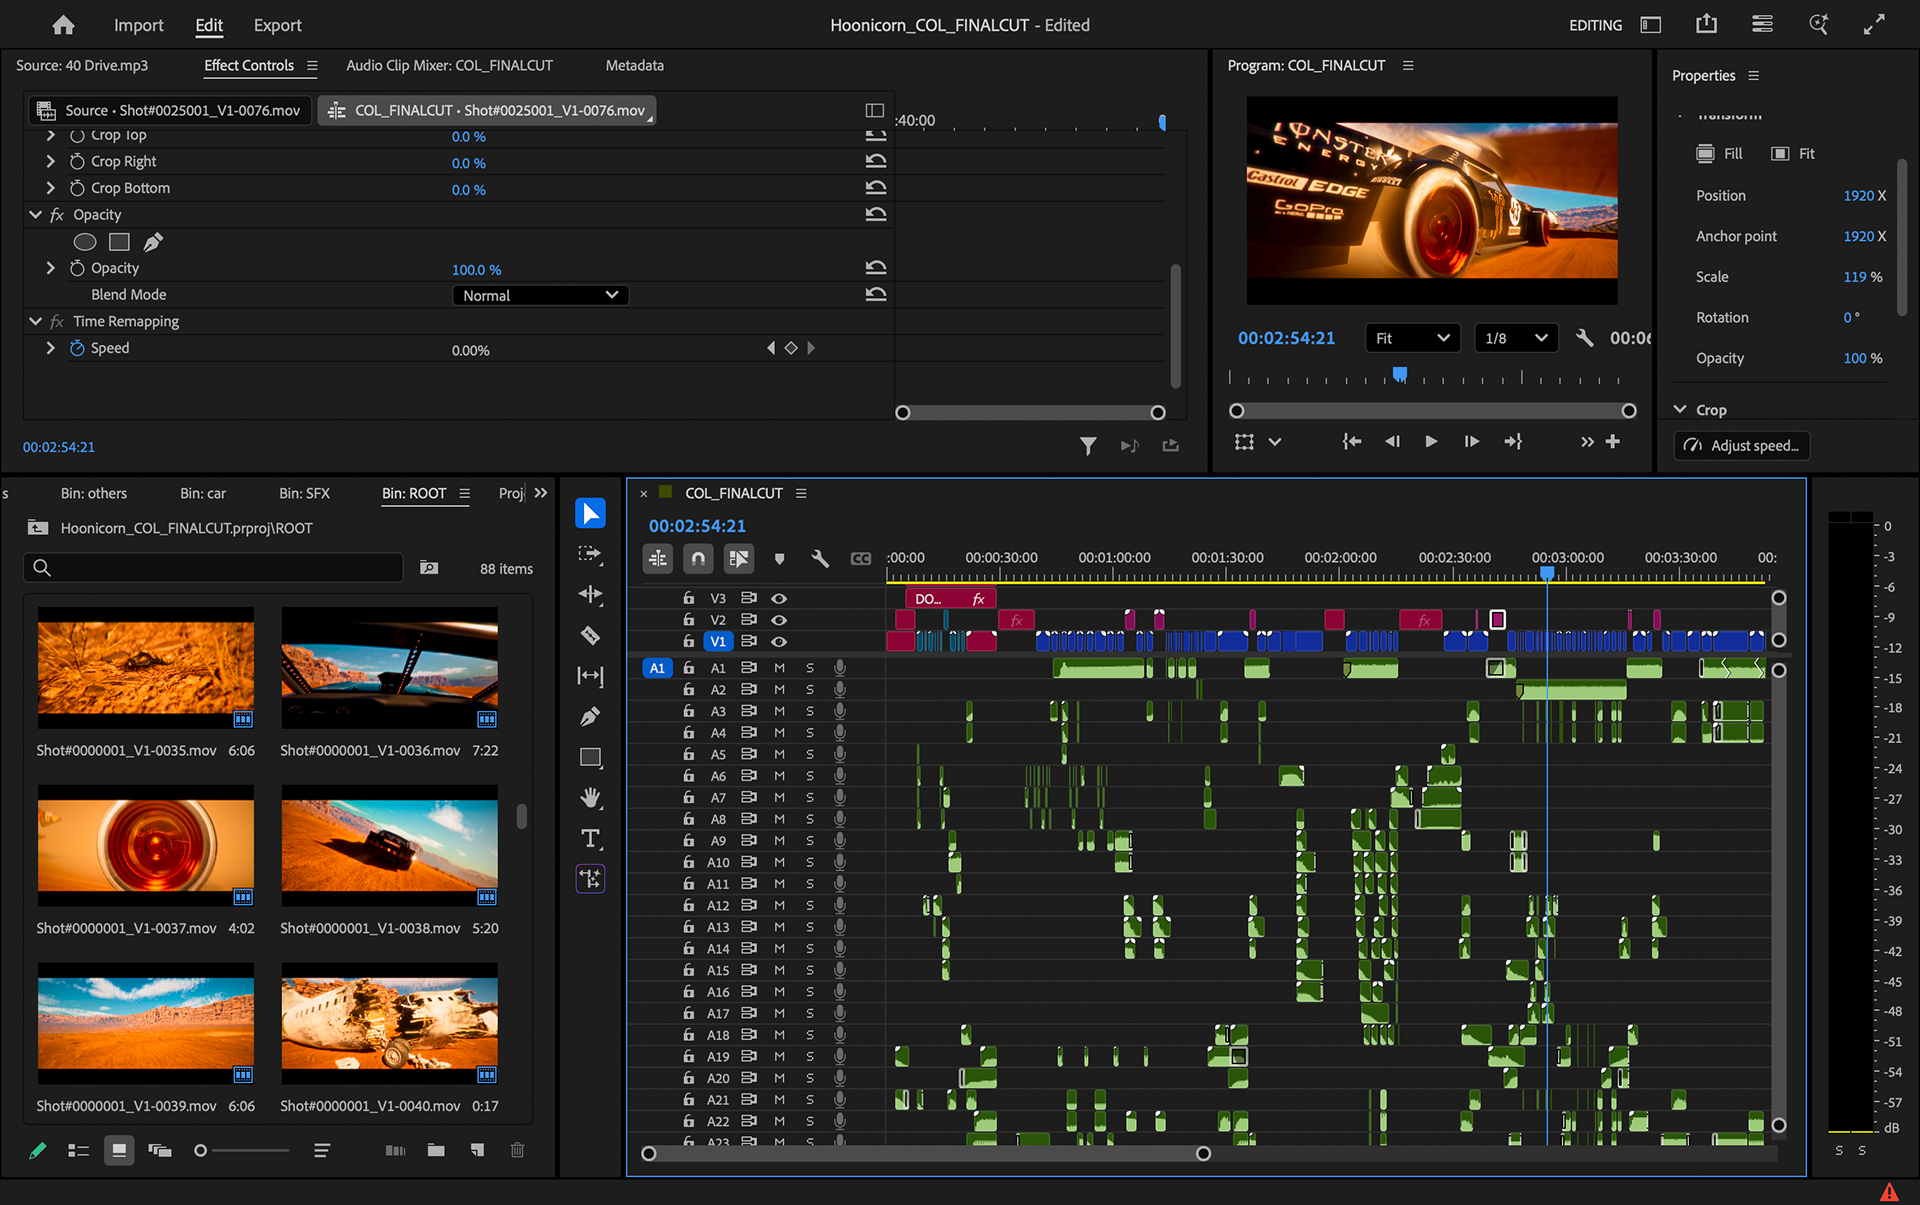
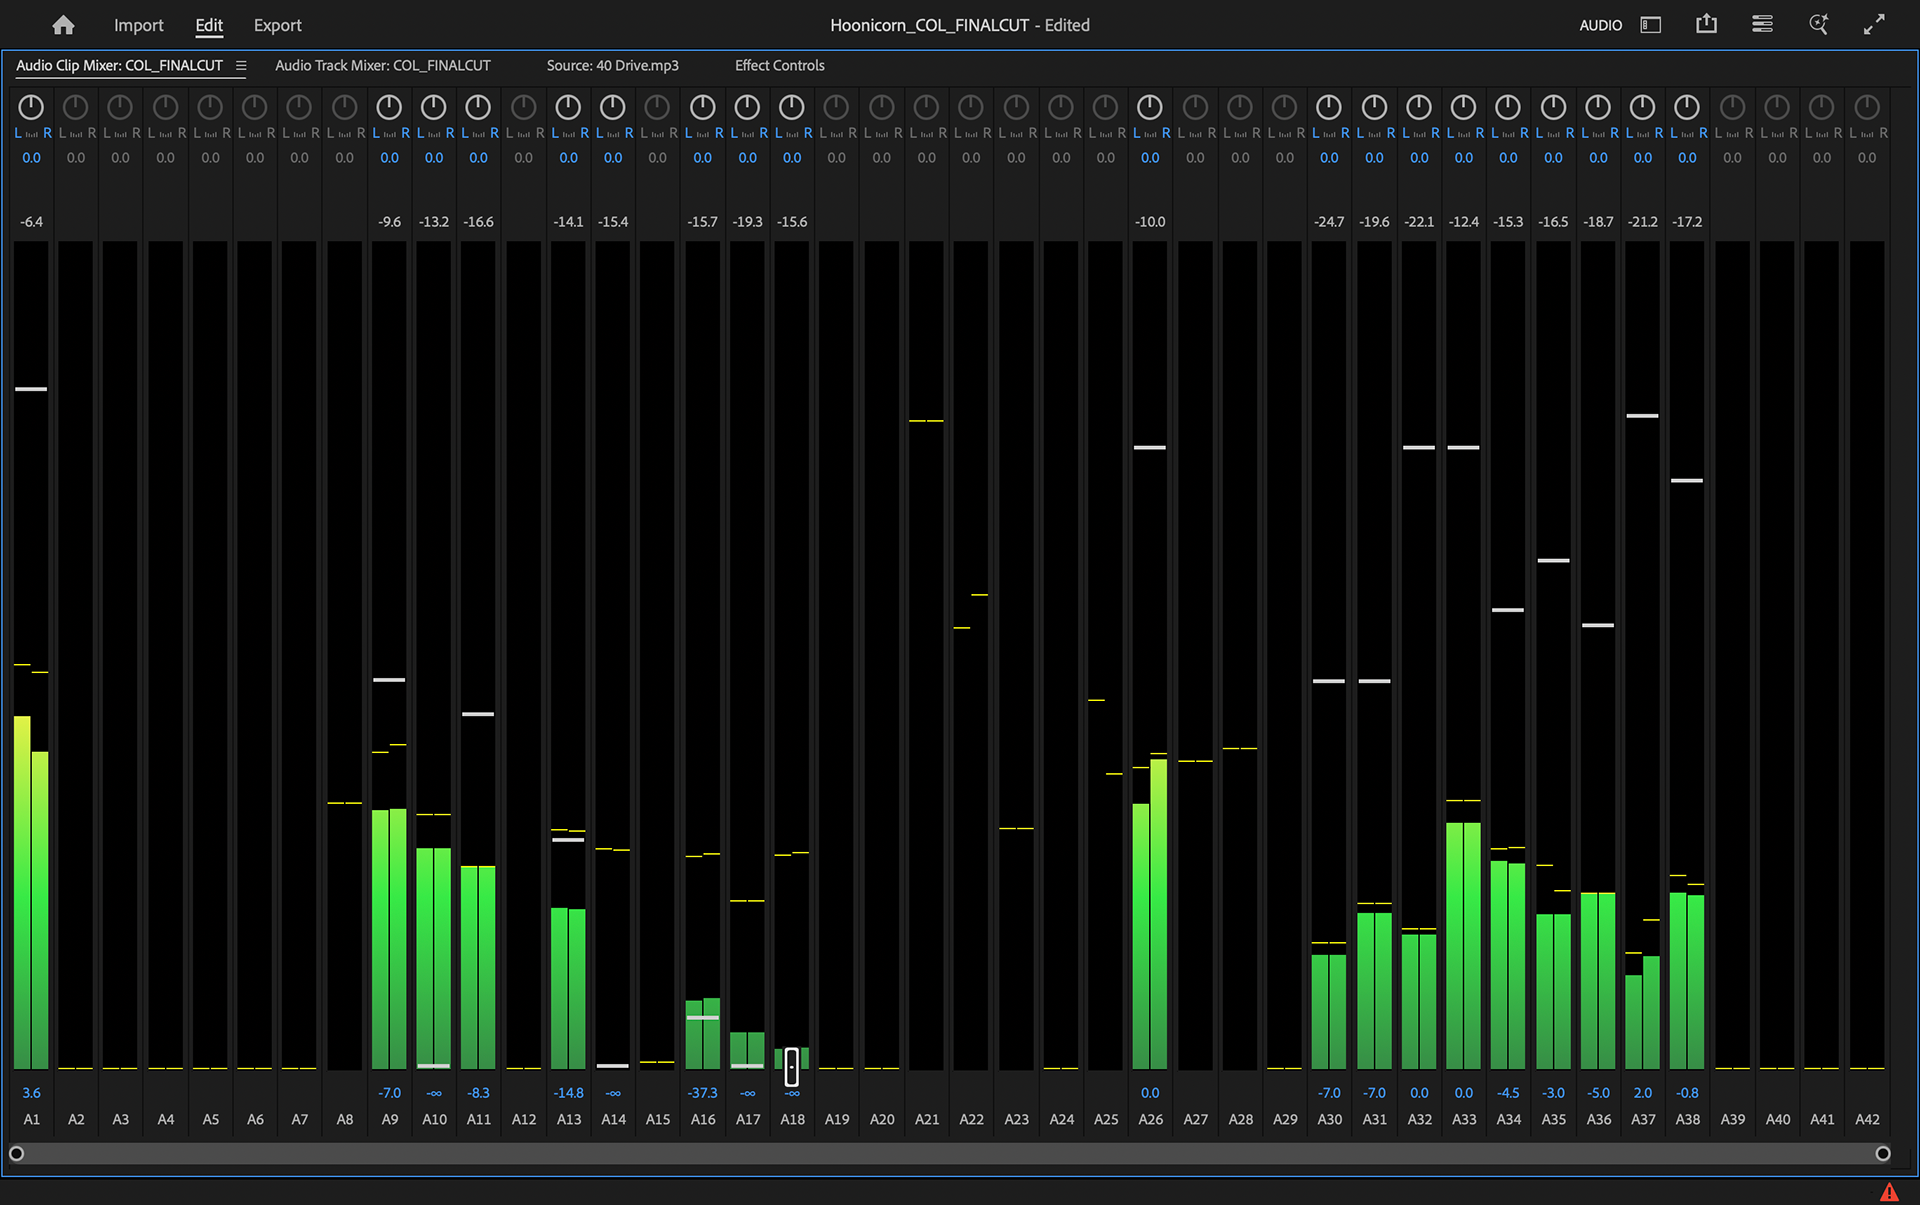
Post-Production Editing & Audio Mixing Interface: Adobe Premiere Pro timeline showing final CGI shot sequences, project bin asset organization, effect controls, and multi-channel audio track metering.
Sound Design & Mix
Sound design became one of the most detailed post-production stages, using more than 30 audio tracks to construct the automotive and environmental soundscape. The Hoonicorn engine was created by layering multiple vehicle engine recordings at different pitches and frequency ranges. Wind and storm ambience were built from several heavy-wind recordings, while refinery, explosion, impact, tyre, and drift events were constructed from multiple layered effects. Additional layers included cinematic whooshes, impacts, booms, sub-bass, low-frequency hits, metallic transitions, tyre screeches, and environmental ambience. The final mix involved balancing these layers against the music track before mastering the complete soundtrack for picture.
The completed project was delivered at 4K, 24 fps, Rec.709, with the final master exported in Apple ProRes 422 HQ. The production ultimately combined physical miniature photography with Unreal Engine environments, tracked camera reconstruction, automotive animation, VFX compositing, ACES-based DI, and extensive sound design into a single automotive cinematic pipeline.
Production Constraints & Problem Solving
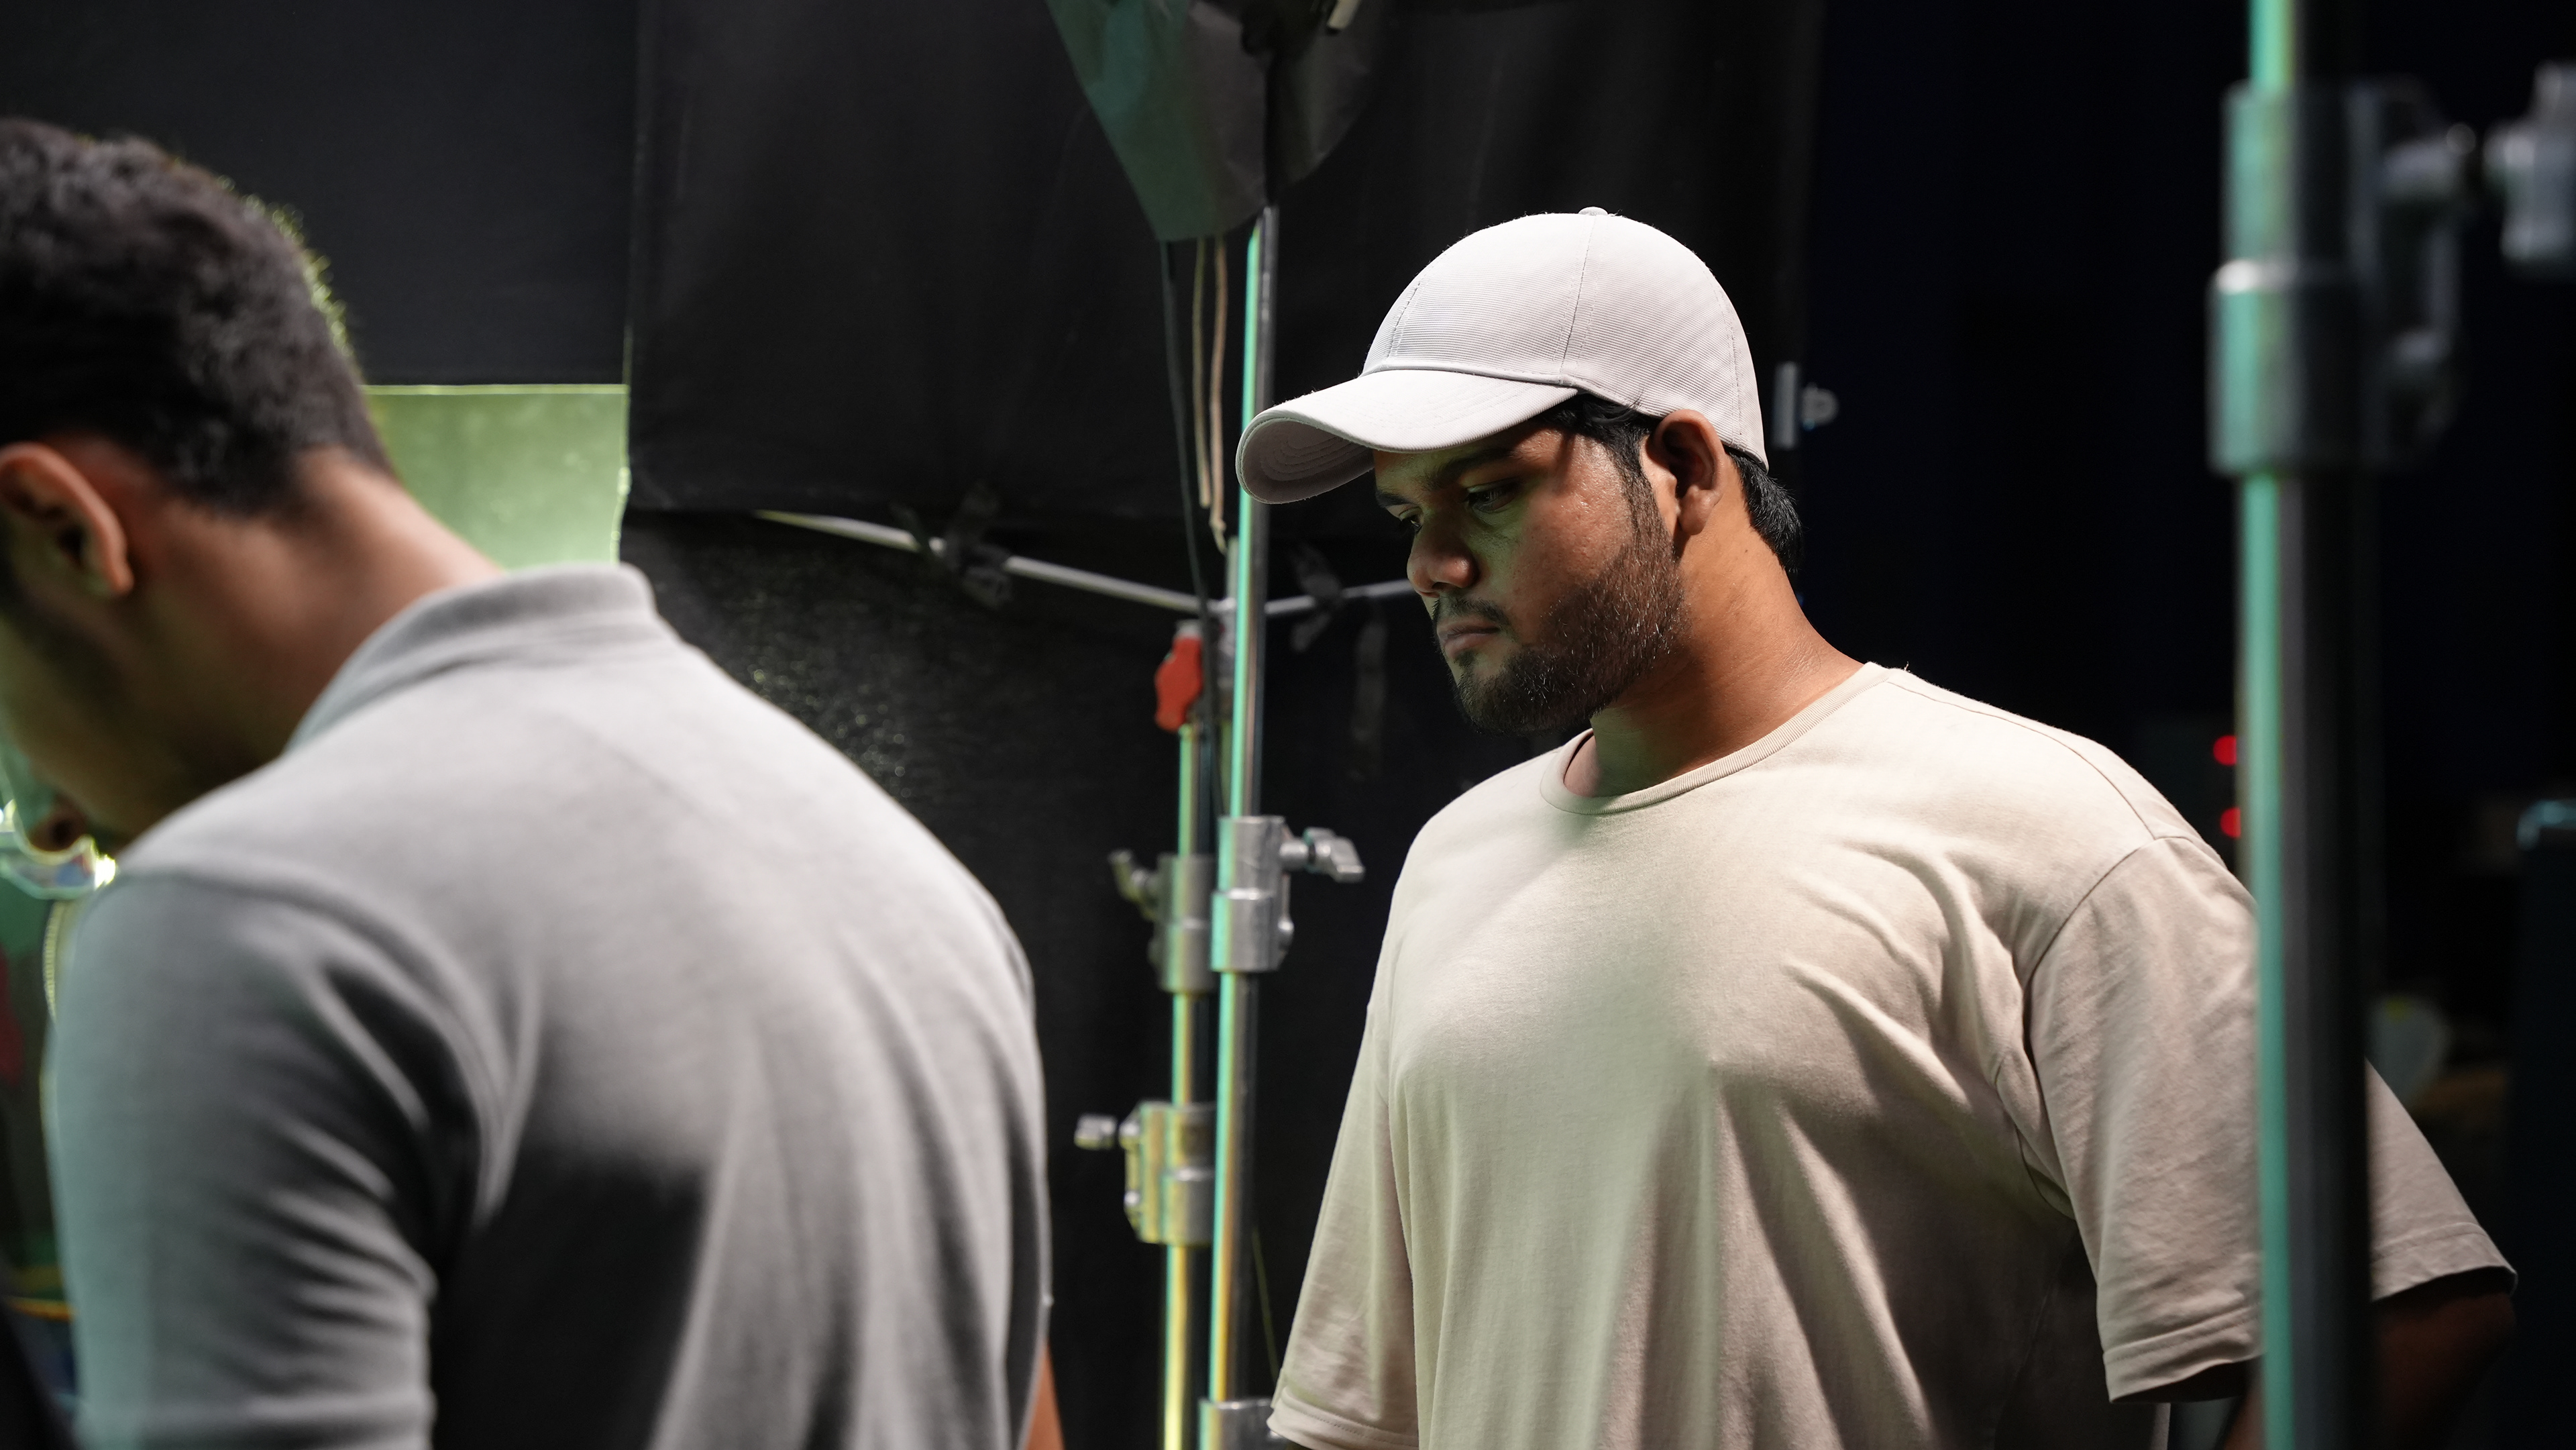
The project was executed under unusually tight physical and logistical constraints: approximately ₹10,000 budget, one miniature shoot day, one month of pre-production, and three months of post-production. The miniature's approximately 300 kg mass created a major transport risk, while the first-time use of the probe lens introduced additional camera and staging uncertainty. The production addressed these constraints through previsualisation, technical documentation, shot prioritisation, advance camera-space verification, consultation with experienced DOPs and gaffers, and a controlled transport plan.
A second major challenge was visual continuity between practical miniature footage and the CG environments. This was solved through common visual development, matching lighting logic, ACES colour management, camera tracking, shared lens characteristics, and object-separated Unreal renders. The final workflow allowed a physical tabletop canyon and full-scale digital environments to exist within the same cinematic world without relying on the miniature scale being visually obvious.
Project Outcome & Key Learnings
Hoonicorn became a complete demonstration of an integrated automotive VFX workflow rather than a standalone Unreal Engine environment project. The production required me to work across visual development, automotive research, miniature art direction, cinematography, camera tracking, vehicle rigging, animation, environment design, compositing, DI, editorial, and sound design. The largest technical learning was understanding how physical and digital production can be designed as one pipeline: the miniature was not treated as a separate visual style, but as an acquisition method that had to match the CG environments in camera language, lighting, material response, scale, and colour. The project also strengthened my ability to plan around production constraints—particularly budget, shooting time, physical construction, camera access, tracking requirements, and render complexity—while still maintaining a controlled cinematic result.